How to Build a Modern Angled Accent Wall
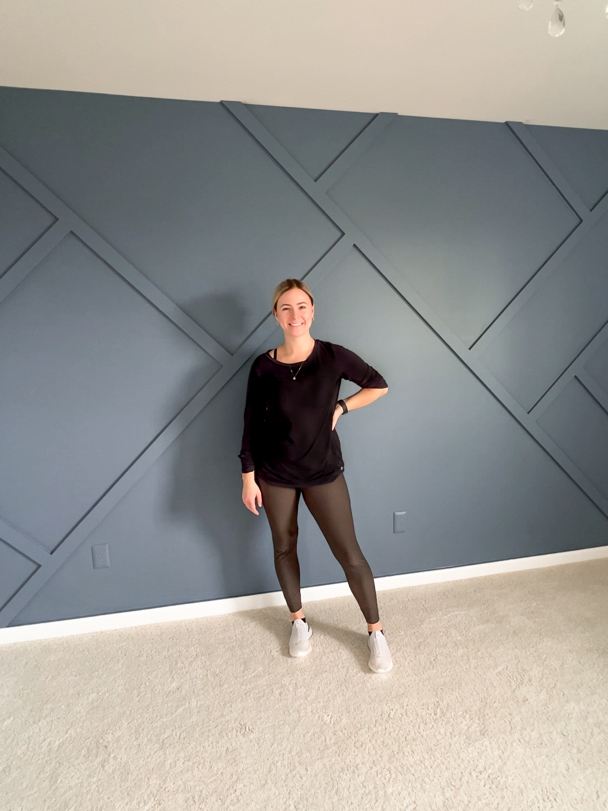
It’s no secret that one of my favorite DIY’s is a good accent wall. I did an accent wall in my living room (fireplace), in my hallway, even in my water closet. My friend’s also love accent walls- I did this one in my girlfriends laundry room, this board and batten in my friend’s bedroom and now I’m doing it at another friend’s house! Accent walls can make such a huge impact. They’re also super customizable and versatile- limitless options and easy to make DIY beginner friendly.
Why you should add an Accent Wall to your Space
Adding an accent wall in your home can be a great way to add visual interest and depth to your space. From a design perspective, an accent wall can create a focal point in the room, draw attention to a specific area or piece of furniture, or add a pop of color or texture to an otherwise neutral space. Additionally, an accent wall can help to balance the overall design of your room by breaking up large, open spaces or creating definition in smaller rooms. Follow this Accent Wall tutorial for this simple and effective way to elevate the design of your home and create a unique and personalized space.
Check out all the videos from this project on my Accent Wall Instagram Highlight!

My girlfriend, Brooke, is having her first baby- a baby boy! She wanted to do something special for the nursery and asked me if I would be open to doing an accent wall. I was. She provided a couple of inspo pics and then I got to work creating some options in SketchUp (free!) for her to choose from.
The Accent Wall Inspo:
Pinterest sources linked.
The Mock Ups:


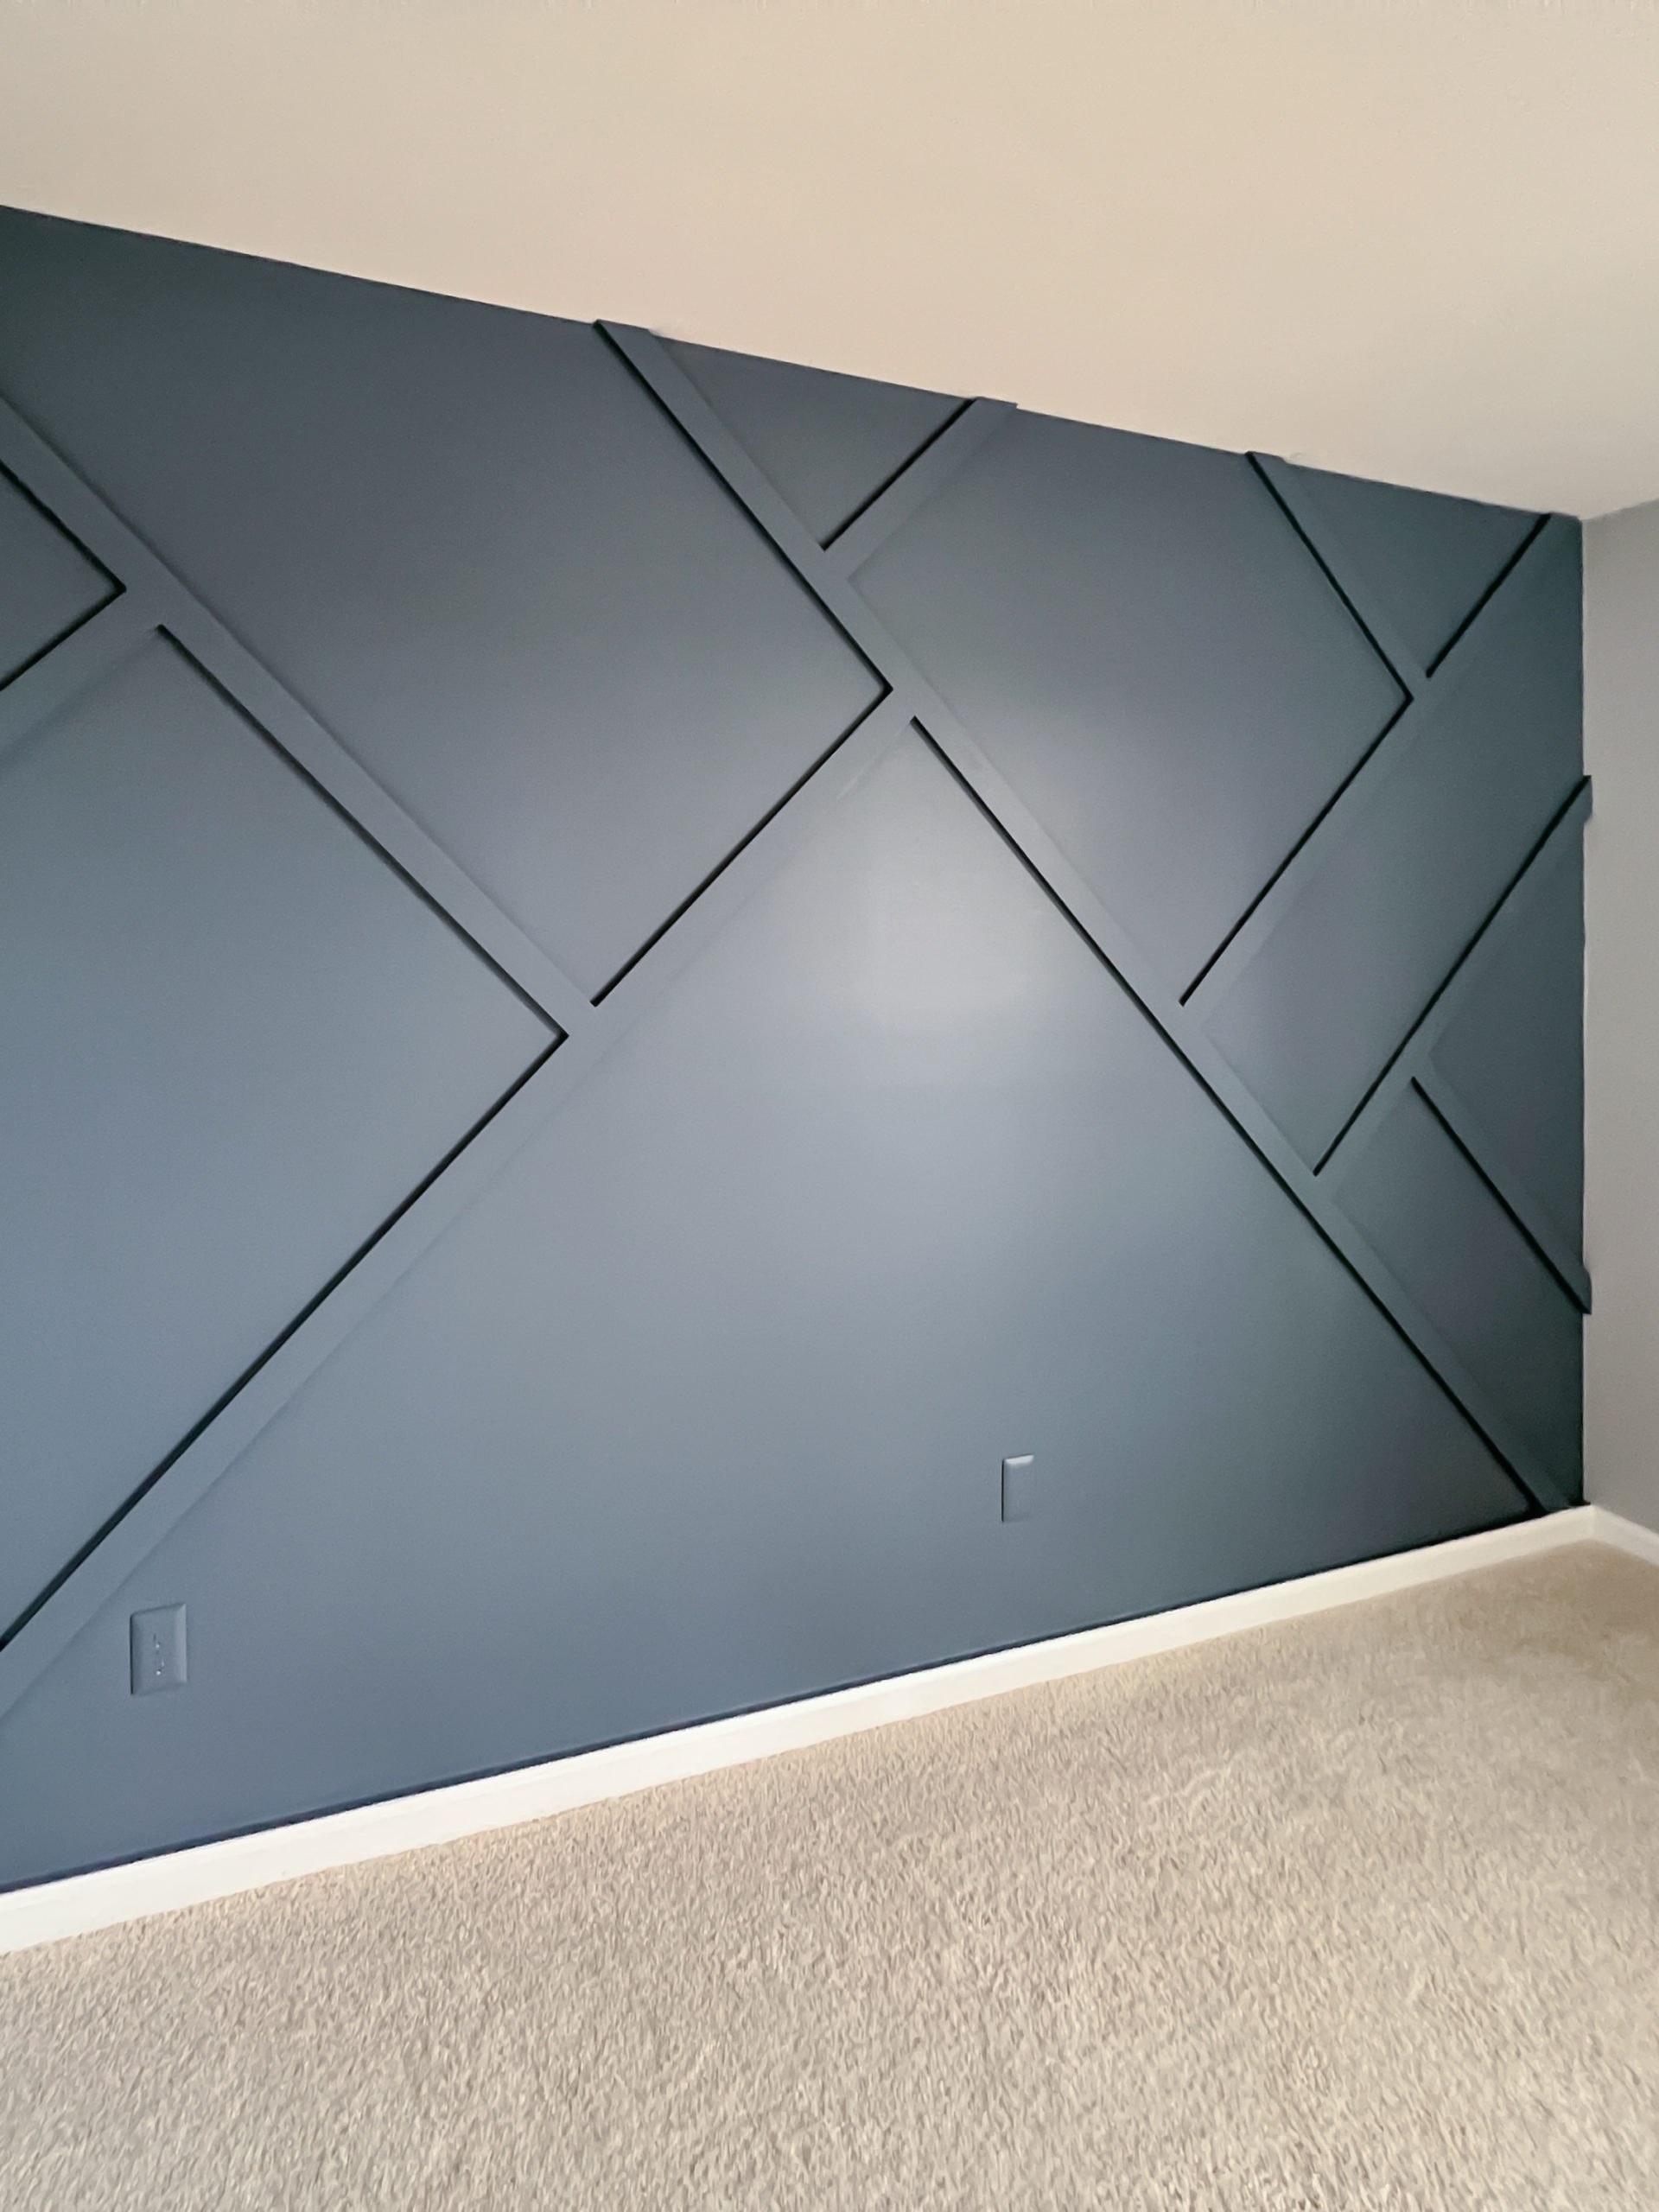
Brooke ended up choosing the last, angled accent wall design because it was modern and the geometric pattern was the perfect amount of playful for a boy’s nursery!
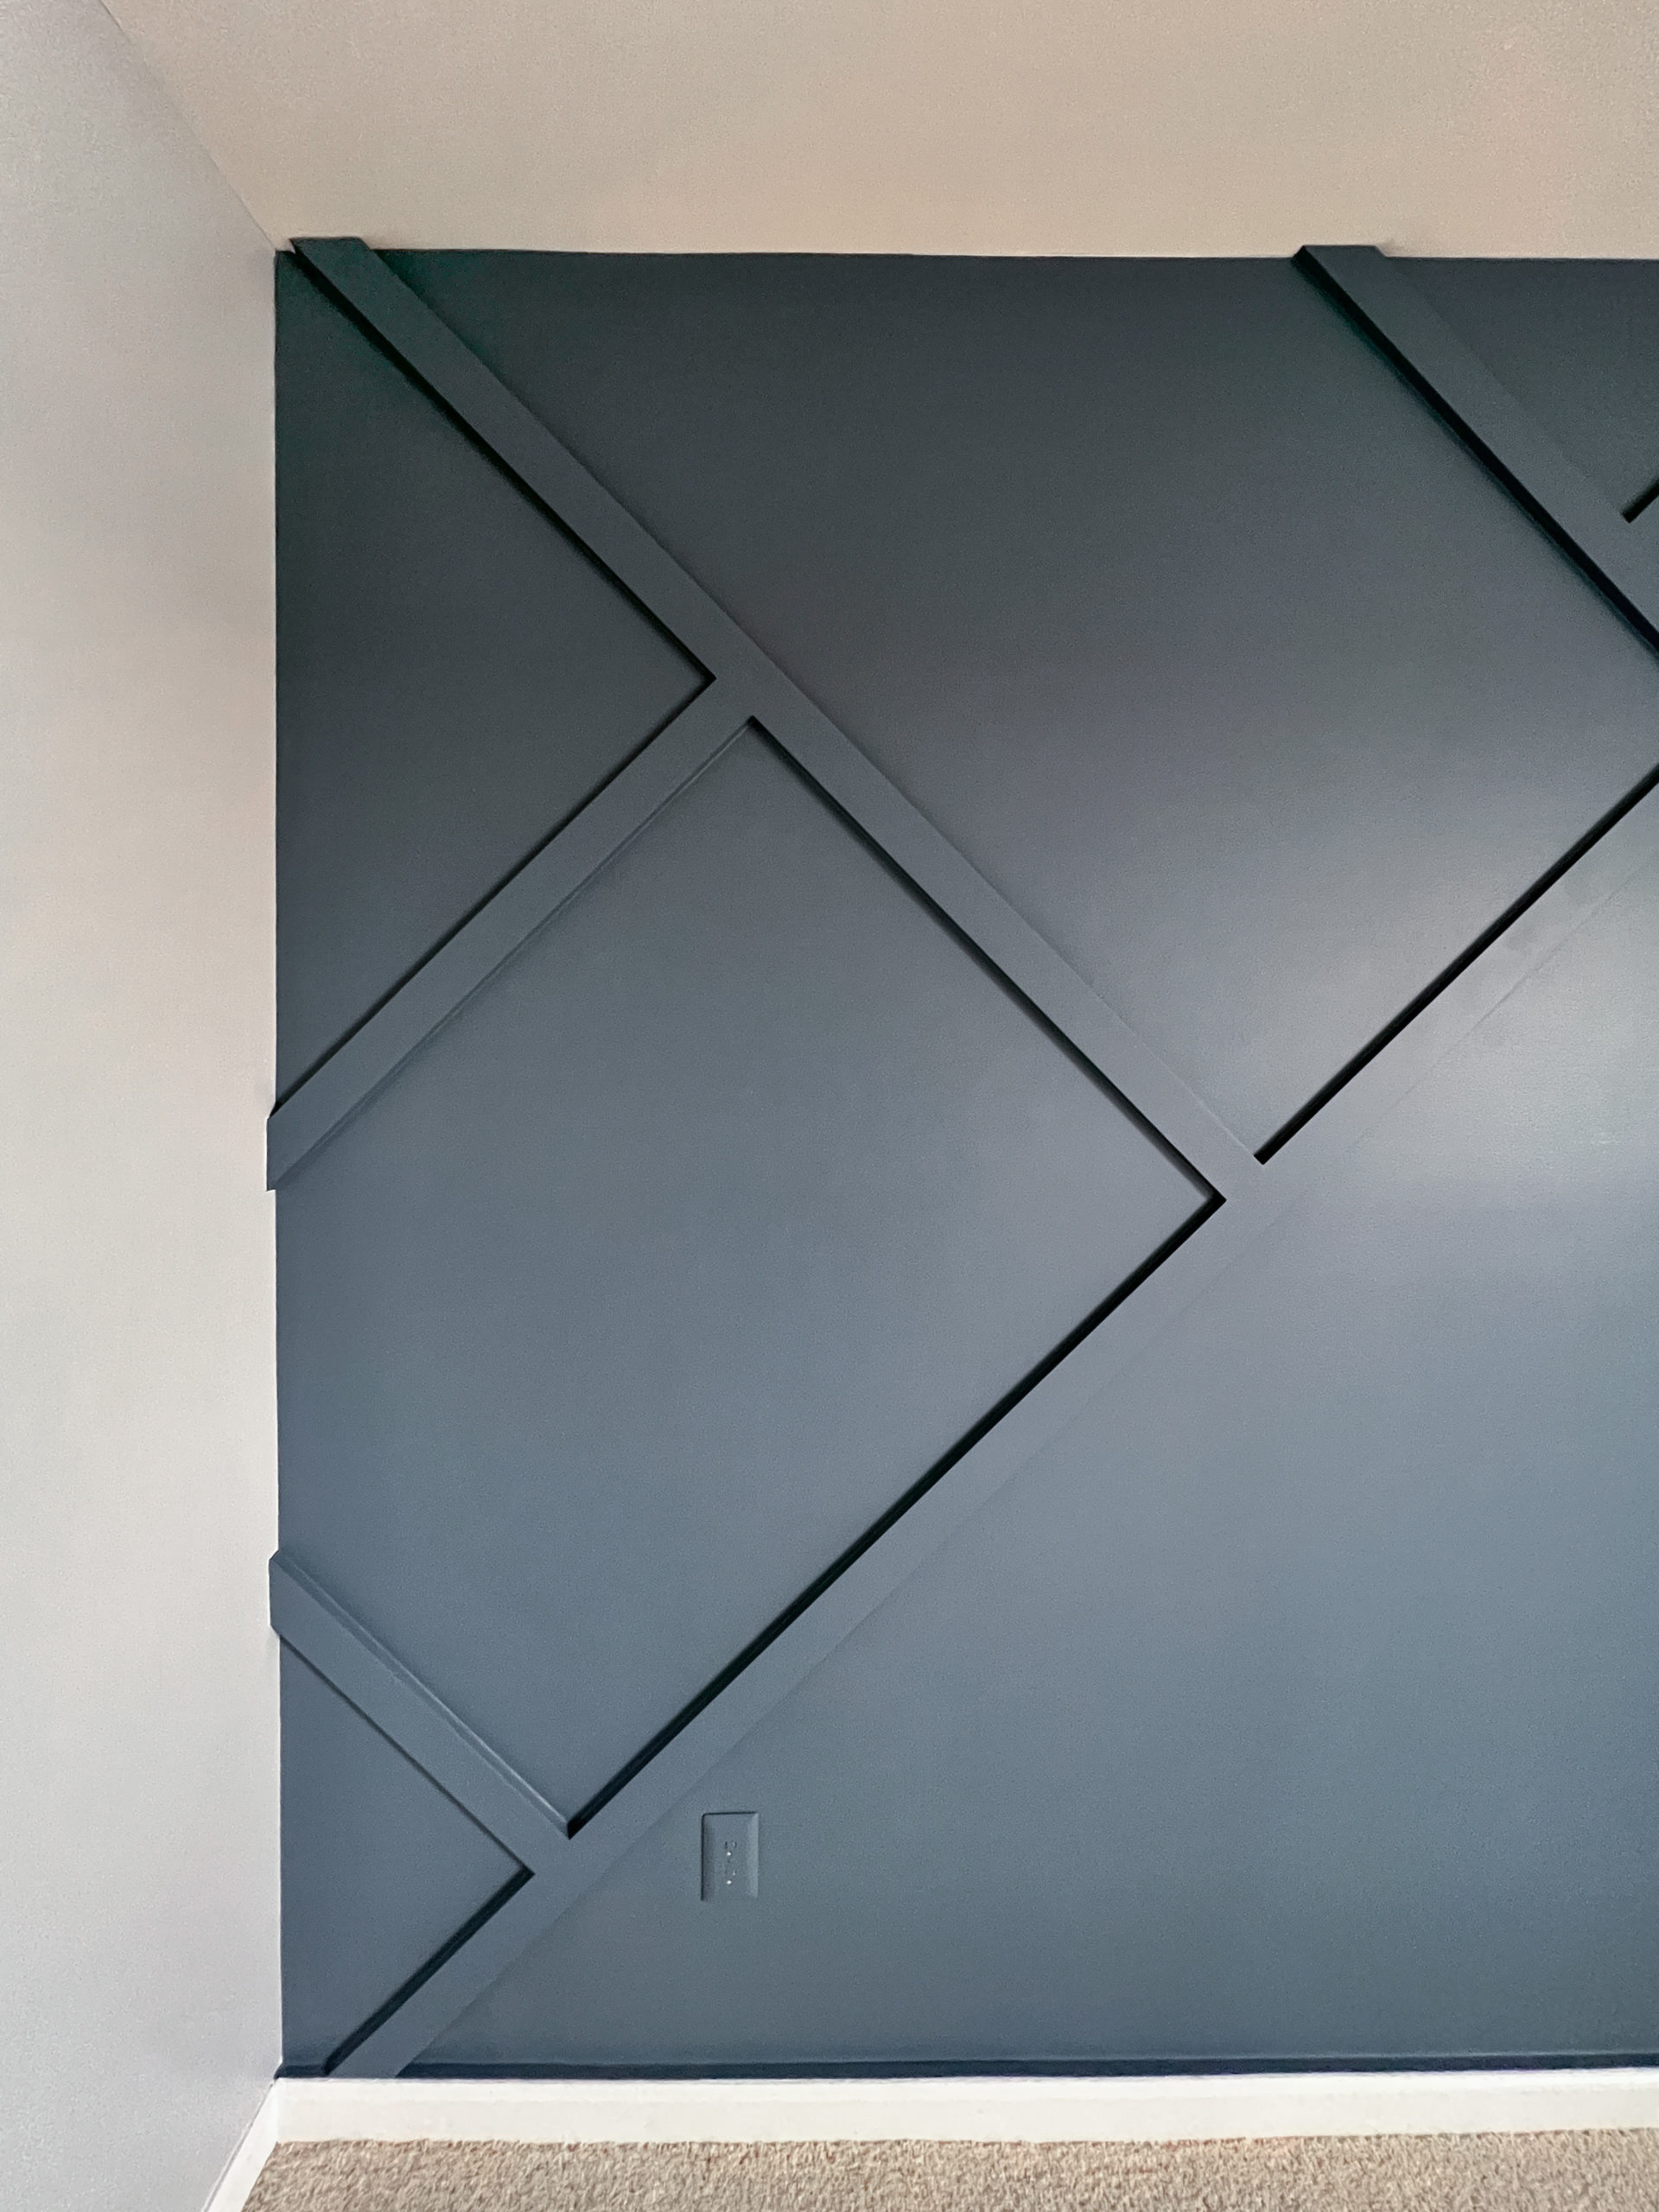

How to Build a Modern Angled Accent Wall
(This post contains affiliate links which means I receive a small compensation at no cost to you. As an Amazon Associate I earn from qualifying purchases. You can read more about it here. Thank you for supporting my blog!)
MATERIALS:
TOOLS:
Step 1: Design your Accent Wall
To plan out the design for your accent wall, you’ll first, measure the length and height of the wall to establish the main dimensions. Once you have those dimensions, go to SketchUp (free!) and create a “wall” in those dimensions. You may have a look of the accent already decided in your head, or you may not know where to even start. If you’re the latter, read about how to find your look in my Mood Board/Inspo Tutorial. Once you’ve decided on your design, play around in SketchUp, using lines in the dimension of your trim boards (I used 1×3″ boards) to create a mock-up with accurate scale.
Once you have your design in SketchUp, it’s super easy to get the measurements of each board to calculate the amount of wood you’ll need. Brooke’s wall was 149.5″ wide and 8′ tall. Here is the design and measurements I mocked up:

STEP 2: Remove Baseboards optional
This step is optional but I strongly suggest that you do it, especially if the accent trim you’re using is wider than the top of your baseboards. (And it probably is because baseboards usually taper in at the top). Removing your baseboards before installing the accent trim is going to make your design look way more professional and clean. I use this Trim Puller tool to take the baseboards off cleanly, without damaging the drywall.
You could opt to remove the baseboards and just create the accent wall without reinstalling them- but that’s another way to make your work look like a DIY. To make your accent wall look like it was done by a pro, remove the baseboards and add a trim board at the bottom, where your baseboard used to be. Then, add your baseboard in front of that, to keep the baseboards in the room cohesive. You can opt to paint the baseboards the same color as your accent wall, or keep them the original color. At Brooke’s house, we kept the baseboard white.


For this design, you want the second trim board to start right above the old baseboard line, so that when you add your baseboard back over it, you will have a small reveal to caulk and seamlessly integrate the two without a seam.

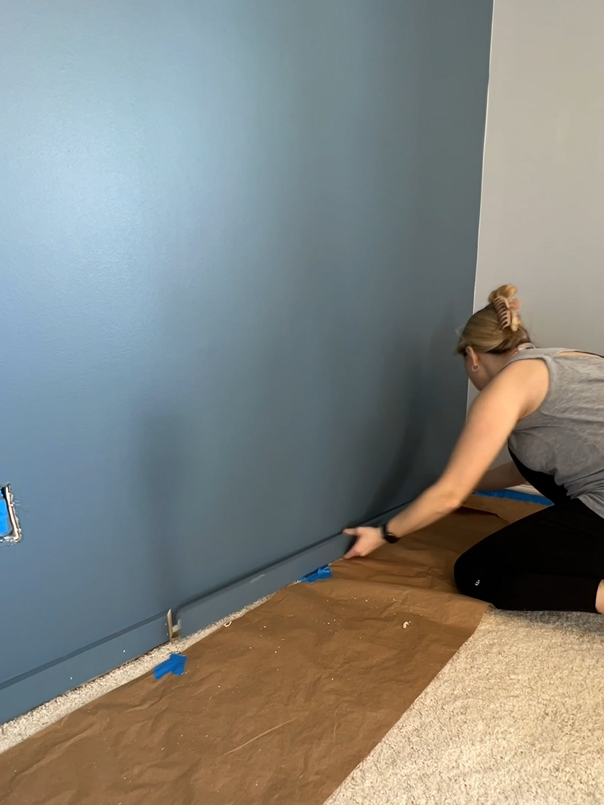
It should be noted that if you do remove the baseboard, you will need to cut into the adjacent baseboards before you reinstall. The new trim + baseboard will be wider than the previous baseboard only, so you’ll have to account for that in the side baseboard pieces. Sneak peek:

STEP 3: Paint the Wall
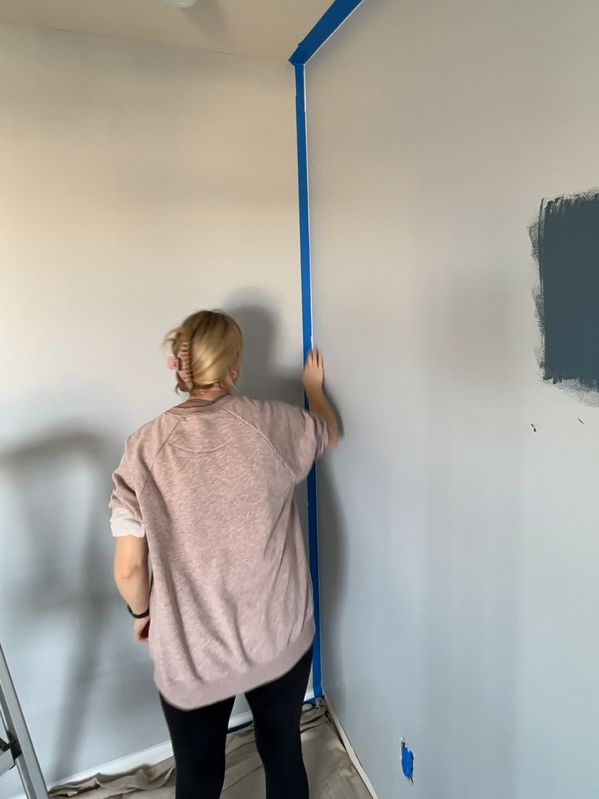
Start by painting the wall in a satin or eggshell paint finish which will minimize roller or brush marks. Painting the wall first makes it easier to get good coverage and then you can touch up the paint on the trim pieces at the end . It takes a substantially longer time to paint around trim than it does to paint a bare wall.
I shared two tips for how to paint a wall correctly- like a pro, on my Instagram:
- First, to get really crisp lines, tape your wall like normal, then run a thin bead of caulk along the tape to seal the edge before painting. Here’s the video on Instagram with the exact process.
- The second tip is how to roll a dark accent wall so that you don’t end up seeing any roller marks in your dry wall. Dark paints are especially susceptible to showing roller marks, but this is good practice for painting any wall/any color. Here’s the detailed video.



STEP 4: Paint your Trim Boards
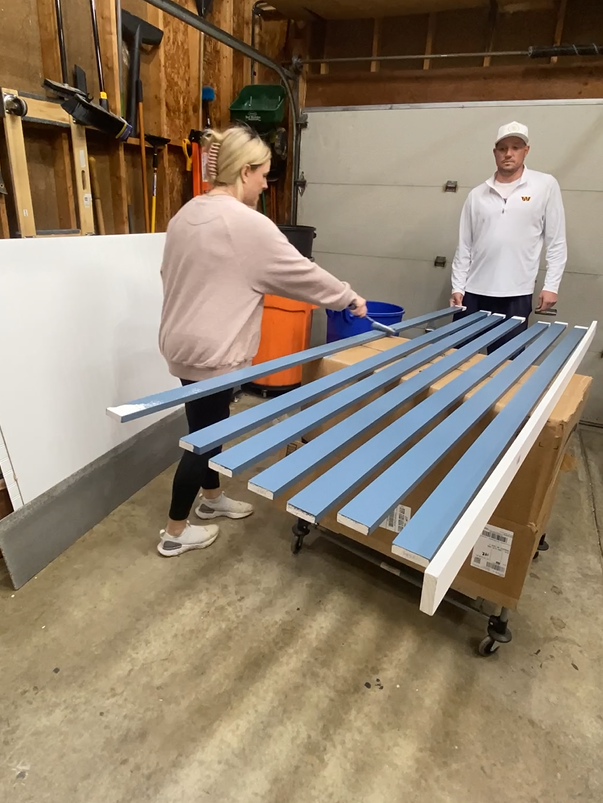
Similar to it being easier to paint the wall before installing your trim pieces, it’s also way easy to paint your trim before installing it as well. Especially with some of the tight angles of the trim against the wall, you’ll want to pre-paint those boards first. First, sand your primed boards quickly with 220-grit sandpaper then vacuum and use a tack cloth to remove the fine dust.
It took me about 30 minutes to paint my trim boards. I used a small 4″ Roller Cover in 3/8″ nap (4″ roller frame).

STEP 5: Install Trim Boards
You might think that you need to glue the trim boards to the wall or nail them into the studs, but since these boards are just for looks and not structural, it’s not necessary. Construction glue can damage your drywall if you ever wanted to remove the trim and I find that shooting the nails in at opposing angles keeps the boards really secure when you aren’t able to nail into a stud. That being said, since we’re installing these boards at angles, you will be able to hit a stud on most of the boards. Find the center of your design then use a stud finder to mark your studs.


Start your design with the longest board that will hit the center of the room. Cut your board at a 45 degrees for the edge along the ceiling. For long spans of board that are longer than the pieces you bought, connect by cutting them at opposing 45 degree bevels, then attach them to the wall with the joint as tight as possible. In the next step, you’ll wood fill and sand this joint to make it look seamless. Look how it already disappears after nailing it in:


For the second board, you want to make sure you’re joining the two boards at an exact 90 degree angle so that the center triangle is even to build the rest of your design off of. I used this Kapro Ledge-it Square to confirm my connections were good.


Install the Rest of the Boards
Once the first two board are in, the rest are much easier. Each connection to the middle board is just a normal 90 degree cut, and the side against the wall is 45 degrees. You don’t even need to be that exact when making your cuts because you can just slide the boards until they are tight against both the wall and the middle board. Just make sure to use your square to confirm you’re joining the boards at an exact 90 degree angle so the design looks even.


Use Shims for Uneven Boards
A goal of your accent wall should be to hide your seams so that observers can’t actually tell where one board starts and another one ends. In some cases, two pieces of trim don’t match up exactly, even if your cuts are exact. In this case, you can use a shim to bring up the lower piece to match the higher piece.
If the difference is 1/8″ or more, you can use wood shims but for this trim, the difference is usually much smaller- less than 1/8″. You can use a playing card, or a business card as a shim to help bring the pieces flush. Just place the card under the lower piece, add a second card if the pieces still aren’t flush. Then nail the trim with the shim still underneath and cut the excess card with a box cutter.
Check out my blog on How to Install Picture Frame Molding for photos on how to shim uneven boards (Step 5!)
STEP 6: Wood Fill & Sand
Use wood filler to fill all your nail holes and the edge of your pieces where the boards meets. Sometime you need to do 2 coats of wood filler, the first coat is thicker to fill in the hole. Wipe that coat with a baby wipe then apply a second, much thinner coat. Once the second coat is dry, hand sand with a sanding sponge or you can use an Electric Sander and hook it up to a mini Shop Vac to get a smooth and flush finish. This step will get dusty so make sure to vacuum the wall with a brush attachment then use a tack cloth to wipe down all the trim and the wall in between. The tack cloth will pick up any little pieces of dust that the vacuum didn’t get.


STEP 7: Caulk Edges
Use paintable caulk to seal all the edges of your trim including the edges against the baseboard and the side walls. I like this DAP version that has 600% stretch so that your trim edges are less likely to crack over time. Make sure to let your caulk fully cure before moving onto the next step. Painting caulk before it’s fully cured will result in an immediate crack of the paint and caulk and you’ll have to redo it all. Ask me how I know.


STEP 8: Paint Trim
Once the caulk is fully cured (overnight) paint along the edges of the boards with a 2″ Angled Paintbrush. Then roll all the trim boards with a 4″ roller (4″ frame, 4″ cover -3/8″ nap). Make sure to tape off the area where the boards touch the adjacent walls or ceiling. You can repeat the caulk trick if needed, or if you don’t have any touch up along the edges, just be very careful.


STEP 9: Reinstall Baseboard
Once the accent wall trim is all up, you should reinstall your baseboard. It’s actually a pretty straightforward task, but there’s one important thing to keep in mind. When you install an accent wall, the depth of the wall is pushed out, so you’ll need to cut the adjacent baseboards to fit the baseboard. I used my oscillating saw for this part.
Remove any nails or caulk left on the old baseboard then position it against the wall pressing down firmly into the floor. Use a nail gun to secure the baseboard in place, hitting each stud along the way. Finally, fill any nail holes with wood filler, caulk the top and sides of the baseboard and touch up with paint.


STEP 10: Add Outlet Covers
It’s probably likely that you have outlet covers on your accent wall. You could just use the traditional white outlet covers but consider installing paintable outlet covers instead. These covers blend in with the wall and can be painted to match the exact color of your accent wall. It’s a small detail, but it can make a big difference in the overall look of your room. Simply remove your old outlet covers, paint the new ones to match your wall, and reinstall them for a seamless finish.


Accent Wall Before & After:

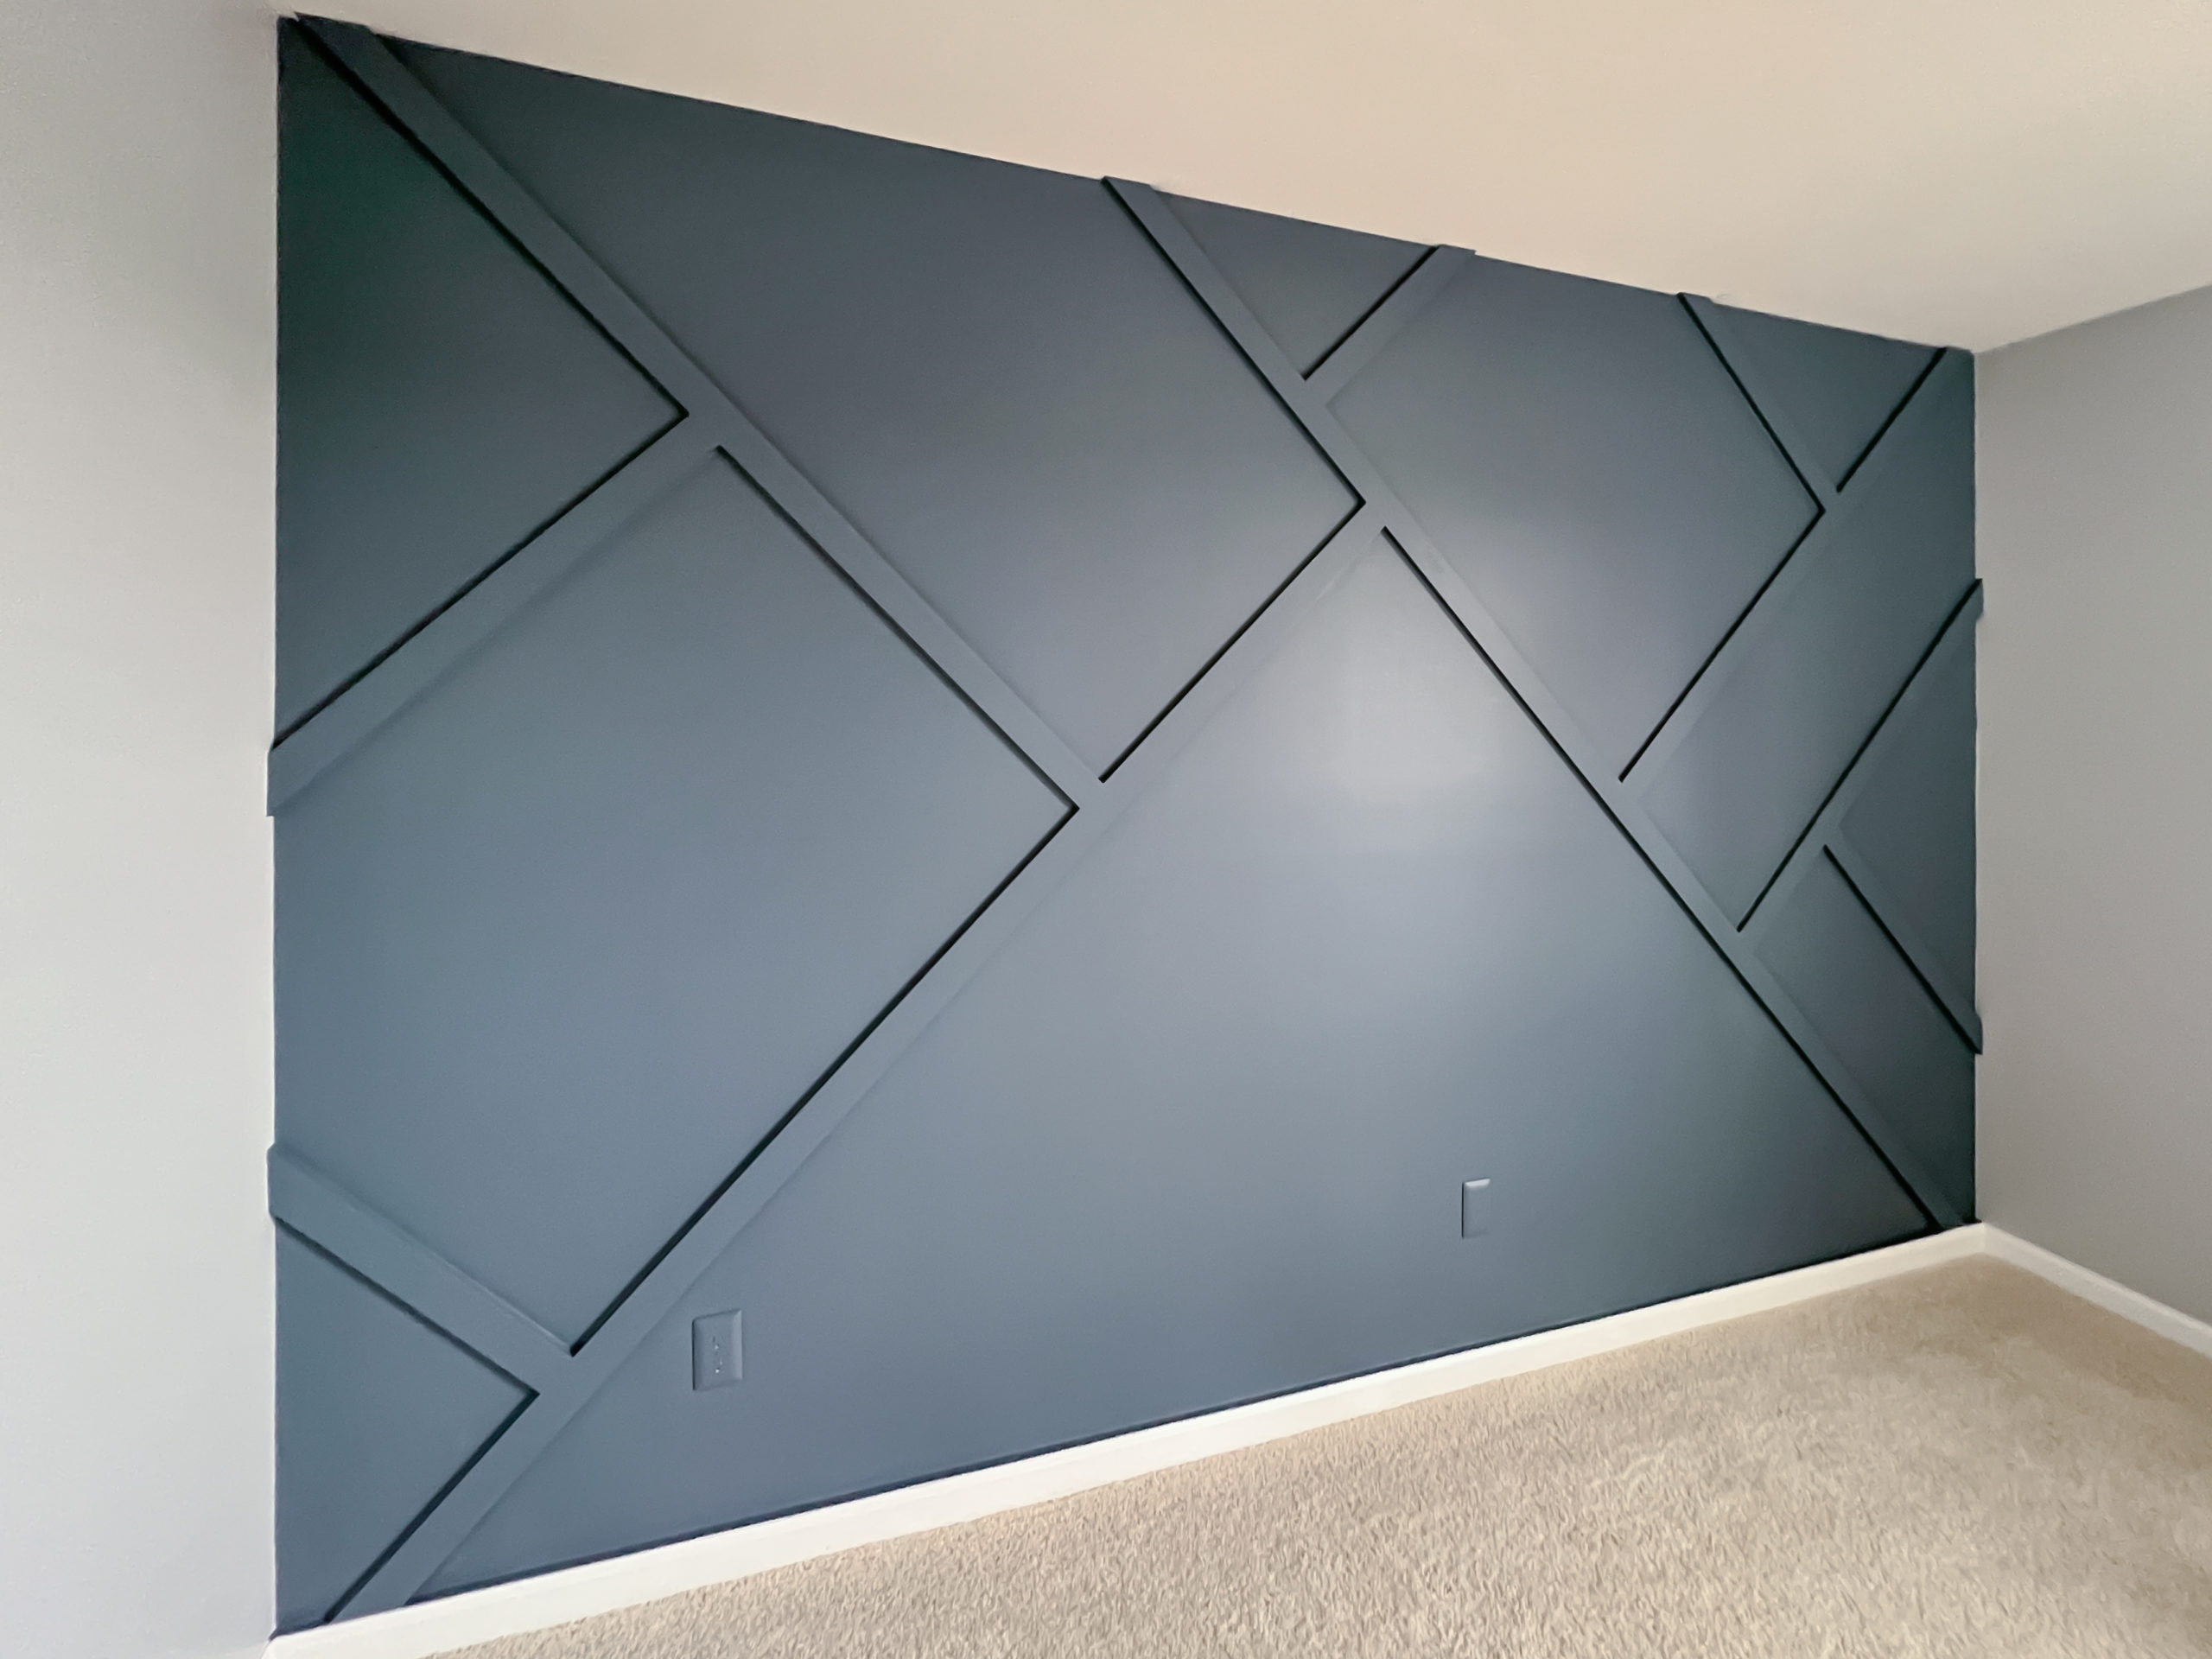
Overall this accent wall project took a weekend with about 12 hours working time. It cost about $300 for the supplies- paint, wood- current lumber prices!, etc. I owned all the tools already so I didn’t have to spend any money there.
Creating an accent wall in your home can add visual interest and create a focal point in any room. The process may seem intimidating, but by following these steps and taking your time will ensure that you achieve a professional-looking accent wall that will transform your space. Don’t be afraid to get creative with color and design choices, and consider adding some personal touches like shelving or artwork to really make your accent wall stand out. With a little bit of planning and effort, you can create a beautiful and unique feature wall that will elevate the design of your home and create a unique and personalized space for your family.

I can’t wait for Brooke’s baby to be here and they can start making memories together in his beautiful room!
If you have any questions about building your own accent wall, leave me a comment below!
Want to keep up with my newest projects? Come hang out on my social media accounts, below!


Wow, what an incredibly detailed and inspiring guide! I thoroughly enjoyed reading about your journey in creating accent walls, and the step-by-step tutorial for the modern angled design is fantastic. Your use of SketchUp for planning and the emphasis on preparation, from painting to installation, makes it feel like a manageable DIY project. The insights into cost, time, and personal touches add a practical and creative touch to the article. Thanks for sharing your expertise and the beautiful transformation of your friend Brooke’s nursery. Can’t wait to see more of your projects in the future!
Great point! Wood trim accent walls really add warmth and character to a room. They can transform a plain wall into a stylish focal point, making the space feel more inviting. Plus, with so many wood finishes and designs to choose from, it’s easy to customize to suit any decor style. Thanks for sharing!
Hi Rachel,
Is this mockup saved and available in the Sketchup 3D Warehouse?