How to Build a Golf Storage Unit
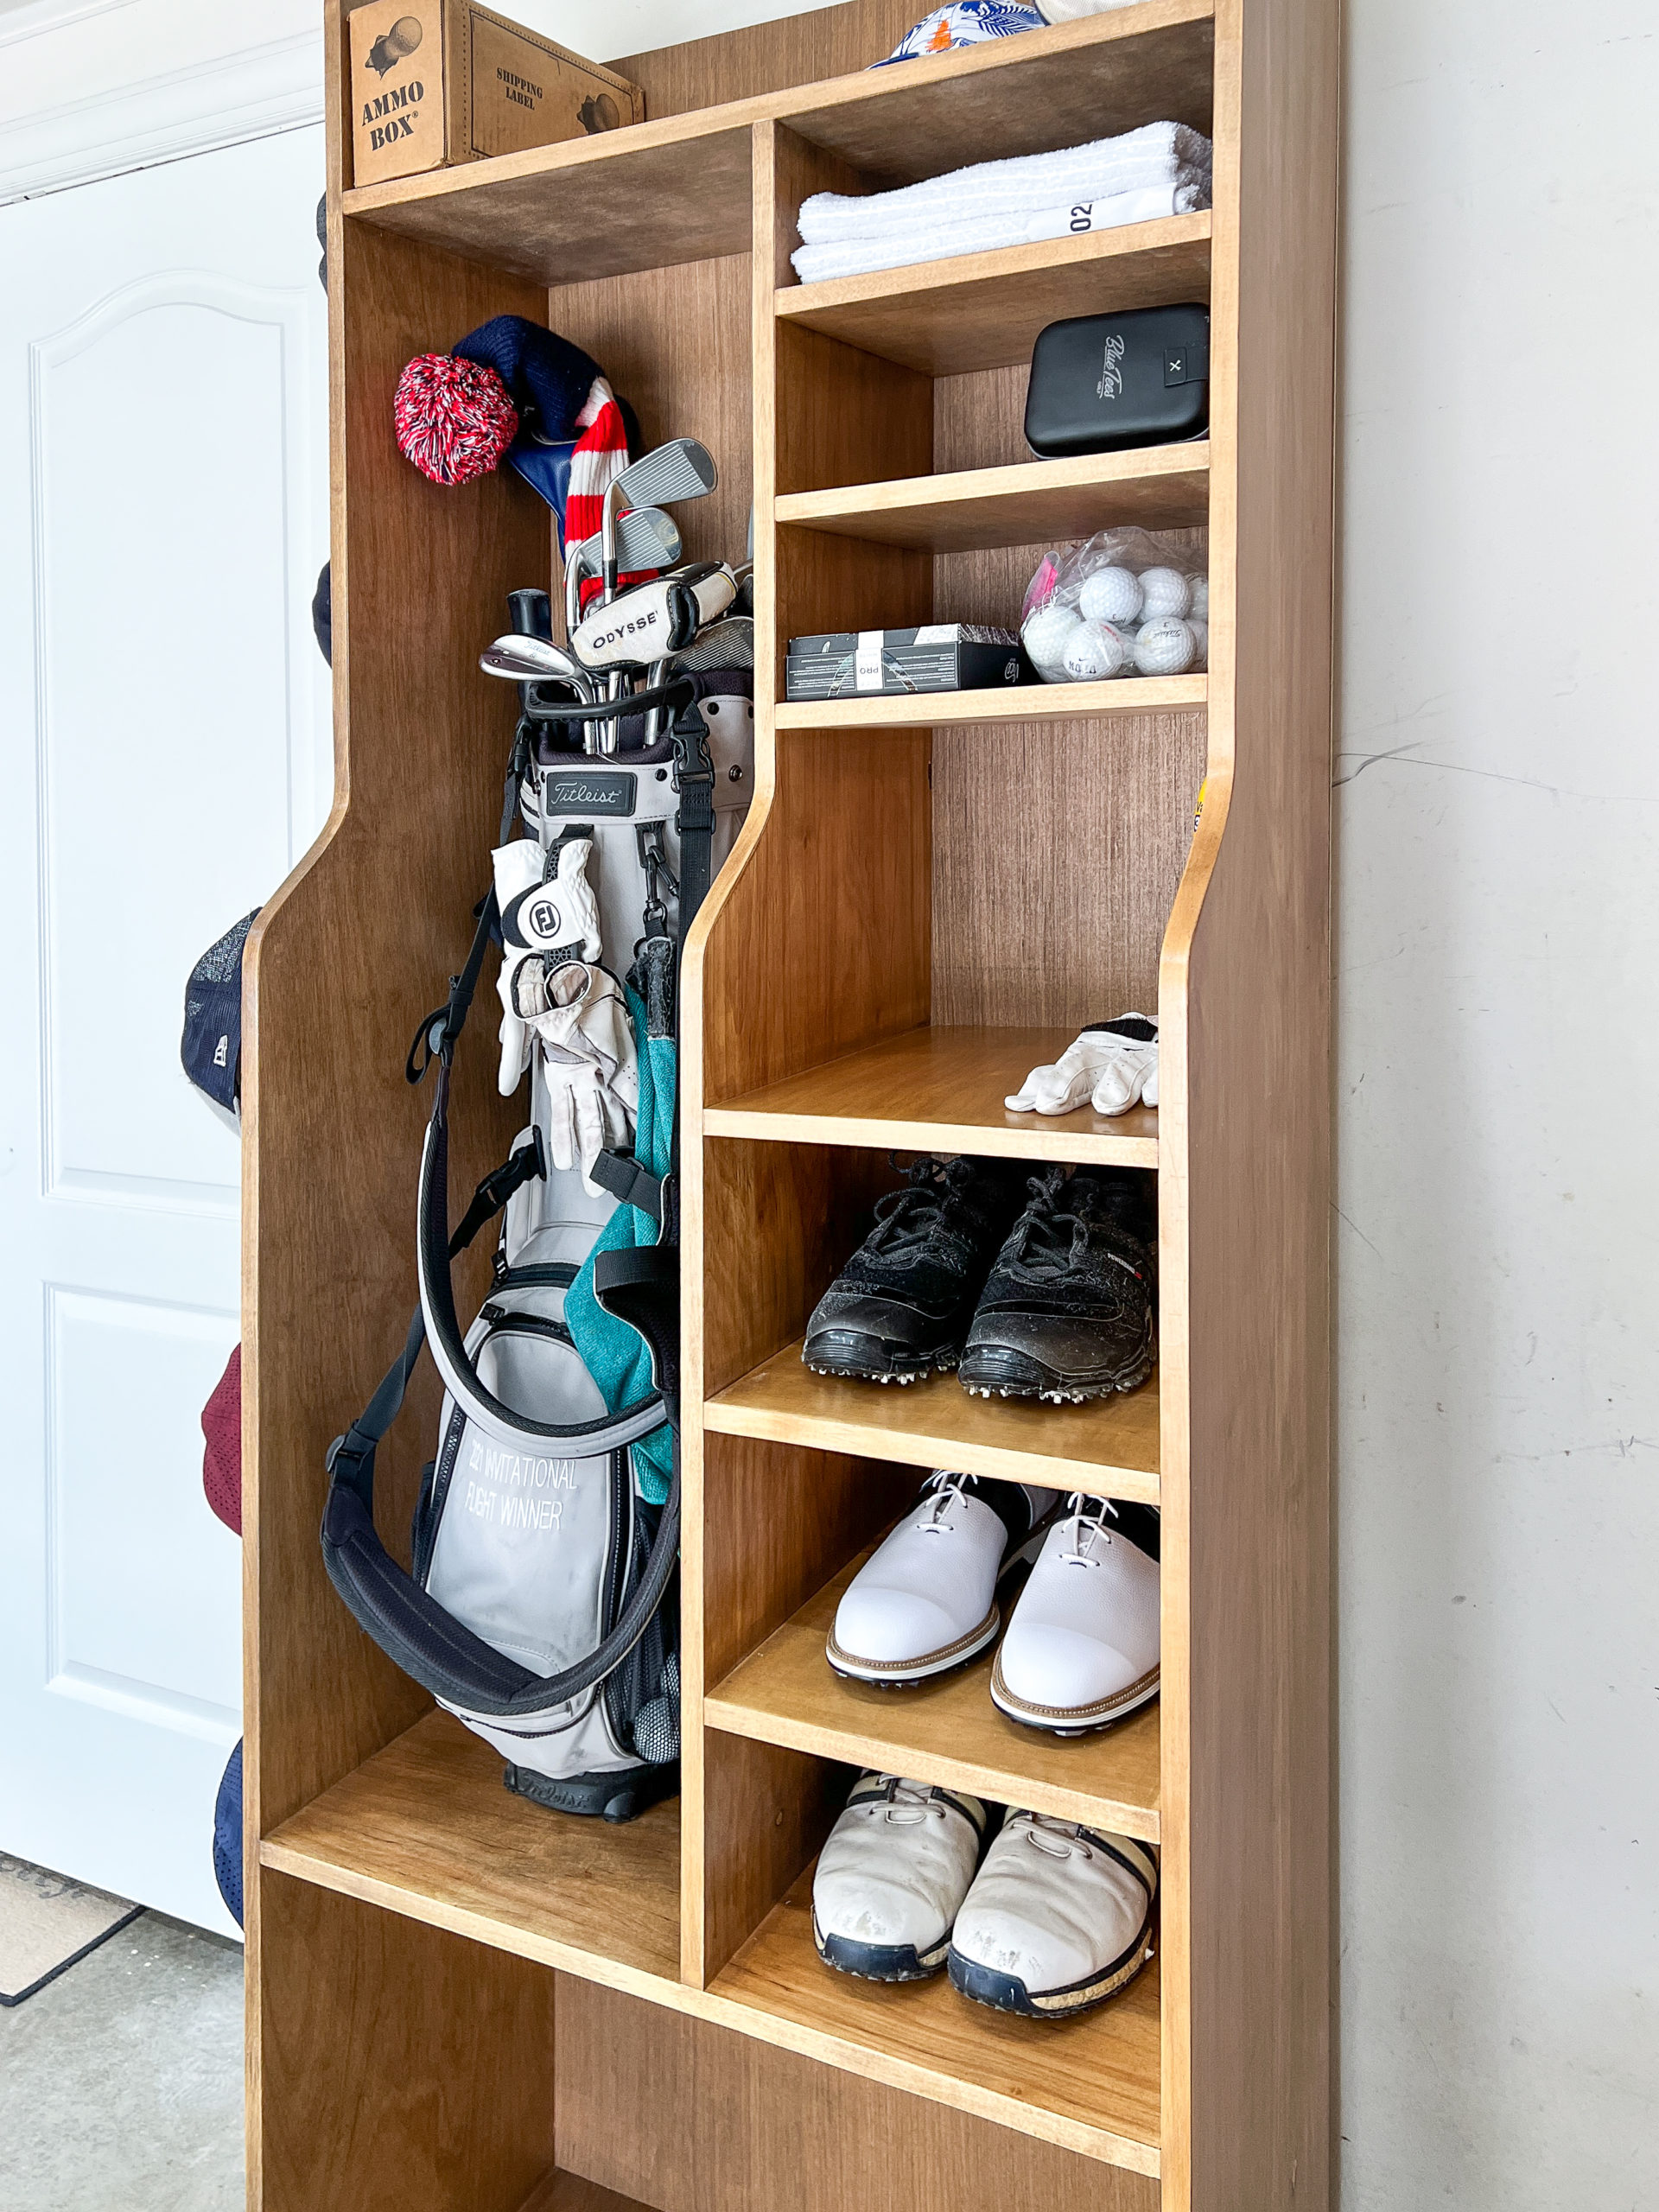
When golf season hits, searching for balls, tees and maybe even a club or two can get frustrating. This golf storage unit is a great way to keep all your equipment together with room for multiple bags and even an adjustable shelf to accommodate those odd size items.
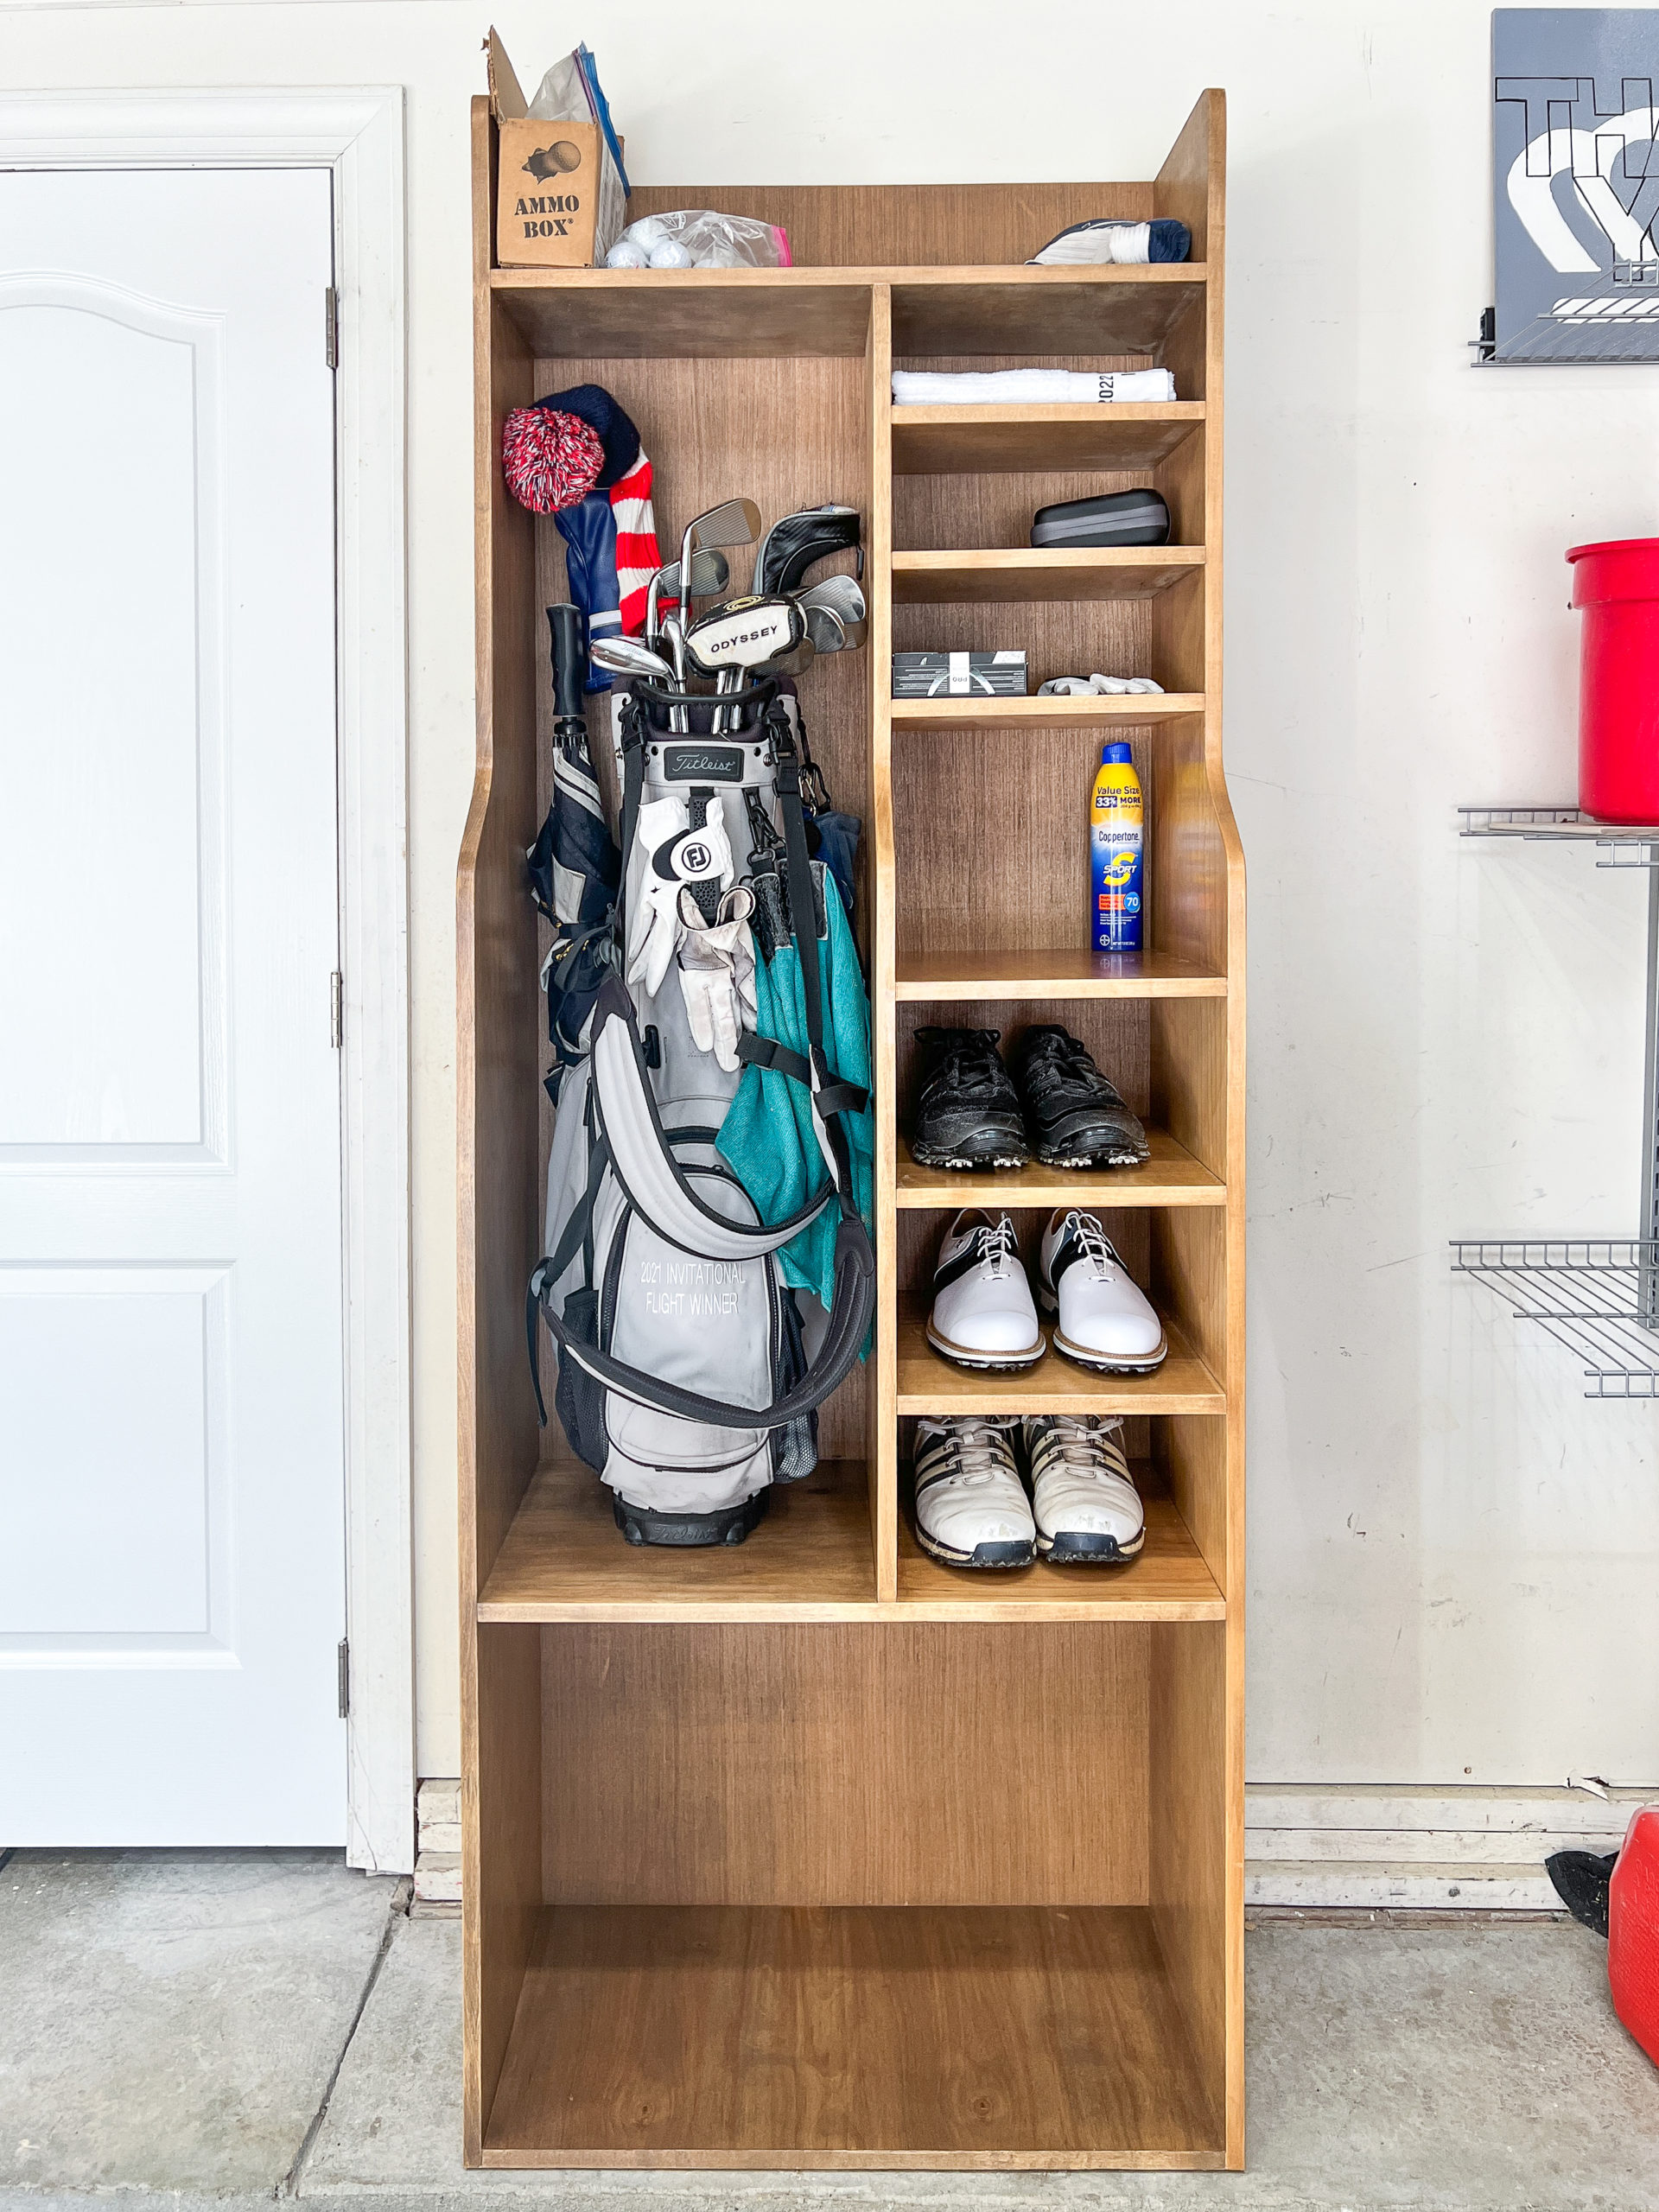
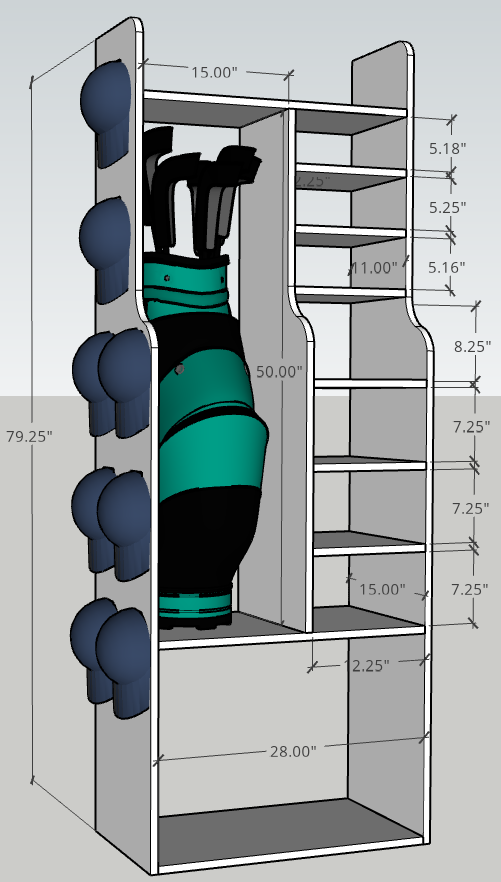
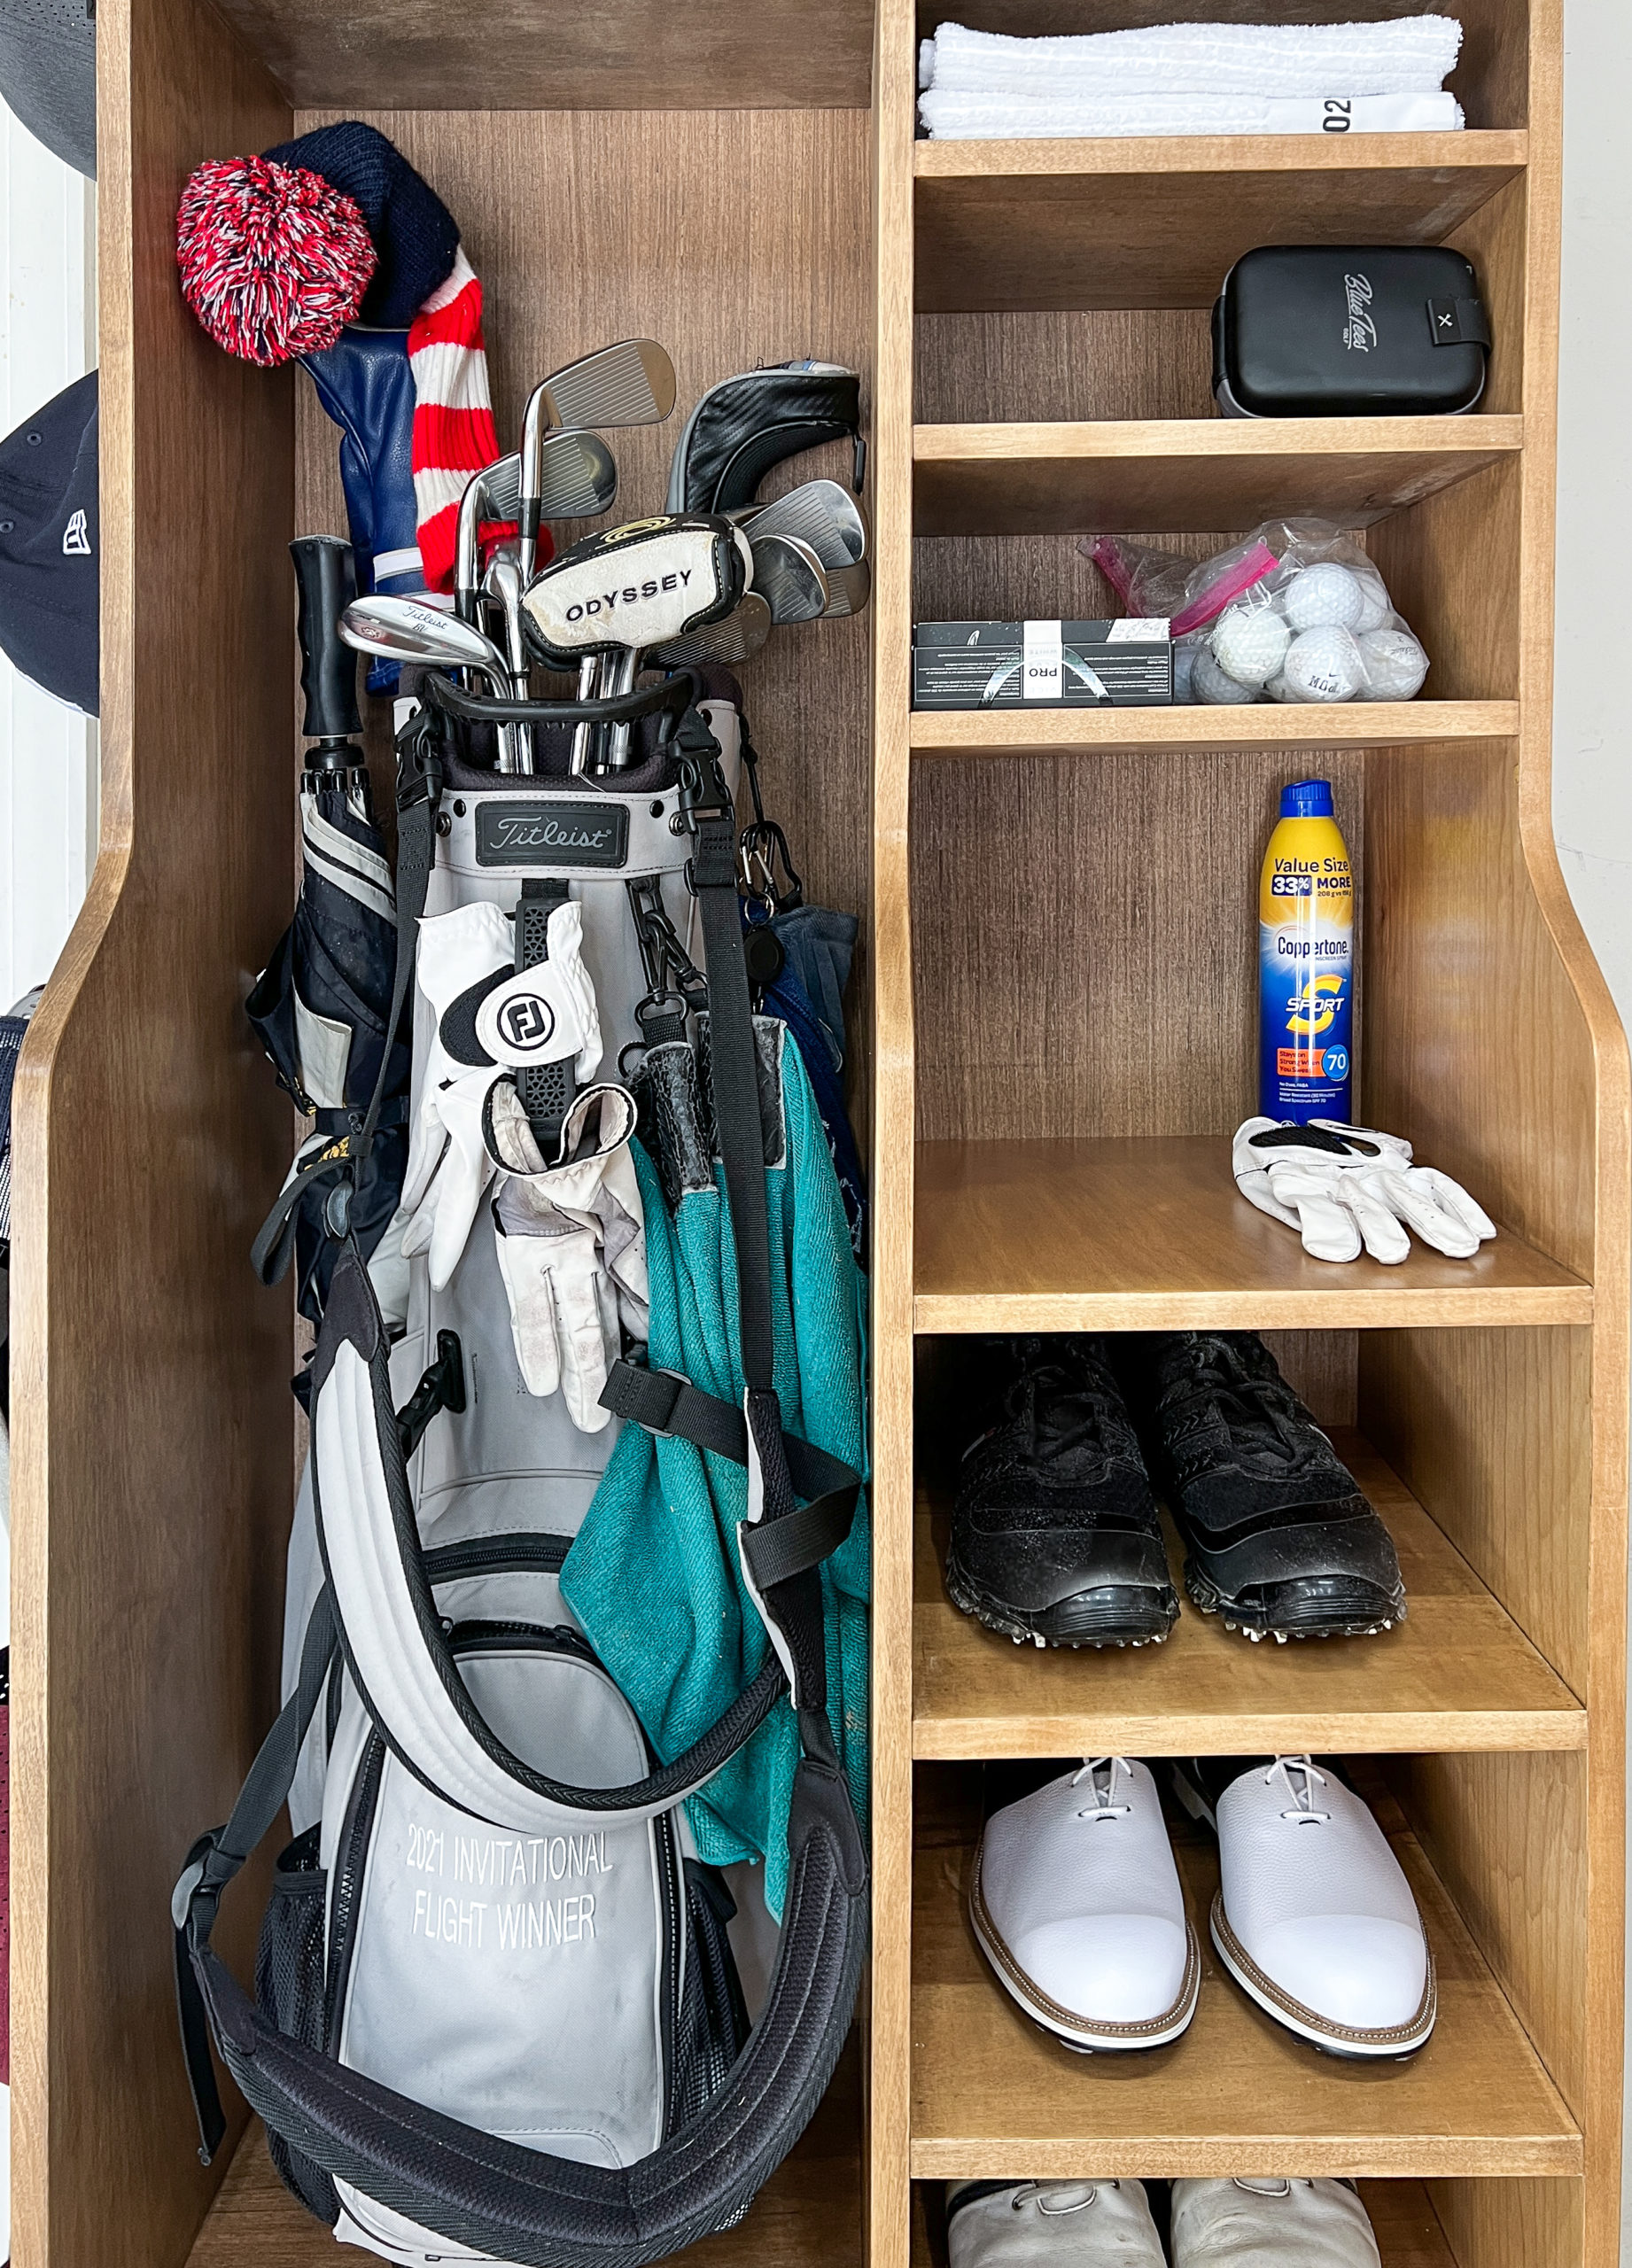
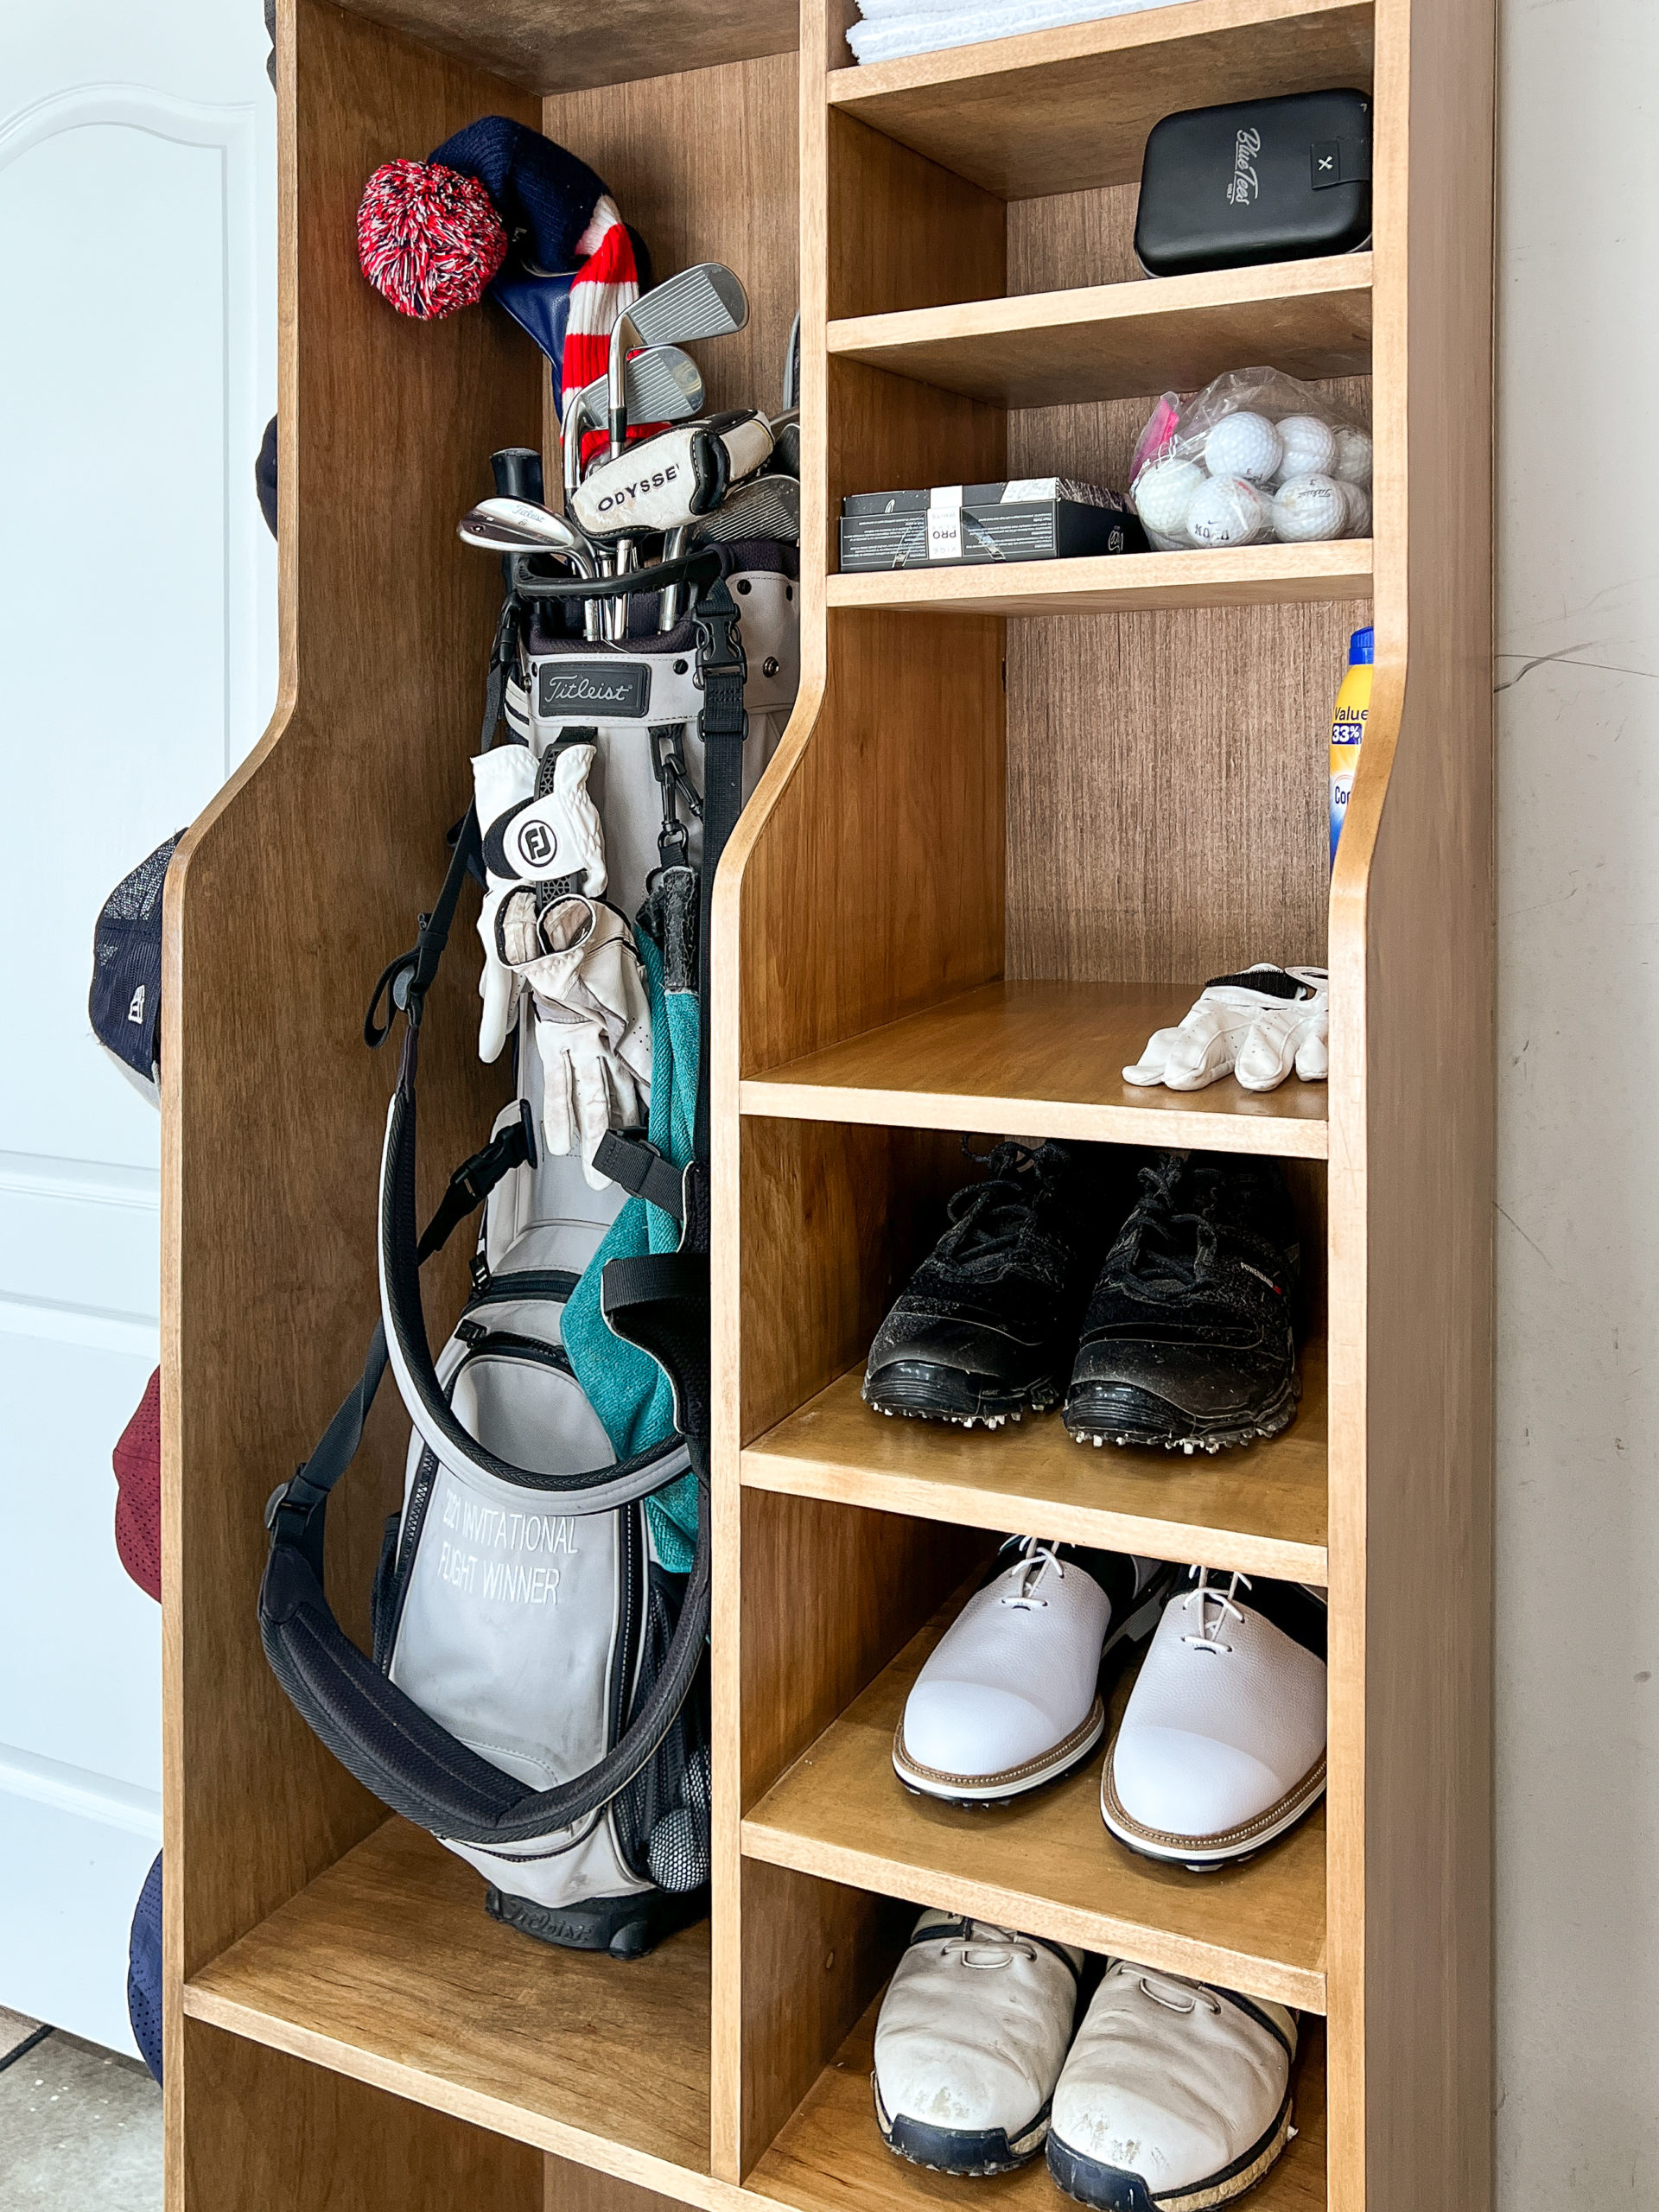
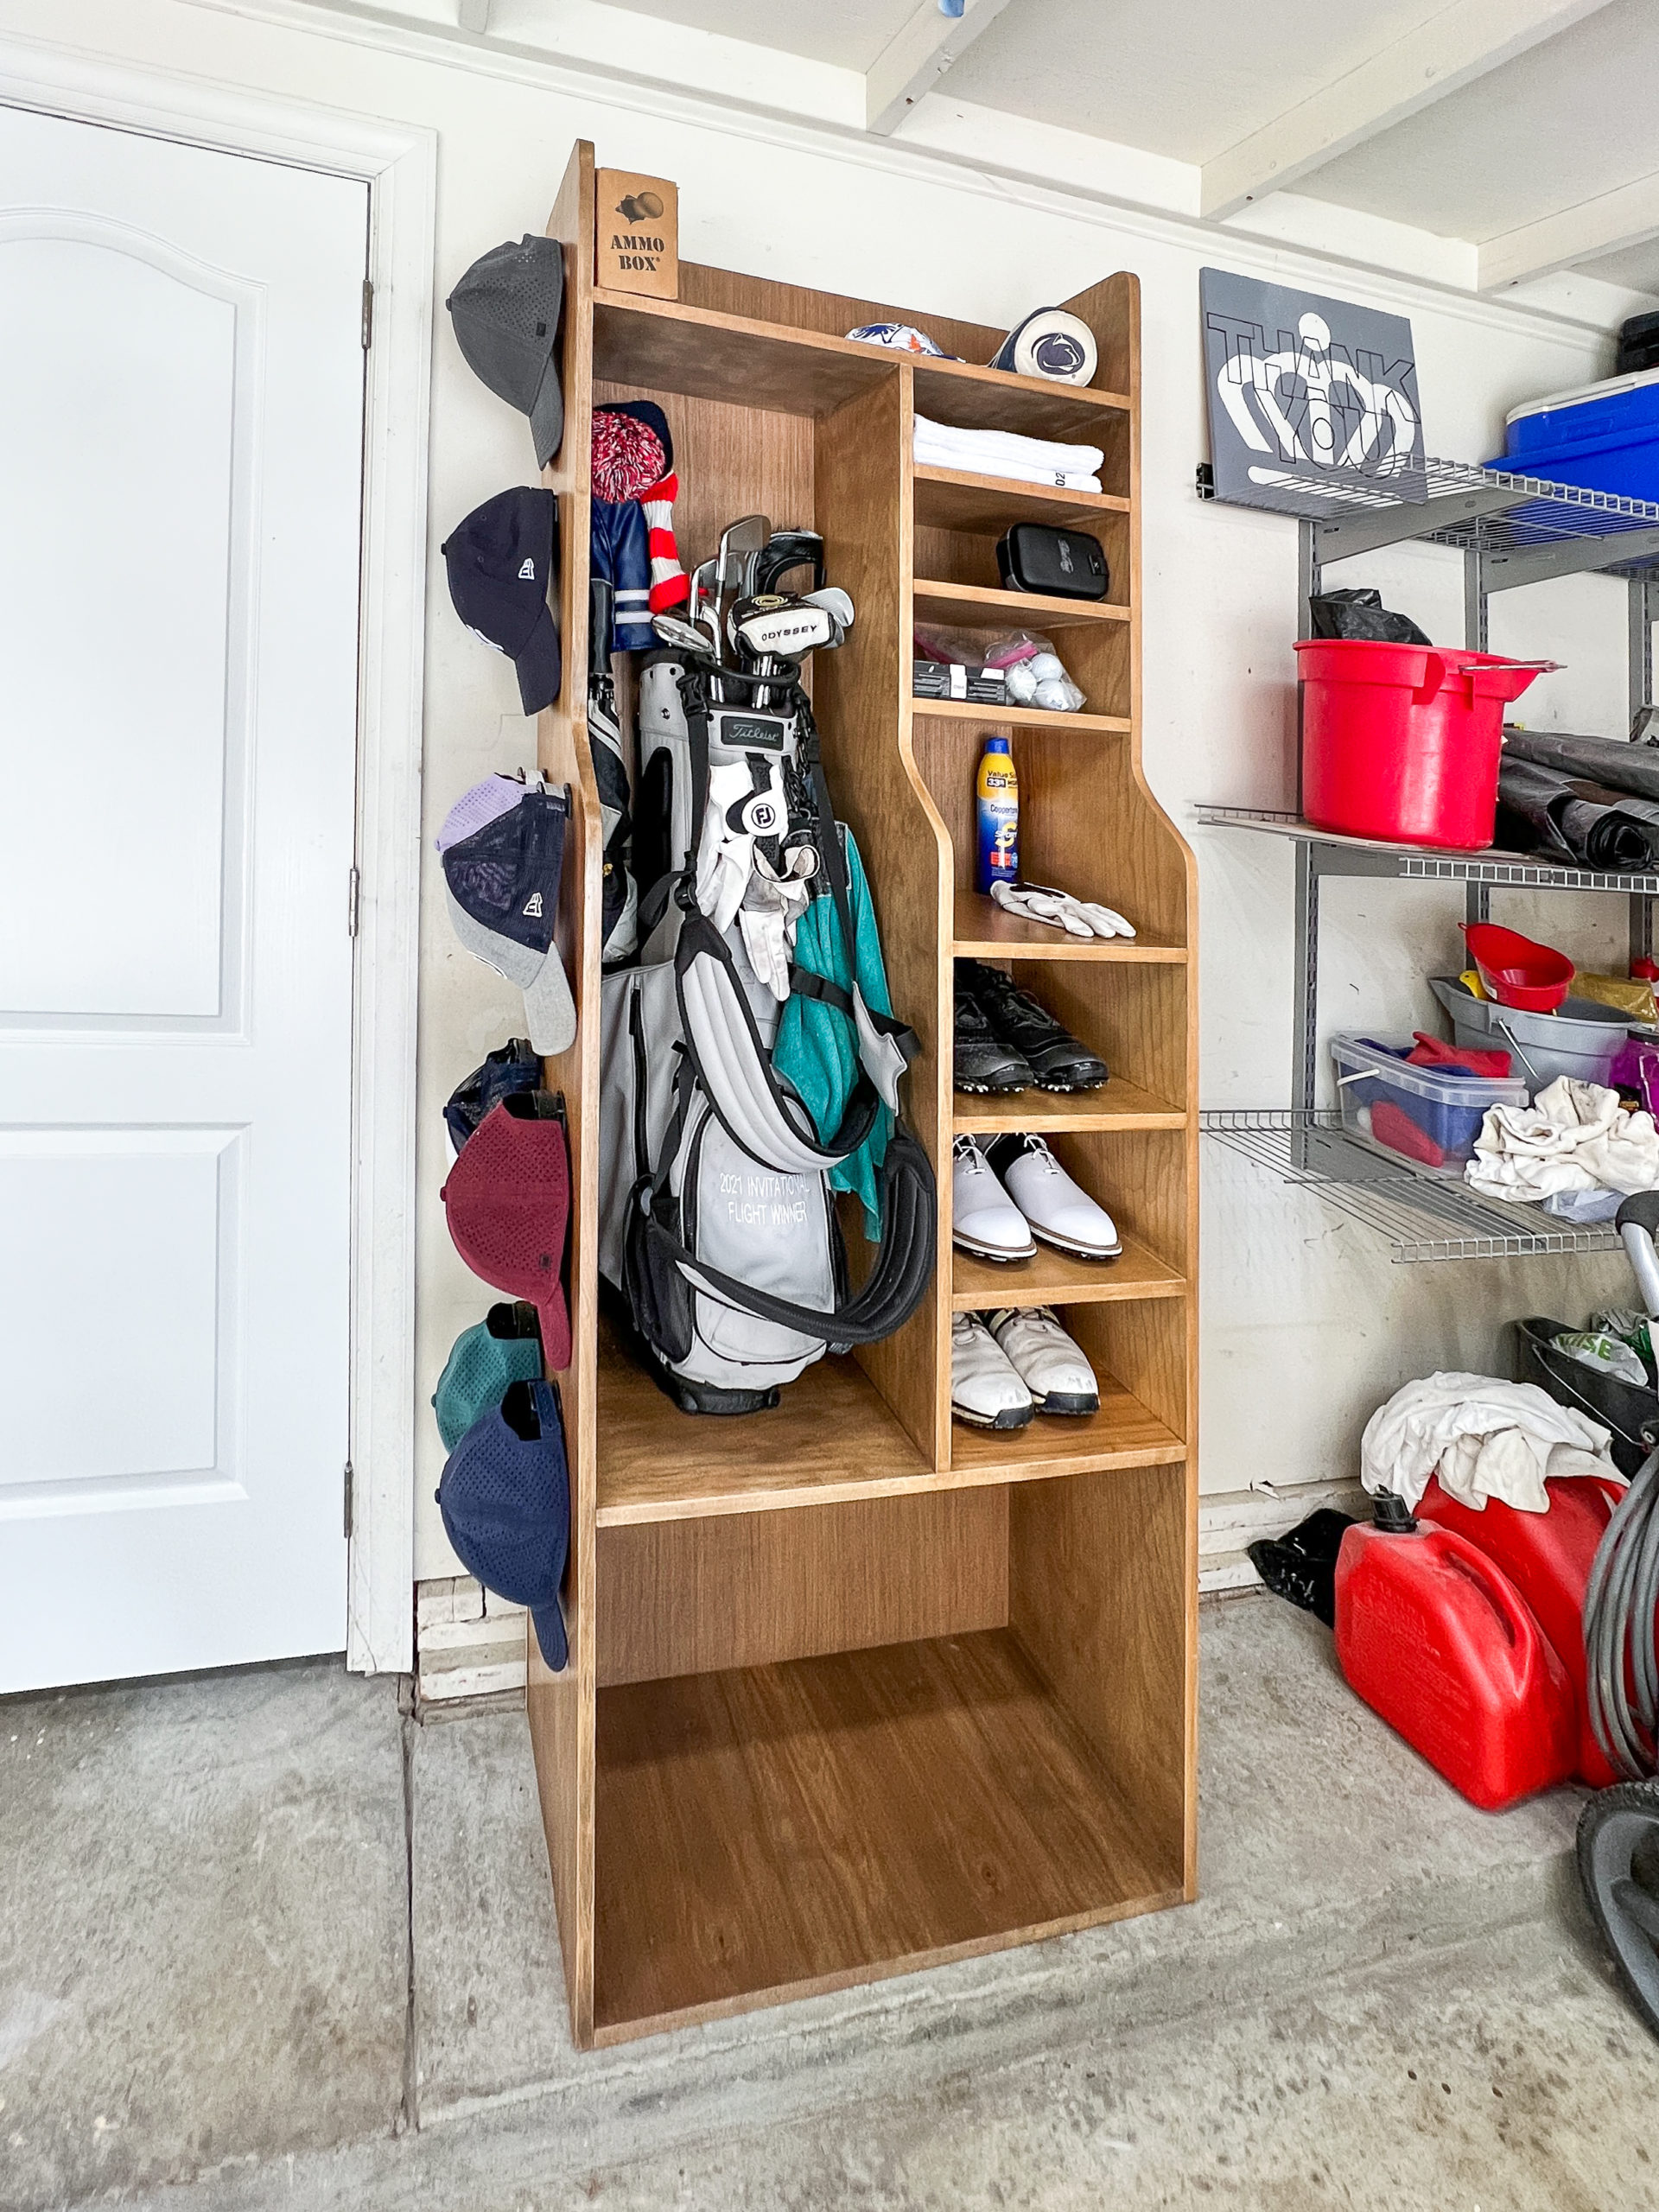
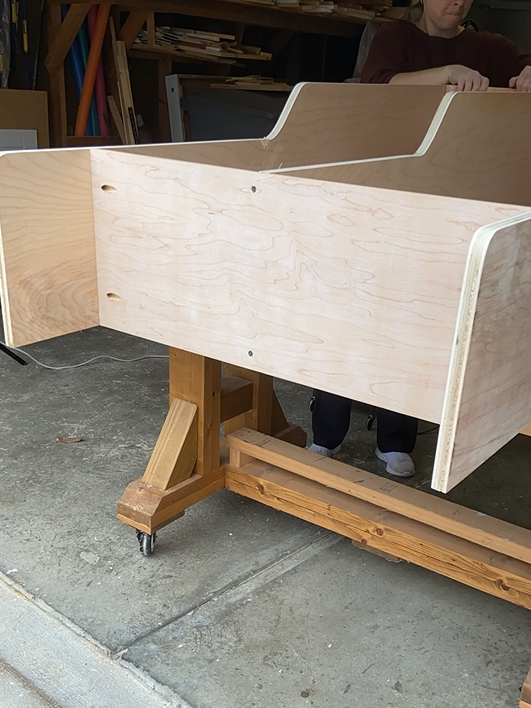
I built this storage unit 79.25″ tall and 28″ wide. I divided the unit into 3 main sections, the bottom shelf is designed to hold a push cart, the left side to hold a golf bag with clubs in it and the right side is shelves for shoes and other miscellaneous golf accessories.
How to Build your own Golf Storage Unit
This post contains affiliate links which means I receive a small compensation at no cost to you. As an Amazon Associate I earn from qualifying purchases. You can read more about it here. Thank you for supporting my blog!
MATERIALS:
3/4″- 4′ x 8′ Sanded Plywood
1/4″- 4′ x 8′ Sanded Panel
1 +1/4″ Wood Screws
18g Brad Nails (1+1/4″)
Early American Stain and Golden Oak Stain (50/50 mix)
TOOLS:
STEP 1: Cut Vertical Pieces
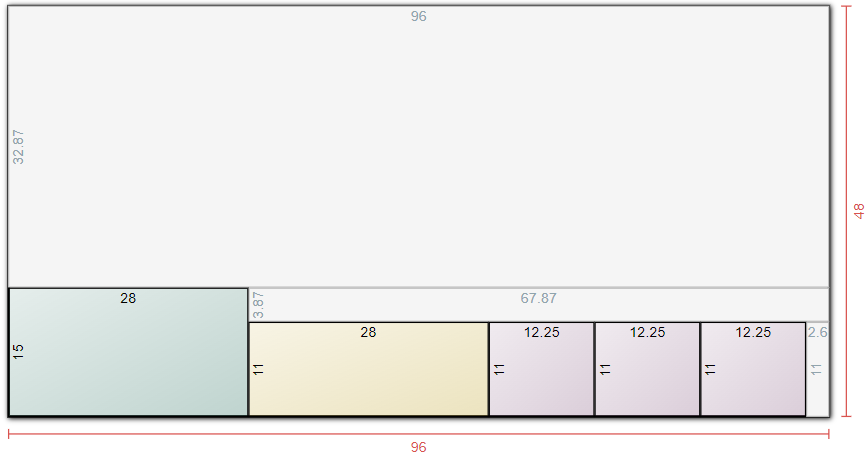
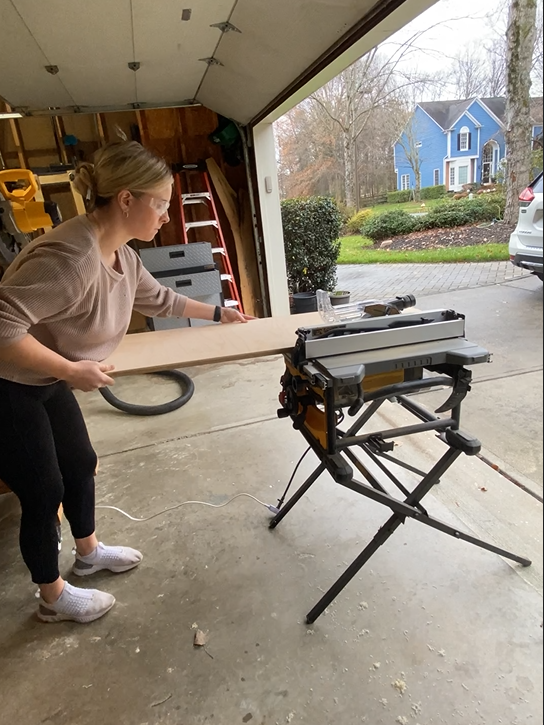
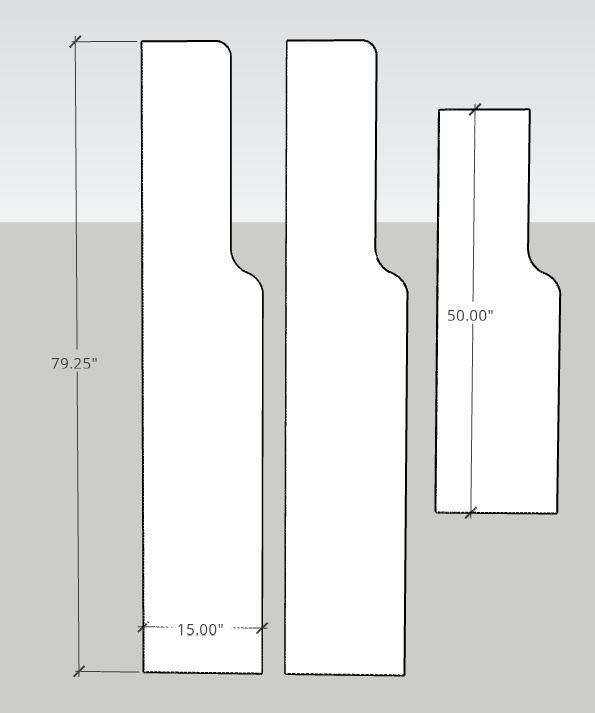
The design starts with two exterior walls and one, shorter, interior dividing wall. From your 3/4″ plywood, cut 3- rectangular pieces measuring 15″ wide. Make two of them 79.25″ tall and one 50″ tall. If you don’t have a circular or table saw, you can easily have these cut at the hardware store. I was able to get away with only buying one piece of plywood and used scraps for the rest of my cuts.
Cut the 2- 28″ x 15″ shelf pieces next.
My favorite website to help plan out your cuts on plywood is HERE. It accounts for the width of your blade and even tells you the best order to make your cuts.


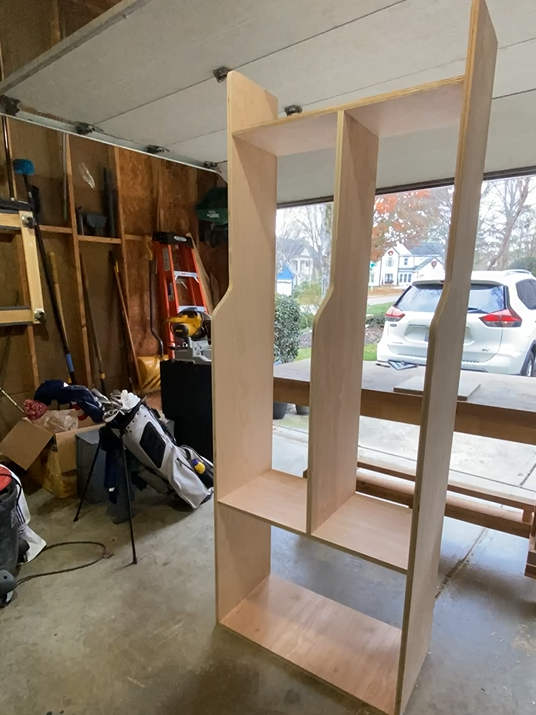
STEP 2: Cut your Curve
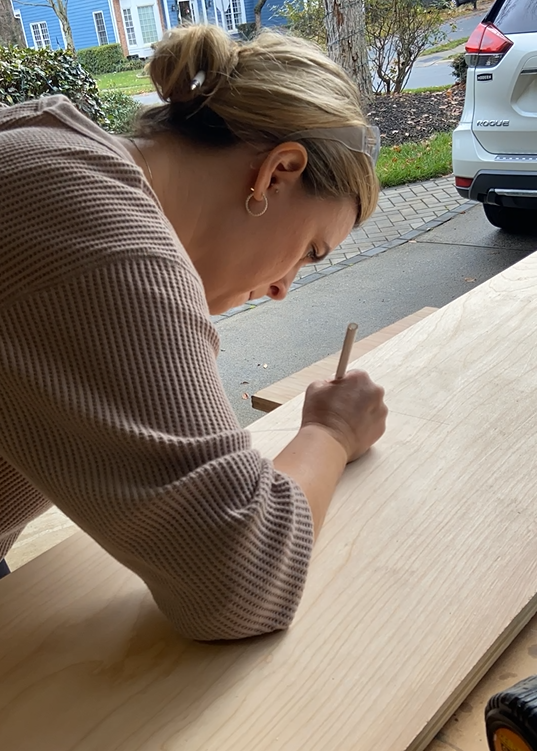
Once the rectangles are cut, sketch the curved step design, shown below, on one of the taller pieces of wood. I measured and marked the approximate lengths that I wanted my different widths at. The lengths I chose were 48.25″ up from the bottom, which (would be around the height of the golf bag) and 25.75″ down from the top. From there, I sketched a radius that looked good to me from one length to the next, creating a 15″ width below the curve and an 11″ width above the curve. 15″ shelves are good for storing shoes. 11″ shelves are great for storing miscellaneous items without creating too deep a space where those things can get lost.
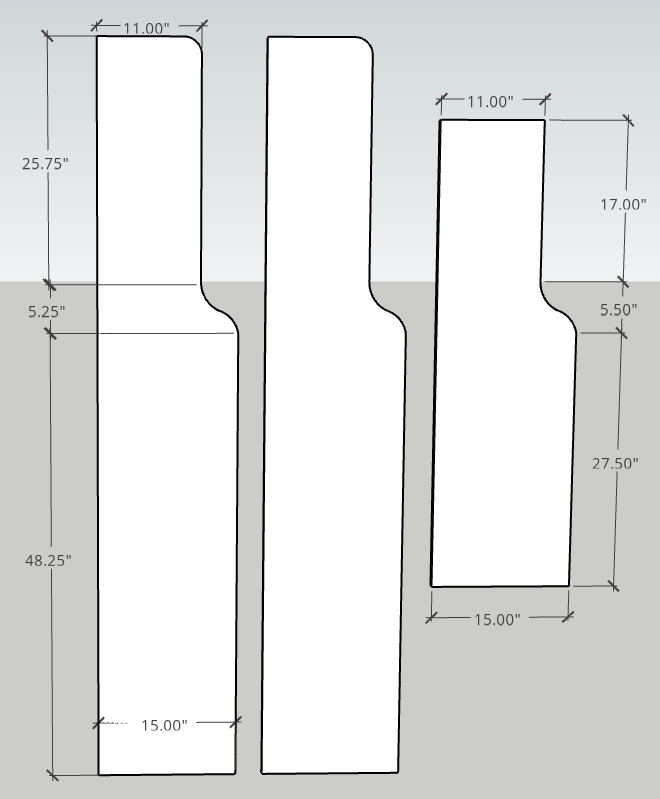
Once you’re happy with your sketch, copy the exact curve onto the other two pieces. Make sure to line up the shorter shelf with the height at which it will be installed.
Use a jigsaw or router to cut the curve out of each rectangular piece. I cut the straight lines with my table saw and stopped short of the curve to make sure the straight parts were straight.

After all three boards are cut, clamp them together and sand the edge of all 3 boards together to get the curves exactly the same.
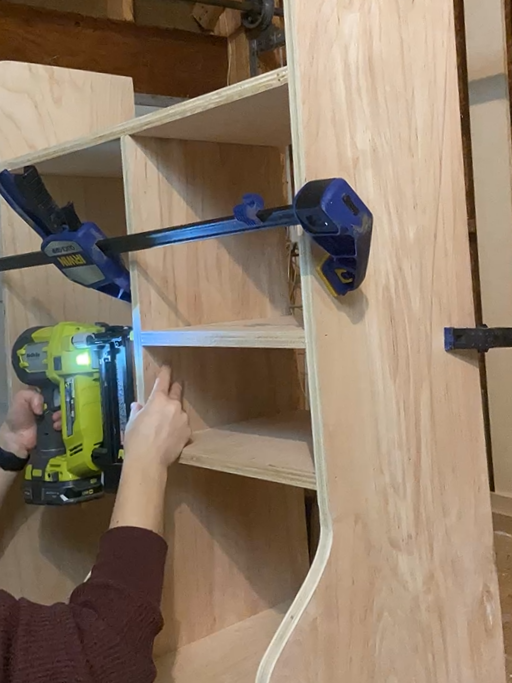
STEP 2: Attach Bottom Shelves
Attach the two outside vertical boards to one of the 15″ x 28″ shelves to create the base of the unit using pocket hole screws on the bottom, so they’re hidden. Next, attach the second shelf a ways up, again using pocket holes on the bottom.
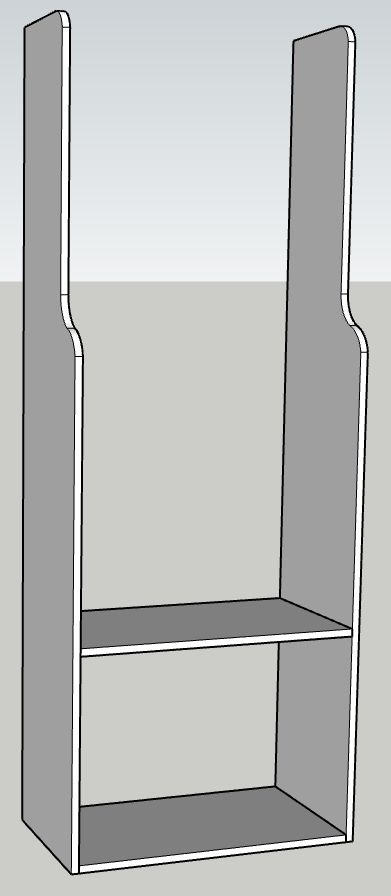

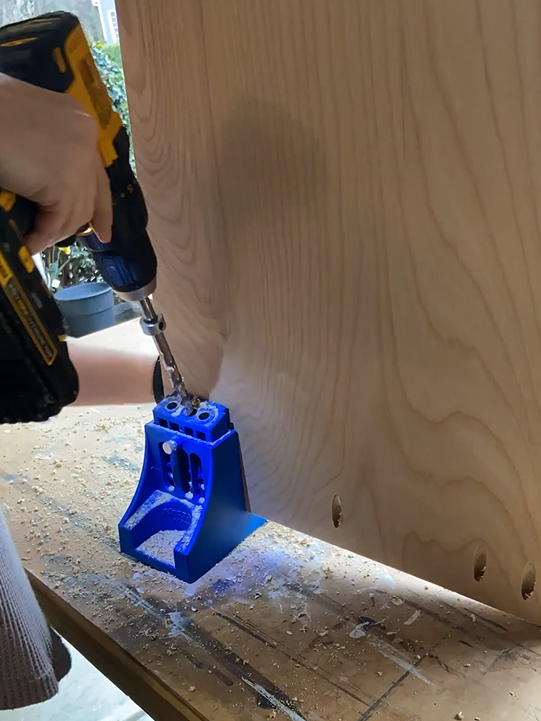
I designed this bottom caddy to hold a push cart so I made sure the height worked with the brand/model of push cart that we have. You can change this height based on what you want to store here, just make sure that you leave at least 50″ for above the shelf to leave enough space for your golf clubs.
STEP 3: Attach Middle Support (and top shelf)
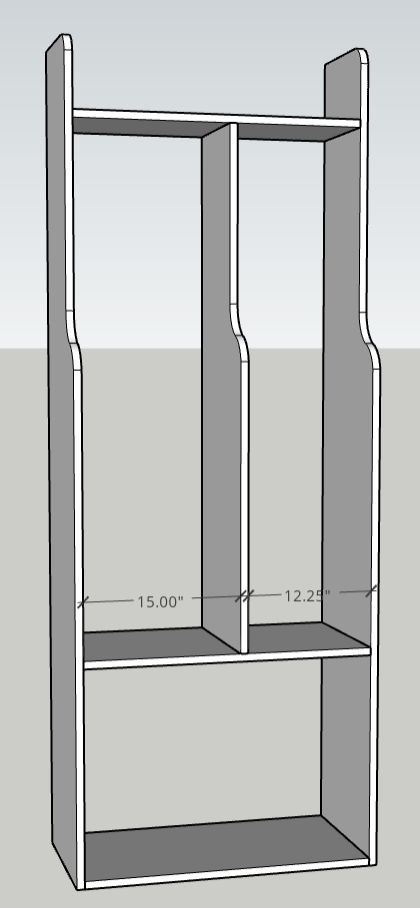
You’re going to add one more shelf to your structure, this will be a 28″ x 11″ top shelf, but it won’t sit flush with the top of the outside vertical pieces. Instead, place your middle vertical support to divide the middle cavity with 15″ on one side, for the clubs, and 12.25″ on the other side for shoes and miscellaneous items. Then, place your top shelf right on top of the middle support.
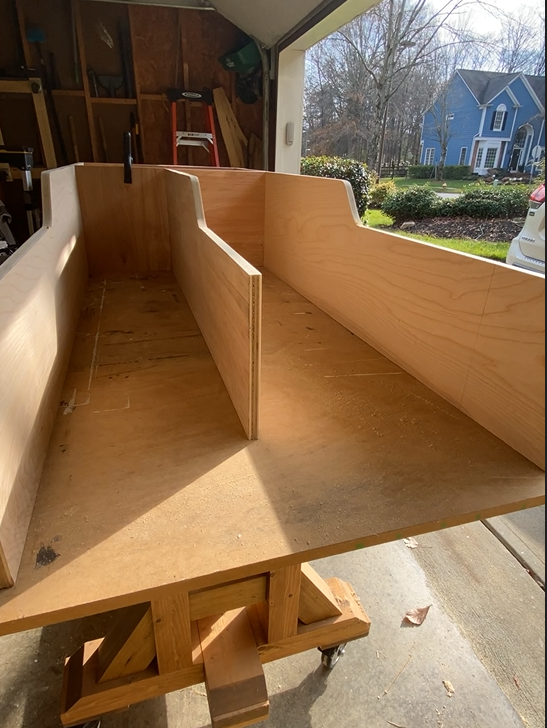
I used the shelves I cut out for the next step as spacers. To attach the middle vertical support, you can drill/screw right into the top and bottom edge of the board, through the shelves.
STEP 4 : Add Shelves
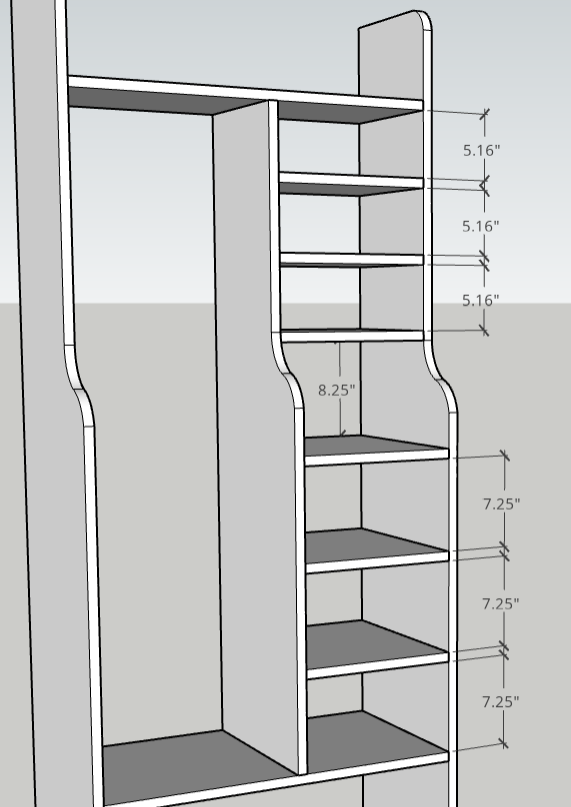
Cut your shelf pieces if you haven’t already, 3- 15″ x 12.25″ and 3- 11″ x 12.25. I placed each shelf at the heights shown below and secured them from the side with 1+1/4″ brad nails. I find that 4-5 brad nails from each side is enough support but you can use pocket holes as well. This is the method I used for my closet shoe shelves and have had no problems over the past 2 years.

Once the shelves are in place, fill the holes with wood filler and allow to dry, before sanding it off. I only filled the holes on the outside of my piece since the 18g nails leave a very small mark and the inside wouldn’t be as noticeable with the clubs stored there.

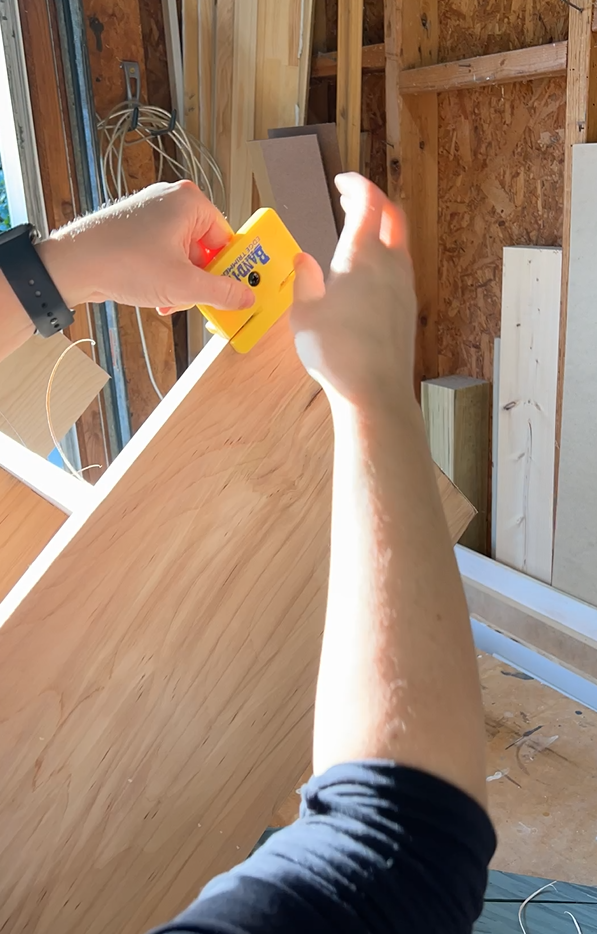
STEP 5: Add Edge Banding
One of my favorite thing to do to elevate the look of my projects is apply 3/4″ edge banding over plywood edges. It makes your piece look like solid wood, which is a much more expensive construction than plywood.


Apply by lining up the edge banding on the rough edges of the plywood and running over them with an iron. The edge banding has a low-temperature adhesive on the back side, which melts when you heat it up. I tend to press pretty hard with the iron and go very slowly. Once cooled, trim the edge banding to get it to be the exact width of your plywood edge. I used this special trimming tool to trim the edge banding but you can also use a sharp box knife. I had to touch up some of the curves areas with a box knife anyways.

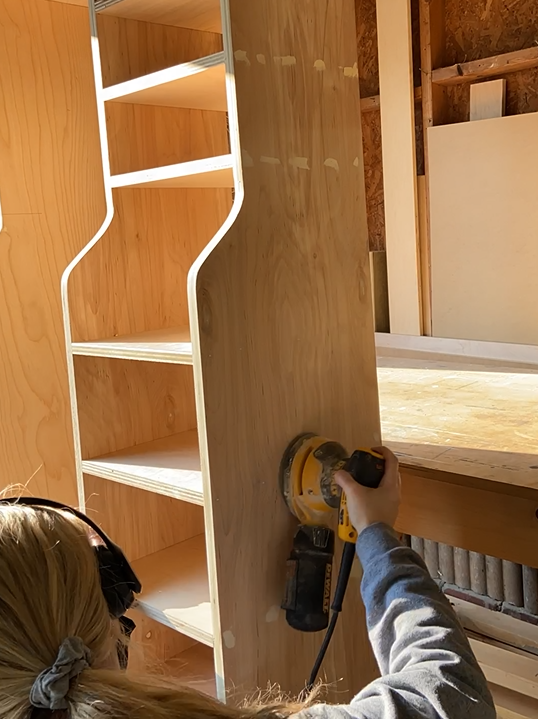
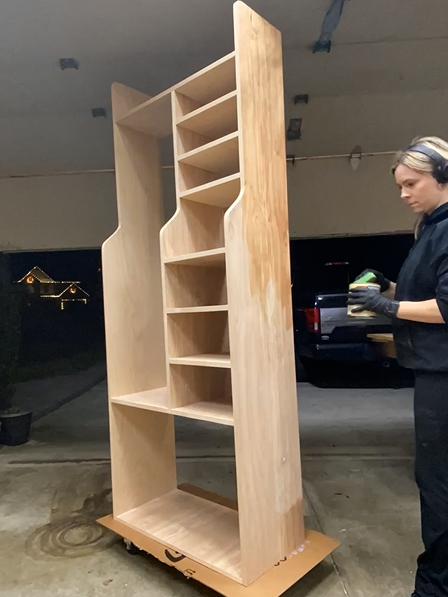
STEP 6: Sand
Once the edge banding is on and trimmed, go over all those edges with a sander to get them all nice and smooth and blend the fibers from the edge banding into the plywood. At the same time, give your entire piece one more sand with somewhere around a 220 grit sandpaper to prep for finishing.

STEP 7: Stain & Protect
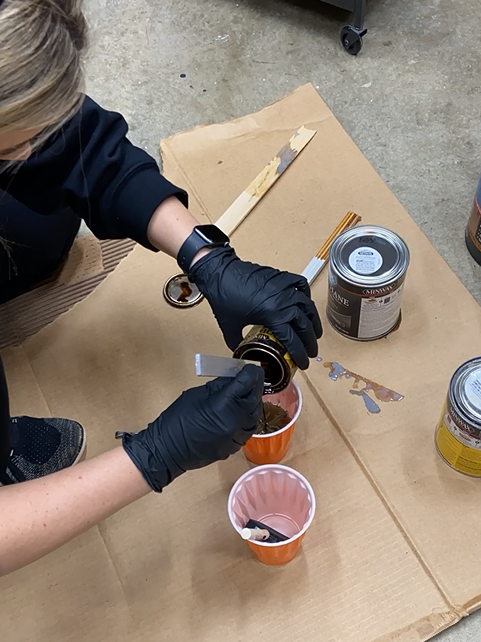
Swatch and choose your preferred stain. I mixed some stain colors and tested them on the bottom of the unit before mixing the full amount. I went with a 50/50 mix of Minwax Early American and Golden Oak. Use a wood conditioner to saturate the wood fibers before you stain so that the wood will take the stain more evenly.
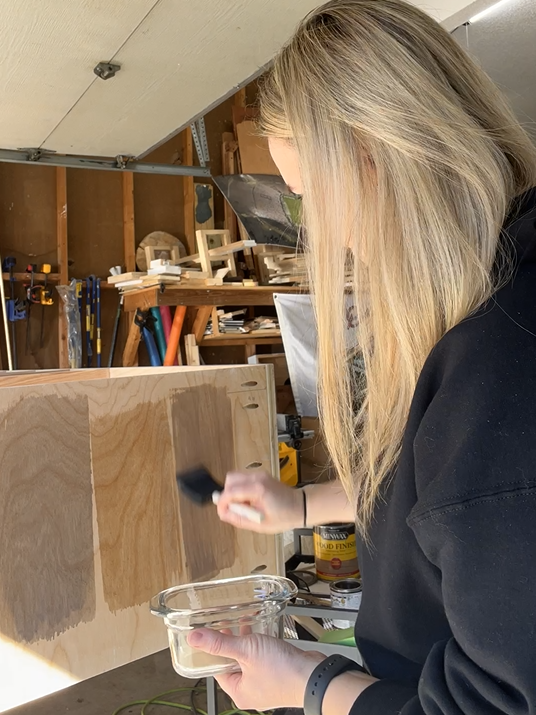
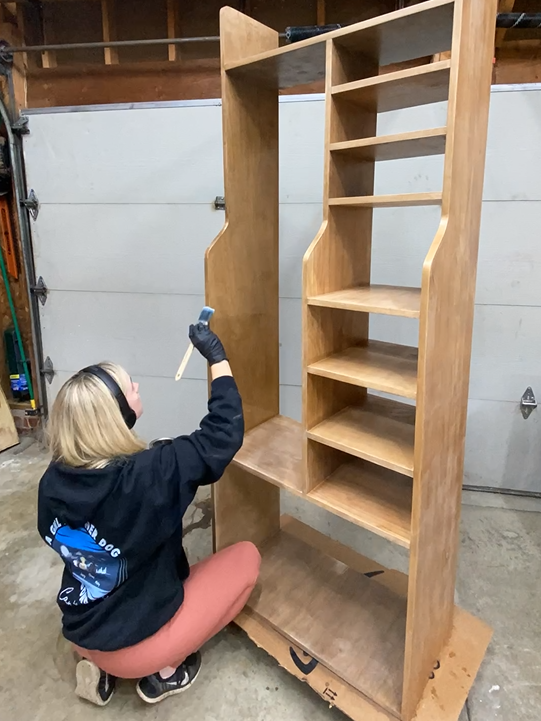
Once you’ve added your stain and it’s dried, add a thin layer of poly to the entire unit. I used this Water Based Satin Poly and apply it with a paint brush for the best finish. Mix your poly well but don’t shake the can, or it will develop air bubbles and won’t apply nicely.

Once the poly is dry, you might notice that your work is not smooth like it was originally. This is because when you saturate wood, the grain raises, giving it a fuzzy appearance and a rough texture.
Carefully use a high grit sandpaper (320+) and lightly sand the entire piece without sanding through the initial layer of poly. Vacuum and wipe the piece down with a tack cloth and reapply a second layer of poly.

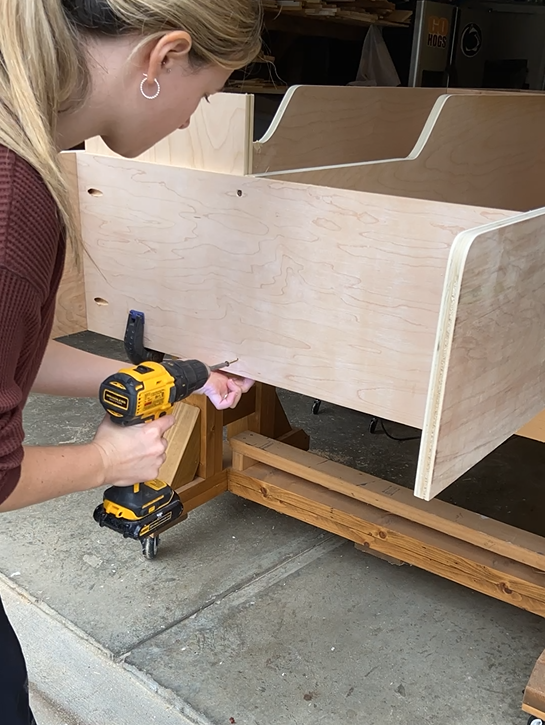
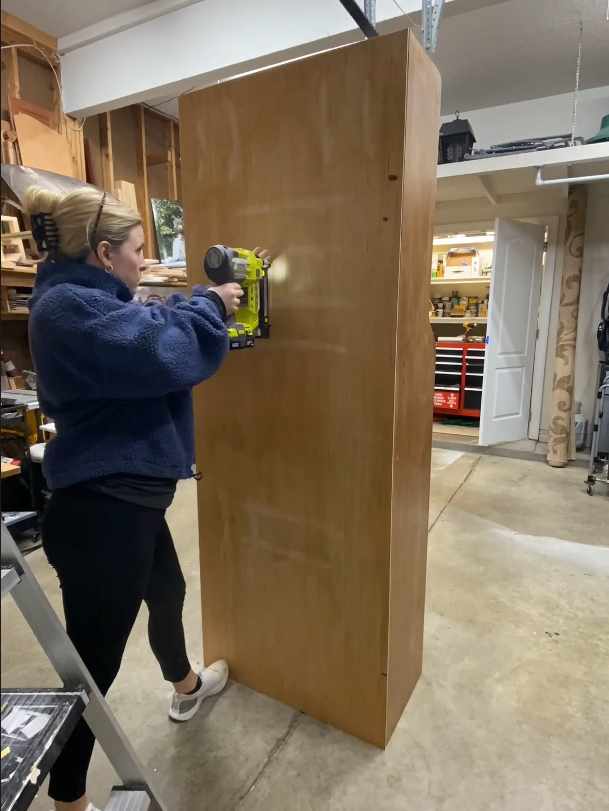
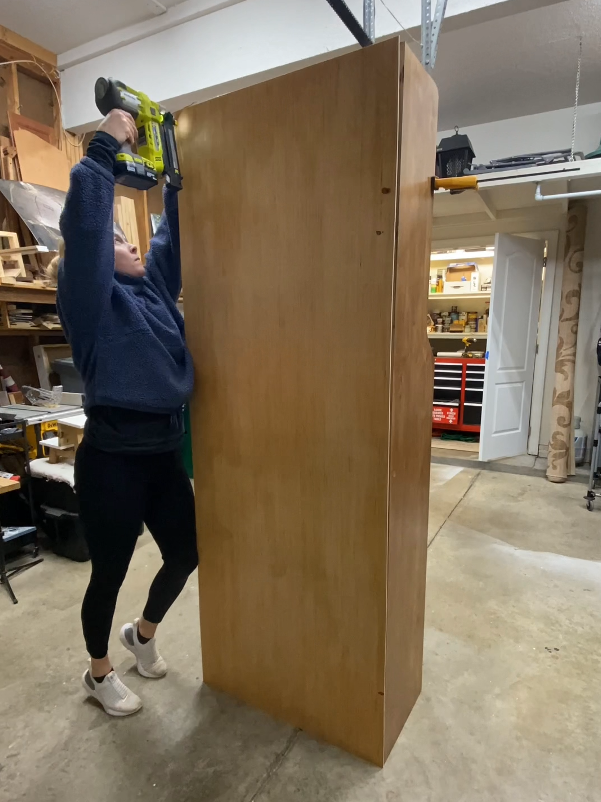
STEP 8: Add Back Panel
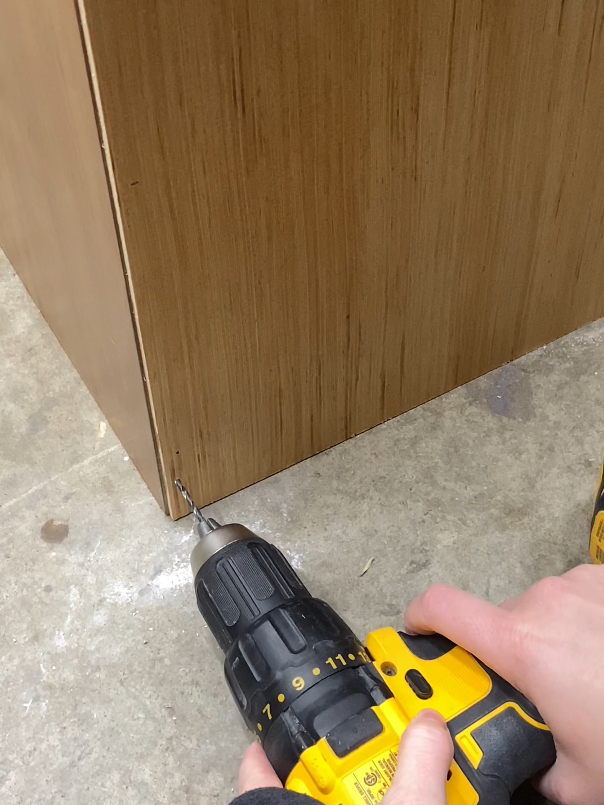
I wanted this piece to be a full cabinet, so I bought a sheet of 1/4″ plywood to use for the backing (less than $30 for a 4’x8′ sheet?). Cut the piece to size and stain/finish it before attaching (trust me this is way easier to do before hand!). Attach it to the back with lots of 1+1/4″ brad nails and use 1+1/4″ screws in the four corners to make it super secure.


I used a stud finder to accurately mark where the individual shelves were and even nailed a few times in the horizontal shelves and the middle vertical panel.

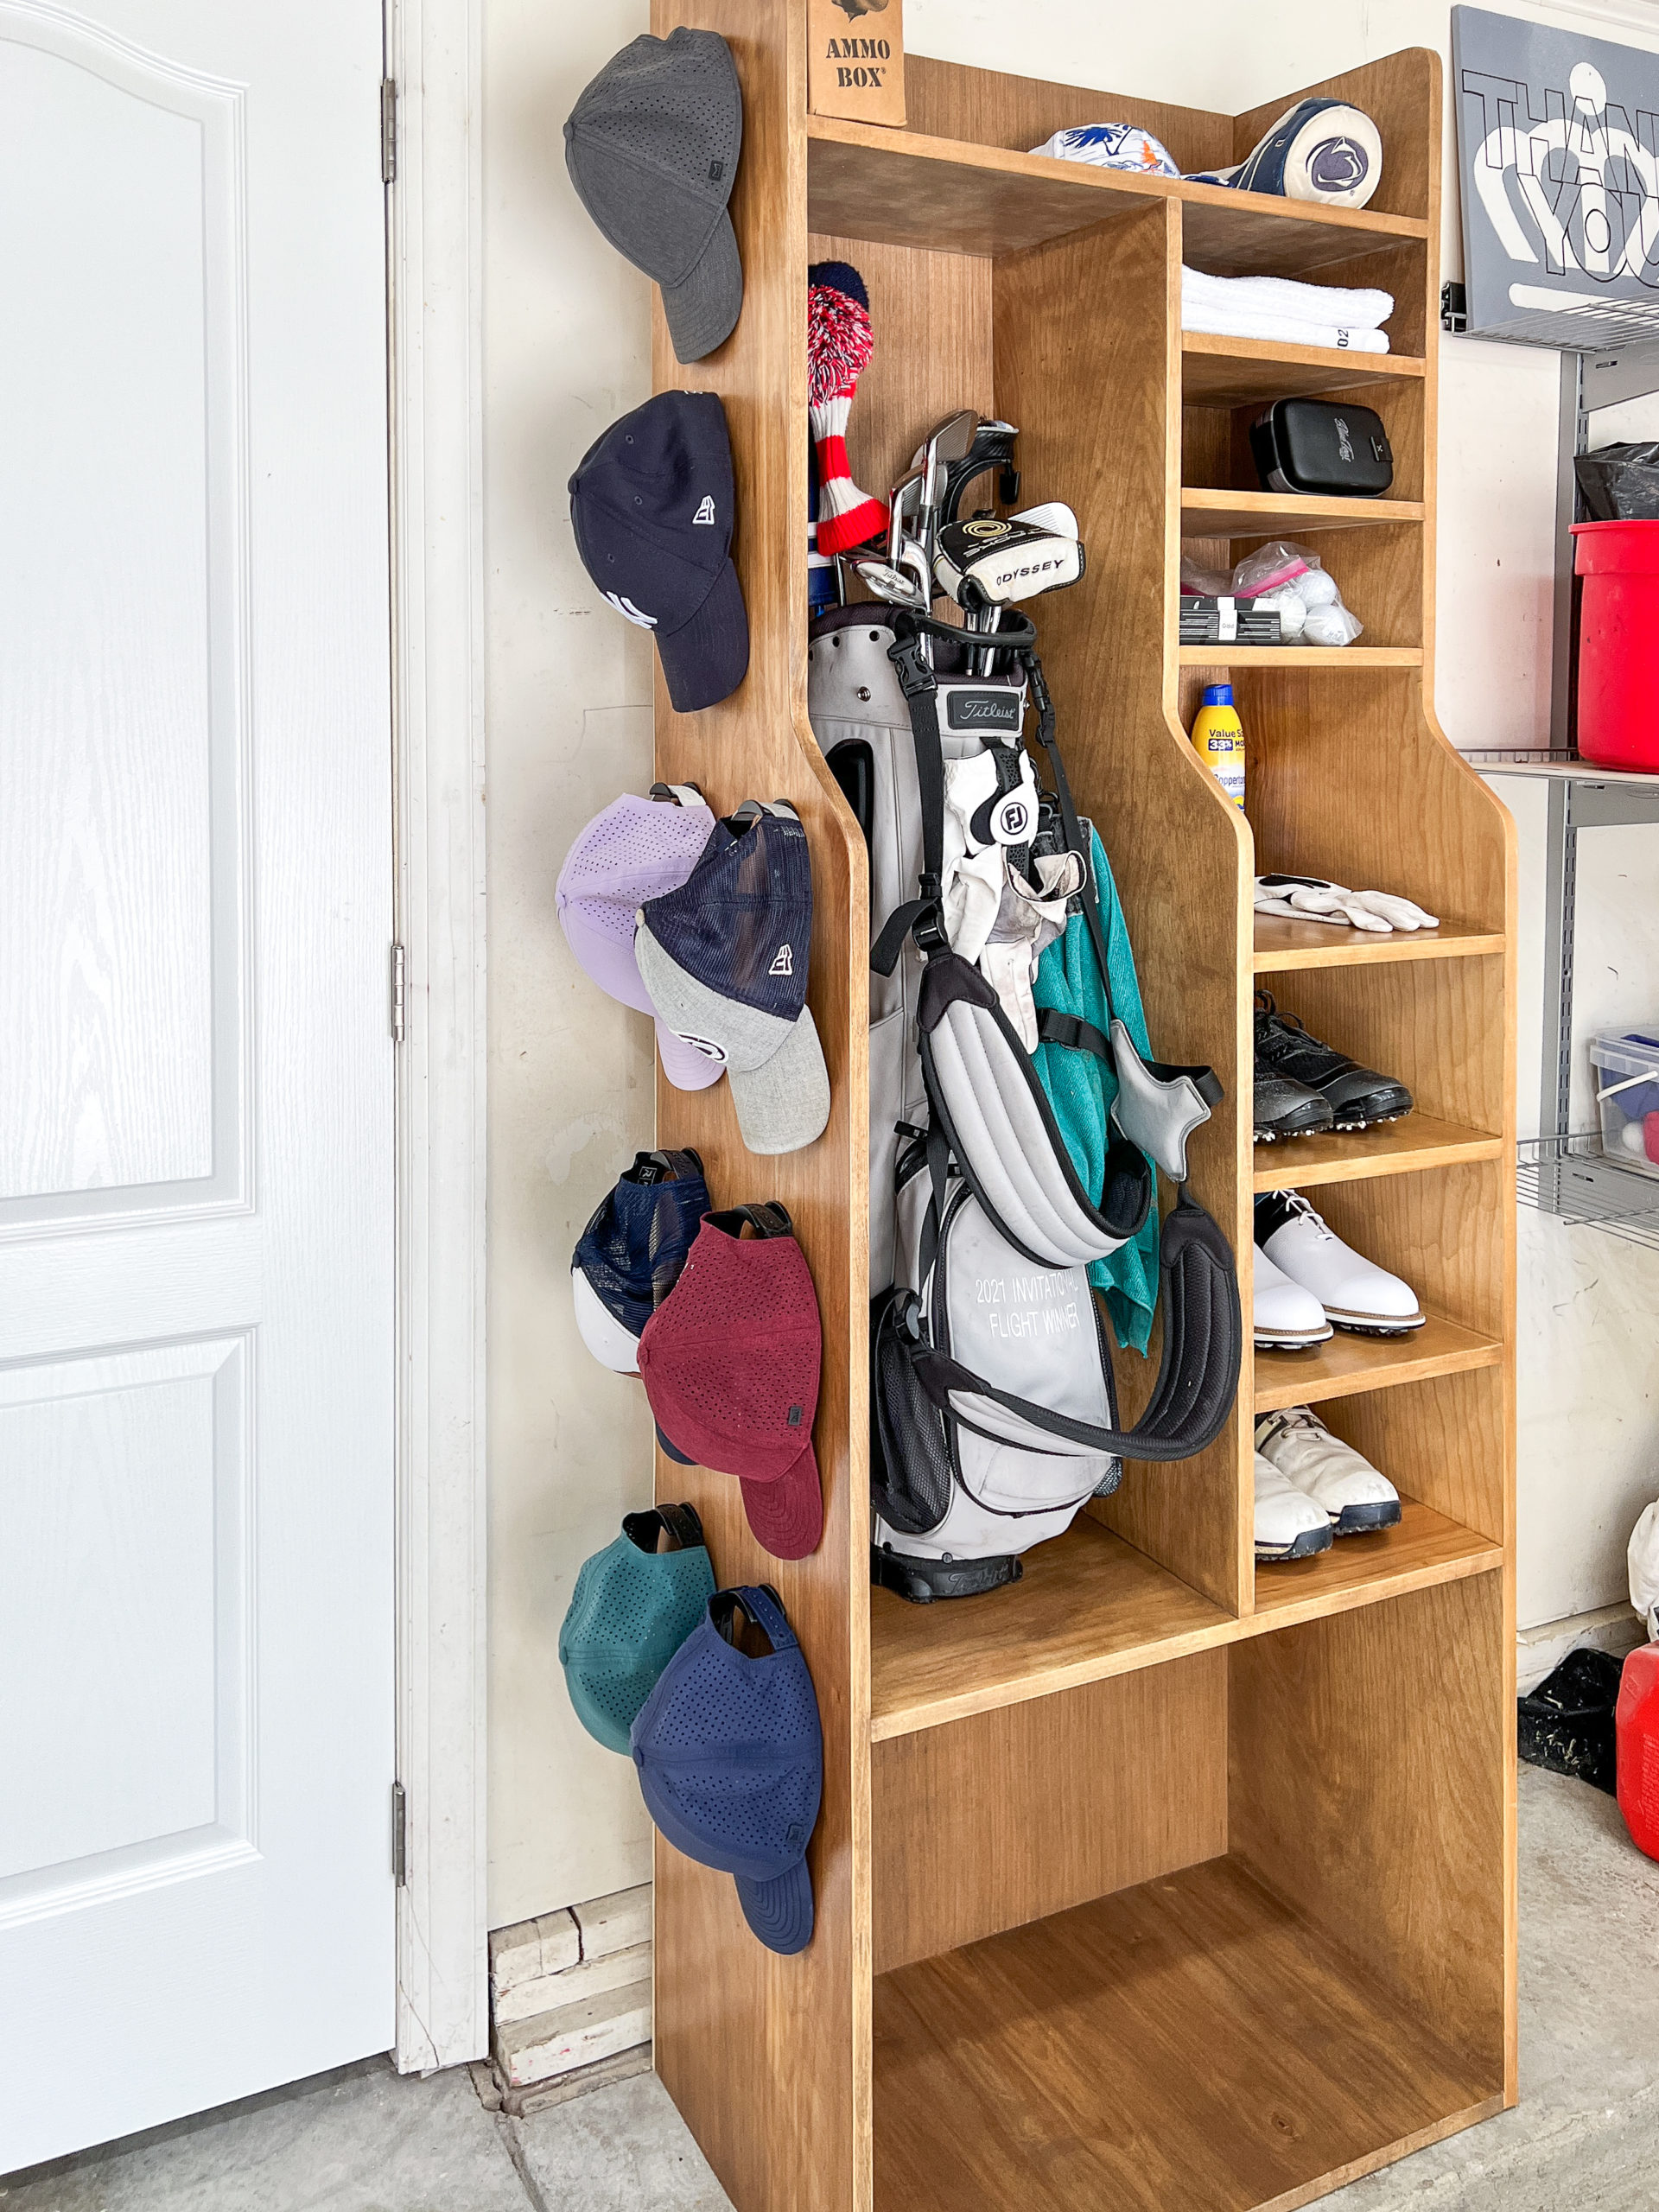
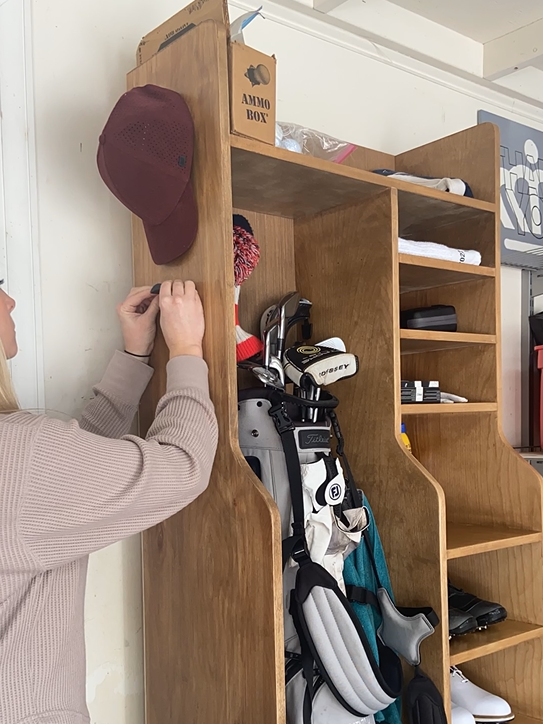
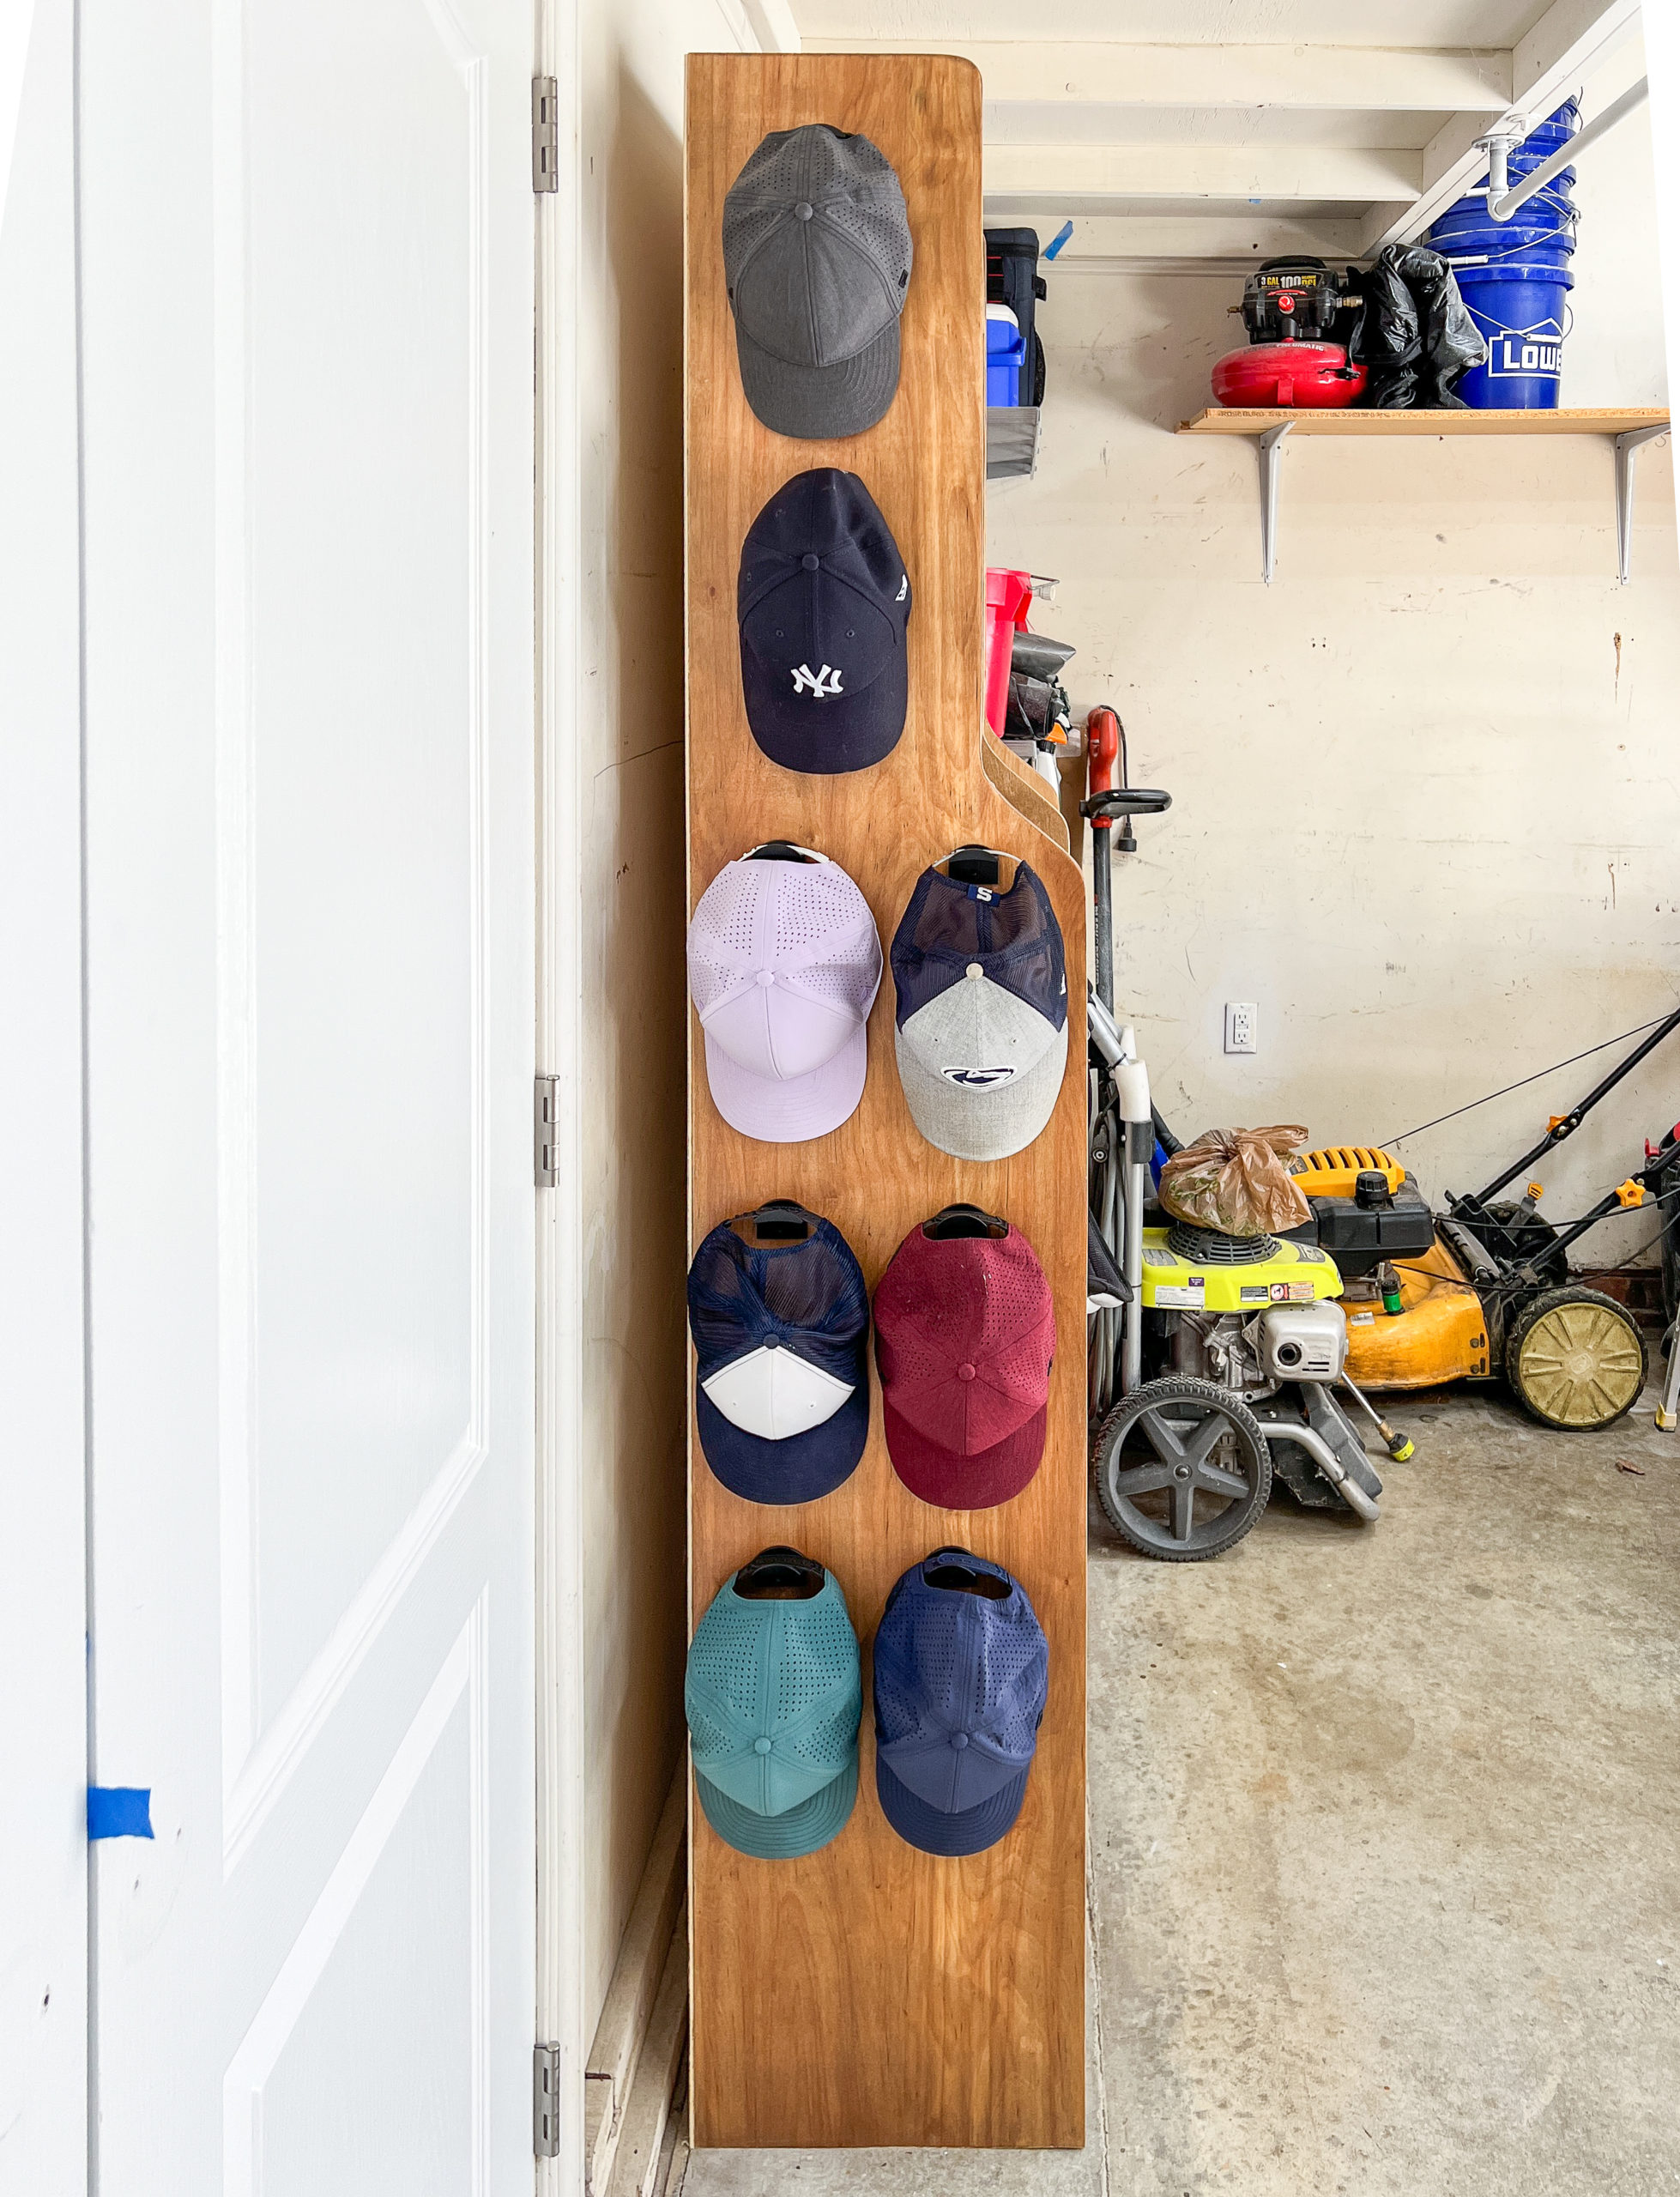
STEP 9: Add Hat Hooks (optional)
If you’re anything like my husband, you probably have a large hat collection and no good way to store them. I made a slight dent in this problem by applying these adhesive hat hooks to one side of the unit, giving him an area to store (or air out) his hats after golf.


Overall, the cost of this Golf Storage Unit was just under $150* but the feeling of being organized is priceless!
*I only bought 1 piece of 3/4″ plywood and 1/4″ plywood for this project, the rest of the 3/4″ material was taken from smaller cutoff scraps I already had, which cut down on my cost quite a bit!

If you have any additional questions about building a custom golf storage unit, leave a comment below!
Want to keep up with my newest projects? Come hang out on my social media accounts, below!
One Reply to “How to Build a Golf Storage Unit”