DIY Small Walk-In Closet Makeover on a Budget! (Part II)
I’m so glad you made it back for part two of my DIY walk-in closet makeover! I started this project in October but planned to live in the space (and wait for Ikea furniture to be in stock) before I finished it! In Part I, I built hanging clothes storage and a shoe tower (for me)! I painted the entire closet and then put in our clothes to live with the new design for some time. For full details on Part I, click HERE.
Check out all the videos from this project on my Instagram:
Closet Part 1 Highlight, Closet Part 2 Highlight.
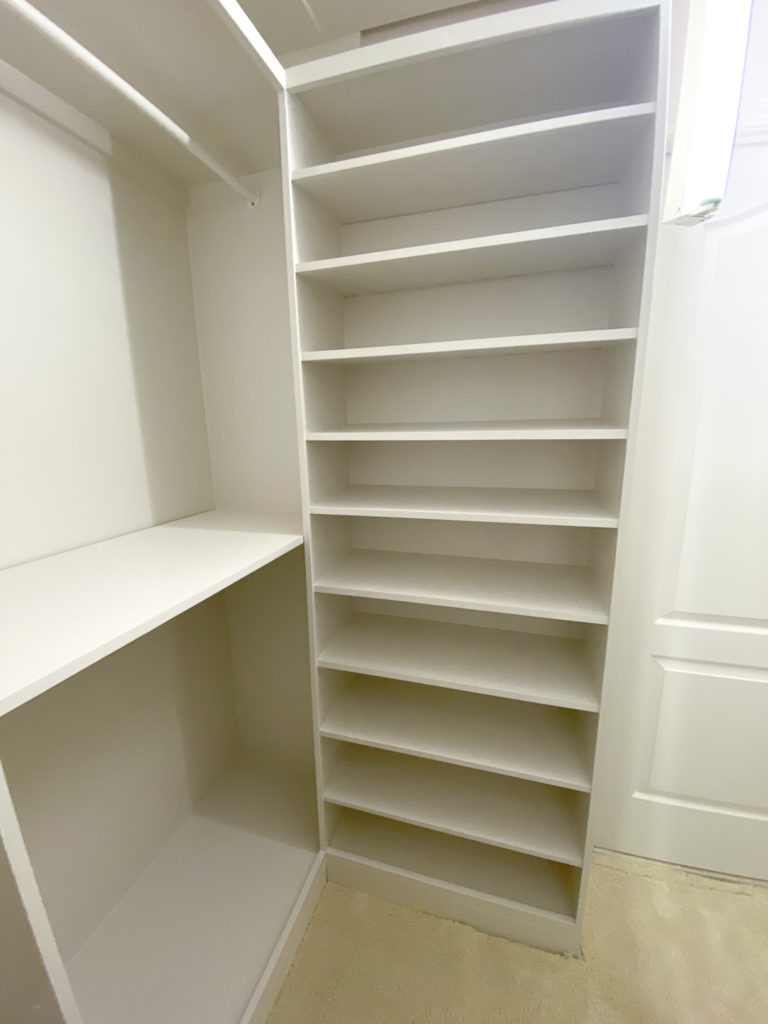
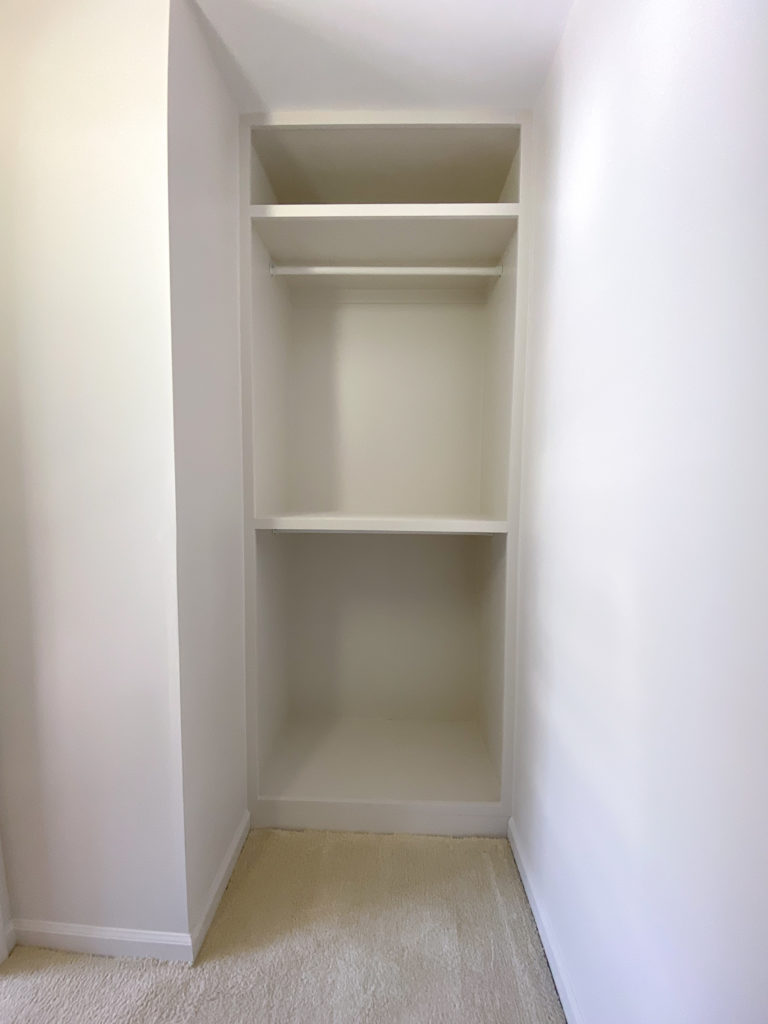
Where we left off (Part I):
It’s natural to want to finish a space immediately, but living in the space first has its benefits. First, you can spread the cost of the project out over time. DIY can be a big cost savings vs. hiring it out, but that doesn’t mean it’s always cheap. Breaking projects up into parts allows you to recuperate some of you home update budget. It’s also a great strategy for finding the right items for the space instead of settling for the first things you come across! My favorite, but less obvious benefit is that you’ll realize if there are any gaps in your design as you use the space. You discover what features you want to include that will work best for you, and what features you can forgo.
For example: I originally planned to create shoe storage similar to mine, for Mark. I have a decent shoe collection and I utilize most of those shoes. I needed space to store and see all my shoes when I’m putting together my outfit in the mornings. On the other hand, Mark uses the same 4-5 pairs of shoes and keeps most of them downstairs. He’ll need space to store some of his other shoes in our closet but they won’t need to be super accessible. Read the rest of this post to see the solution!
Part II:
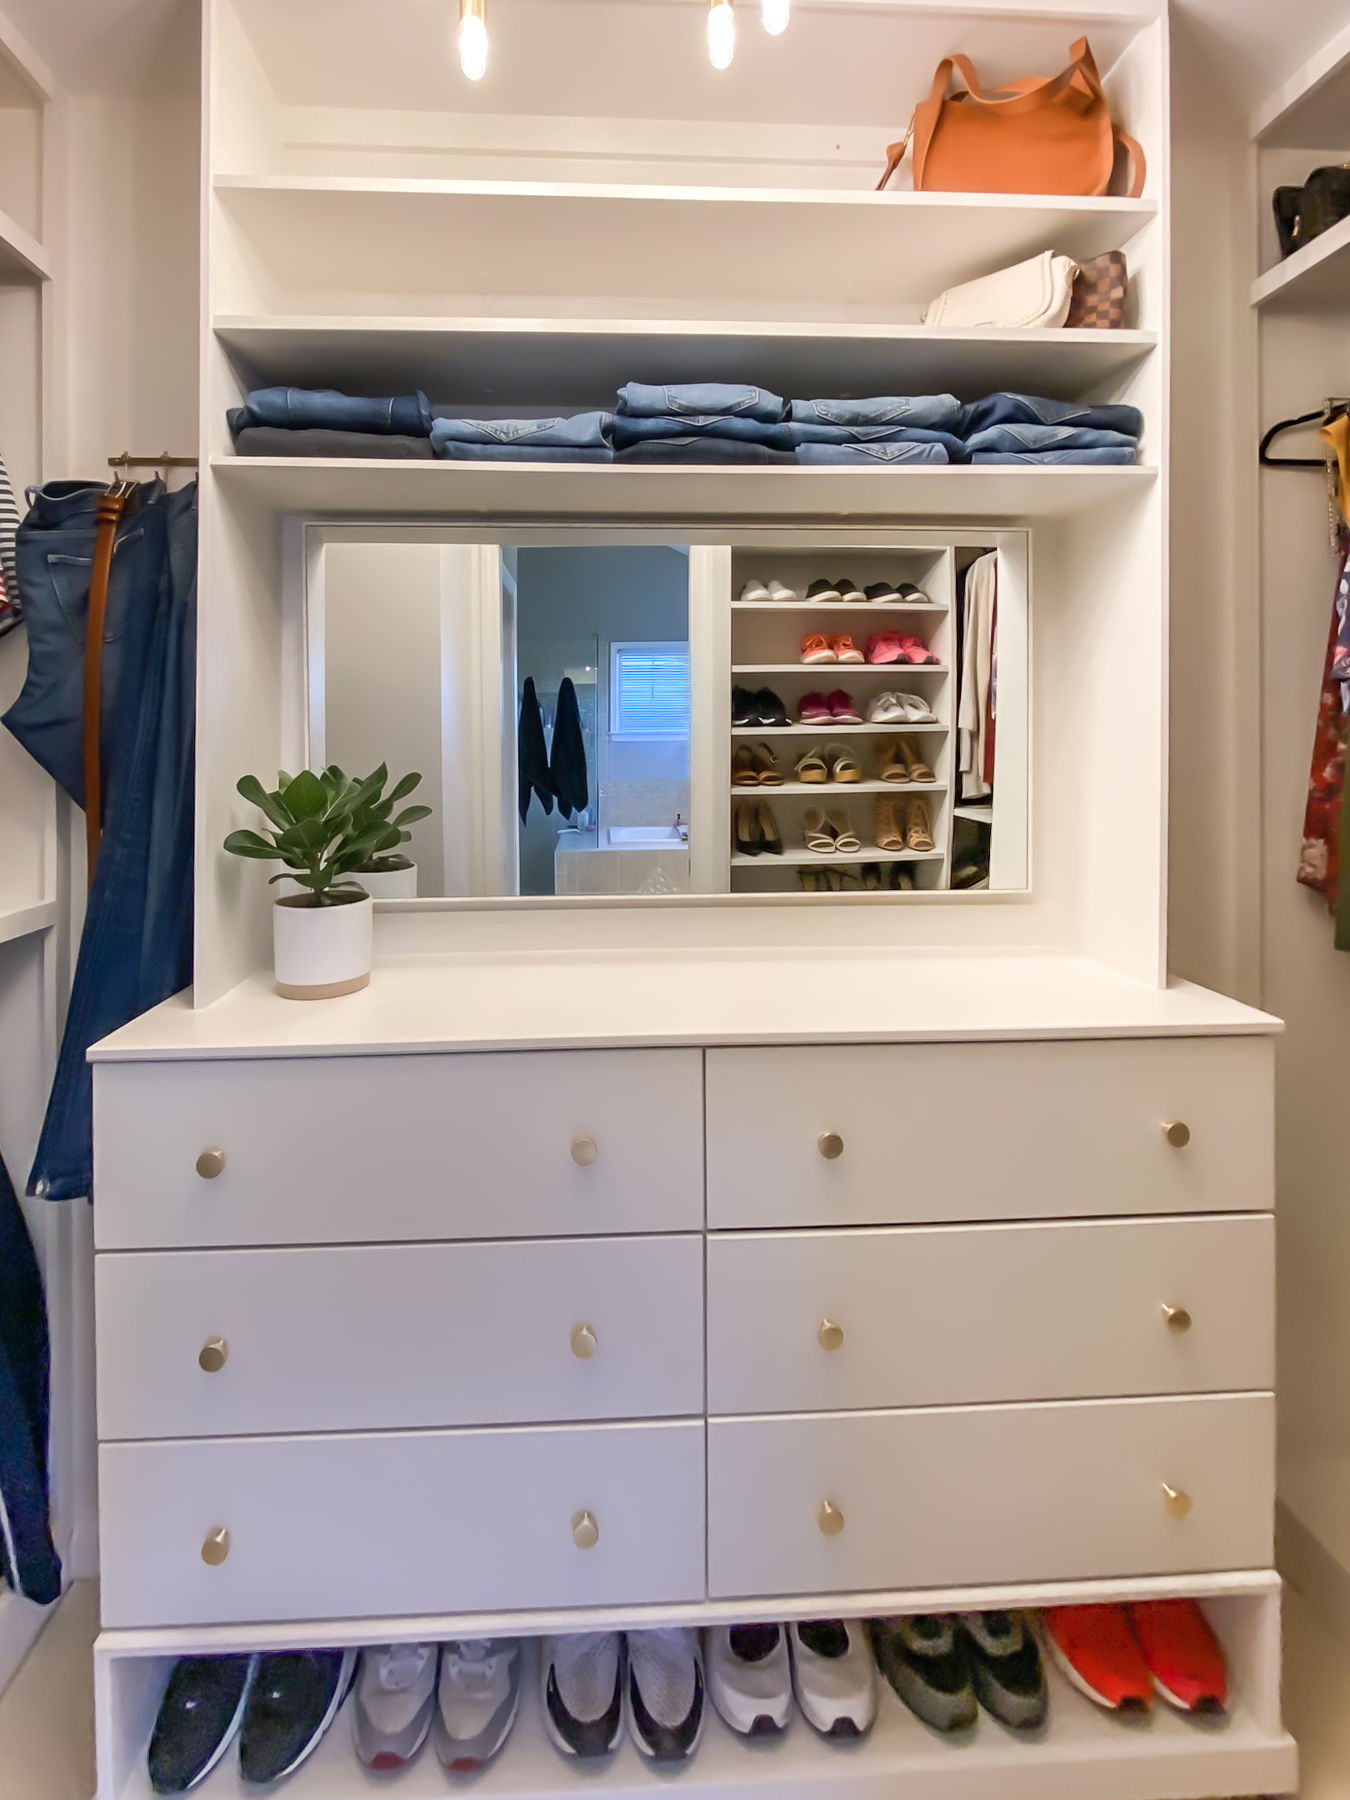
In Part II, I installed a new built-in structure against the back wall of the closet. This feature included an Ikea hack to add some drawers, and more shelving. It also houses the mirror and other pretty details that you’ll see when you’re looking in from the bathroom.
(This post contains affiliate links which means I receive a small compensation at no cost to you. As an Amazon Associate I earn from qualifying purchases. You can read more about it here. Thank you for supporting my blog!)
MATERIALS:
2″ x 4″ Boards – for the framed bases
1/2″ Sande Plywood
1″ x 3″- for the trim (I ripped it to 1/2″ thickness)
TOOLS:
Drill + Wood Screws (2+1/2″ for framing, 1+1/4″ for pocket holes)
Brad Nailer + 18g Nails
Hand Sander (120->220 grit paper)
Tape Measure, Level, Stud finder, Utility Knife, Trim Remover, Hammer/Mallet, Pliers
Painting Supplies (Brushes, Rollers)
STEP 1: Ikea Hack!
I’m so excited to use an Ikea dresser for this build so I don’t have to build drawers from scratch! I’ve see other DIYers talk about perfecting the skill of building drawers but I’m just not there yet. I initially bought two of the Ikea Malm chests and intended to put them side-by-side. I loved the depth of the drawers but after getting one into the space, I could tell it wasn’t right. Another great example about why waiting to complete projects helps you to find the right pieces for your space.
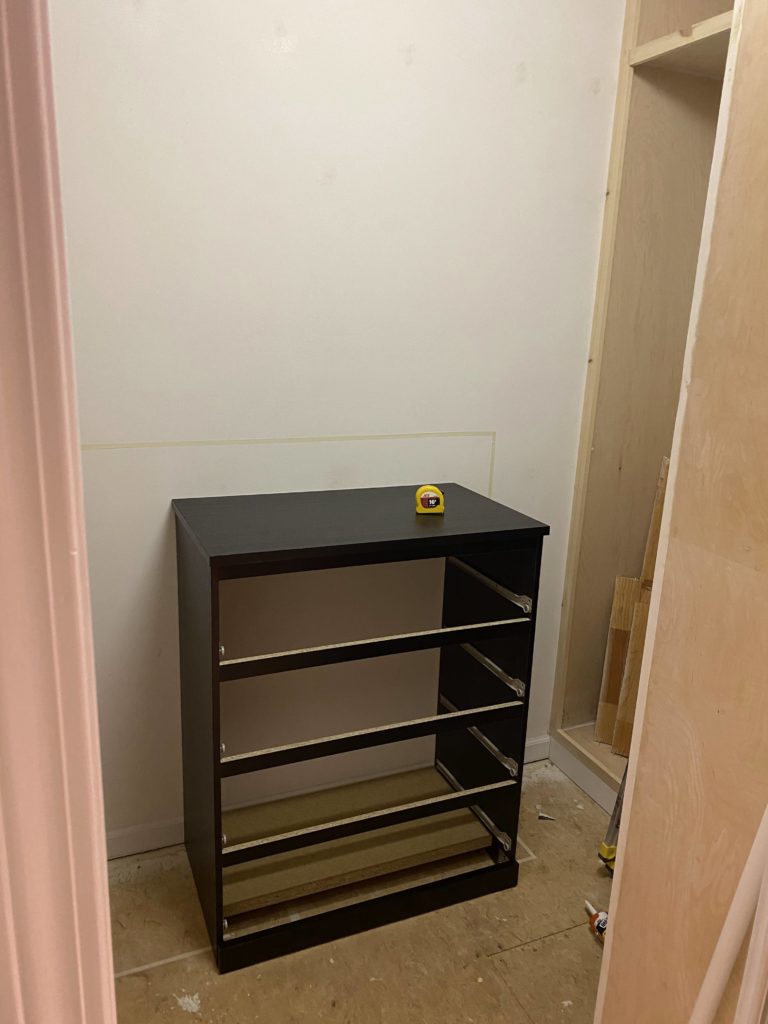

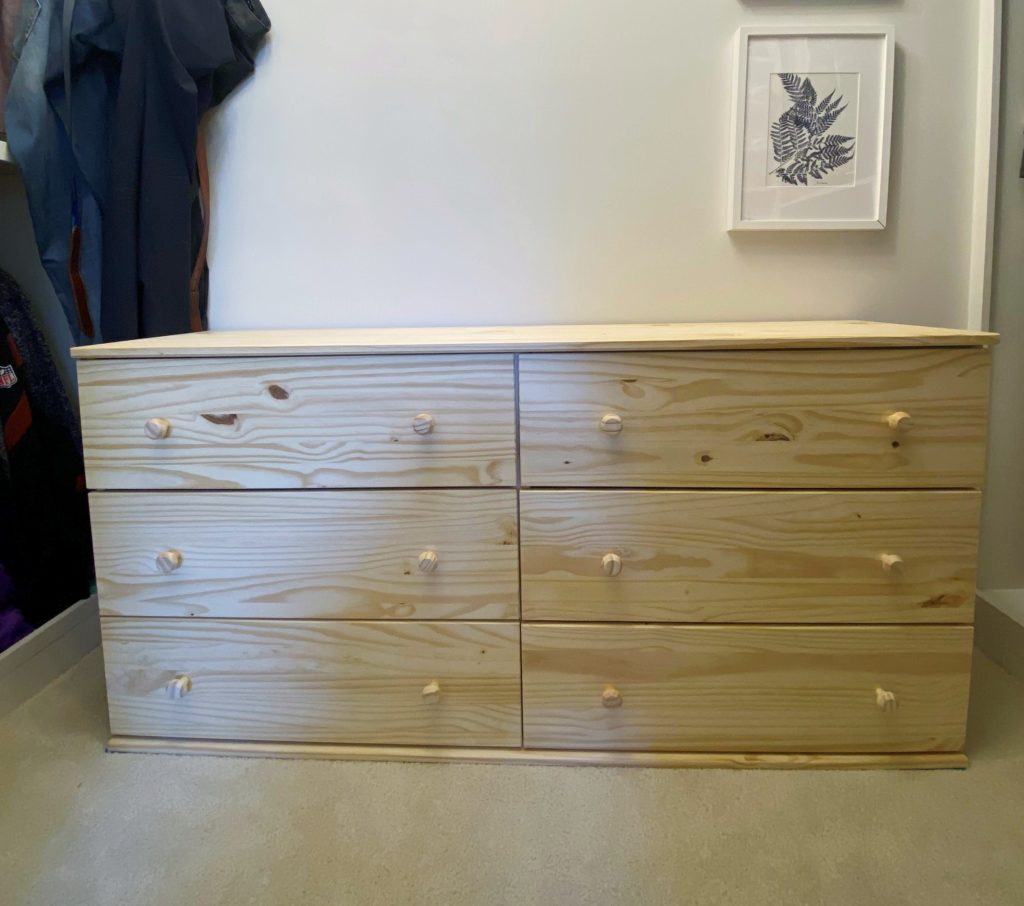
These are clearly too big for the space, even having one in the closet feels bulky and limiting. I ended up taking the dressers back (yay IKEA return policy!) and replaced them with a solid wood option. The Tarva was a much better choice- at only 16″ deep, it fit our space better and it’s solid wood. Plus it came unfinished, ready for me to paint! (See my picks for the best solid wood options at IKEA HERE!)
I built the dresser according to the directions- for the most part. I skipped all steps for adding the feet and backing. Since I was building this into the closet, I wouldn’t need them.
Does anyone else enjoy putting together ikea furniture? Just me??
See how much better the Tarva fits into the closet?
STEP 2: Hang Dresser on the Wall
Well this is an unexpected step!
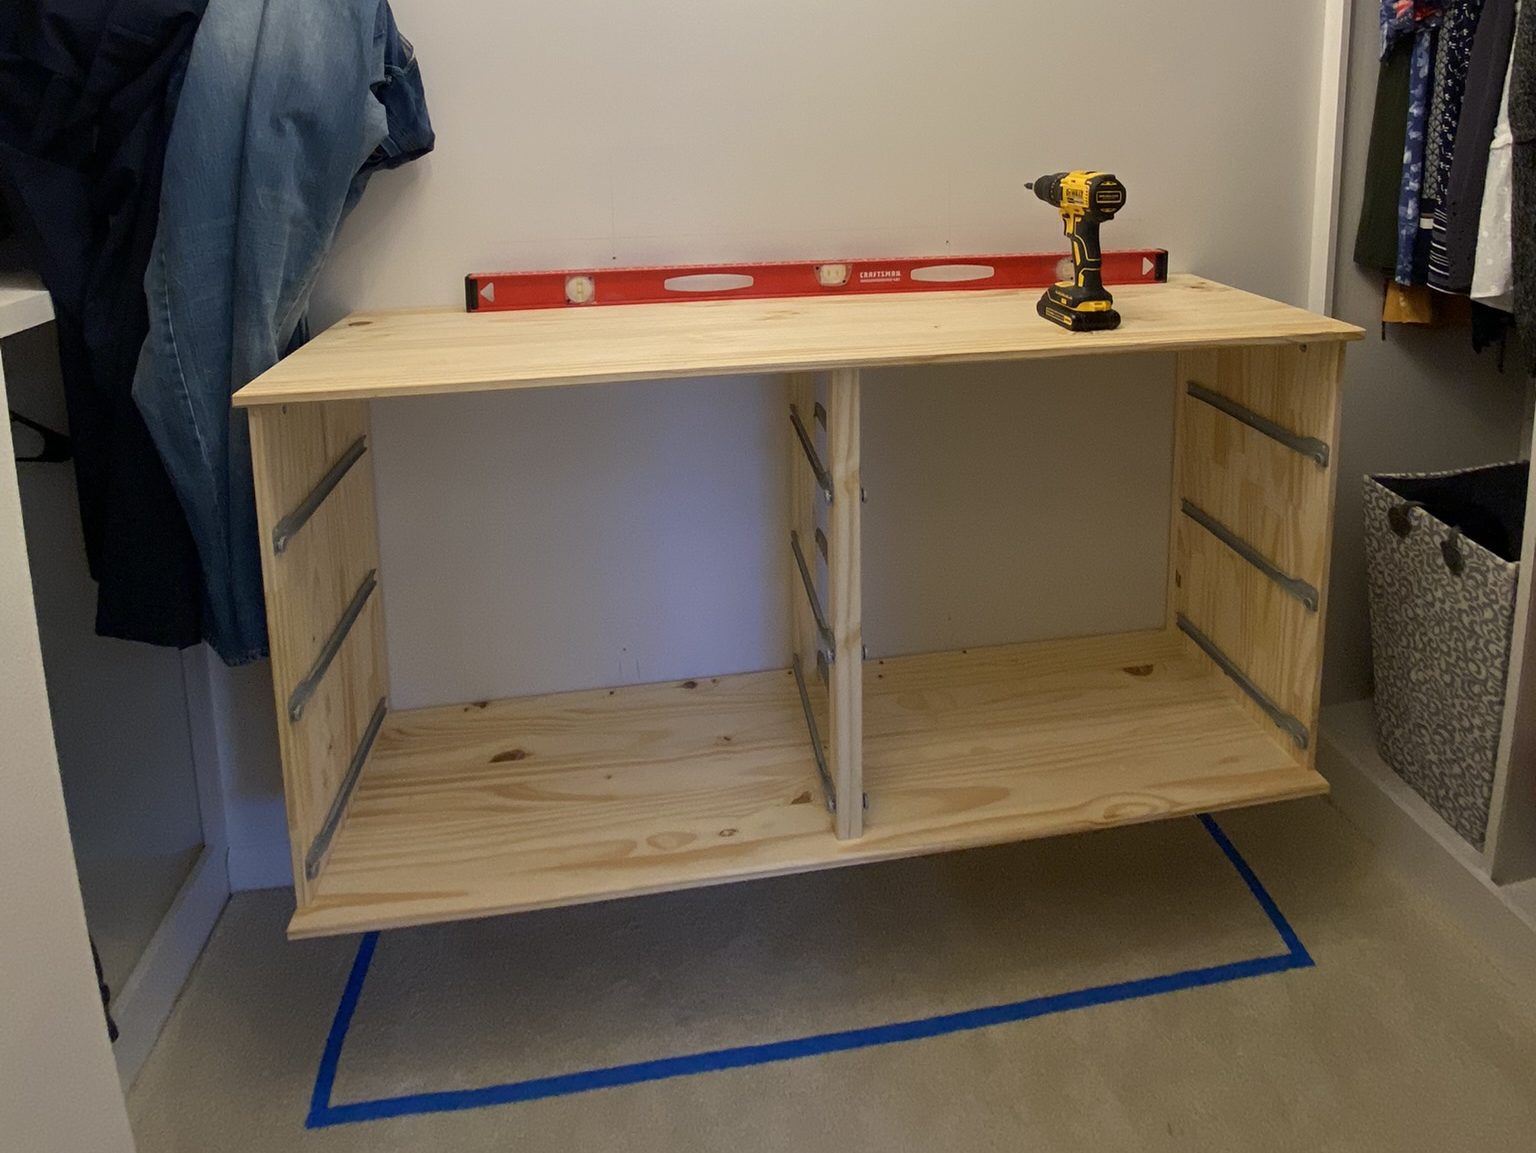
Since I didn’t add legs to my dresser, I knew I needed to raise it up to an appropriate height. I didn’t want it as high as the other shelves (45″), just enough that I could have storage beneath it. The tarva (without legs) is 30″ tall, a typical dresser is anywhere from 31-37″. I settled on 38″ tall so that I had enough height underneath to store some of Mark’s shoes.
Hanging the dresser on the wall felt like a secure way to anchor this section of the closet. I added a horizontal support to the back of the dresser with pocket hole screws, then screwed those directly into the studs in the wall.

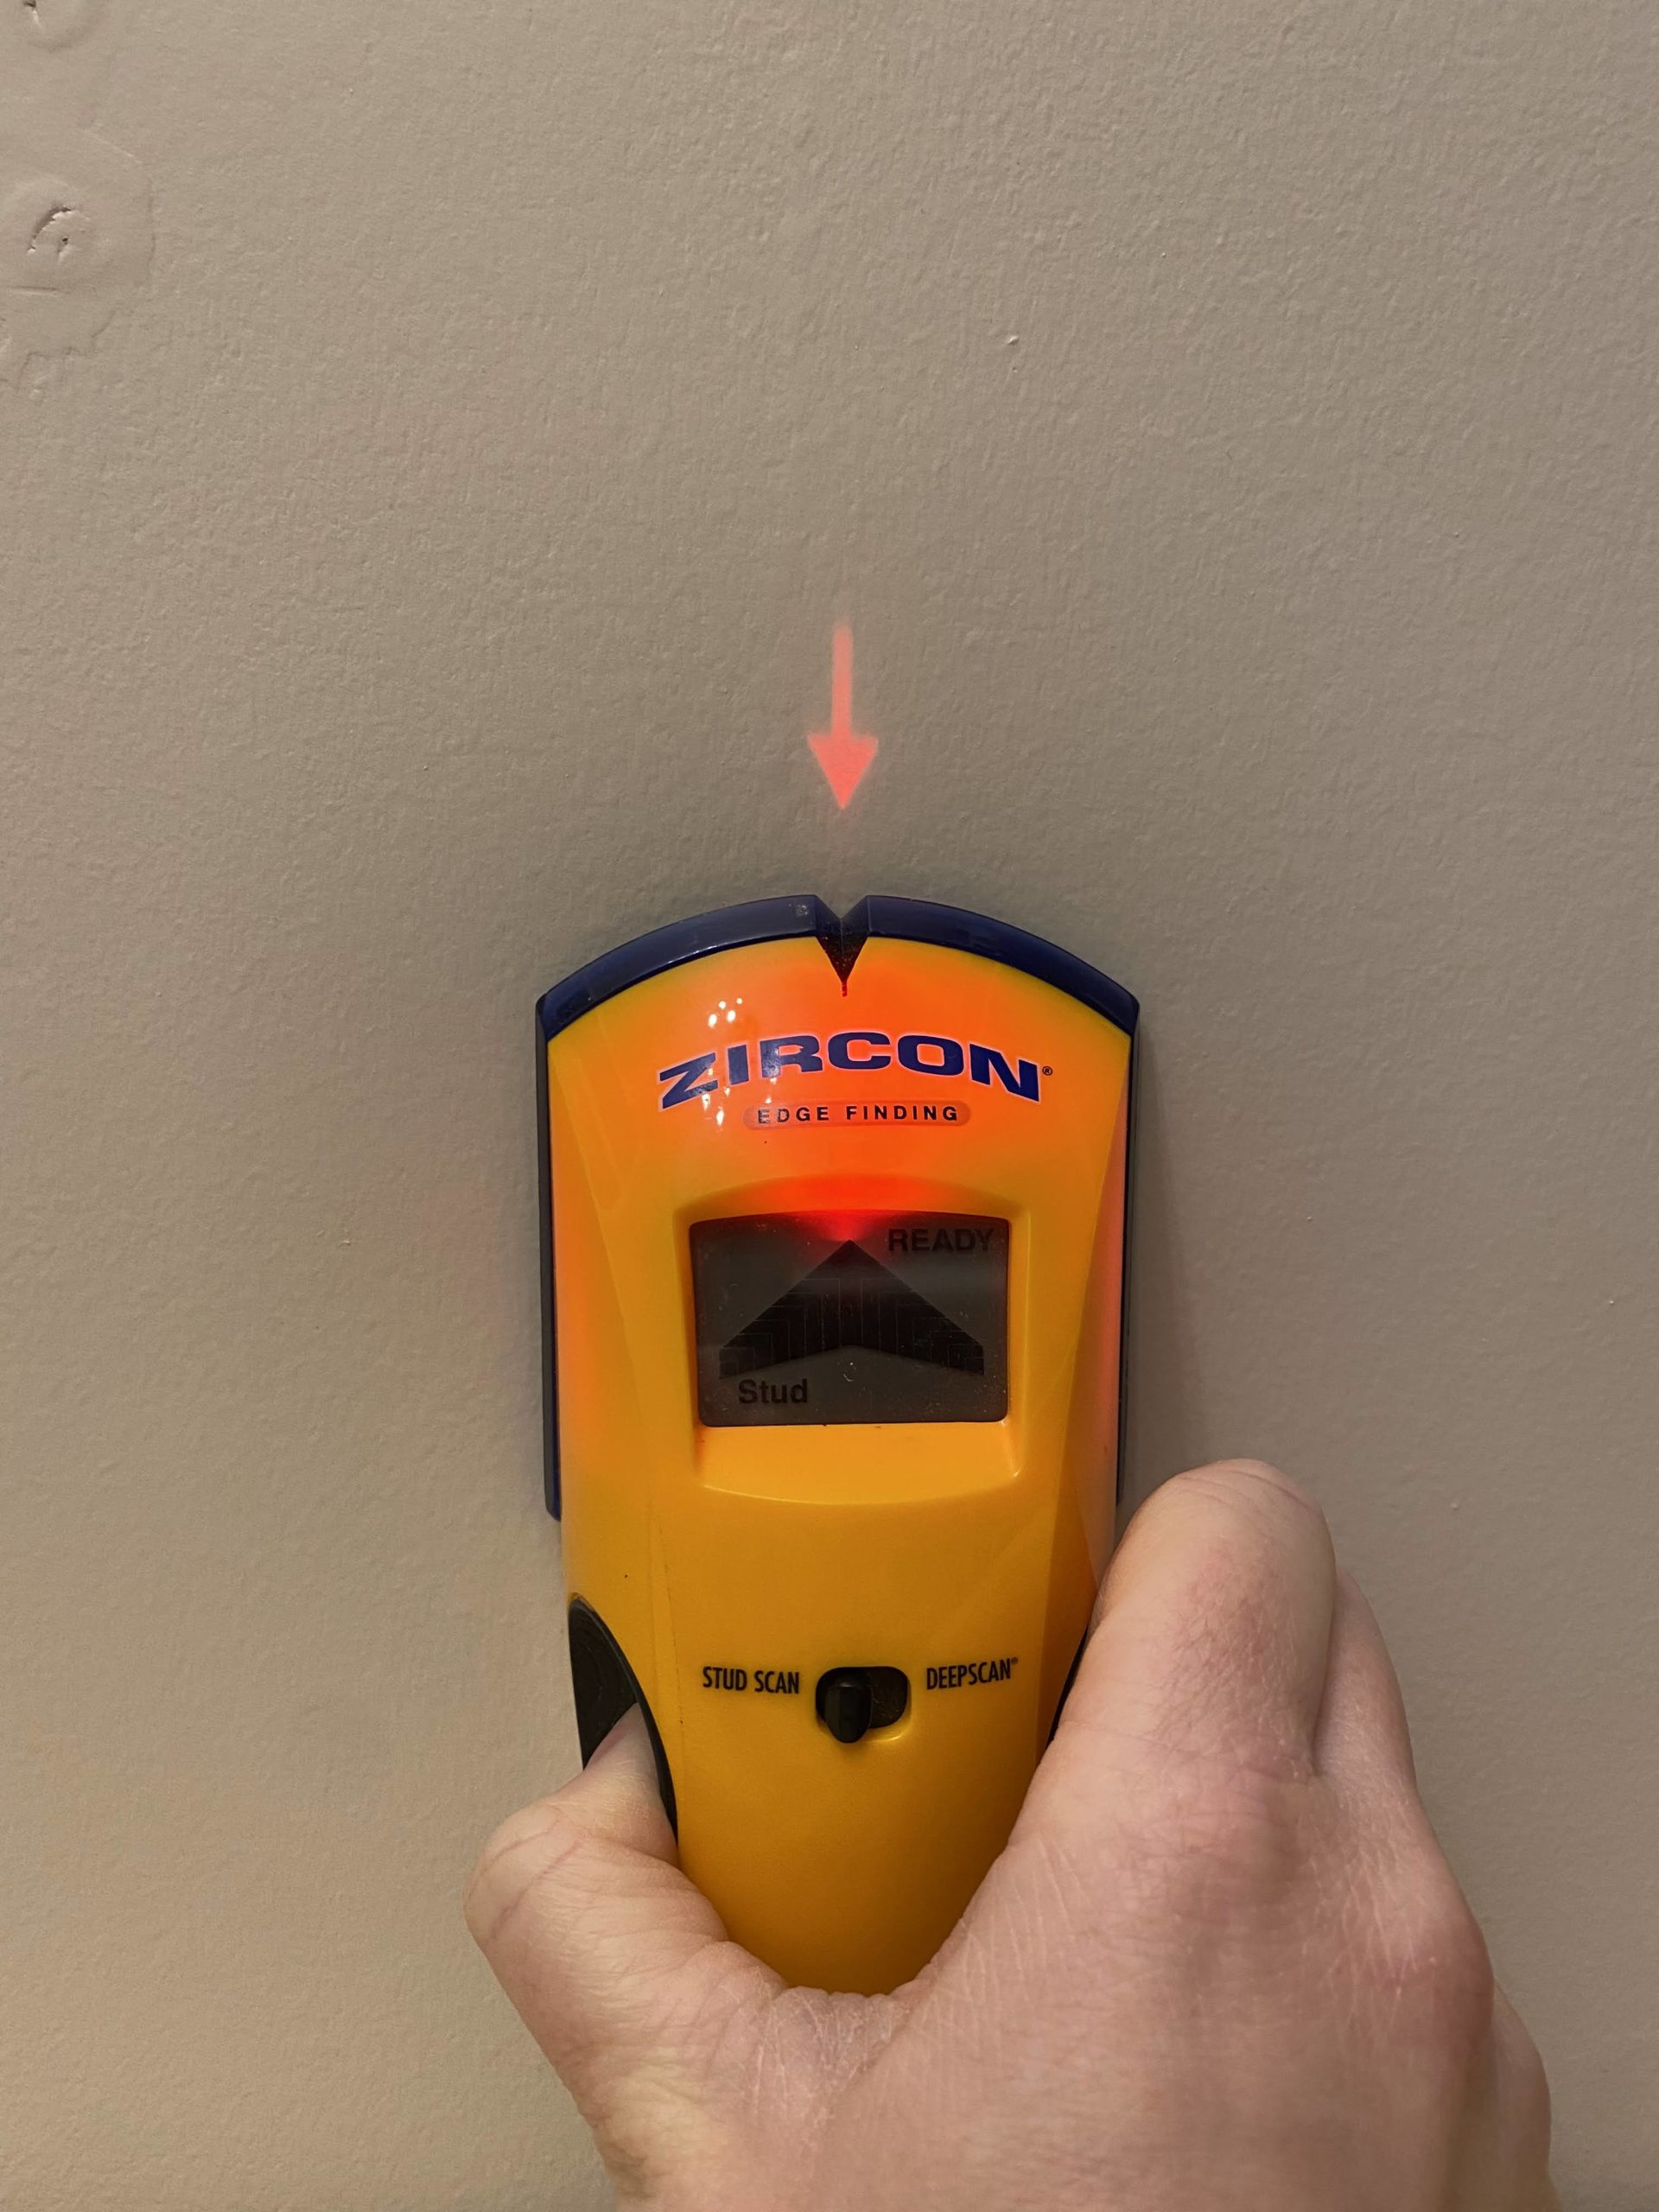
Once, the frame was attached to the studs in the wall, I added another support underneath the dresser since it can get heavy when it’s filled. I screwed that support into the studs and then screwed the bottom of the dresser into that support. Although the dresser is attached to the studs with 4″ screws, this would still not be enough support for a full dresser (with drawers) so I’ll add even more support in the next step!


STEP 3: Remove Dresser from Wall
I know, attach the dresser just to take it down?? At this point, I took measurements above and below the dresser to build out the rest of the closet but I needed to take the dresser out so I could paint it outside. Make sure to leave the cleats attached to the wall. Since these won’t show in the finished product, you don’t need to paint them. I painted the rest of the closet in Part I with a paint sprayer but now that we’ve moved all of our clothes in, I wanted to finish the project without having to take all our clothes back out.
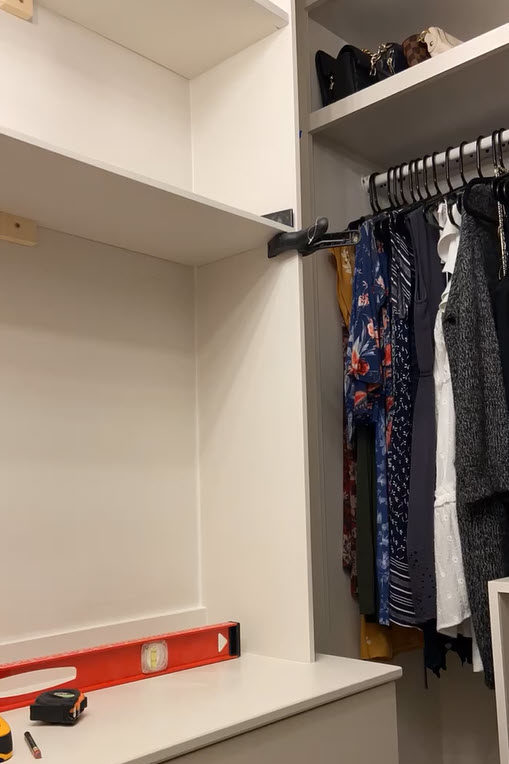
STEP 4: Design Shelf Layout
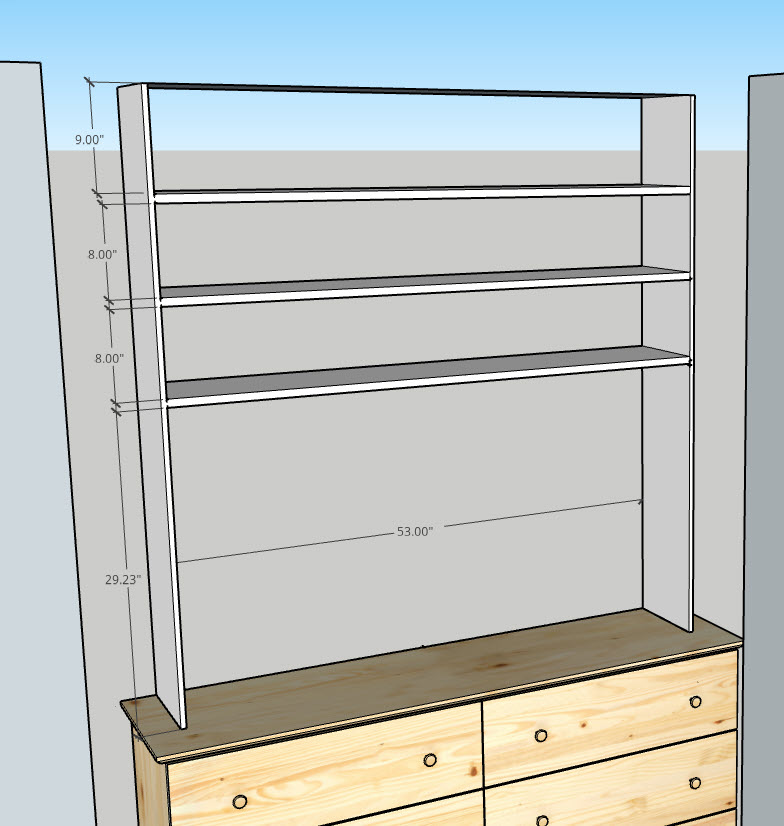
The best part of doing a DIY closet makeover is that it’s completely customizable! I had already hit all of my closet “must-have’s” now that there were drawers and a spot for Mark’s extra shoes. I also planned to have a mirror above the dresser so I decided to leave the space about the mirror as minimal as possible. Long shelving would visually fill the space, but still allow flexibility to use the space however is needed in the future. Below is a snapshot of the design that I landed on after a few iterations in SketchUp. Three long shelves are perfect to stack jeans, store winter sweaters or summer T-shirts or display purses (or decor!).
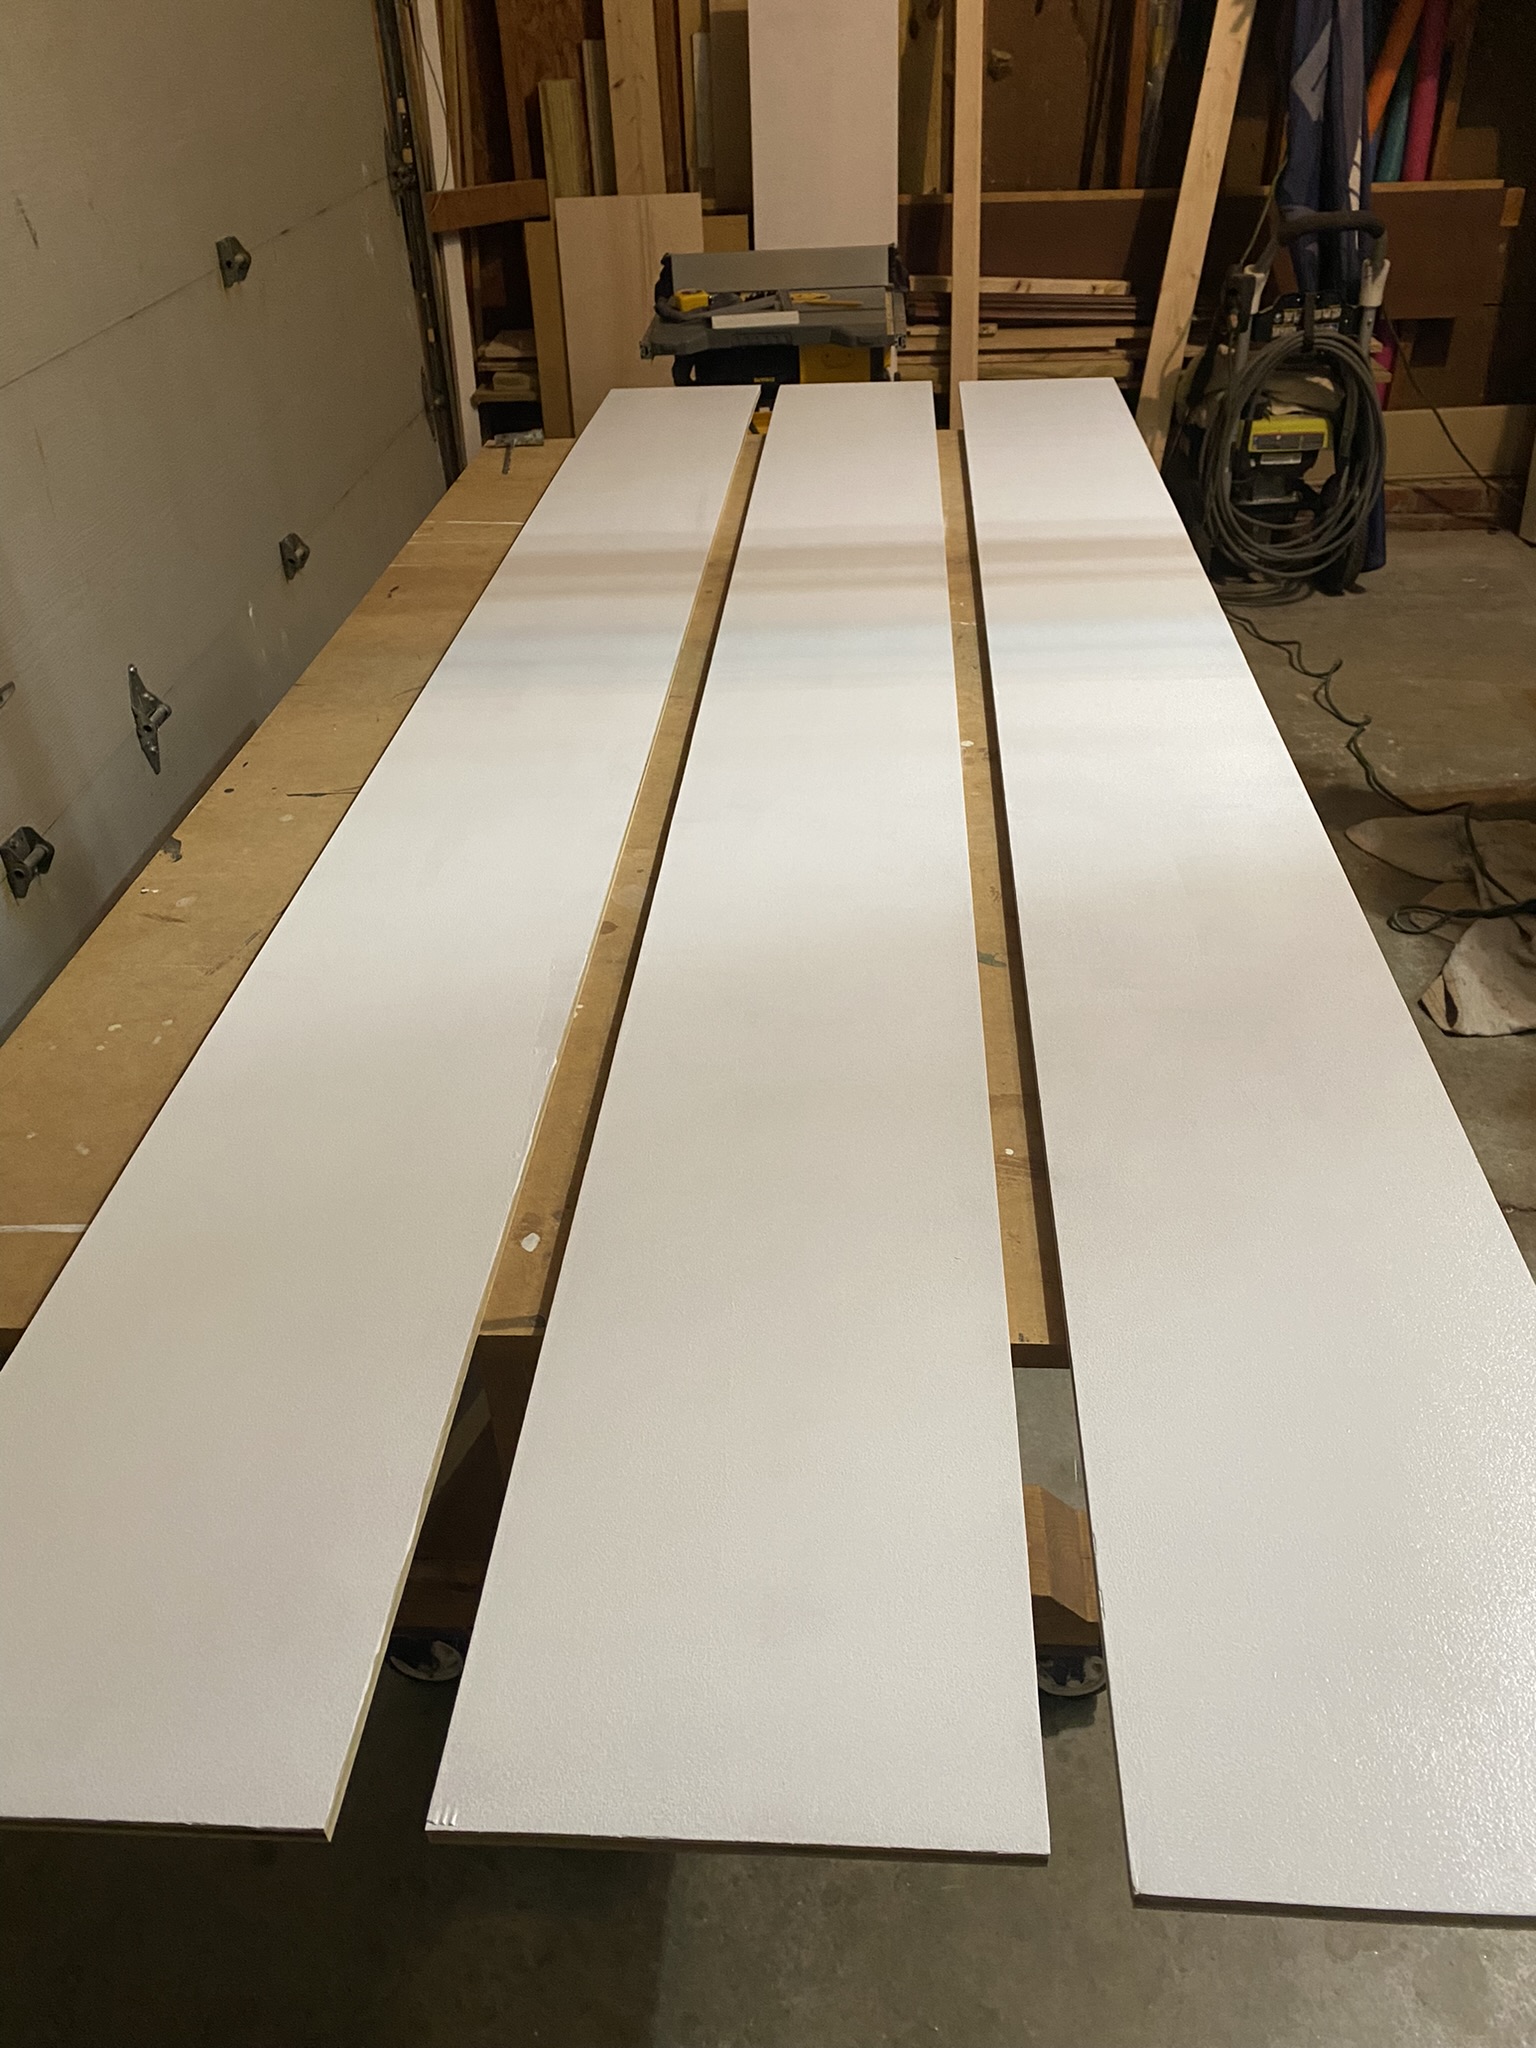
At this point, it’s easiest to cut all the panels for the top unit, so that you can sand and paint them all with the dresser in the next step. You’ll also want to cut an extra shelf for under the dresser- and don’t forget those side wall pieces!
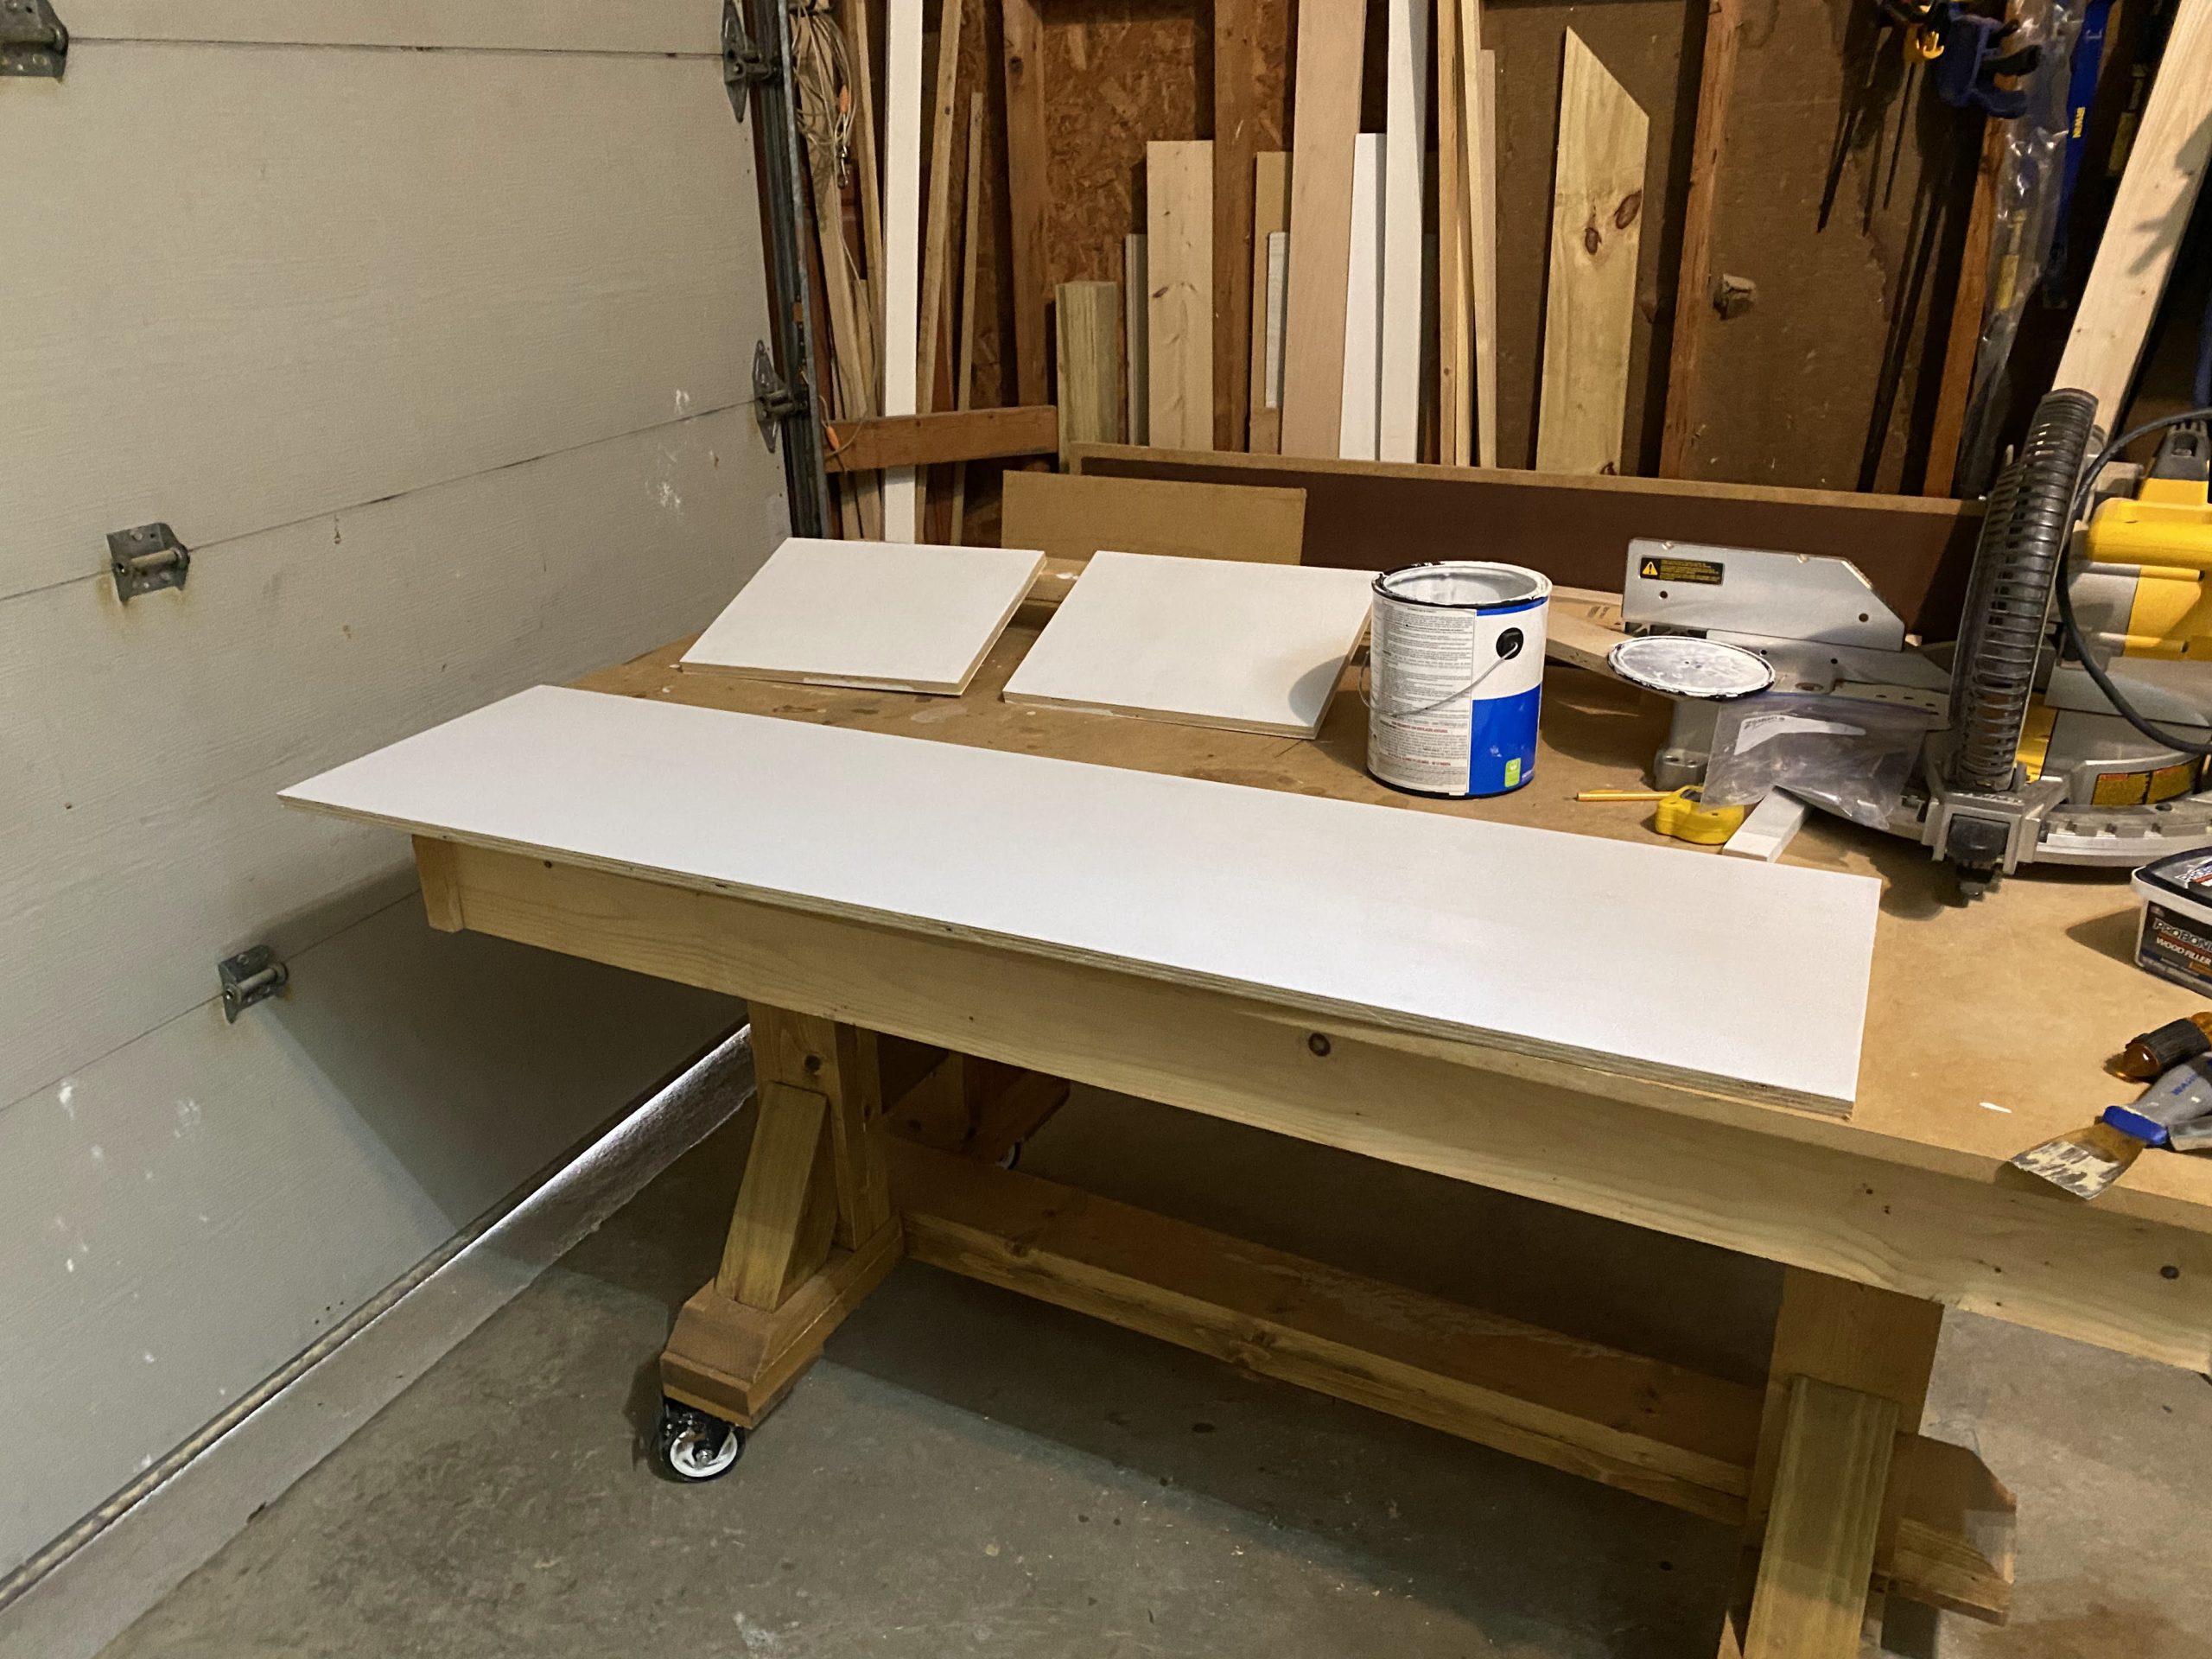
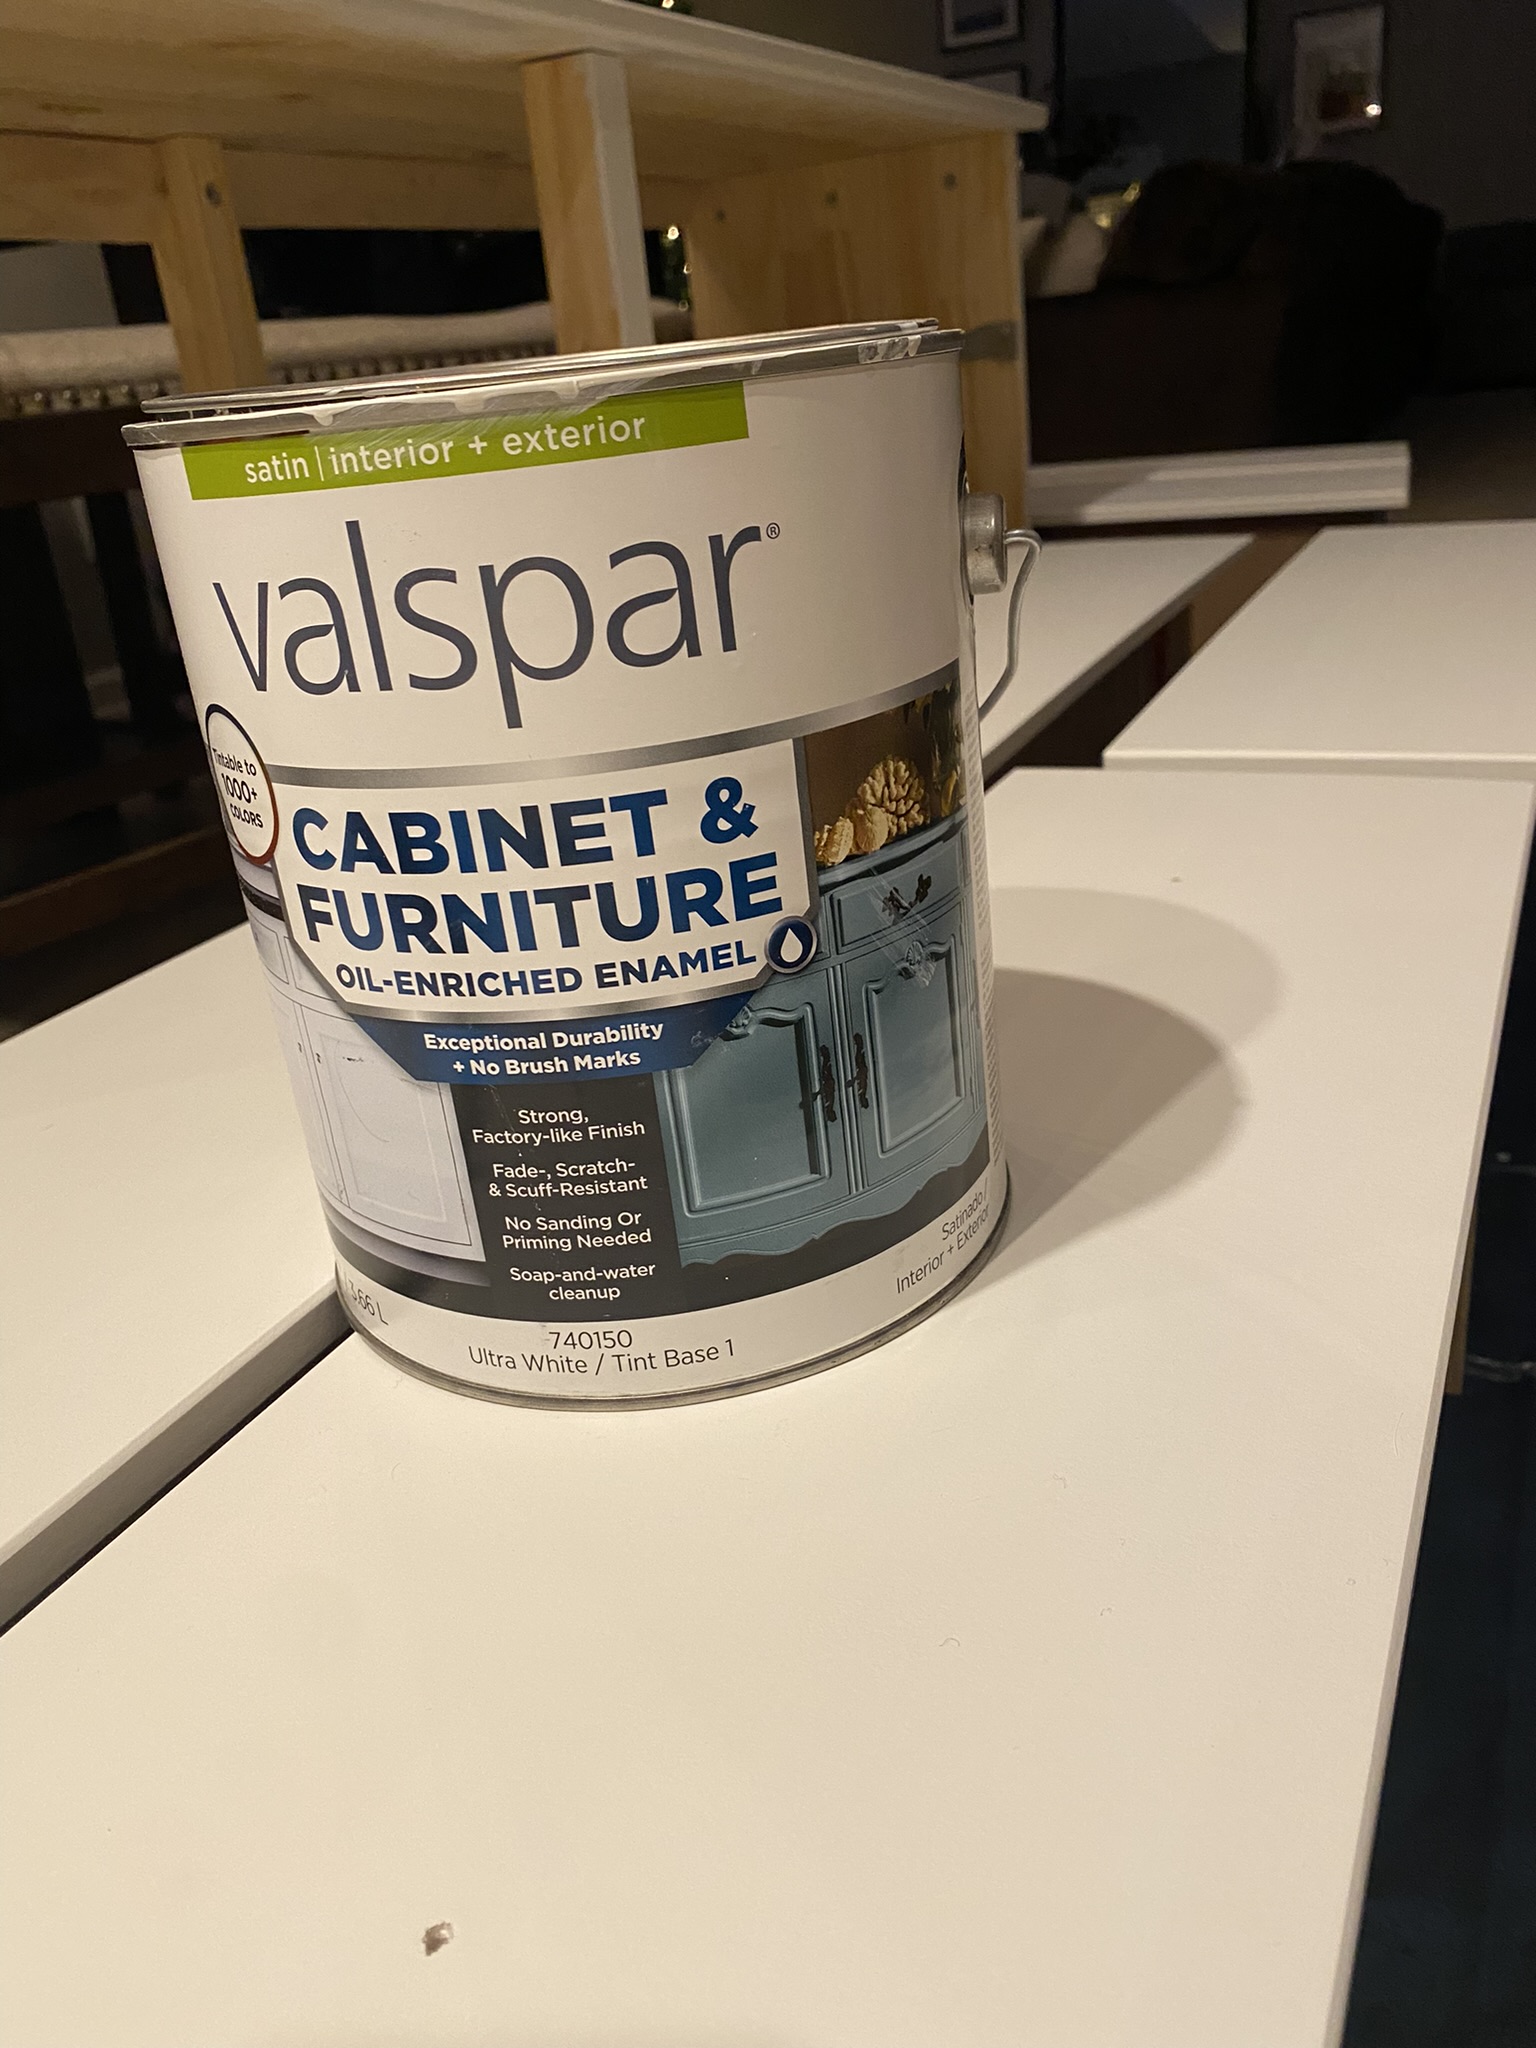
STEP 5: Prime & Paint
It has to be mentioned in all my DIY blogs but DO NOT SKIP PRIMER when painting raw wood. See why priming is so important HERE. Paint your dresser, and all the wooden pieces. Start with one coat of primer followed by 2 coats of satin furniture paint, sanding with 220 grit sandpaper and a vacuum in between each coat. When installing a dresser or anything where you’ll use the top for storage, it’s best to apply a protective poly coat over the paint to ensure no chipping or scuffing over time. I used Minwax water-based poly in matte sheen. I like the feel and protection of the dresser so much that I might go back and coat my shoe shelf and the other top shelves.
Once the dresser and all the panels are painted, rehang the dresser on the wall. This will be pretty easy since your cleats will still be attached to the wall.


Poly Tip: For a matte poly, the gloss is reduced by flattening agents which are suspended in the clear finish. Flattening agents are tiny particles that reflect some of the light back, thereby reducing the sheen of the finish. If they settle out or are not mixed well, then the finish will be more glossy. TL;DR: Stir your poly really well before use!
If you accidentally get a glossy finish on your first coat, you can still get a matte finish by simply applying properly mixed finish over the existing finish.
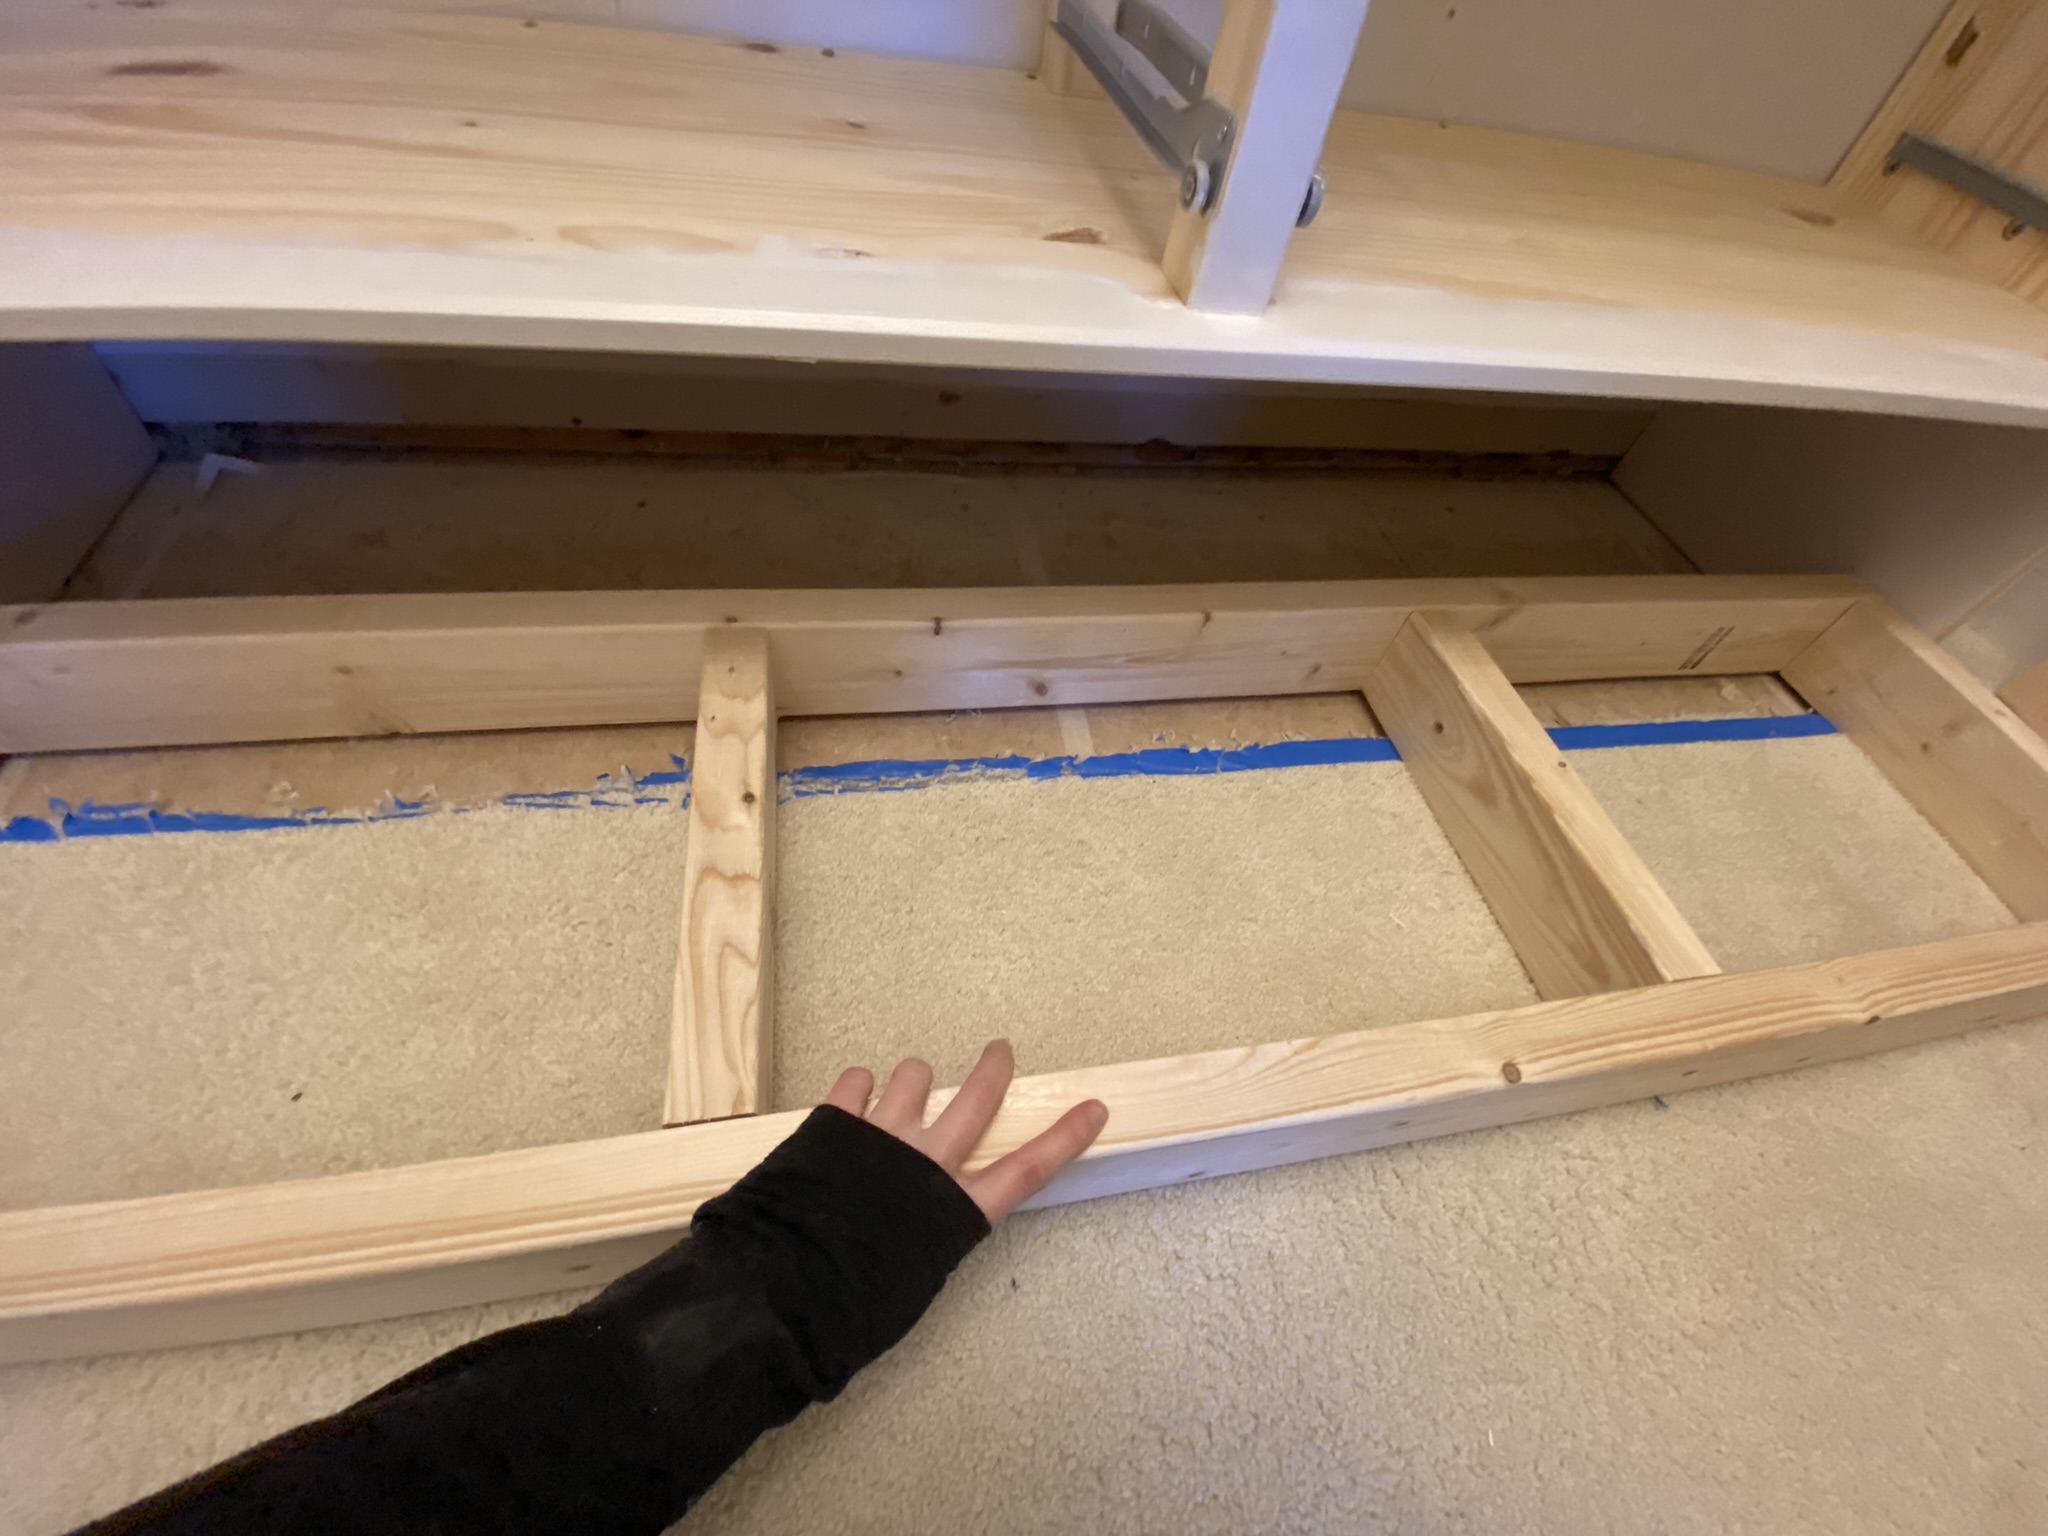
STEP 6: Build Foundation
Taking a page out of Phase I, build a foundation with 2×4’s and install it centered, underneath the dresser. Make sure that the length of your foundation is the exact width minus 2x the thickness of your plywood for a flush edge with the dresser. Screw the foundation into the studs and then add your two plywood side walls. Attach those side walls to the bottom of the dresser using pocket hole screws and also screw them to the foundation you just built.


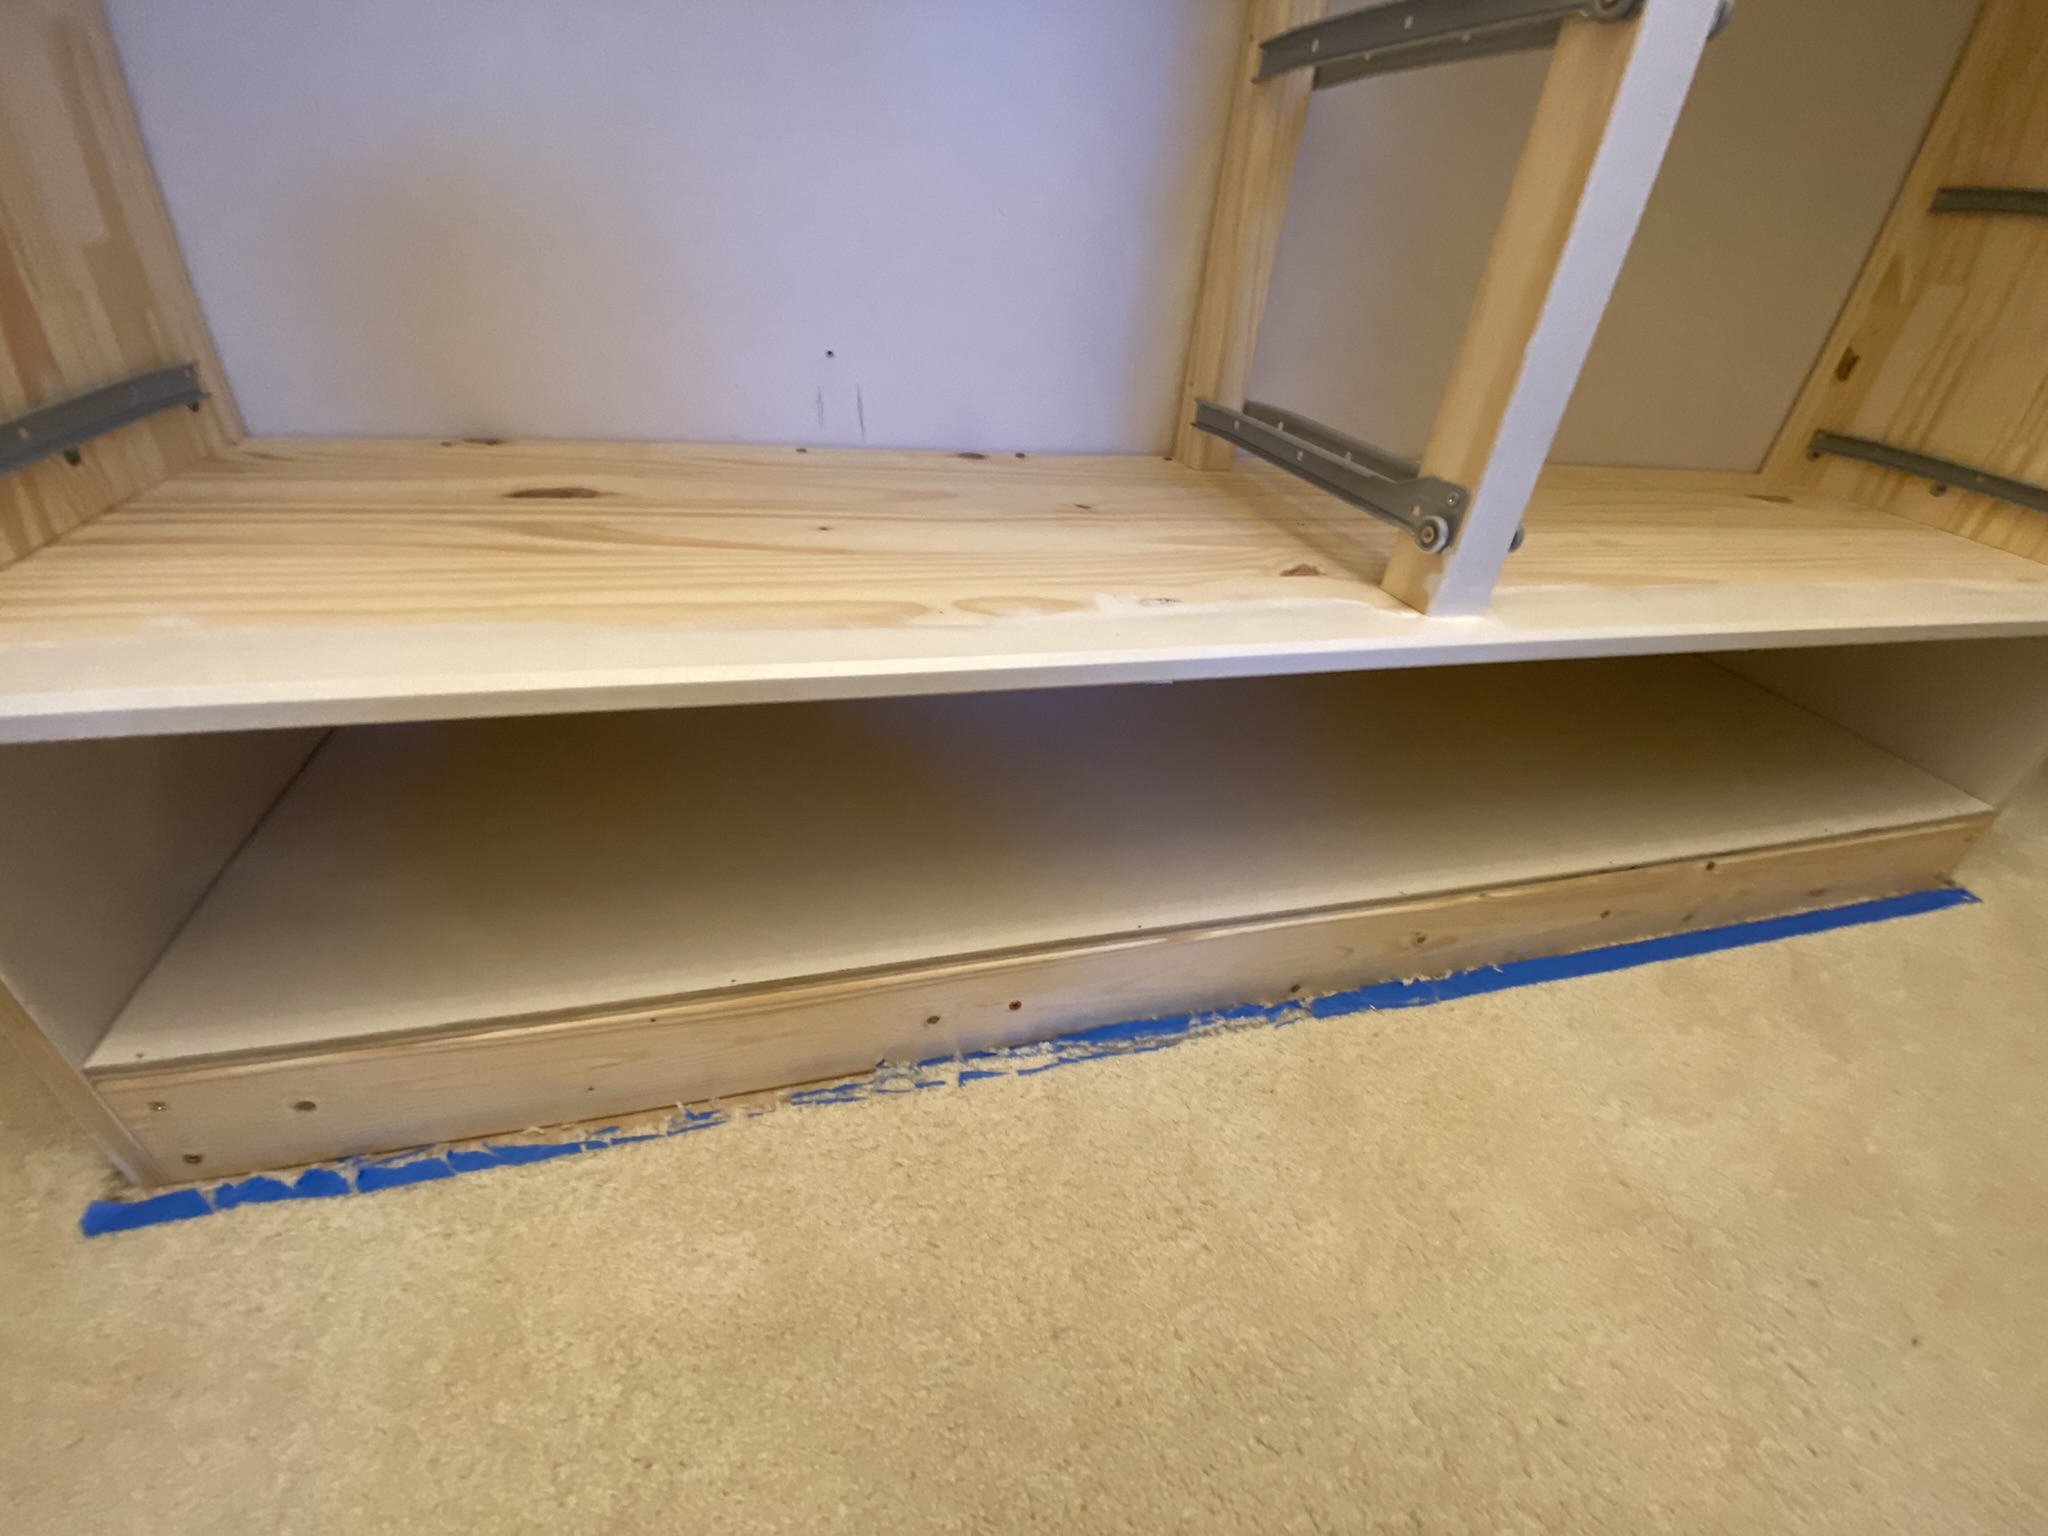
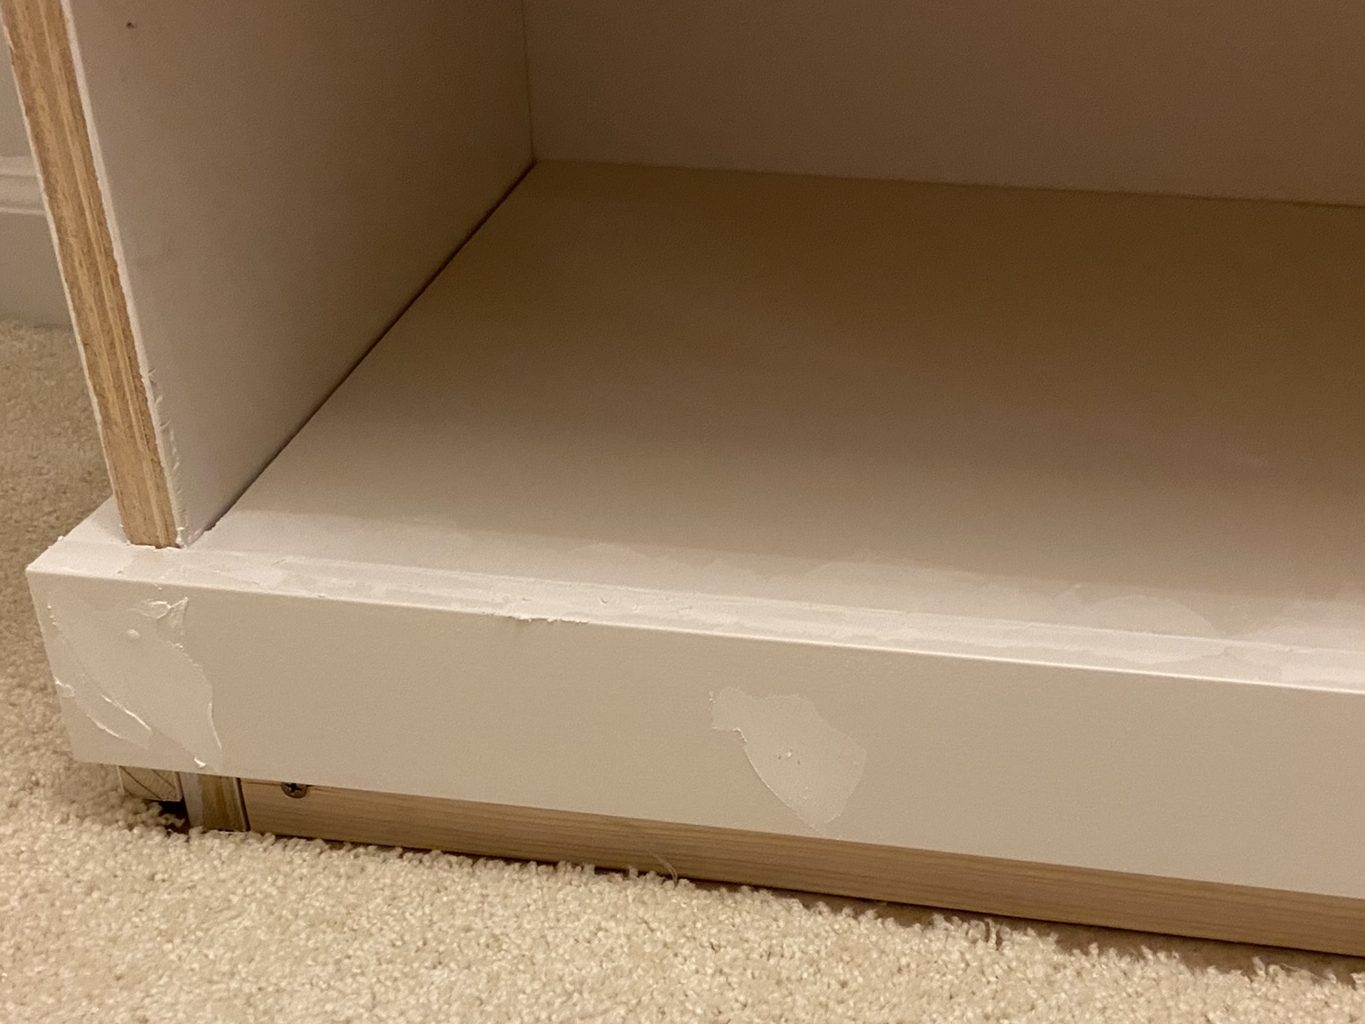
Cover the foundation and the sides of the base with some 1″ x 3″ trim pieces. Use 18g brad nails to attach them then fill those holes with spackle. Here’s one of my biggest time and mess saving tricks! If you are painting wood, you don’t need to use wood filler to fill small holes and cracks- you can use spackle! You can “sand” the spackle with a wet sponge as soon as it’s dry (about 30 minutes). There’s no dust, no long waiting time and it fills just as well as wood filler. Don’t believe me, check out the results here:

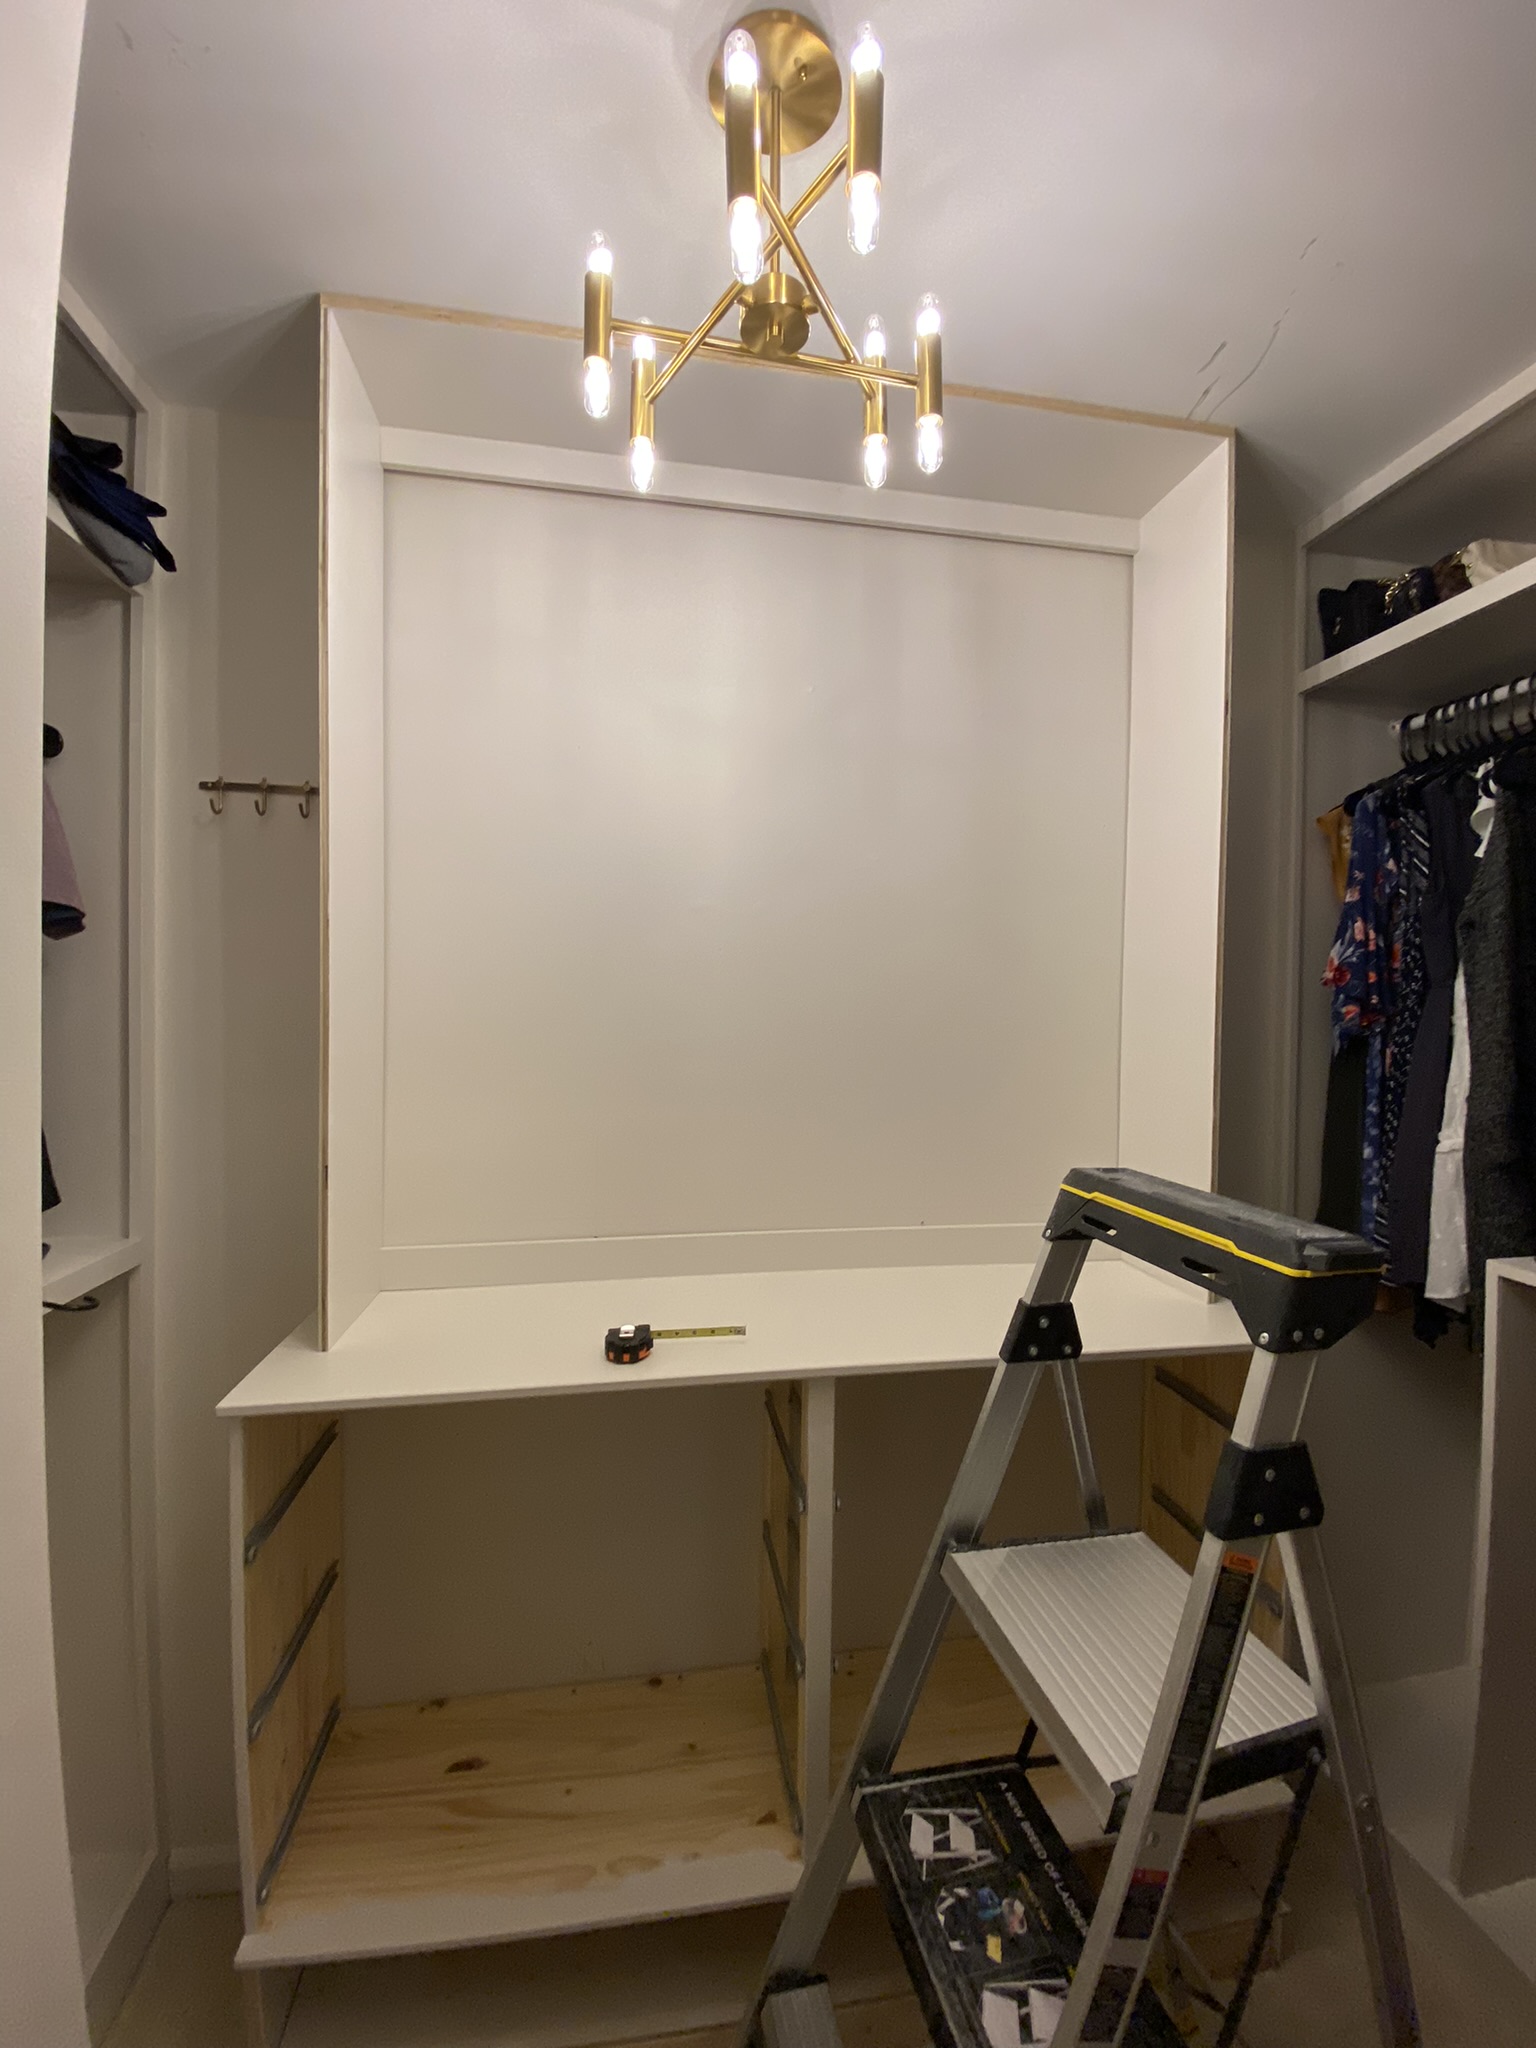
STEP 7: Build Top Unit Frame
I made sure that I had enough clearance in my closet to install the top shelf frame in one piece. This allowed me to build the top unit with pocket hole screws that were all facing the ceiling or the back wall. The frame consists of two sides and a top, all attached to 2 stretcher pieces (strips of plywood). Very simple but the stretchers added the stability for the piece before it’s installed, and also provide a great way to attach the piece to the studs in the wall. Just screw in 2 1/2″ screws into the stretchers at any point that overlaps with a stud. I was able to attach this to 4 studs, plenty of support for any shelving I added.

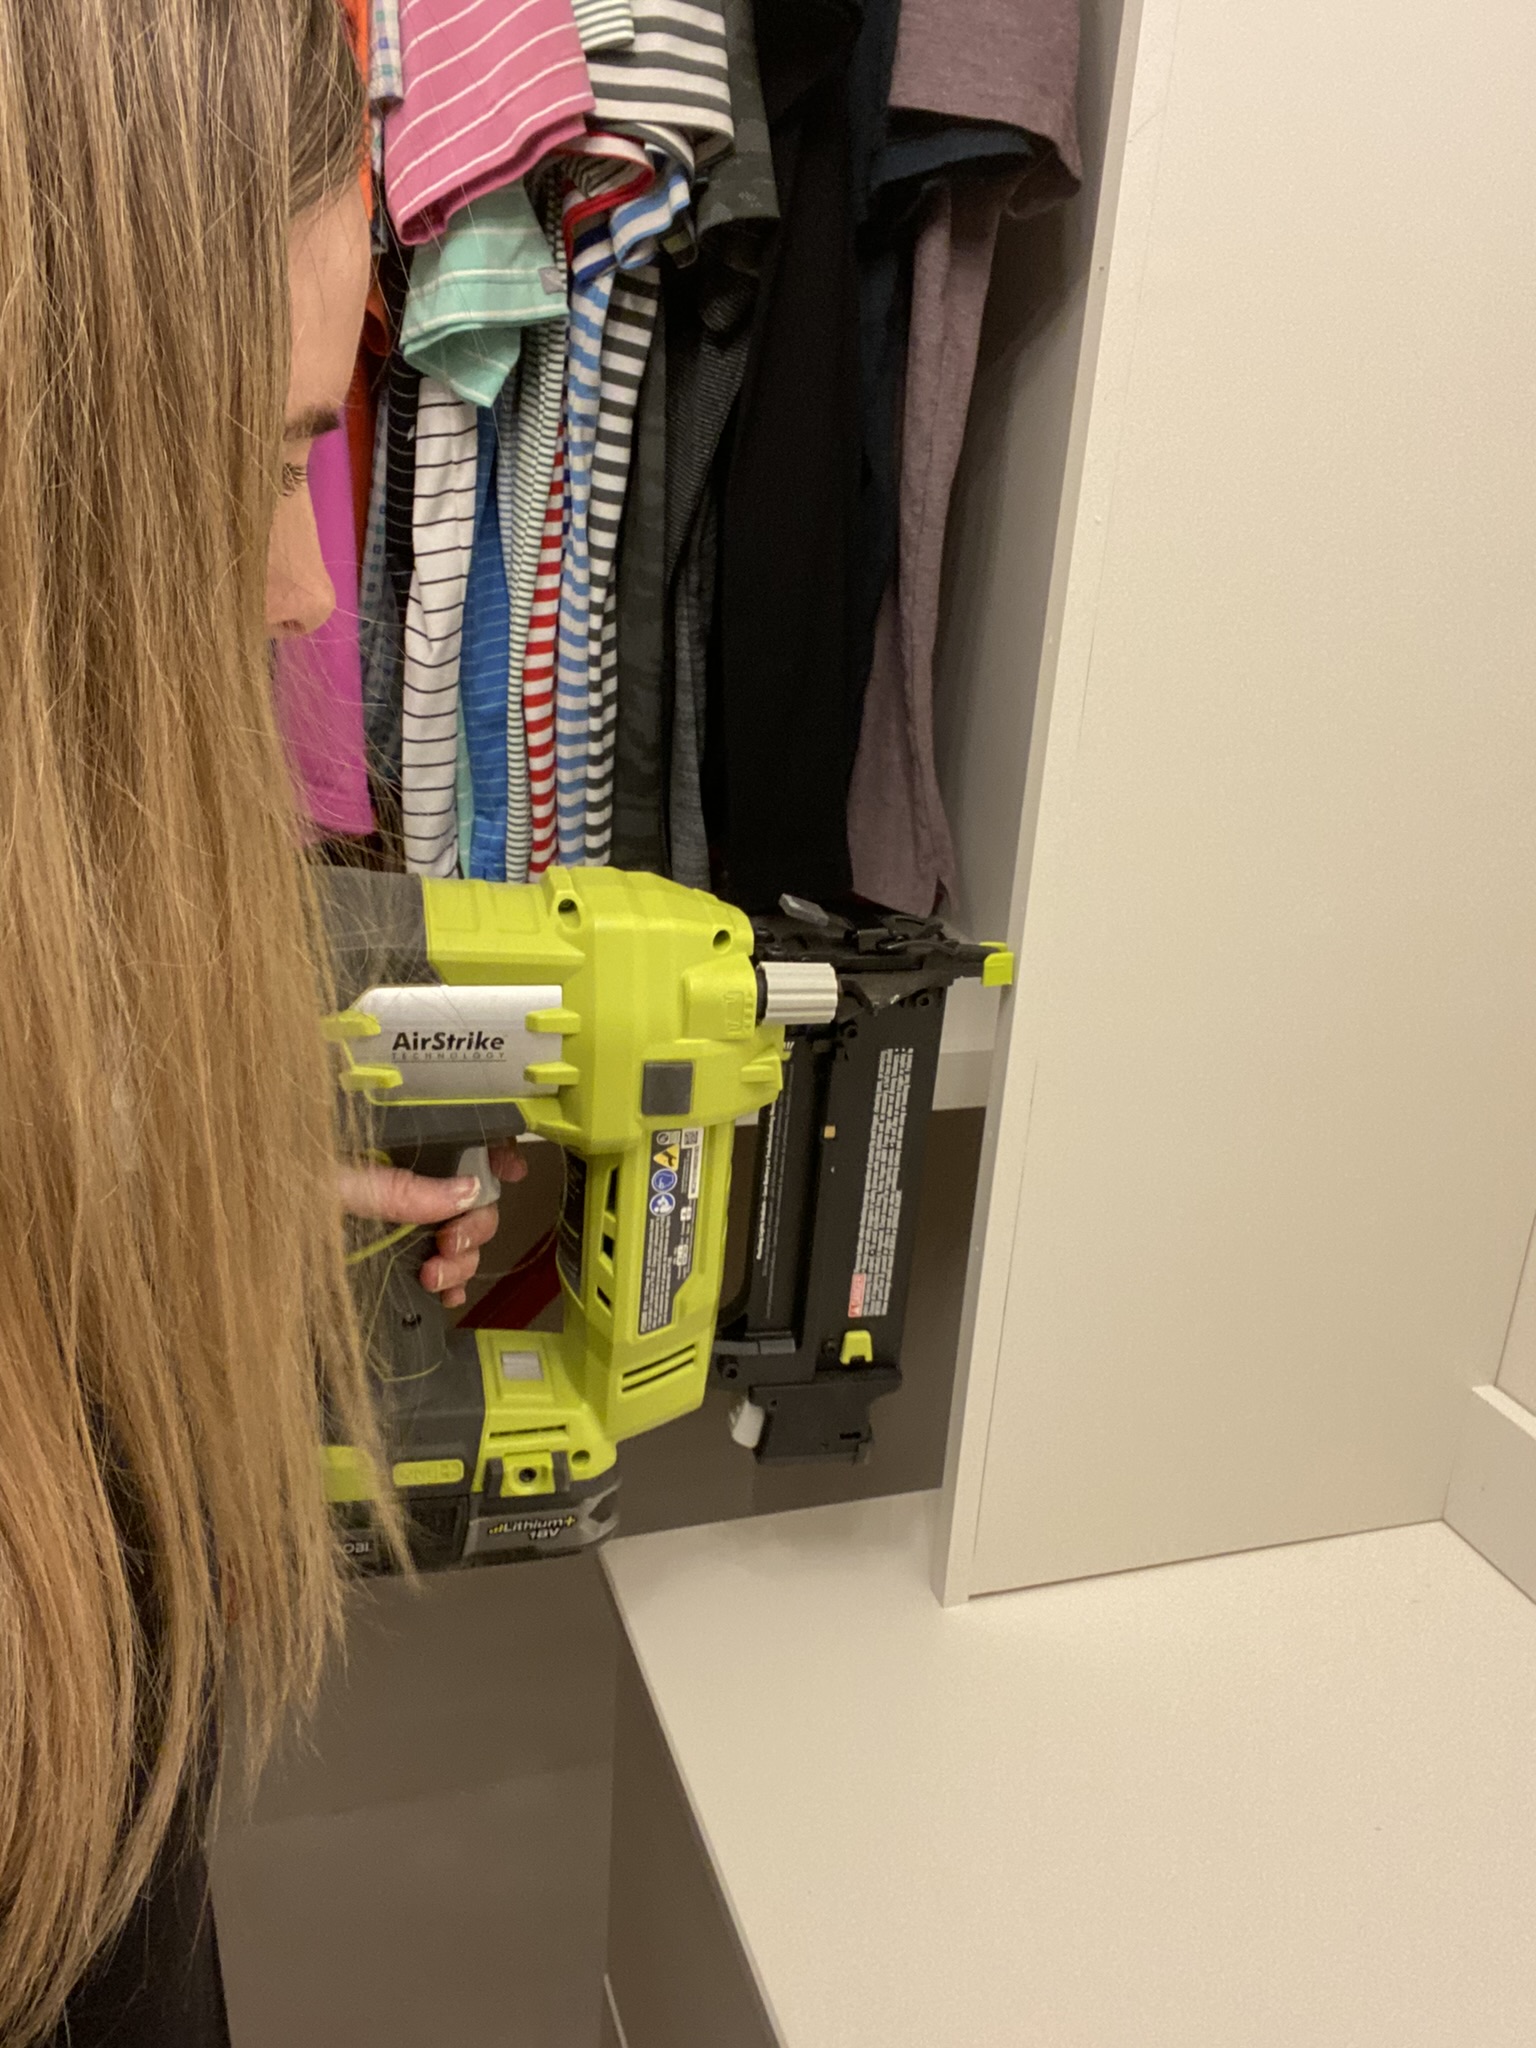
Since the sidewalls of the top unit were just sitting on top of the dresser, I needed to stabilize them. I very carefully measured for where the 1/2″ plywood was and shot two brad nails into the sidewall of the top unit. After this was complete, the side walls didn’t bend or wobble even under a decent amount of pressure. Scary process but very worth it.


STEP 8: Add Face Frame Trim
In order to keep this top unit super minimal, I used a smaller face trim than the 1″ x 2″ I used in the rest of the closet. I ripped a 1″ x 3″ down to 1″ x ” 1/2″ to make it the same width of the plywood and attached it with brad nails. Add a little spackle and some touch up paint and you’ve got a super clean edge without adding any bulk.
I’m sure you’ve heard or nominal vs. standard dimensions of wood. For example, a 1″ x 3″ board is technically an industry standard 3/4″ x 2 1/2″ But the thickness actually measures 0.7187″. WTF. That’s not even a line on the measuring tape!
A tip for ripping these weird thicknesses- set the width of your table saw with an actual piece of the board. Just make sure it has enough room to move through the saw or it’ll come out slightly too small.
PS. I also used this tip when I built the shelves!

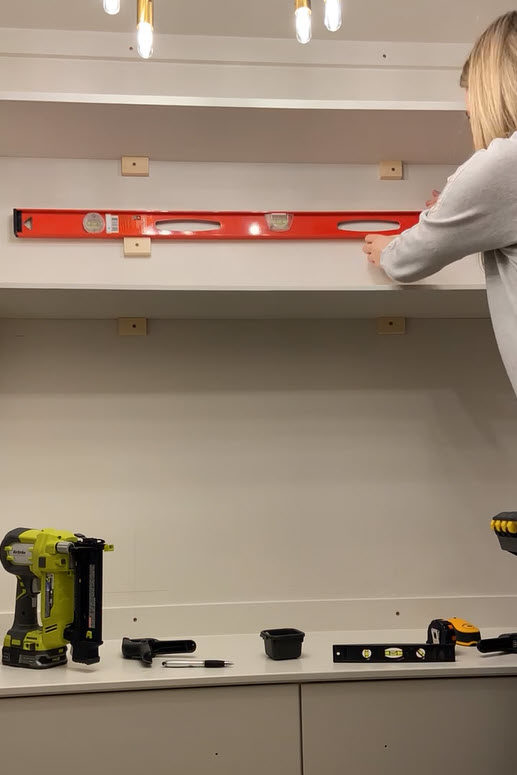
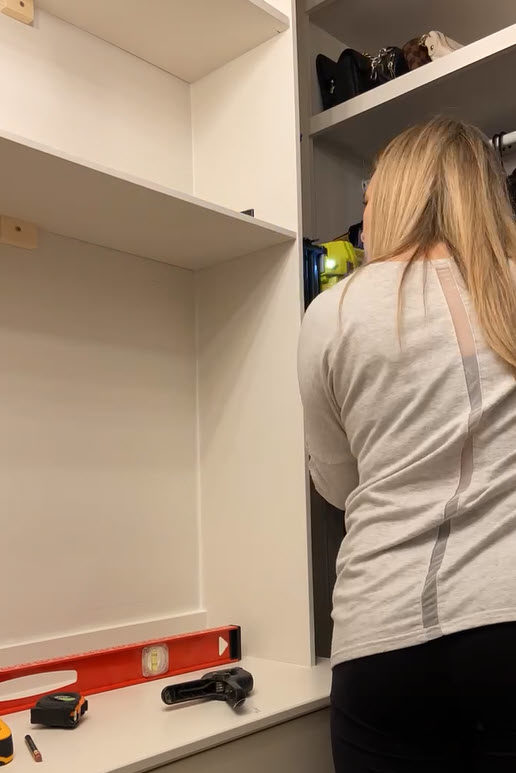
STEP 9: Add Shelves & Caulk
The shelves above the dresser are attached by brad nails through the sidewall of the top unit. In order to hang the shelves level, I used wood blocks in the back wall as supports and clamps the hold up the front. I ended up replacing the wooden blocks with these 2.5″ L Brackets. Each L Bracket attached to a stud so it’s super secure. I painted them the same white color so once I have stuff on the shelves, they’ll totally blend in!
Once all the shelves are in, you’ll want to go back and caulk where all the wood meets the walls and the dresser. This gives it the real built-in look and makes your build look professional. Just be sure to let your caulk cure for the full amount of time before painting (I like to let it cure for 24 hrs regardless of what the bottle says). If you don’t let the caulk fully cure before you paint, you’re paint will crack as soon as it dries due to the caulk shrinking. I would know, I had to caulk and paint these shelves 2x for this exact reason!!
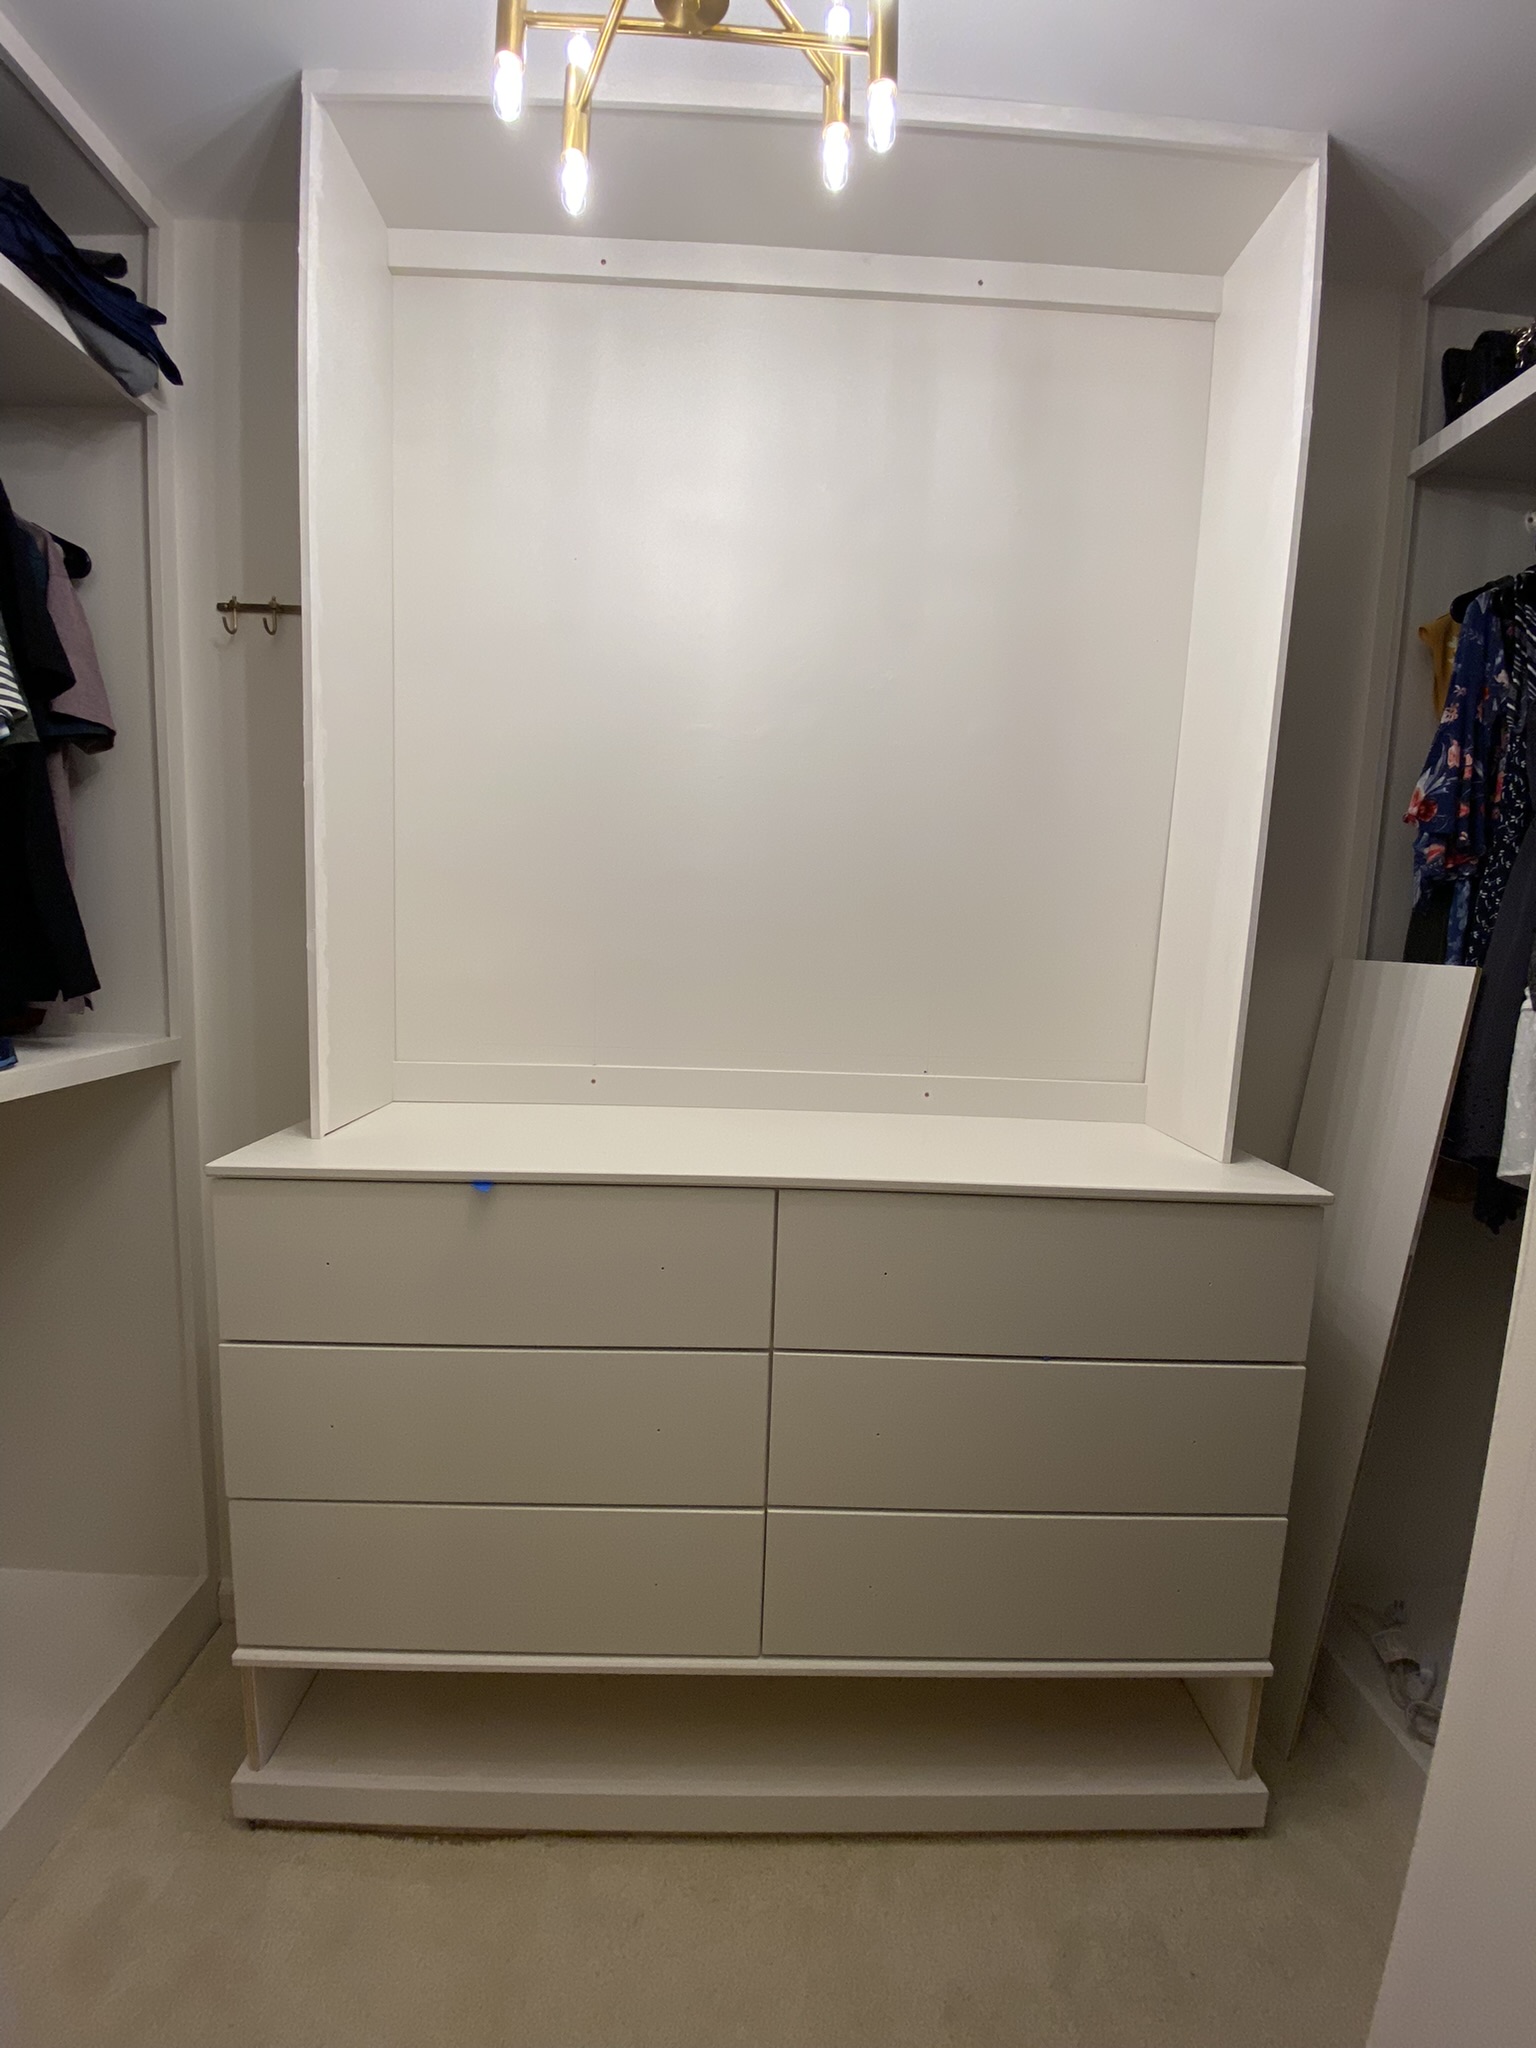
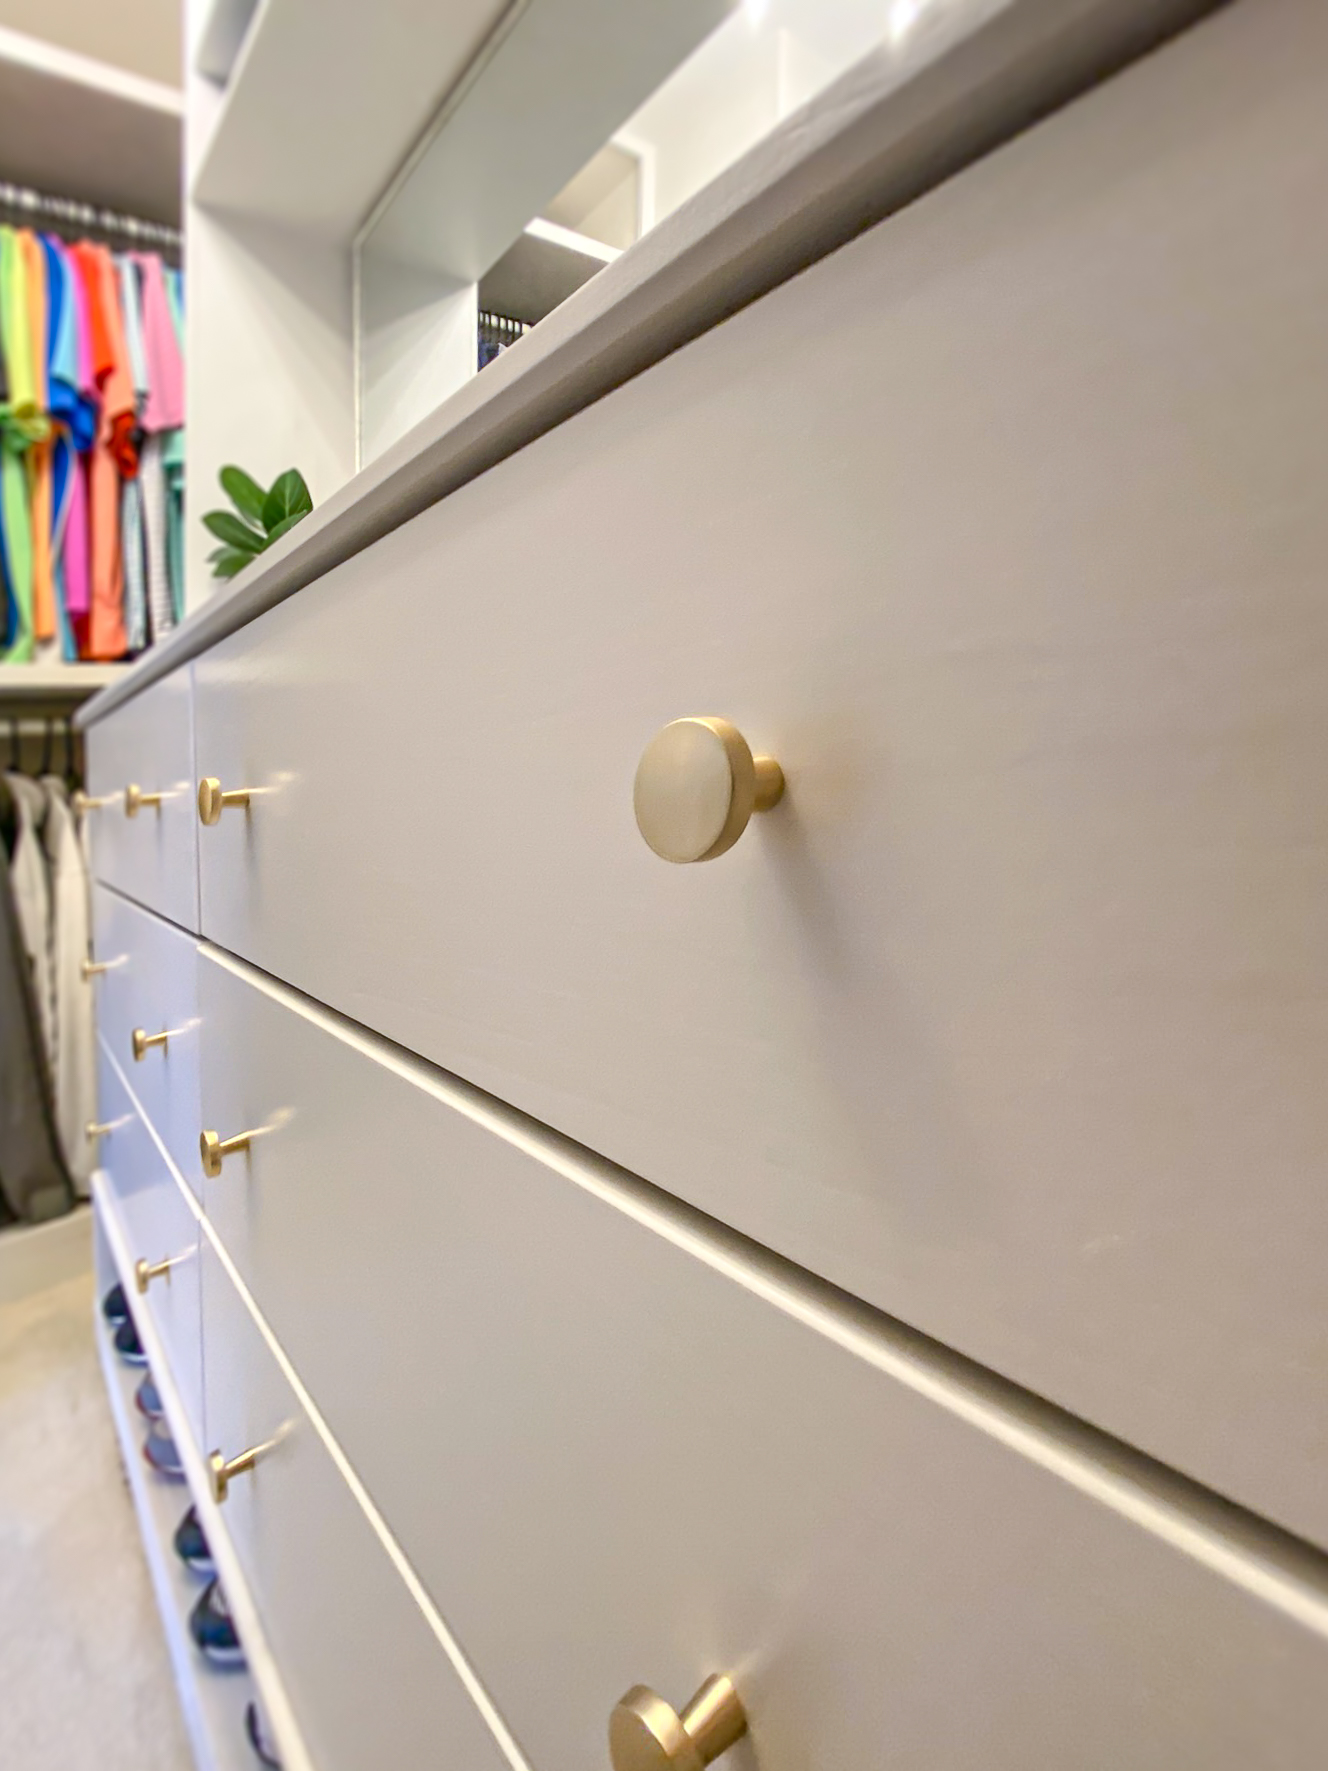
STEP 10: Enjoy!
Okay, so I also added some new cabinet pulls in this step but let’s be real- I added all my clothes to the dresser as soon as it was re-installed in step 5! I am OBSESSED with my new DIY Closet Makeover! And don’t worry, I won’t leave you hanging! Here’s a few photos of the back wall I built throughout this post! CLICK HERE for the full closet reveal post that includes all the decorative sources and the cost breakdown!
Want to keep up with my newest projects? Come hang out on my social media accounts, below!