How to Build a Board and Batten Accent Wall
Last weekend I shared in Instagram stories that I was helping my friend, Sam, create an accent wall in her bedroom. Sam and her fiance, Gabe, just bought a house that was recently flipped. The house is so cute and the flip was well done with updated and clean design but everything was left like a new build- very neutral.
Sam wanted to do something to add some character and warmth to the house before they moved in. She opted for a simple, yet impactful accent wall in the main bedroom. She inquired with a few pros and discovered the cost would range anywhere from $800 to $1,500 which was just a little bit more than she was hoping to spend. They just bought a house after all! After talking with me for a little bit, I convinced her that she could totally do it herself and I also offered to come help!
An accent wall is a great beginners DIY project- you can make the design as simple or complex as you want. You can use only paint for some quick impact, or add trim for texture and character.
(This post contains affiliate links which means I receive a small compensation at no cost to you. As an Amazon Associate I earn from qualifying purchases. You can read more about it here. Thank you for supporting my blog!)
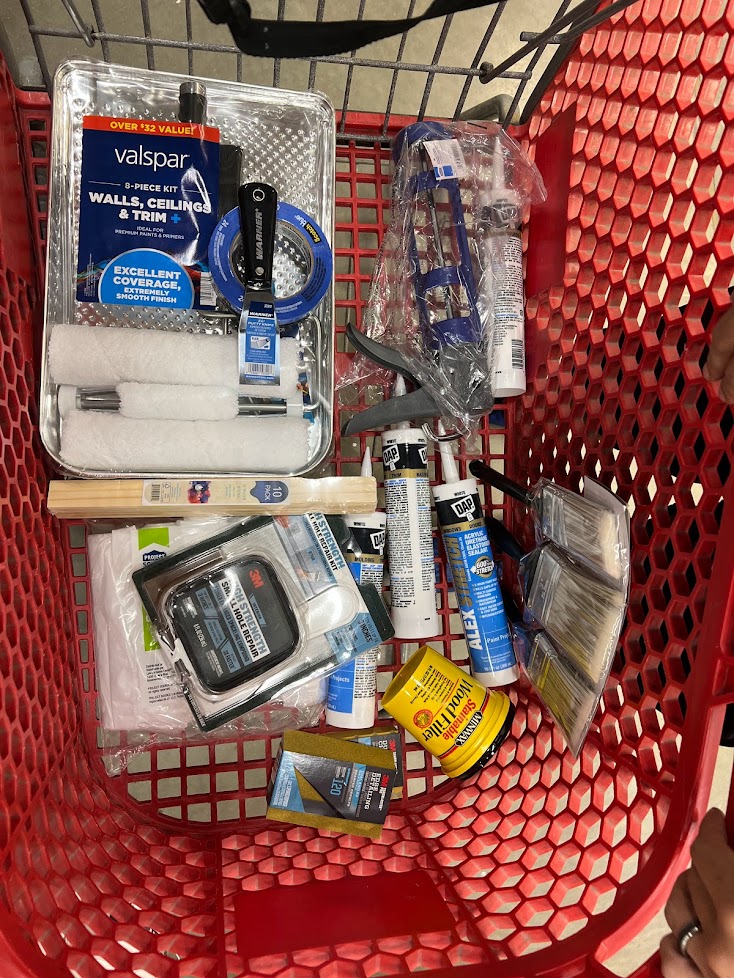
MATERIALS:
3/8″ Paint Roller Cover (3-pack)
Wood Filler and Paintable Caulk
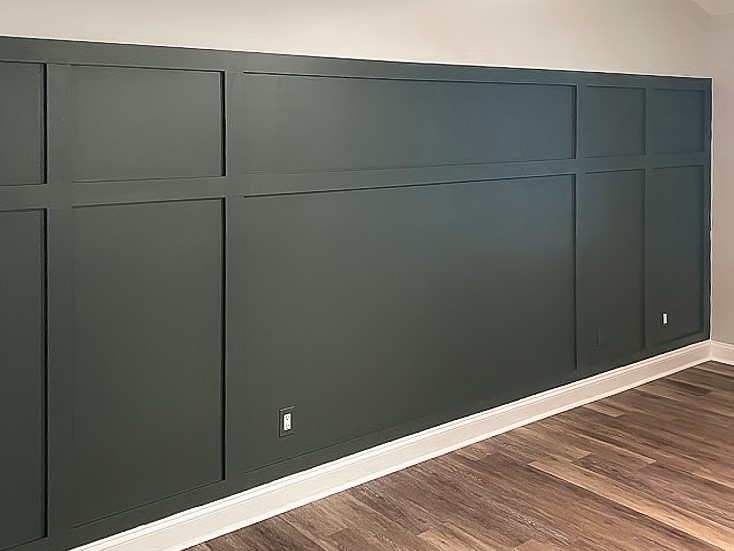
Eggshell Paint (Sam used tinted SW 7622 Homburg Gray)
TOOLS:

STEP 1: Plan your Accent Design
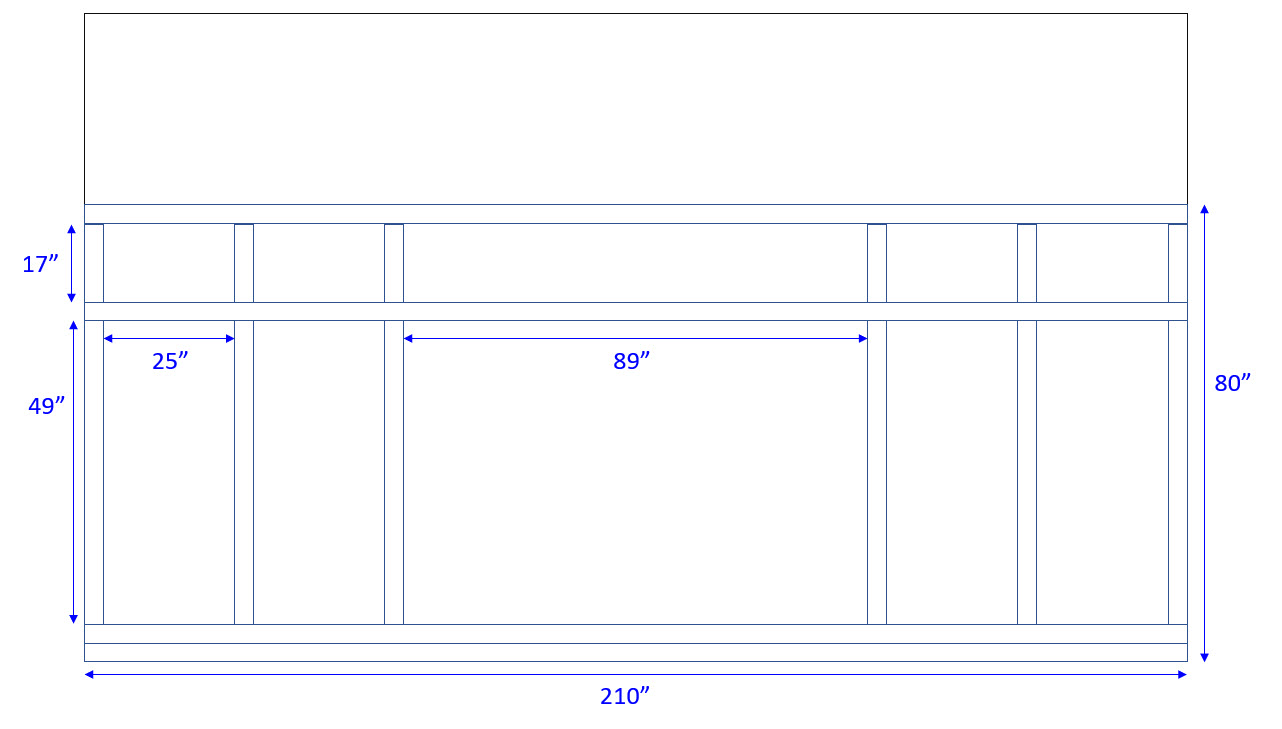
You may have a look already decided in your head, or you may not know where to even start. If you’re the latter, read about how to find your look in my Mood Board/Inspo Tutorial. Once you’ve decided on your design, measure out your space and calculate the amount of wood and other materials you may need. Sam decided on a moody green Board and Batten design that would frame their bed. Here’s her inspo pic:

Here are the dimensions we planned based on the size of the wall (17′), the headboard (48″ x 80″) and the 3.5″ boards we planned to use:
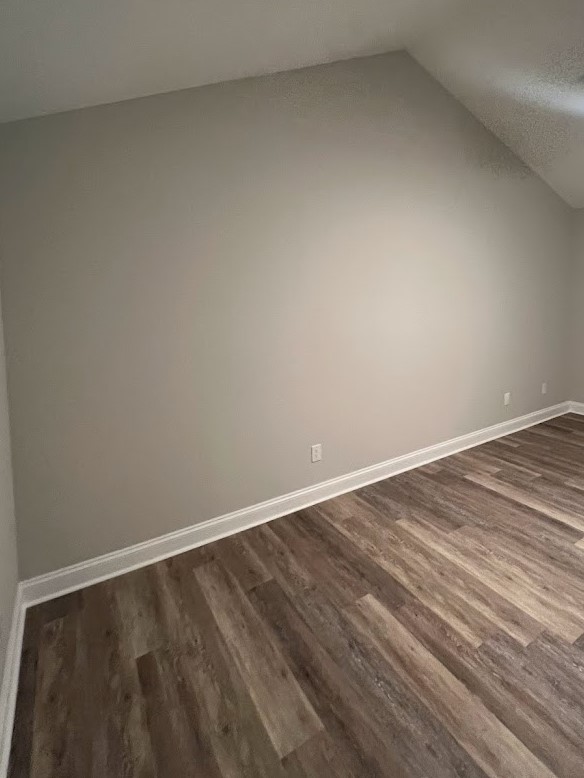
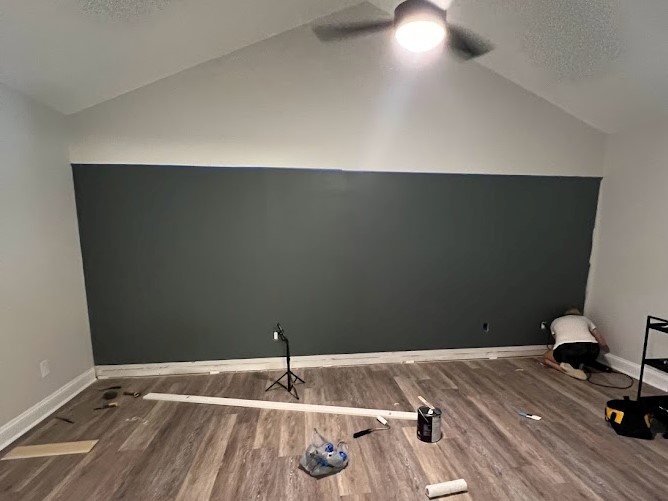
STEP 2: Paint the Wall
Start by painting the entire area of the wall that you plan the accent to cover. For Sam’s project, this meant painting the bottom 80″ of the entire wall. Painting the wall first makes it easier to get good coverage in one coat after the trim is in place. It takes a substantially longer time to paint around trim than it does to paint a bare wall.
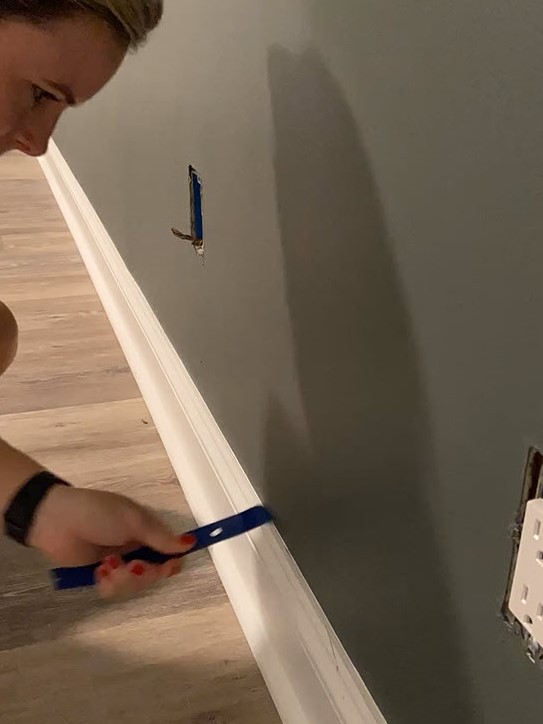
STEP 3: Remove Baseboards optional
This step is optional but I strongly suggest that you do it, especially if the accent trim you’re using is wider than the top of your baseboards. (And it probably is because baseboards usually taper in at the top). Removing your baseboards before installing the accent trim is going to make your design look way more professional and clean.
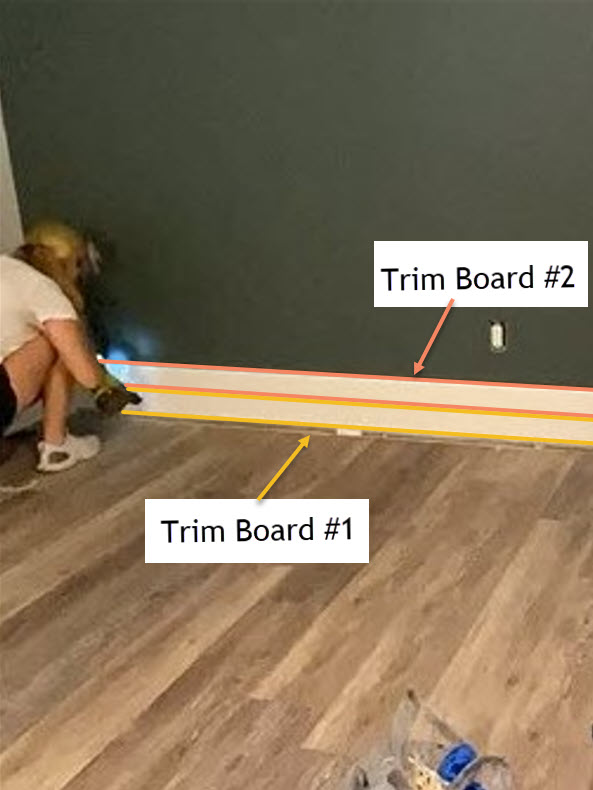
You could opt to remove the baseboards and just create the accent wall without reinstalling them- but that’s another quick way to make your work look like a DIY. To make your accent wall look like it was done by a pro, remove the baseboards and add a trim board at the bottom, where your baseboard used to be. Then, add another trim board right on top of that one for the bottom of your design.
You want the second trim board to start right under the old baseboard line, so that when you add your baseboard back over it, it will hide the seam. At first, this will look weird, like you made the bottom of your accent too thick, but the magic happens when you reapply the baseboard at the end.

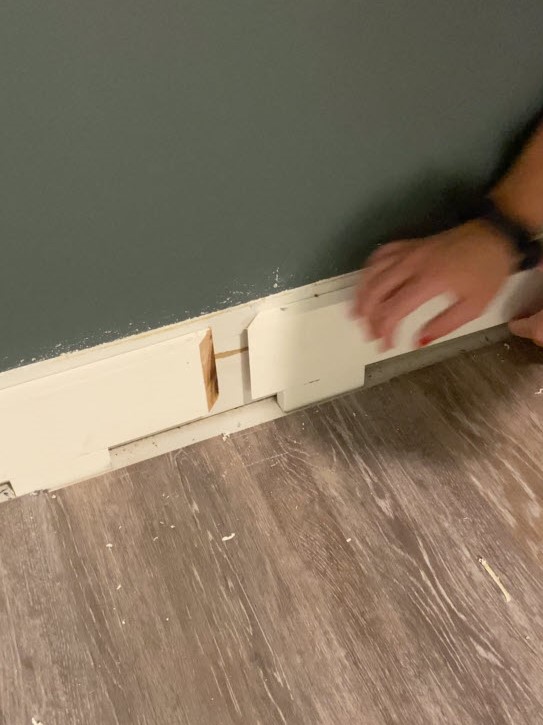
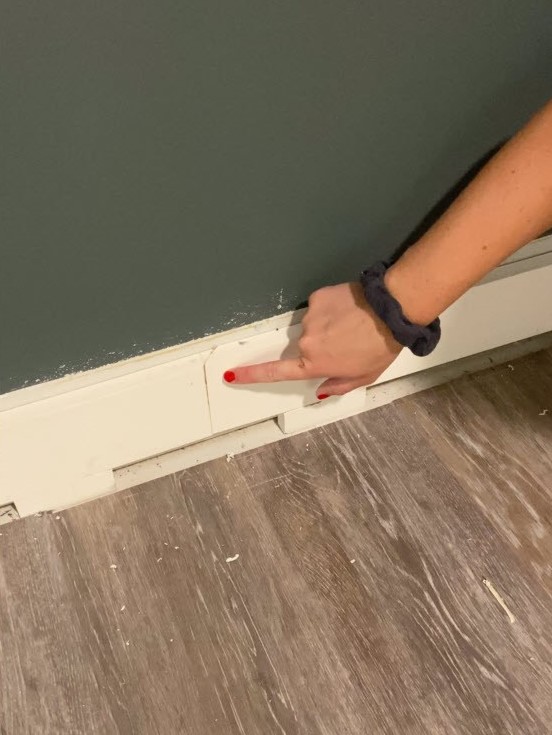
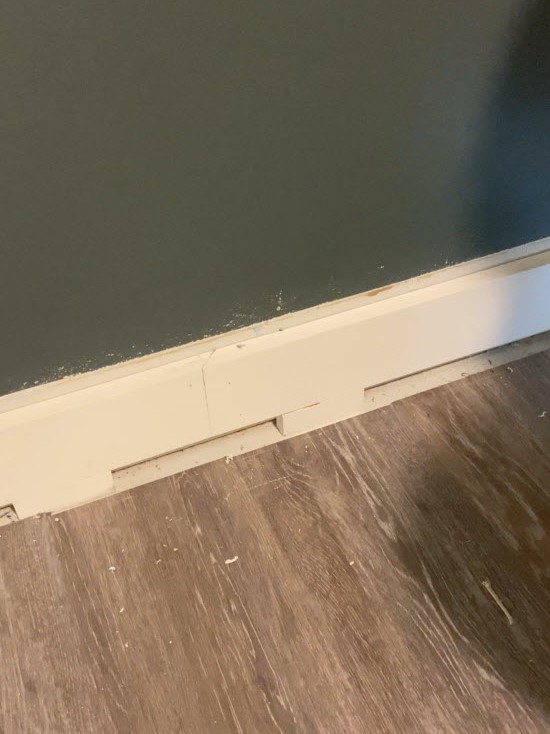
It should be noted that if you do remove the baseboard, you will need to cut into the adjacent baseboards before you reinstall. The new trim+baseboard will be wider than the previous baseboard only, so you’ll have to account for that in the side baseboard pieces. Sneak peek:
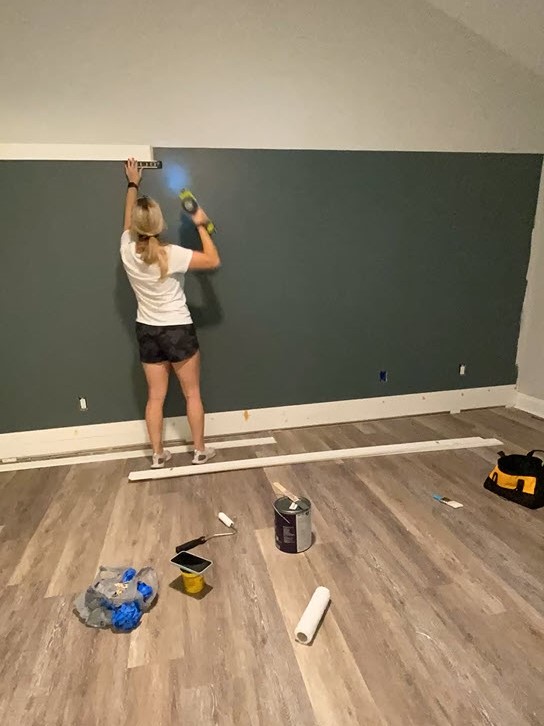
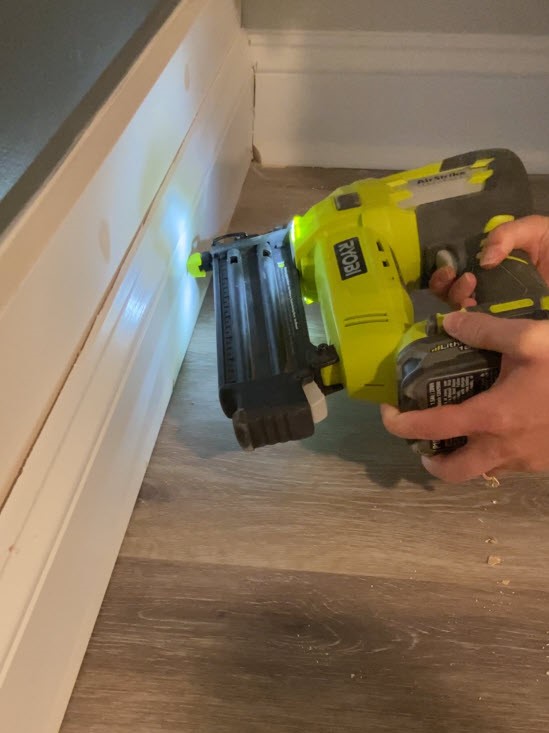
STEP 4: Install the Horizontal Accent Trim
Whether you removed your baseboards or not, start your accent wall with the bottom board. I added the two boards to account for the space that baseboard would cover, as explained in the last step. From there, cut and install your remaining horizontal boards at the heights you decided on previously. Make sure the boards are level to the ground as you install them.
You might think that you need to glue the trim boards to the wall or nail them into the studs, but since these boards are purely aesthetic, it’s not necessary. Construction glue can damage your drywall if you ever wanted to remove the trim and I find that shooting the nails in at opposing angles keeps the boards really secure. Plus, caulking all the edges in step 8 will be enough to keep these boards in place!

For long spans of board that are longer than the pieces you bought, connect by cutting them at opposing 45″ degree bevels, then attach them to the wall with the joint as tight as possible. In the next step, you’ll wood fill and sand this joint to make it look seamless. Look how it already disappears after nailing it in:
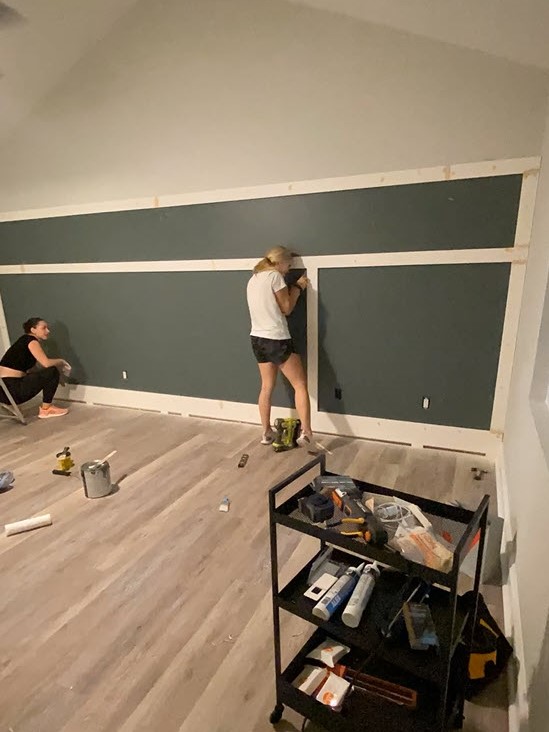
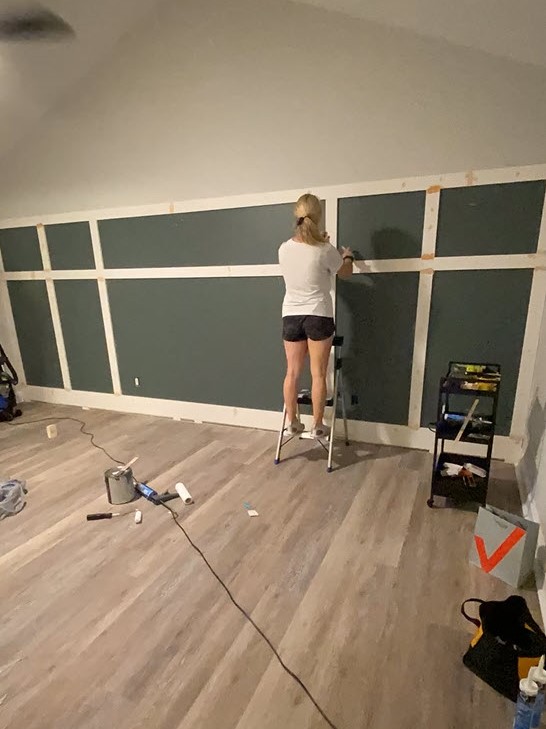
STEP 5: Install the Vertical Accent Trim
Similar to the first horizontal board, you want to install the vertical boards against the walls first because they require no measuring for installation. On our right, the wall was not straight whatsoever but we installed the board as close to the wall as possible and will fix the larger gap with caulk.
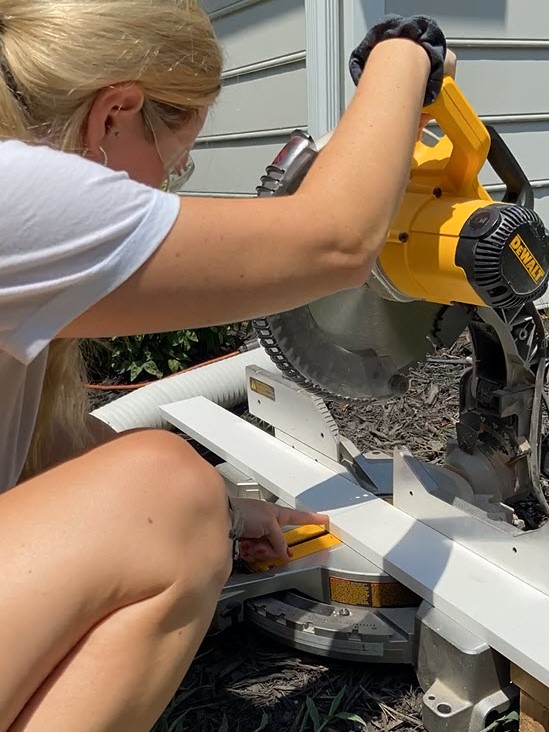
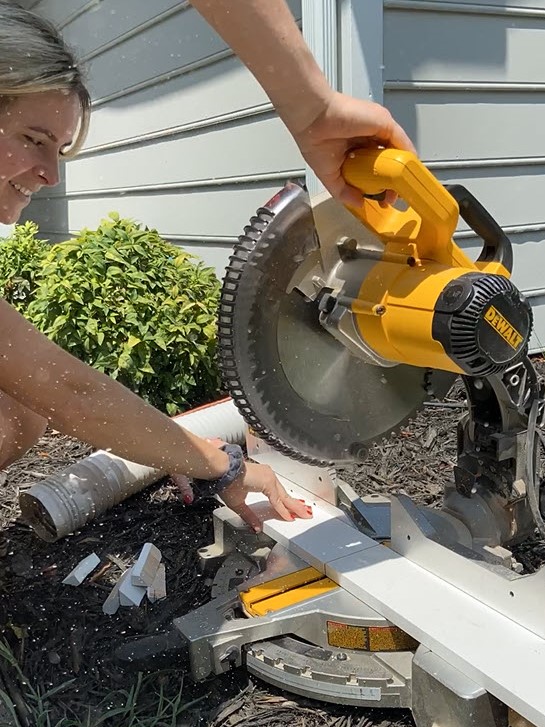
No room is perfectly straight with perfectly level baseboards. So measure each vertical board space before you cut your wood. Each of my vertical boards were around 49″ but some were 49 + 3/16″, some were 49″ exactly. For this reason, it’s not a great idea to get your boards cut at the hardware store for this project. You’ll want to cut your boards precisely, which is an excellent excuse to get THIS.
Use Shims for Uneven Boards
A goal of your accent wall should be to hide your seams so that observers can’t actually tell where one board starts and another one ends. In some cases, two pieces of trim don’t match up exactly, even if your cuts are exact. In this case, you can use a shim to bring up the lower piece to match the higher piece.
If the difference is 1/8″ or more, you can use wood shims but for this trim, the difference is usually much smaller- less than 1/8″. You can use a playing card, or a business card as a shim to help bring the pieces flush. Just place the card under the lower piece, add a second card if the pieces still aren’t flush. Then nail the trim with the shim still underneath and cut the excess card with a box cutter.
Check out my blog on How to Install Picture Frame Molding for photos on how to shim uneven boards (Step 5!)

STEP 6: Reinstall Baseboard
Once the accent wall trim is all up, you should reinstall your baseboard. Here Sam is nailing the baseboard back in with the same 18g nails we used for the trim. I did cut into the baseboards on the side wall to make room for the new trim+baseboard depth.
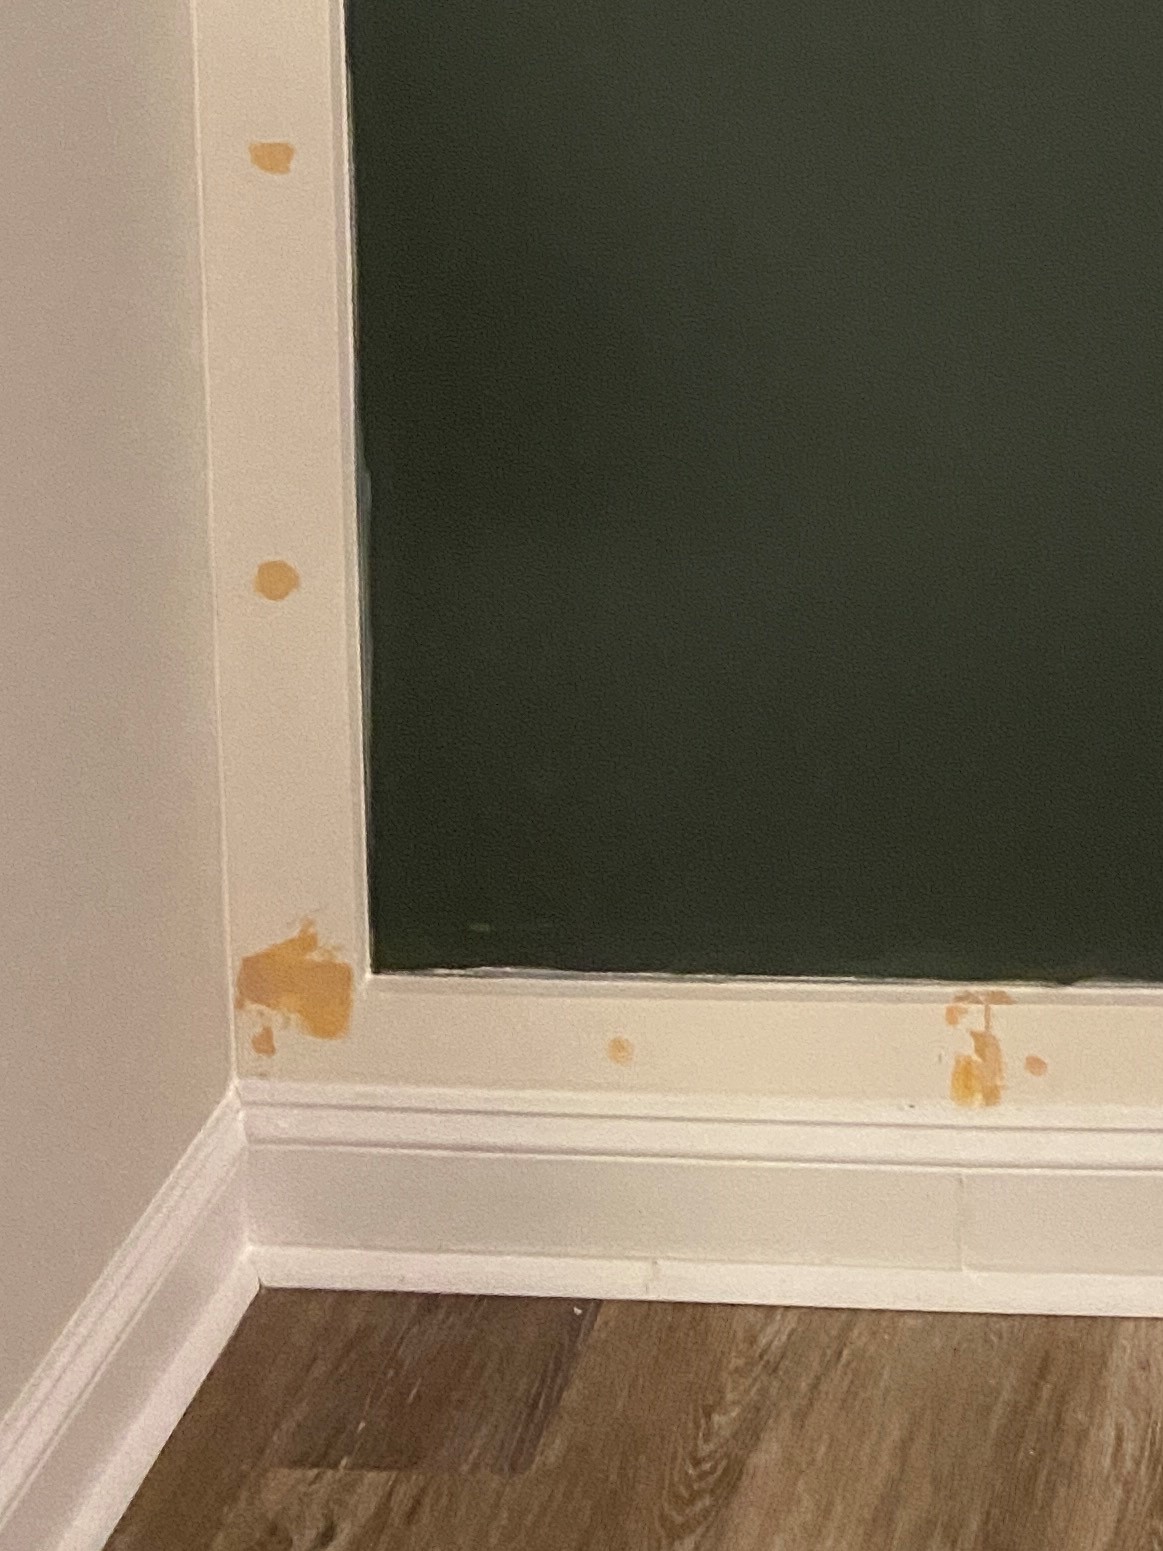
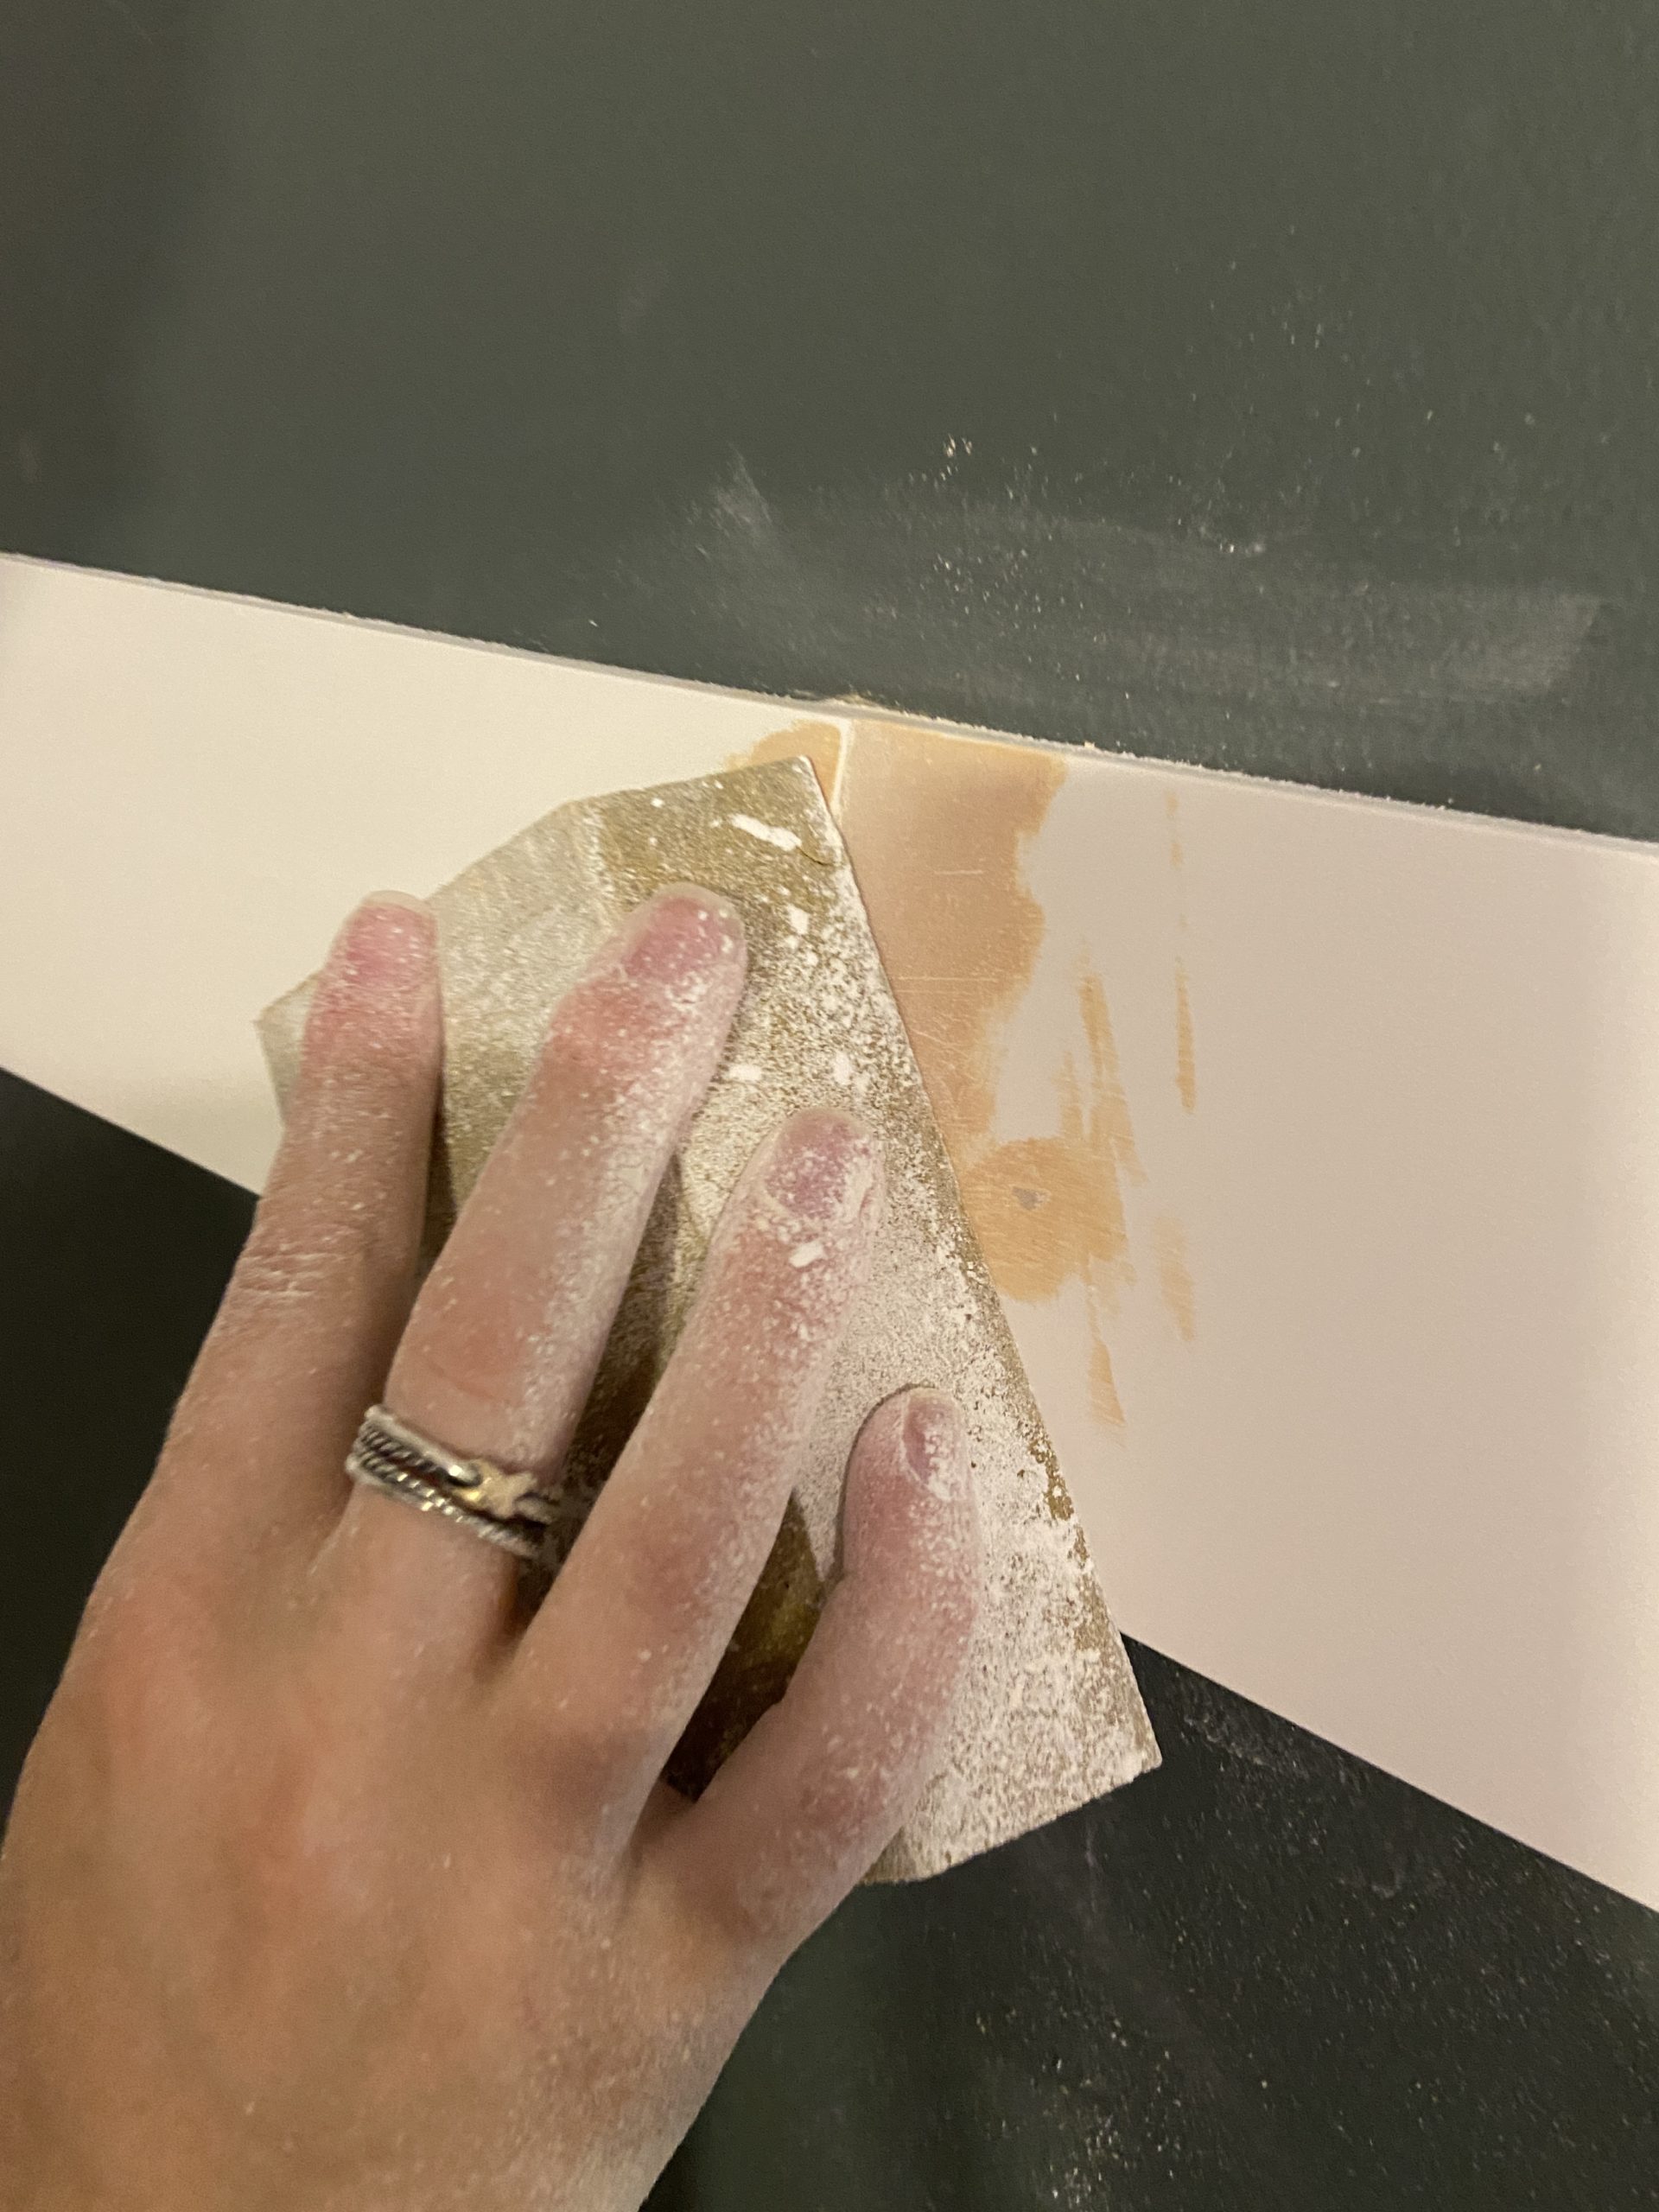
STEP 7: Wood Fill & Sand
Use wood filler to fill all your nail holes and the corners of your pieces where the boards meets. Sometime you need to do 2 coats of wood filler, the first coat is thicker to fill in the hole. Wipe that coat with a baby wipe then apply a second, much thinner coat. Once the second coat is dry, hand sand with a sanding sponge to get a smooth and flush finish with the wood. This step will get dusty so make sure to vacuum the wall and room really well after this!

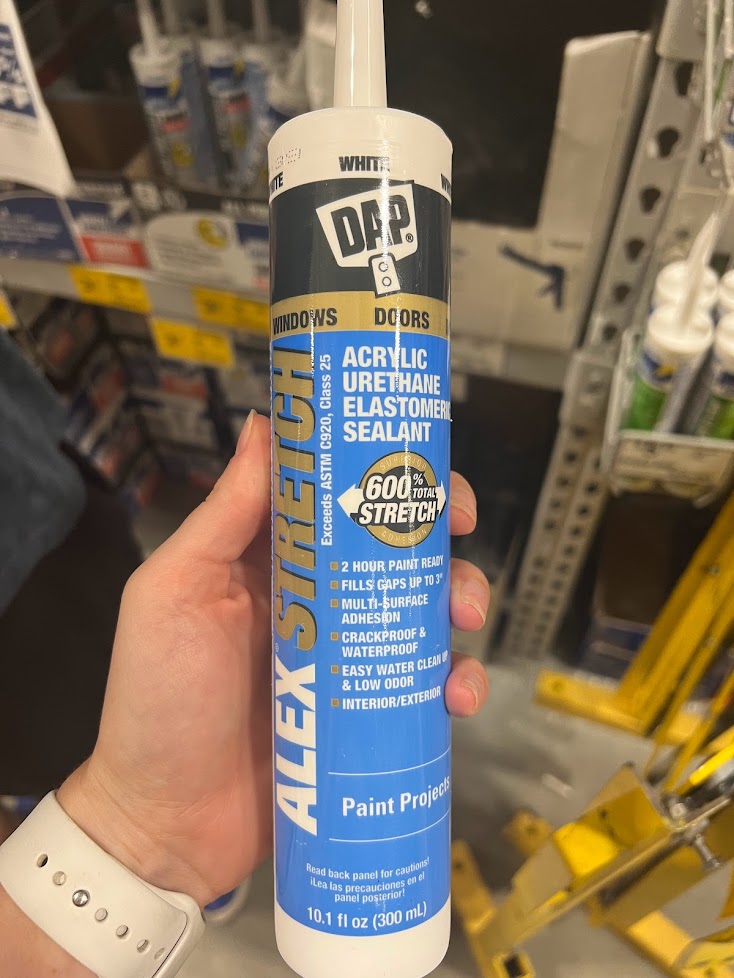
STEP 8: Caulk Edges
Use paintable caulk to seal all the edges of your trim including the edges against the baseboard and the side walls. I like this DAP version that has 600% stretch so that your trim edges are less likely to crack over time. Sam and Gabe caulked the entire wall before I came over on Sunday morning. Best surprise ever!

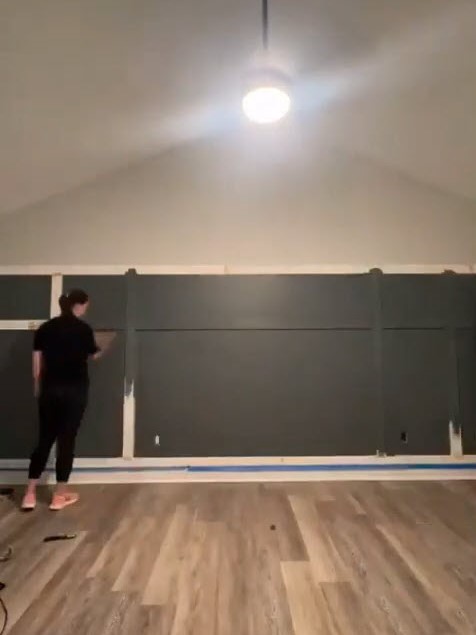
STEP 9: Paint Trim
At this point, my work was done and I left this last step for Sam to do during the week (after the wood filler and caulk had dried). She sent me a timelapse of the whole thing which you can see on my Instagram.
After sanding and caulk, give the wall a good vacuum with a brush attachment then use a tack cloth to wipe down all the trim and the wall in between. The tack cloth will pick up any little pieces of dust that the vacuum didn’t get.
Start by painting the trim- top, sides and edges, with a paint brush, cutting about 2″ into each square. Then go over each square with a paint roller. The trim will likely need two coats of paint especially if you’re doing a darker color like this. Sam cut in and Gabe did the rolling. What a fun, early memory for them in their house!

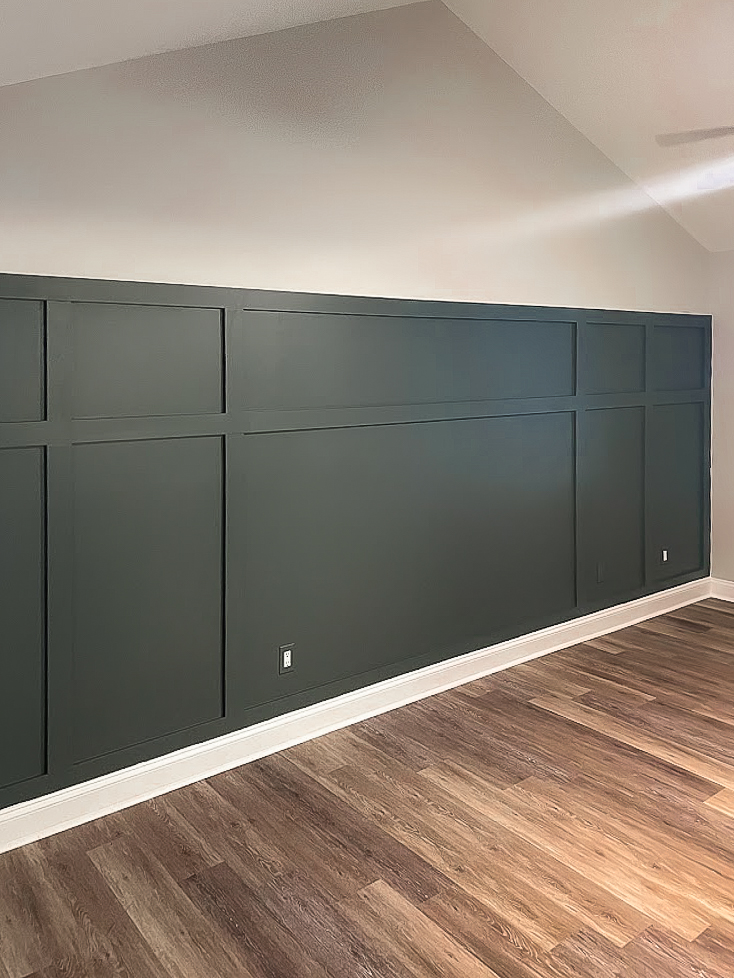
Accent Wall Before & After:

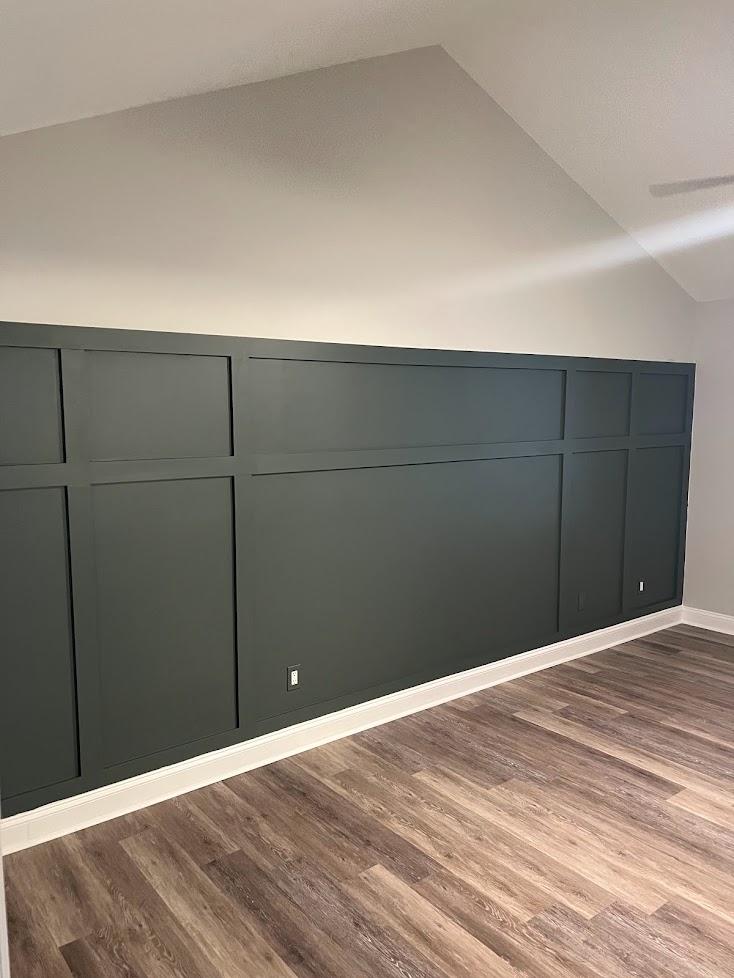
Overall this accent wall project took a weekend with about 10 hours working time (me and Sam). It cost about $300 for the supplies- paint, wood- current lumber prices!, etc. I owned all the tools already so we didn’t have to spend any money there.
With this being a 17′ wall and the quotes Sam got from professionals, I’d venture to say that she saved around $1,000 by making this a DIY.
I had always wanted to do an accent wall and am so glad they trusted me and gave me the opportunity to do one in their new house! I’m also super grateful for all the help that Sam provided- I didn’t even have to touch the wood filler or caulk steps! She also learned and was using the Miter Saw and Brad nailer- by the end of the project, she didn’t even need me! And the wall came out gorgeous! I can’t wait until they move in to make more memories in this home and space. I’ll make sure to update the final photos once that happens!

Want to keep up with my newest projects? Come hang out on my social media accounts, below!
2 Replies to “How to Build a Board and Batten Accent Wall”