Install a Floating Laminate Floor for the First Time
and get results like a Pro!
(This post contains affiliate links which means I receive a small compensation at no cost to you. As an Amazon Associate I earn from qualifying purchases. You can read more about it here. Thank you for supporting my blog!)

I recently posted my DIY Built-In CLOSET REVEAL to show off the custom closet I built in the tiny walk-in of our primary bedroom. What I didn’t address was the ugly carpet that I had pulled up to install the built-ins. I meant to install a floating laminate floor, but in reality, I just cut and laid the carpet back down for the reveal pictures.
I was so tired after finishing the bulk of the project that I was tempted to leave the room at 95% done and just take a break. Have you heard of the 95% club? It’s where you complete this BIIIIG project that’s super impressive and makes a huge impact- then you just leave the last 5% of detail work undone. Because- you’re burnt out and tired. And you already revealed the space to the entire world and it looked amazing on Instagram, so what’s the point?!
The point is that I live there and I have some OCD tendencies. Here’s my last 5% checklist:
- Choose flooring- spend 2 weeks trying to find it in stock. Fail
- Choose new flooring
- Install new flooring
- Install flooring transition between laminate and tile
- Cut and reinstall baseboards
- Touch up Paint
- Take new “Final Photos” with the new floor
TUTORIAL
MATERIALS:
Pergo Sun-Veiled Oak Laminate Flooring
(the Herschel Hickory was the perfect color match- even better than the recommended color from HD)
TOOLS:
Rubber Mallet
Hand Sander (220 grit paper)
Wood Glue, Wood Filler/Spackle
Oscillating Saw
Tape Measure, Level, Utility Knife
Painting Supplies (Brushes, Roller, tape)
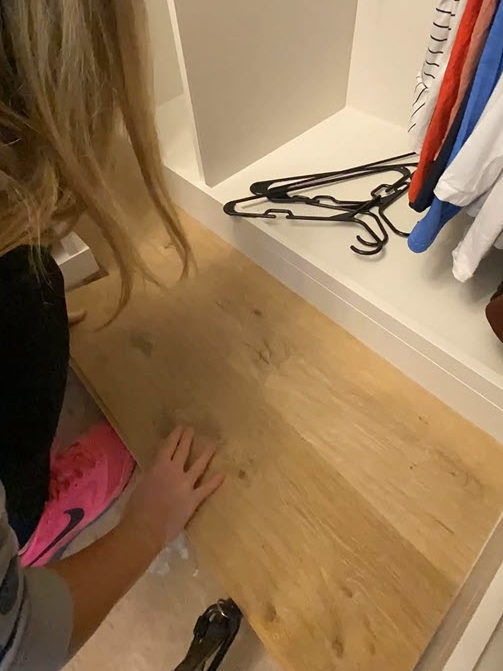
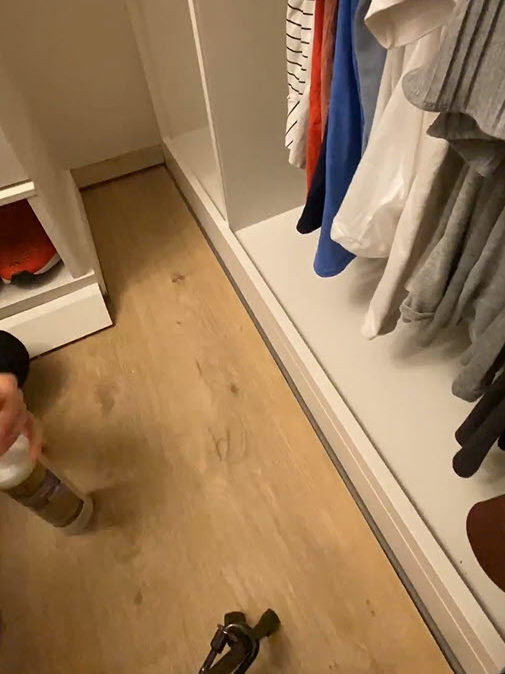
STEP 1: Remove Flooring
This step was pretty easy for me because I had just laid the old carpet back down and it wasn’t actually attached. Make sure that your subfloor is level- check your flooring instructions to understand the exact level requirements but less than 1/8″ variance is pretty standard.
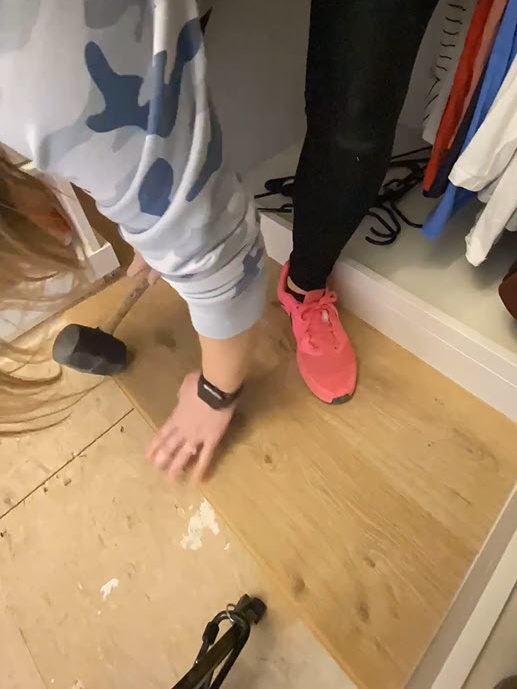
STEP 2: Install Underlayment
Add underlayment with a vapor barrier if you are installing over concrete floors or in a bathroom, basement or otherwise high humidity area.
Starting under the baseboard, lay the underlayment in strips to the length of your floor and repeat without overlapping. My underlayment came with adhesive strips attached so before laying the adjacent piece, I would peel off the tape strip and place the next piece over the adhesive so that they were secured together.
The underlayment is pretty easy to lay down, you cut it with scissors or a utility knife to fit around any areas that jut out (and there are a lot in this small closet).
STEP 3: Install the First Row
Before you start making cuts, pick a corner to start with. Best practice is to start with the back left corner of the room and work toward the door. Each piece of laminate has special edges that allow the pieces to click together. These features are called the tongue and the groove. The tongue is the shorter feature that will stick into the groove of the previous board laid.

For the first row, you will rip down the tongue on the long edge that will sit against the wall. This will ensure you have a tight fit to the wall and you don’t need to increase the expansion space to account for the width of that tongue. You’ll also want to cut the tongue of the very first board on the short edge for the same reason. Cut that board to the correct length. It’s easiest to connect the second board to the first if the first board isn’t pushed all the way against the wall at first. If you have space, pull the first board out and connect the second board there, then slide both boards into the final place. If you don’t have room to pull it out, you might be able to connect them in another area first.

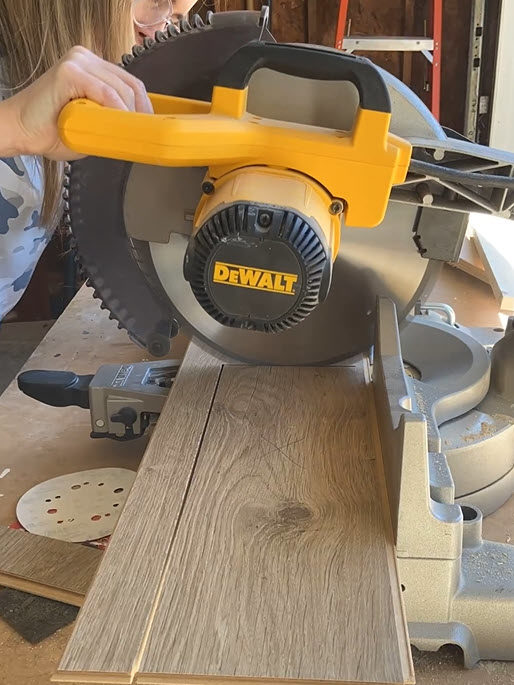
STEP 4: Connect the Second Row
To attached the second board, cut the board to length with a miter saw. Be sure to leave a consistent gap around all the edges of the room to allow for expansion with temperature changes. The instructions of your laminate should have the exact gap dimension recommended. For Perfo Defense +, this number is 3/8″ and I used some spare pieces of flooring that happened to be the same depth to use as spacers against the walls. You’ll see them in the pictures after this step.
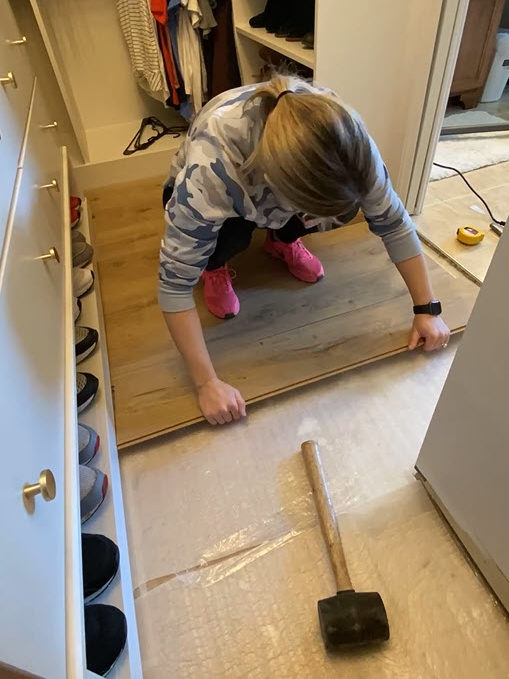
Make sure to cut the side that will be against the wall, so that the tongue is cut off instead of the groove that you may need if you have a wider room than I do. Stand on the first board and angle the second board, tongue down into the groove of the first board. Push the two boards together at an angle until the gap between them is closed. The second board will be sticking up in the air at this point.
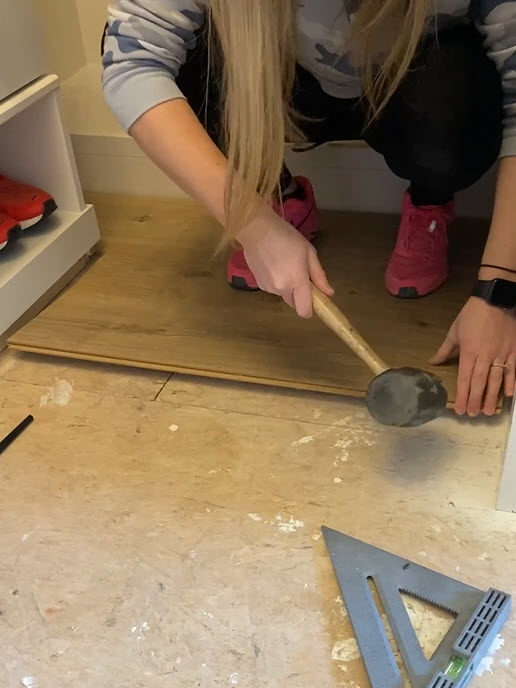
To lock them together you’ll need to combine downward pressure while also pushing the boards into one another. To do this, use a rubber mallet to gently tap the boards together and down. Don’t hit the groove of the second board too hard or you could damage the pattern, making it difficult to attach the next board to it.
Continue to attach additional rows of boards in this same way.
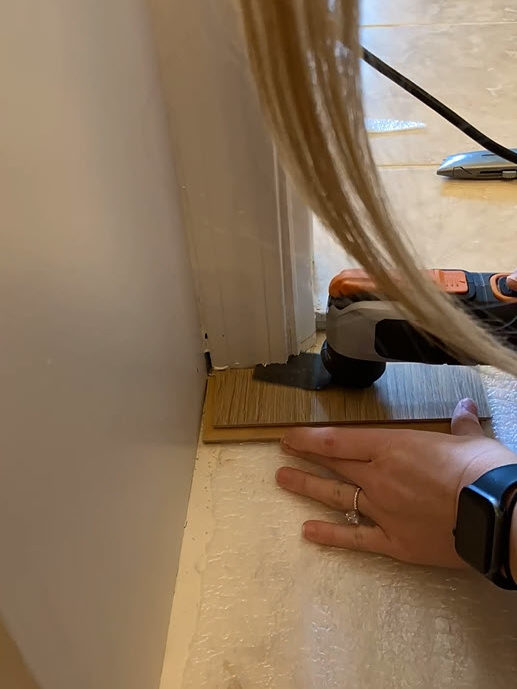
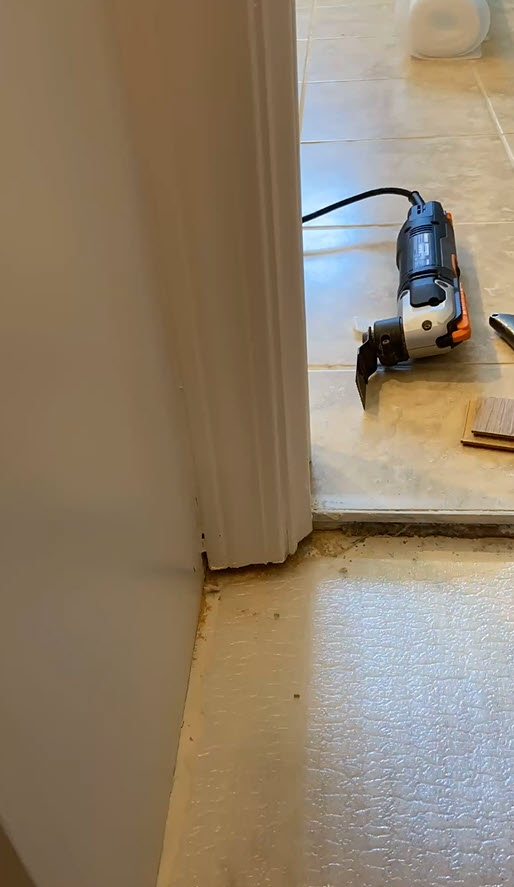
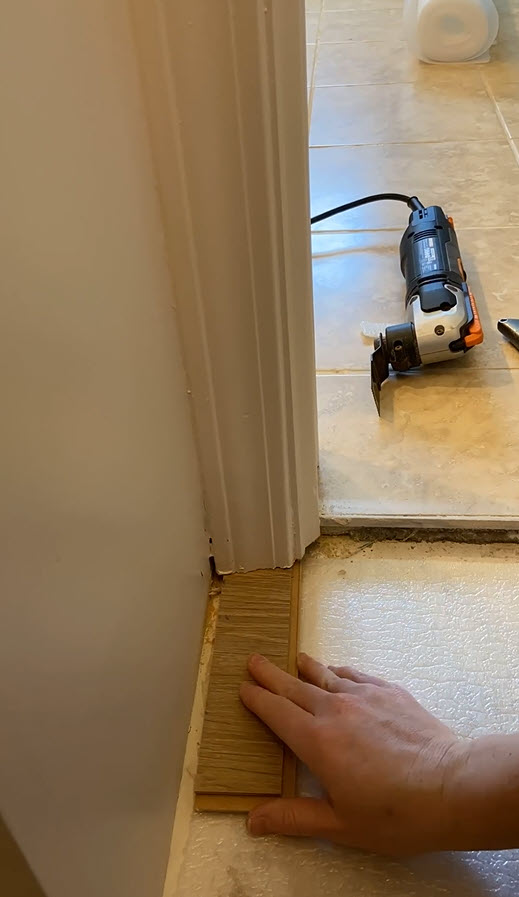
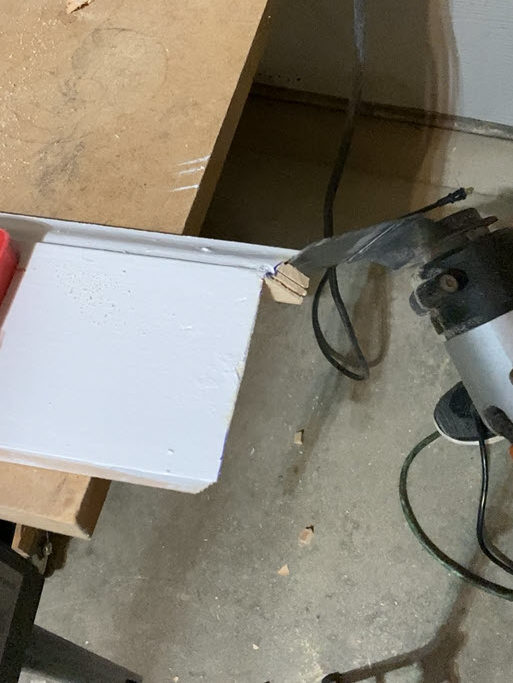
STEP 5: Obstacle- Doorway
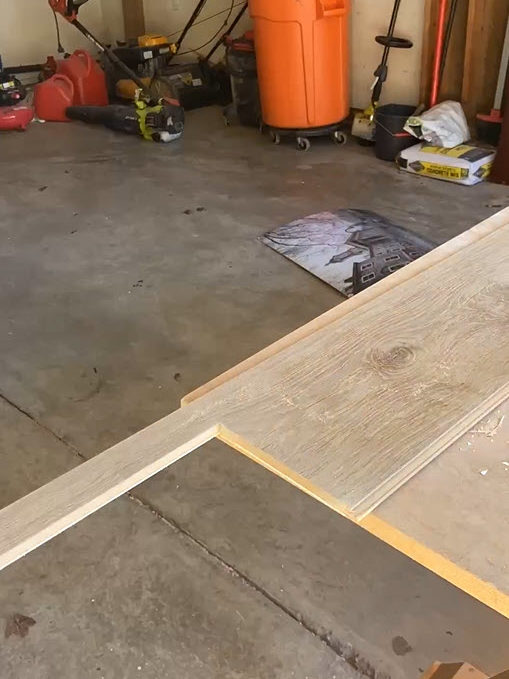
My first obstacle was when my flooring extended beyond the shoe shelves and landed at a door. This was a bit complex and required a few modifications. First, I needed to notch out the doorway trim to fit the flooring underneath the door. I used an offcut of the flooring to hold up my oscillating saw and cut away the trim. This results in a perfect fit with almost no gap between the flooring and trim.

STEP 6: Obstacle- Built In
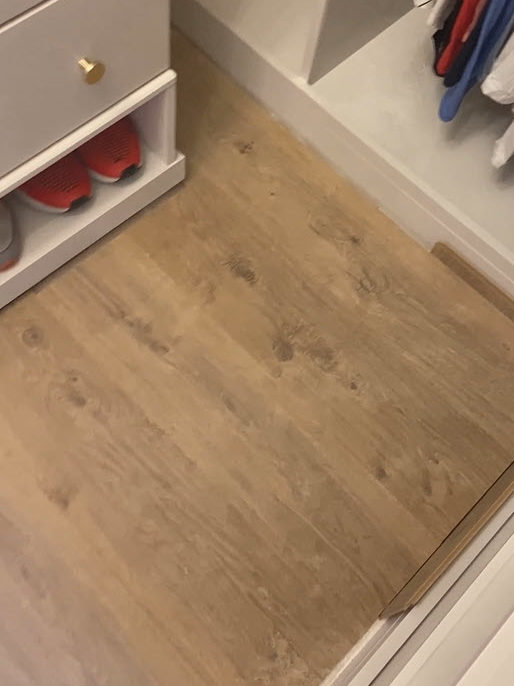
Then I needed to notch the floor piece to fit around the shoe shelves.
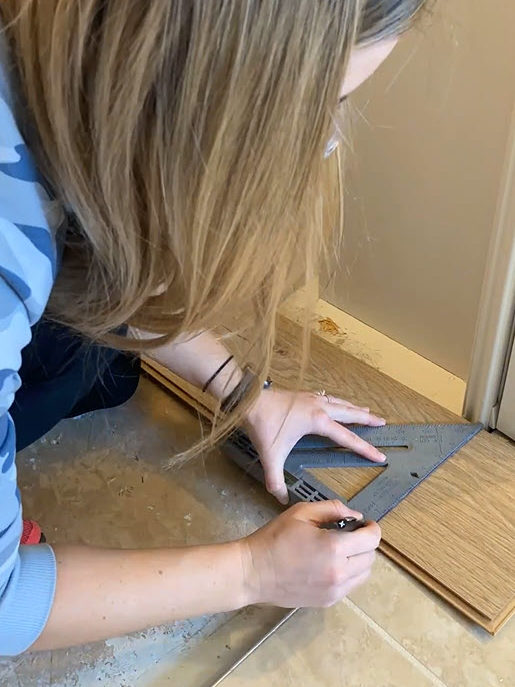
Before notching out the board, I cut it to final length, and then made a few marks on the board where I needed to cut it. To cut out the notch, I used basically every saw I own. I cut the length with a table saw, the width with a miter saw (not fully through) and then my oscillating saw to finish those two cuts. If you have a jigsaw, you could make this cut WAY easier.
Once I cut out the notch, I could test fit the board.
Since this board will end into a doorway, I had to plan for the transition between the laminate and the tile in the adjacent bathroom. I had bought a transition that recommended a 1 + 3/8″ space for the transition strip, so I cut these pieces to fit with the correct gap at the door.


STEP 7: Finish Laying Flooring
Continue laying rows until you’ve filled the room. For the last row, you will likely need to rip the piece to the desired width to fit in the remaining space, while still giving you the appropriate sized expansion gap. Press the plank down until it locks into place. Secure the piece into place by using the rubber mallet if you can get the right angle on the mallet. If not, you can use a trim removal prybar to help pull the plank closed while just hammering gently down on the piece with the mallet.


STEP 8: Waterproofing
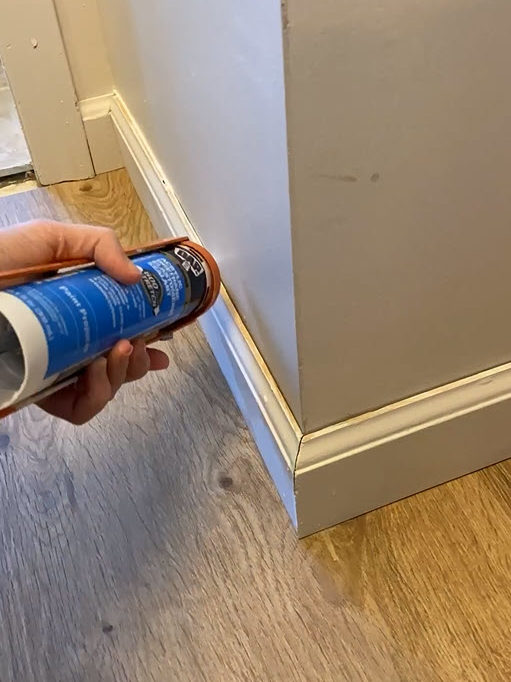
The Perfo Defense + flooring that I bought is waterproof by design but in order to water proof it in your space, you need to seal the edges. If any water gets into those expansion gaps, you want to protect the flooring from getting warped or damaged.
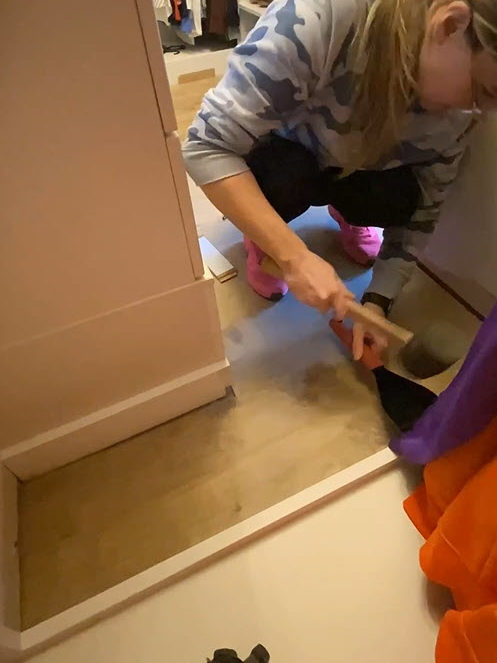
Cut some 3/8″ Backer Rod to the length of all your gaps and insert it into the cracks. Then, run a thick bead of Silicone Caulk along the edge of the planks, over the backer rod. Use a scrap piece of wood to spread the silicone to make a complete seal (don’t use your finger like I tried to do!) Be careful not to get the silicone on the areas of the floor that will be exposed. The silicone dries pretty shiny so it will be noticeable. It also will dry slightly tacky, so I would imagine dust would stick to it and make your edges look dirty.


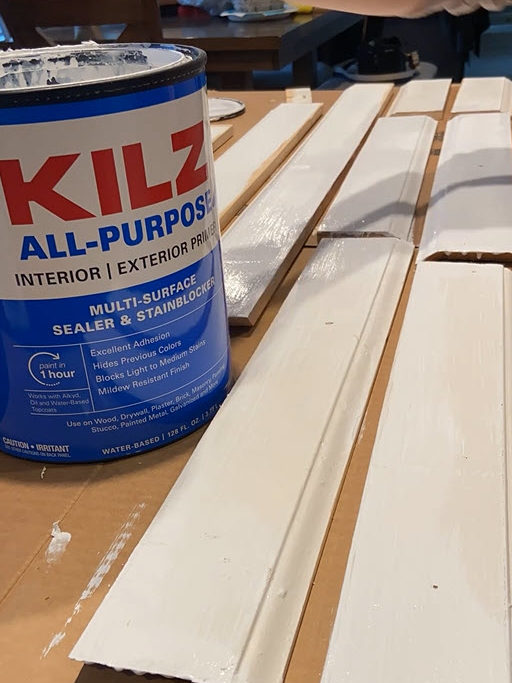
STEP 9: Install Trim
This step was so exciting for me because I had taken all my trim off when I first started this closet project almost 5 months ago! I was able to reuse all my existing trim- I just gave it all a quick sand and a new coat of paint to make it look fresh.

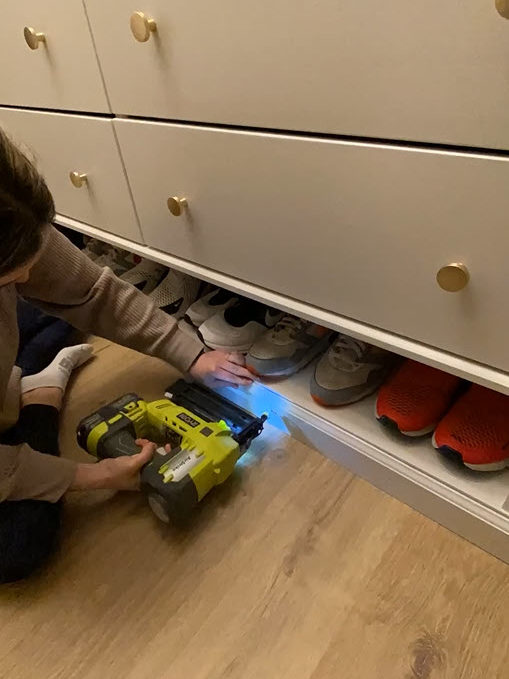
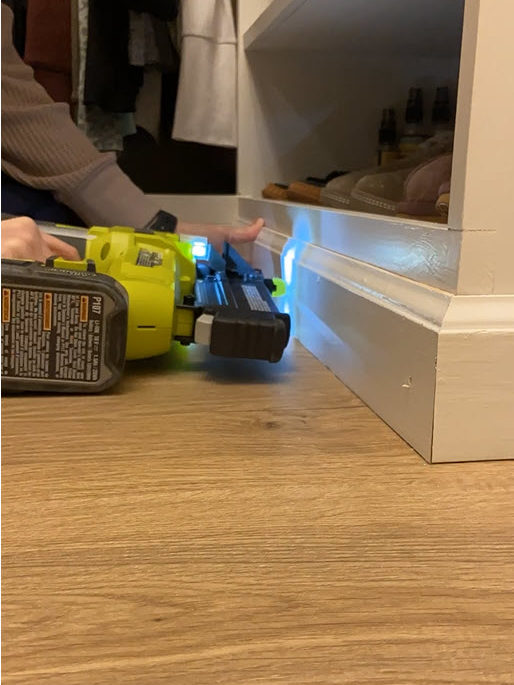
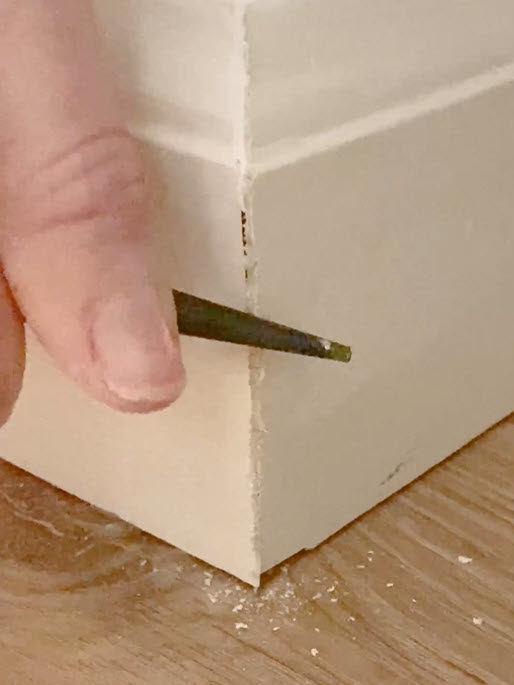
After cutting the pieces to length, I installed it with 1 ½” brad nails. For outside corners, I joined two pieces of trim with a 45 degree miter cut.
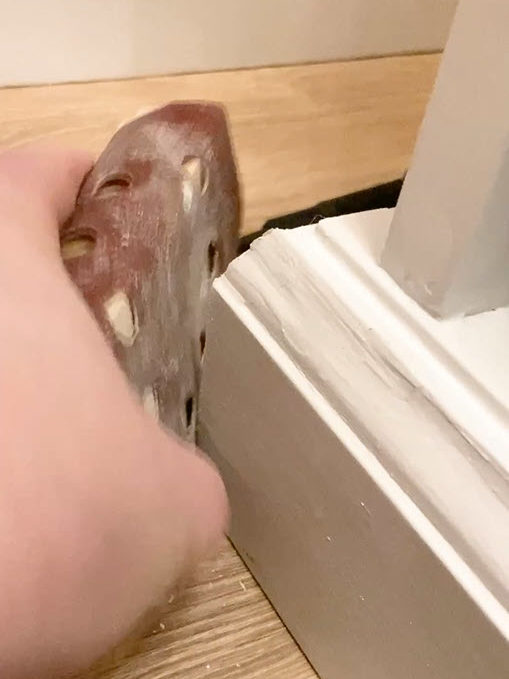
You’re always bound to have small gaps between the two pieces of wood, no matter how meticulous you are with measuring and cutting your miters. I don’t like to caulk outside corner seams, so I have this little trick that closes up the gap. Take a screwdriver or any long, solid tool and press it against the corner point, pressing in towards the gap. Since the edge of the miter is so thin, the wood is slightly malleable. You can actually bend those edge fibers of the wood towards the corner and close the gap. This way, you don’t have to mess with wood filling or caulk, and you can just paint right over the seam. Lightly sand the corner to smooth it out. This trick also dulls the super sharp corner, which I personally like, in case I ever decide to stub my toe on it.

COPING
For inside corners, I use a method called coping, where you butt one piece of trim up against the wall then cut the second piece of trim to wrap around the first. It’s difficult to explain in writing, but I shared a video tutorial on my Instagram, HERE. It takes a little extra work, but makes your trim look super profesh.

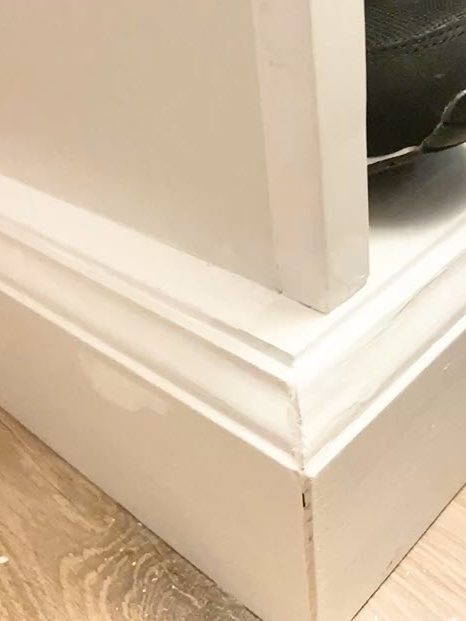
STEP 10: Fill, Caulk and Touch-up Paint Trim
After all the trim is in, fill the holes, caulk the cracks and touch up the paint.
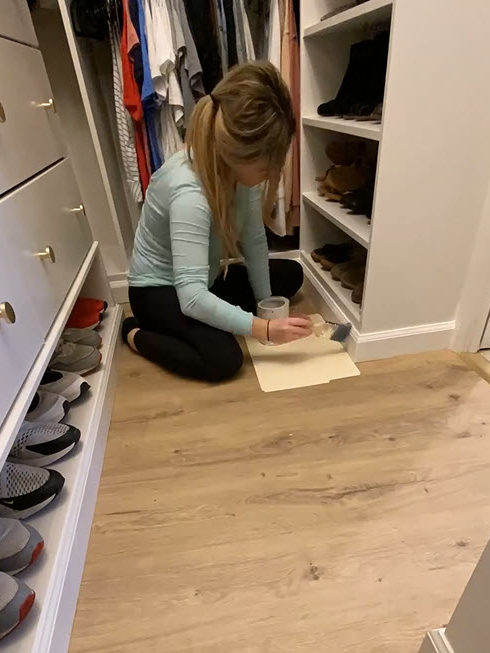
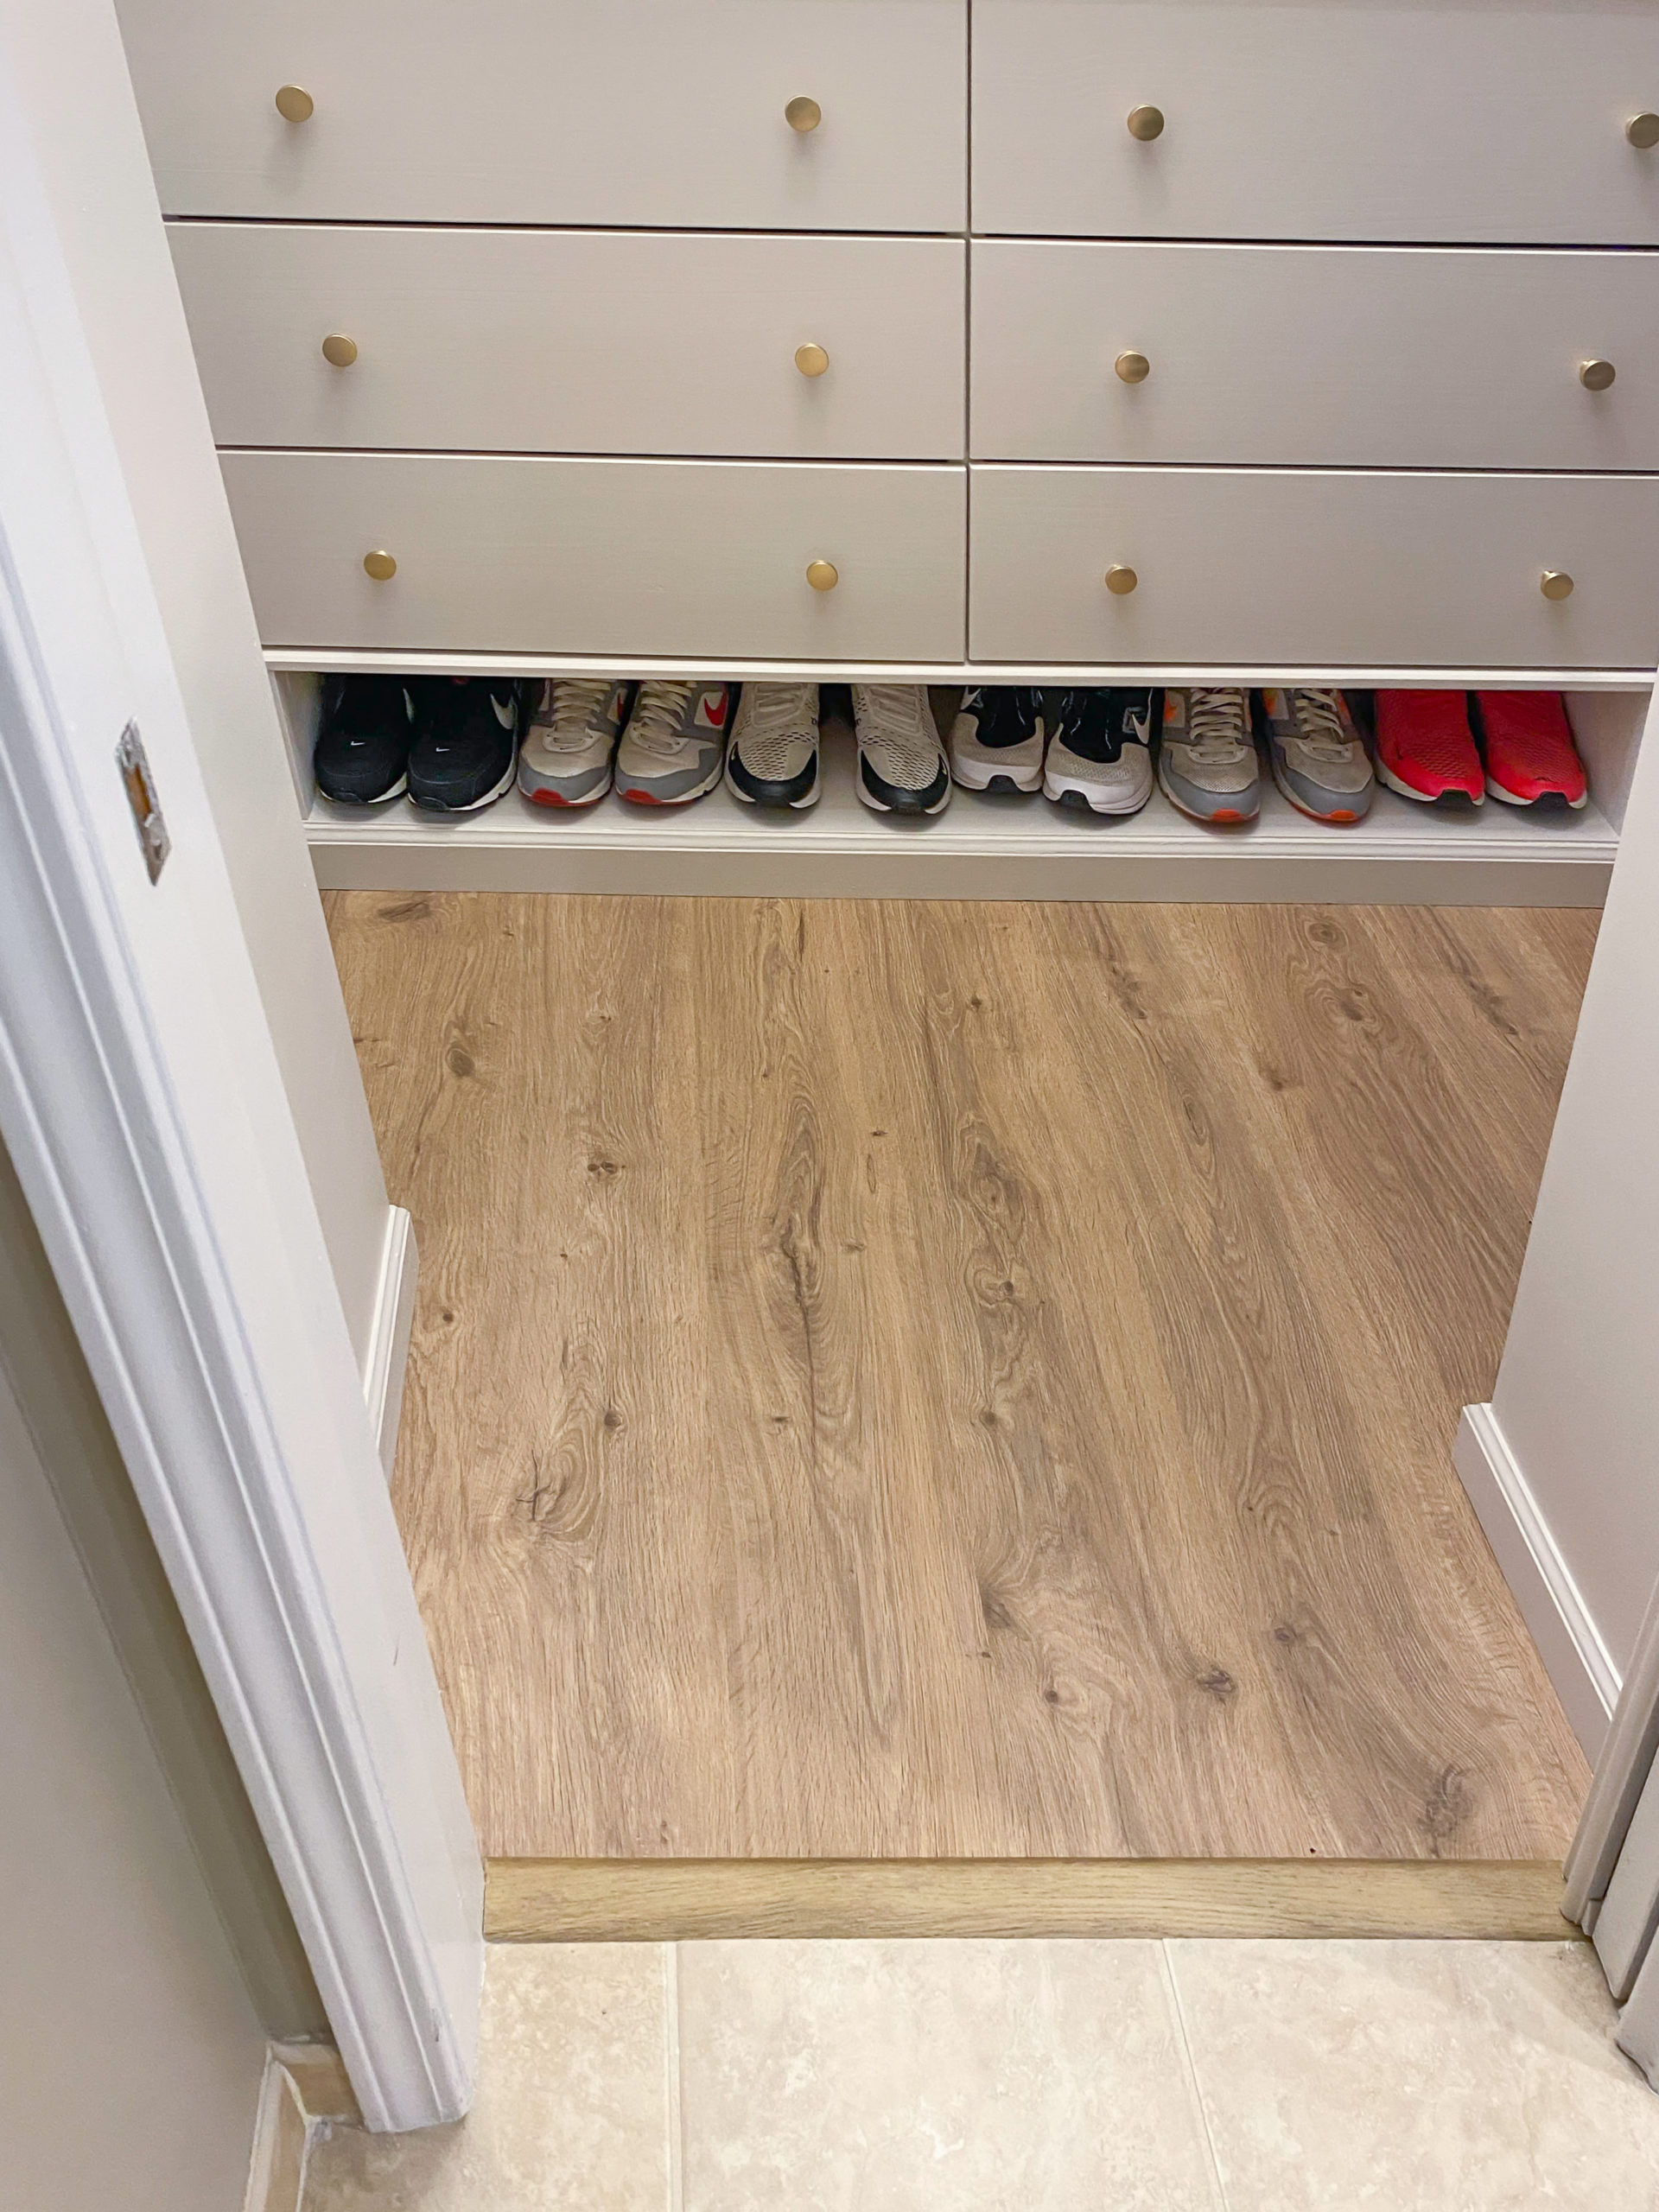
Step 10: Installing the Transition
This could have been done at the same time as the floor, but I had to wait for it to be in stock.
Since I had to transition between the laminate flooring and tile that was about 3/8″ higher than the laminate, I bought a transition kit that had a surface reducer, meaning it would handle the step down into the closet seamlessly.
I added a spacer first to bring the transition piece up the the level of the laminate floor. I attached the aluminum transition track by screwing it down through the spacer and into the subfloor. Then, I notched the trim around the door a little bit higher so I could fit the transition under it.
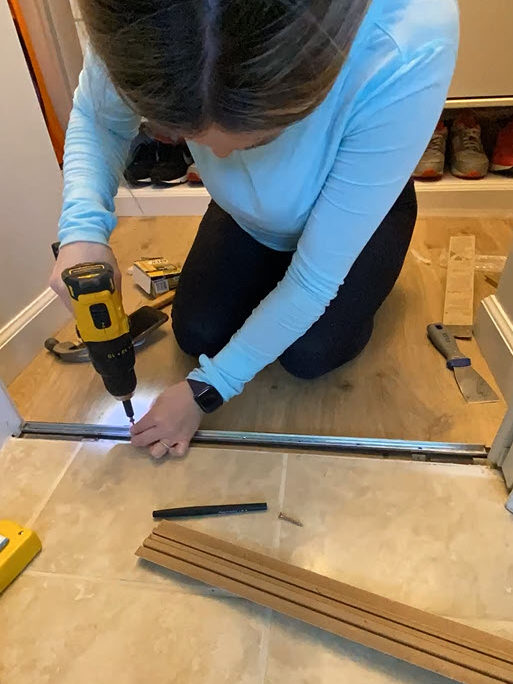
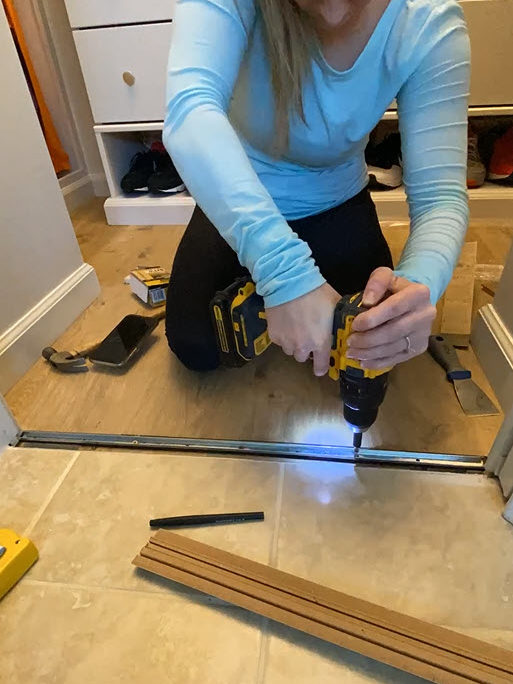
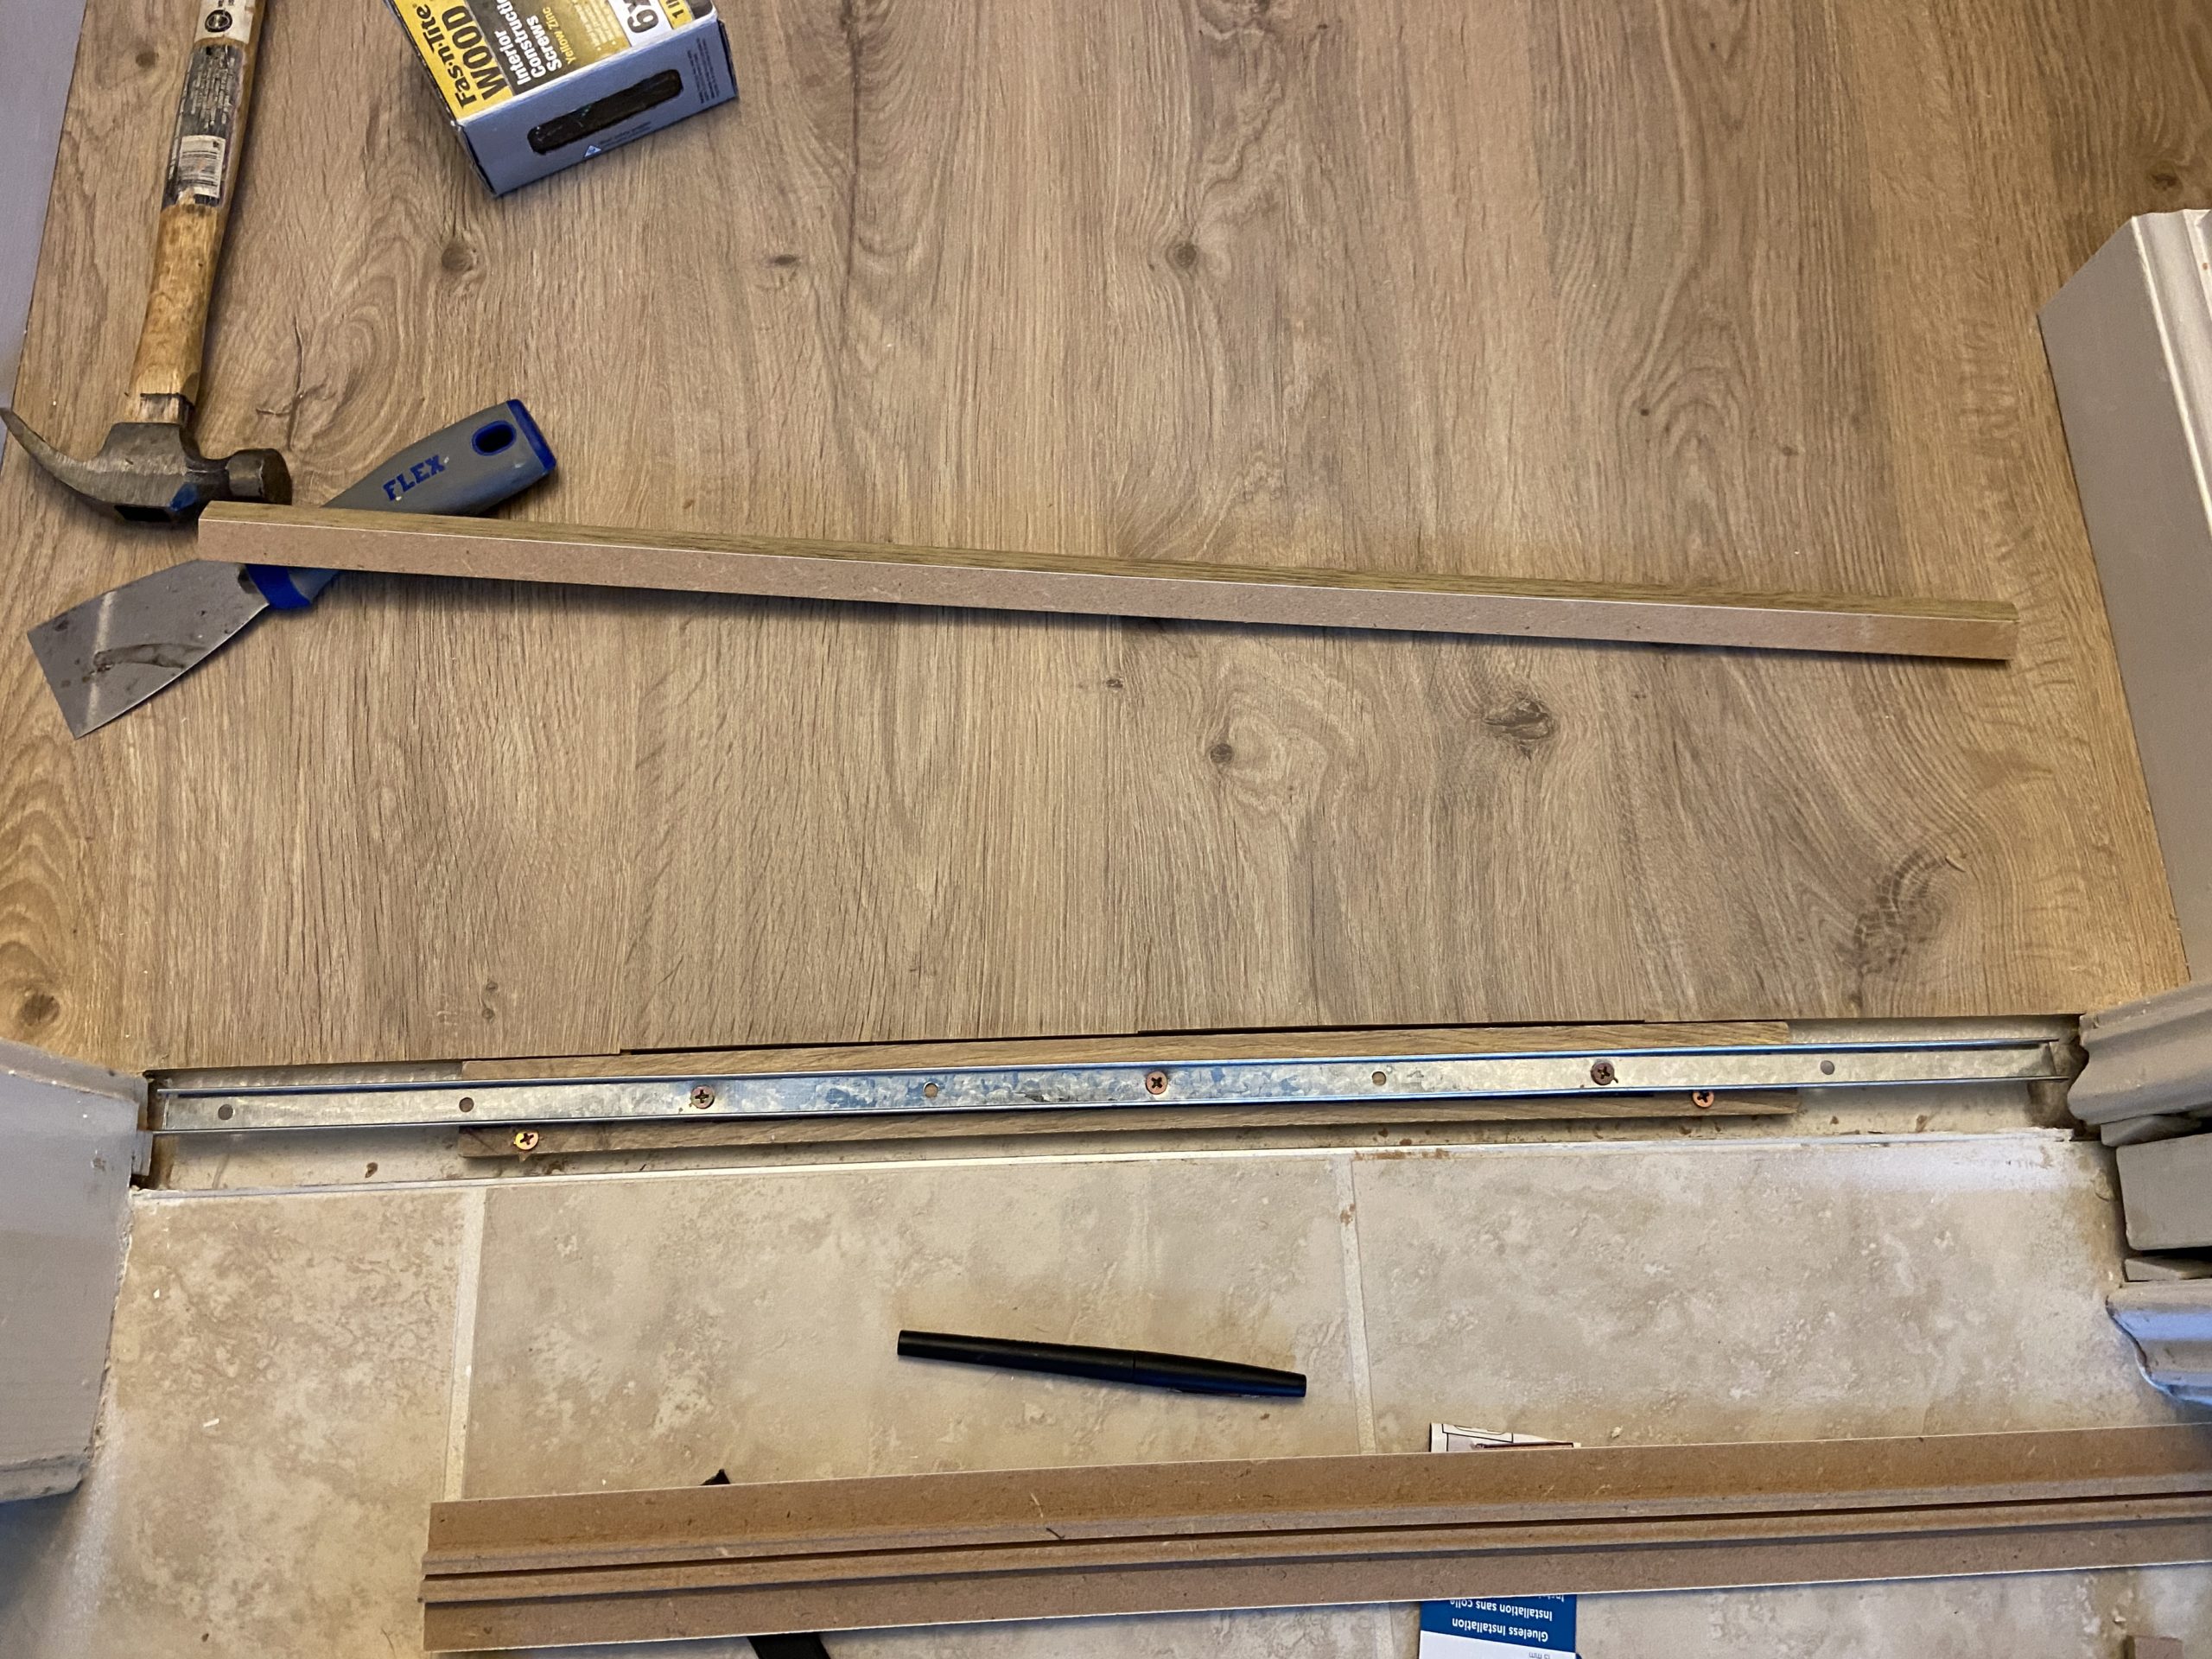
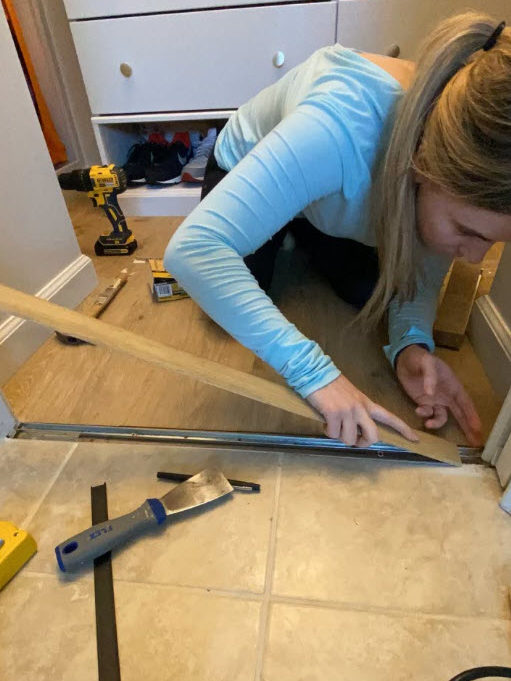
From there, you just start on one side of the transition, pushing it so that the bottom grooves click into the aluminum track. Easier said than done. The aluminum track is extremely tight, and the grooves under the thin piece of MDF transition are pretty fragile.
It took me almost an hour of attempting to push it in without breaking the grooves. Once you get the transition in the track, hammer the rest in place. Use some scrap wood to protect the transition from the hammer and slowly move down the length of it.

Unfortunately, once you start working on the 5%, you realize it’s really closer to 10%. But that’s ok, at this point you’ve already decided to get it done and it’s too late to back out.
And eventually, you’re DONE!!!

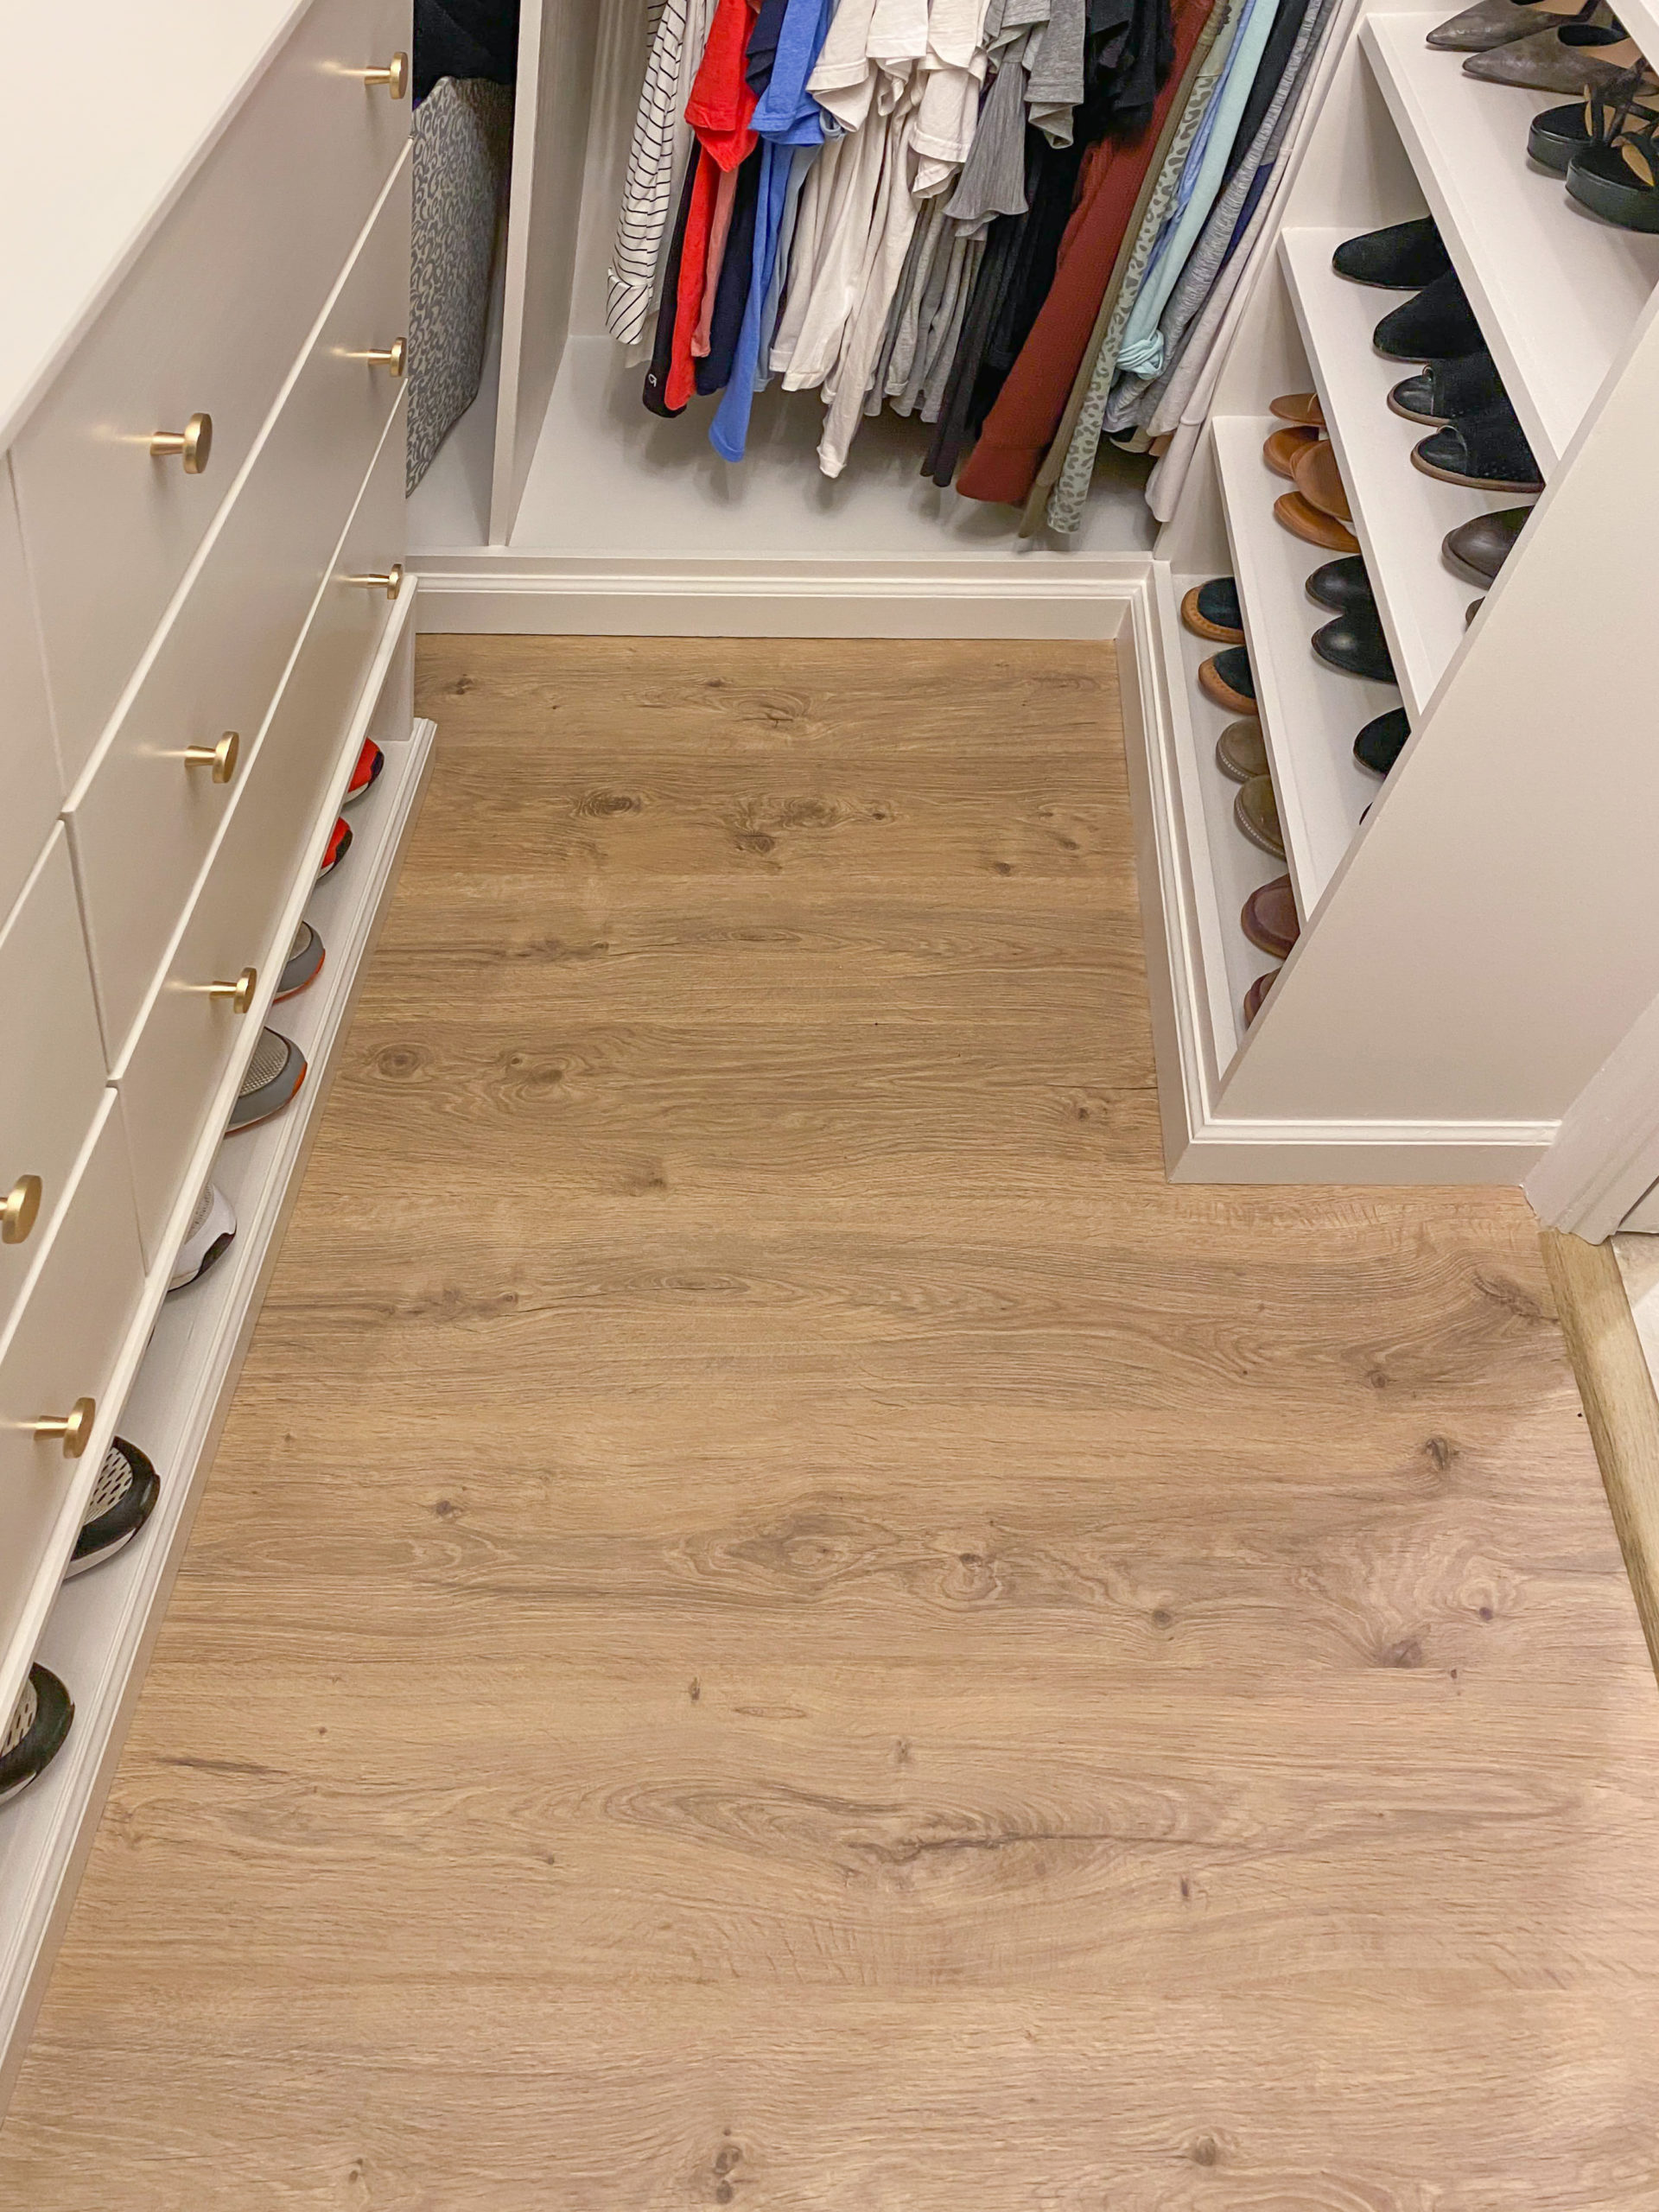

Want to keep up with my newest projects? Come hang out on Instagram!
Fantastic work on the DIY built-in closet reveal! It’s great to see the transformation, and I really appreciate you sharing the detailed steps of your laminate flooring installation process. The Pergo Sun-Veiled Oak Laminate looks beautiful, and I love how you tackled each step, from underlayment to handling doorways. I can definitely relate to the 95% club! It’s inspiring to see how you pushed through to complete the final touches. Thanks for the valuable tips, and I’m sure this will be a helpful guide for anyone planning a similar project. Looking forward to more updates!