The Best Paint Strategy to Refresh Interior Doors
How to get a professional finish without having a mental breakdown.
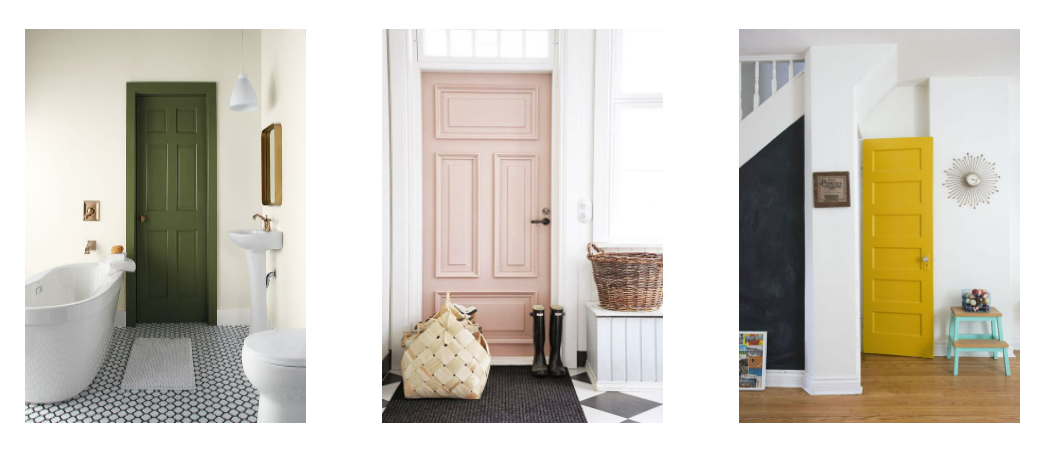
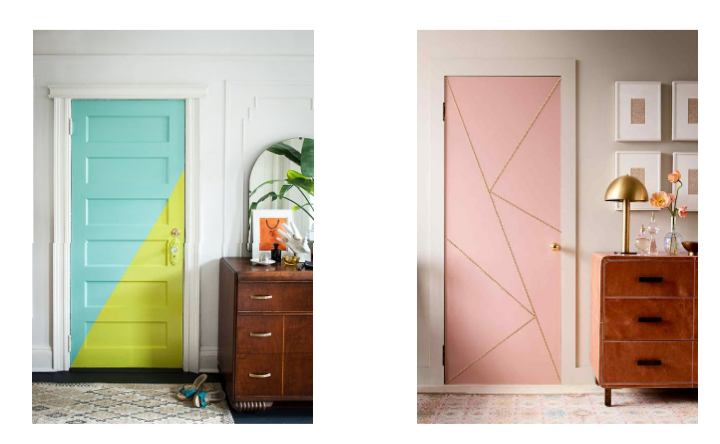
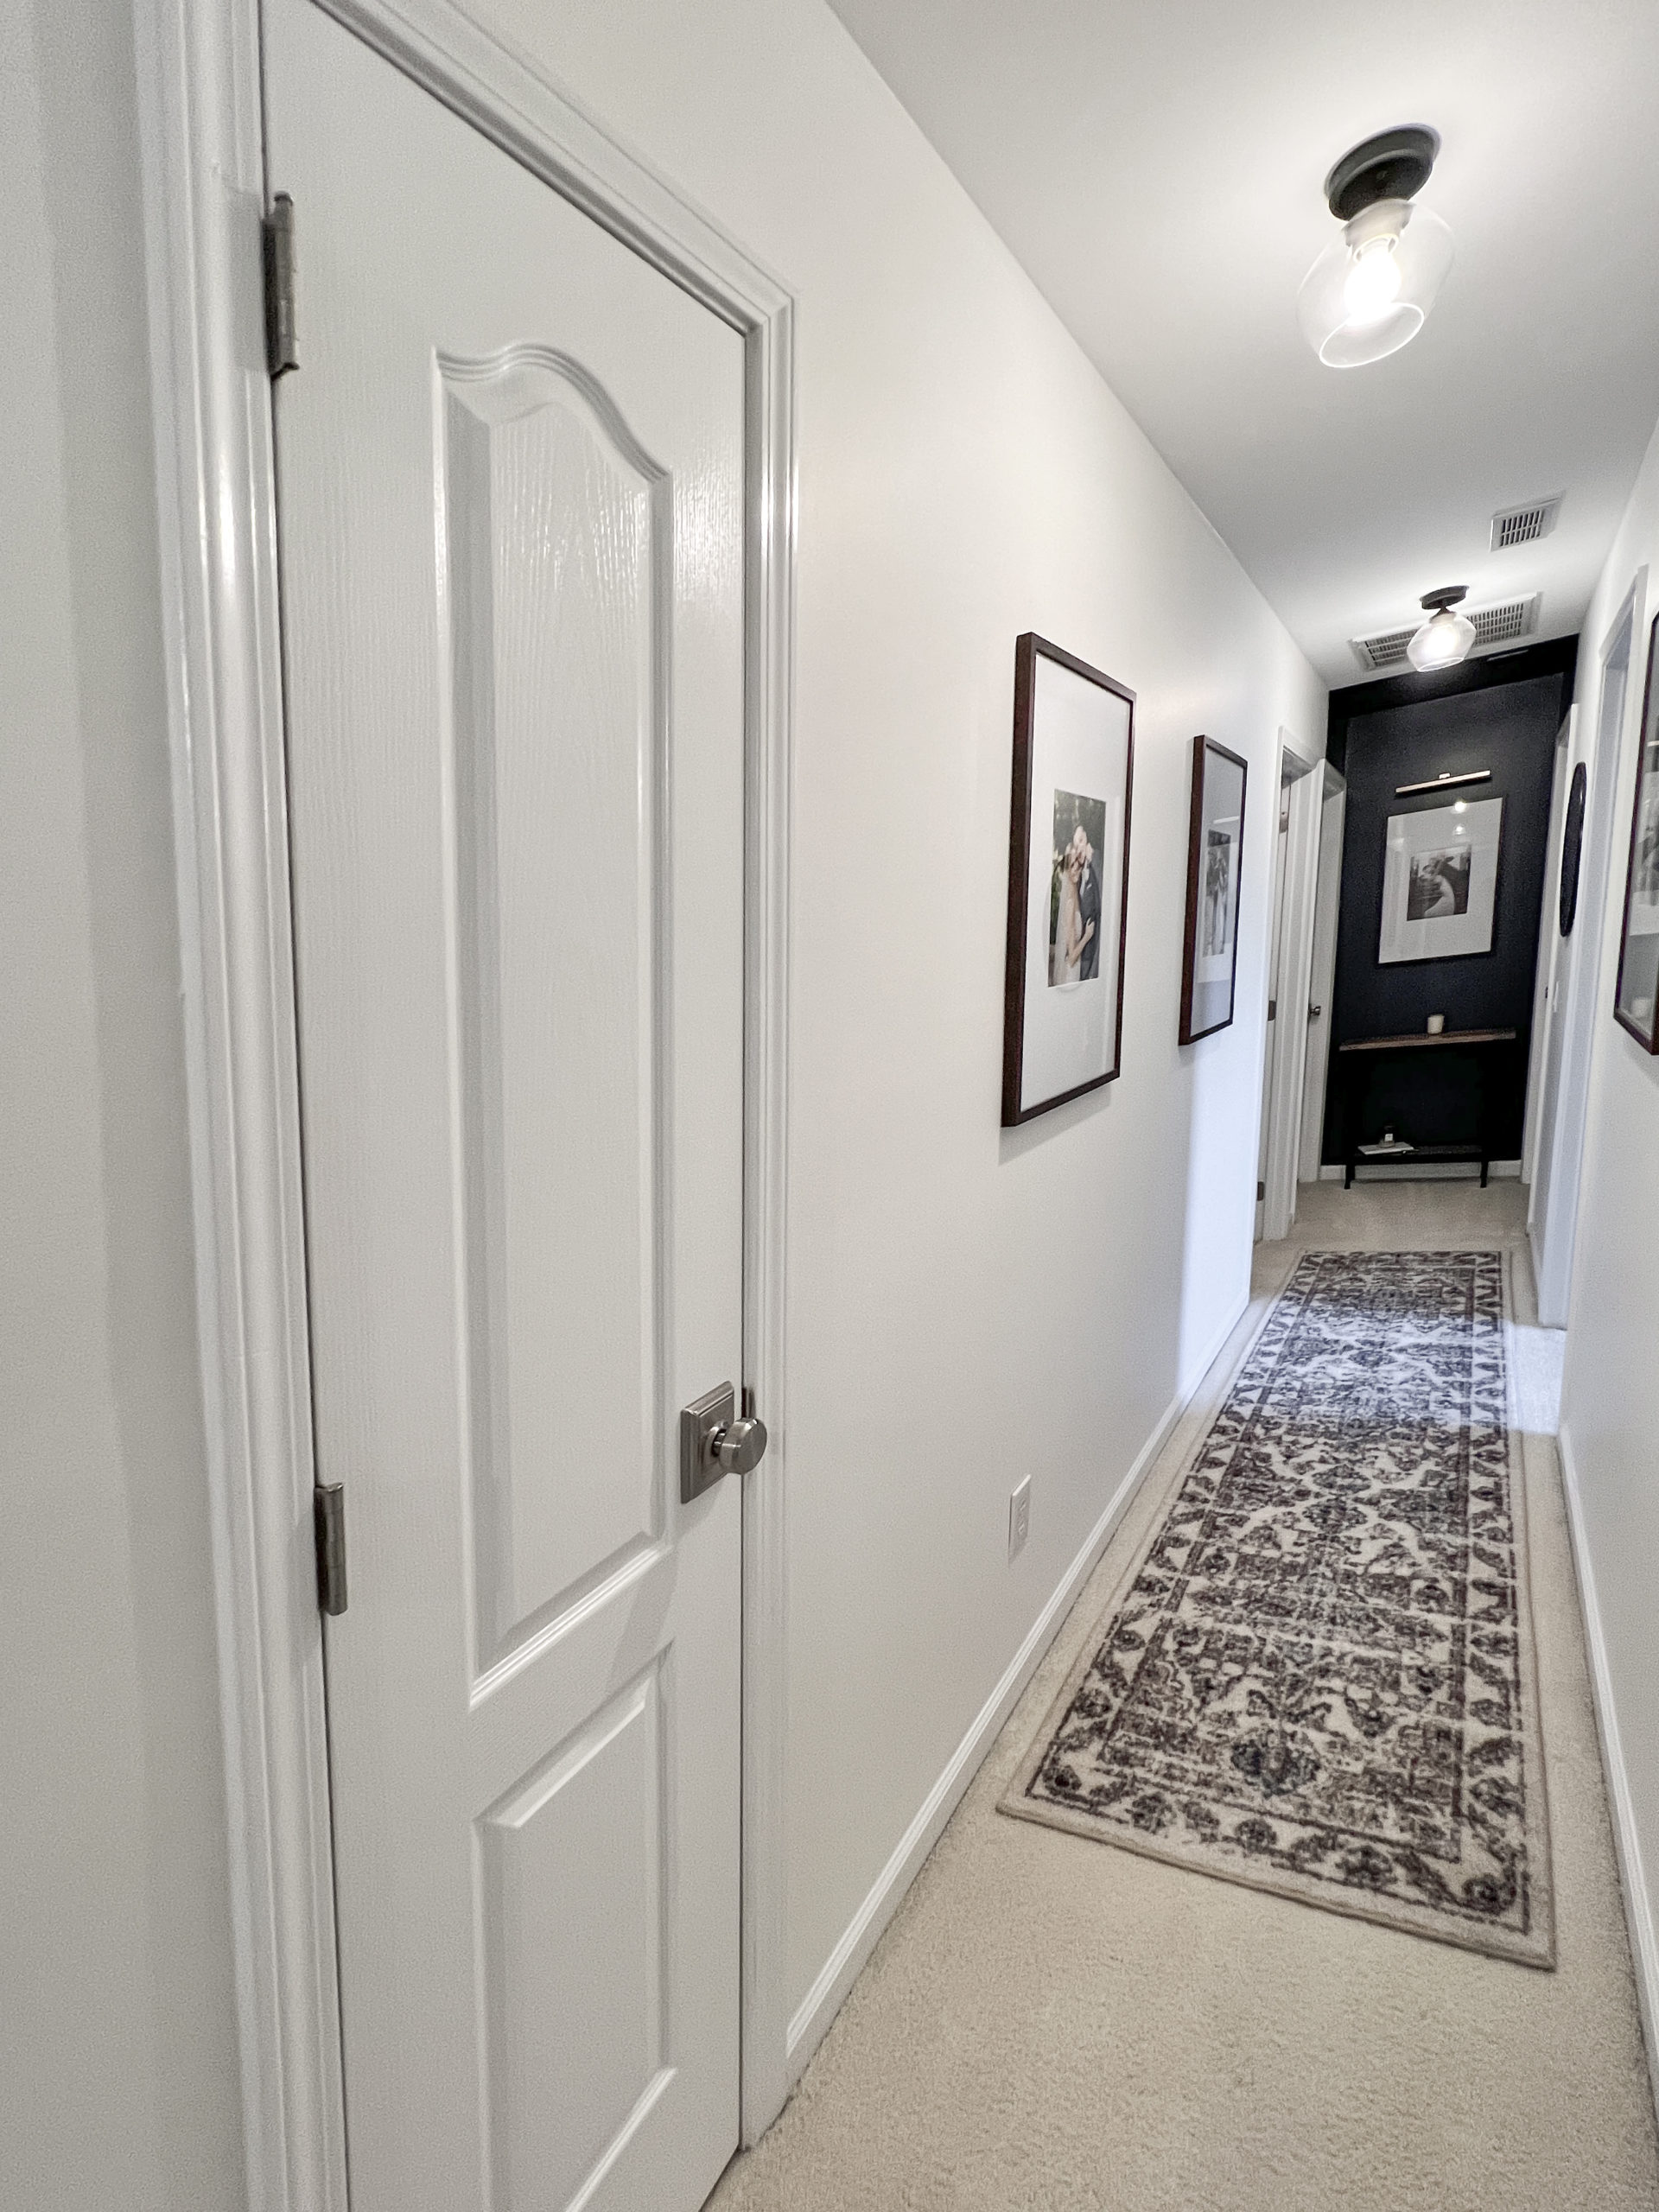
The interior doors to your bedroom, bathroom, and pantry occupy a significant amount of visual real estate, yet most of us ignore them when it comes to decorating your house. Although a seemingly small change, an interior doors refresh can make your home look brand new. You can refresh a discolored or damaged door with some filler and a fresh coat of white or paint an accent color to add some dimension and interest to your space.
My favorite accent doors on Pinterest:
See my post on painting accents and other ways to transform your home with paint.
Interior doors can receive a lot of use throughout the day. An interior doors refresh is an easy way to improve their appearance and brighten your rooms. This guide reviews how to prepare and paint interior doors, whether you’re using a paint gun or a brush and roller.
Break out your paint brush, we’re painting the doors.
How to Refresh Interior Doors with Paint
(This post contains affiliate links which means I receive a small compensation at no cost to you. As an Amazon Associate I earn from qualifying purchases. You can read more about it here. Thank you for supporting my blog!)

The painting steps below work best for solid wood and hollow-core doors. For vinyl-covered or plastic doors, you should look for a more relevant tutorial.
MATERIALS:
TOOLS:
Electric Sander (60-600 grit paper)
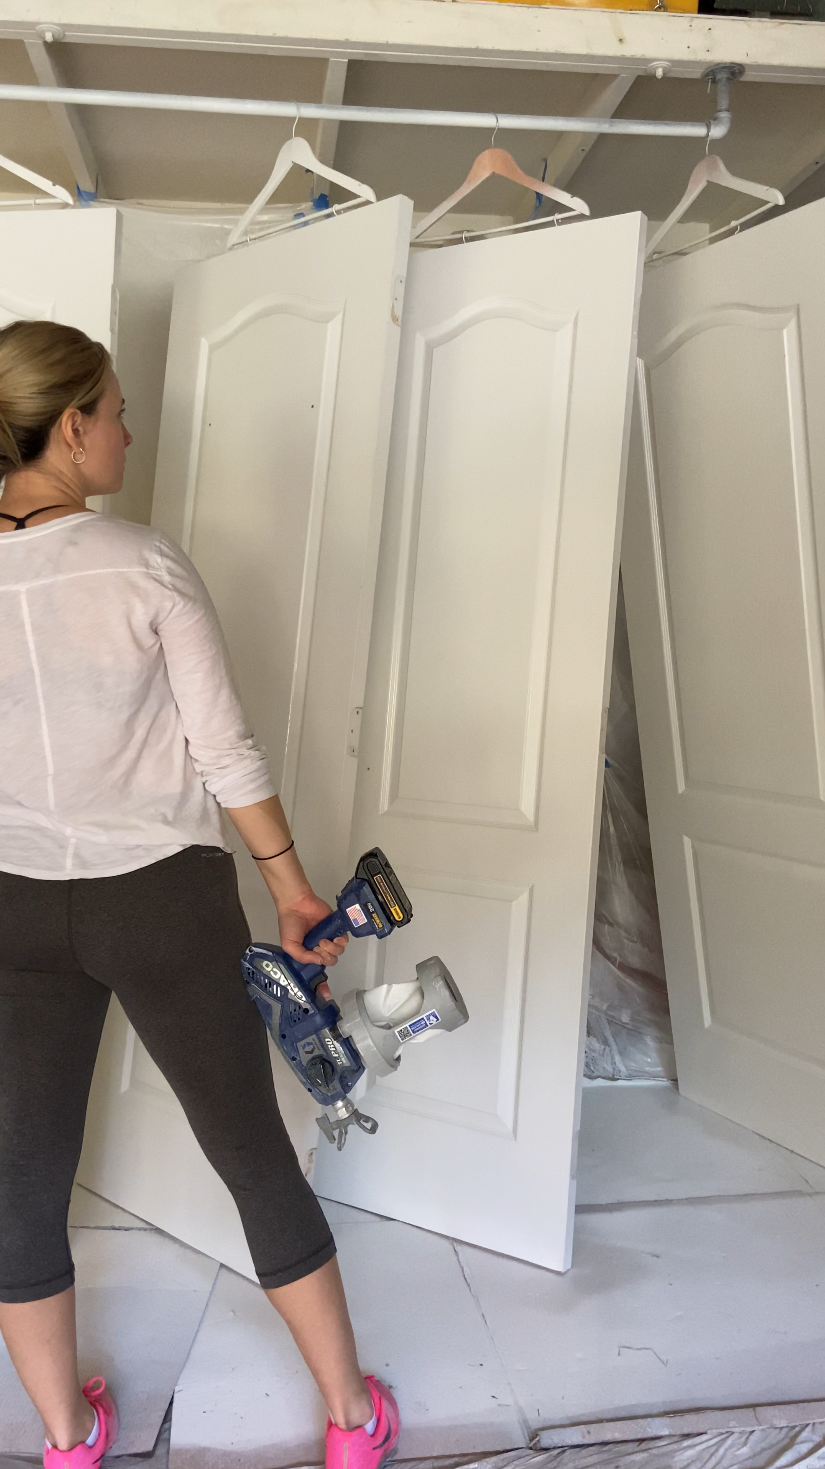
Graco Paint Sprayer (cordless)
Graco Paint Sprayer (corded but budget-friendly!)
or
1. Choose an Interior Door Paint
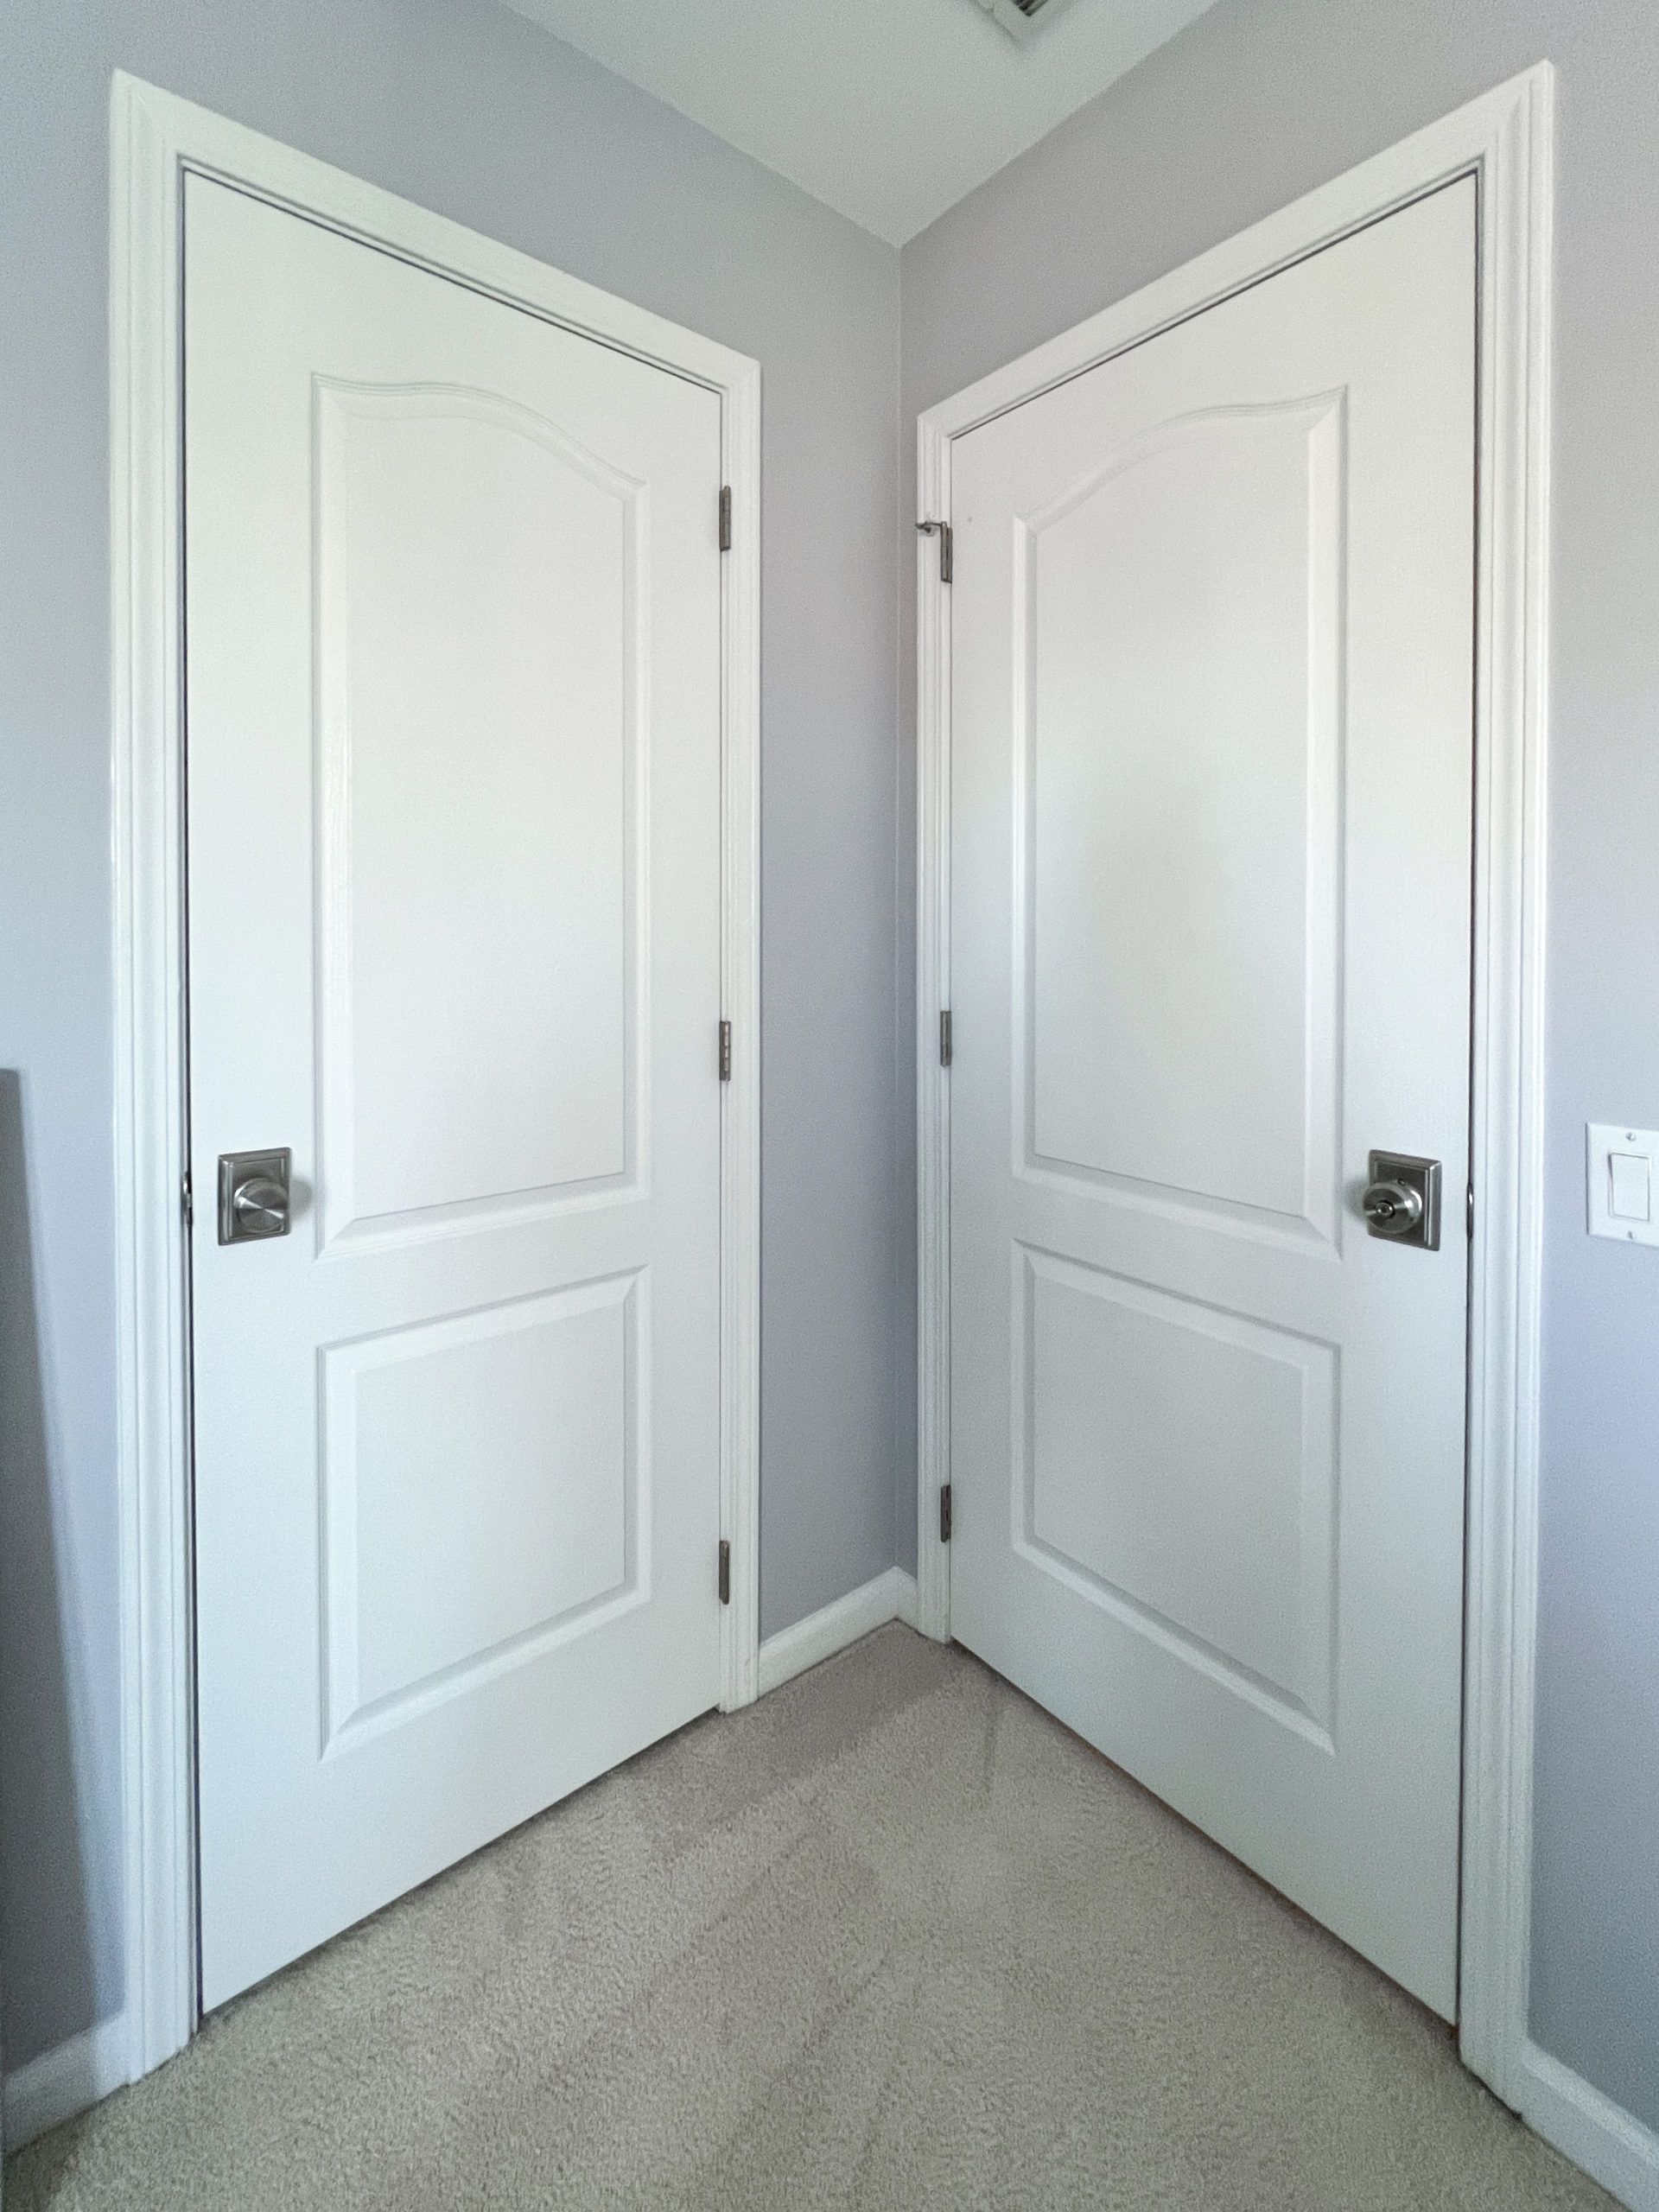
White is a classic door and trim color but you might want to consider painting your doors a color other than white. If you’re feeling a bit more adventurous- choose a bold color! A sparse room can be pulled together and becomes playful and inviting when you use bright color. If your style is on the more traditional side, an off-white or a washed-out pastel will create a soothing sense of balance without pulling the eye away from other accents. Interior doors in dark black or gray are also on-trend right now and they can be so beautiful.
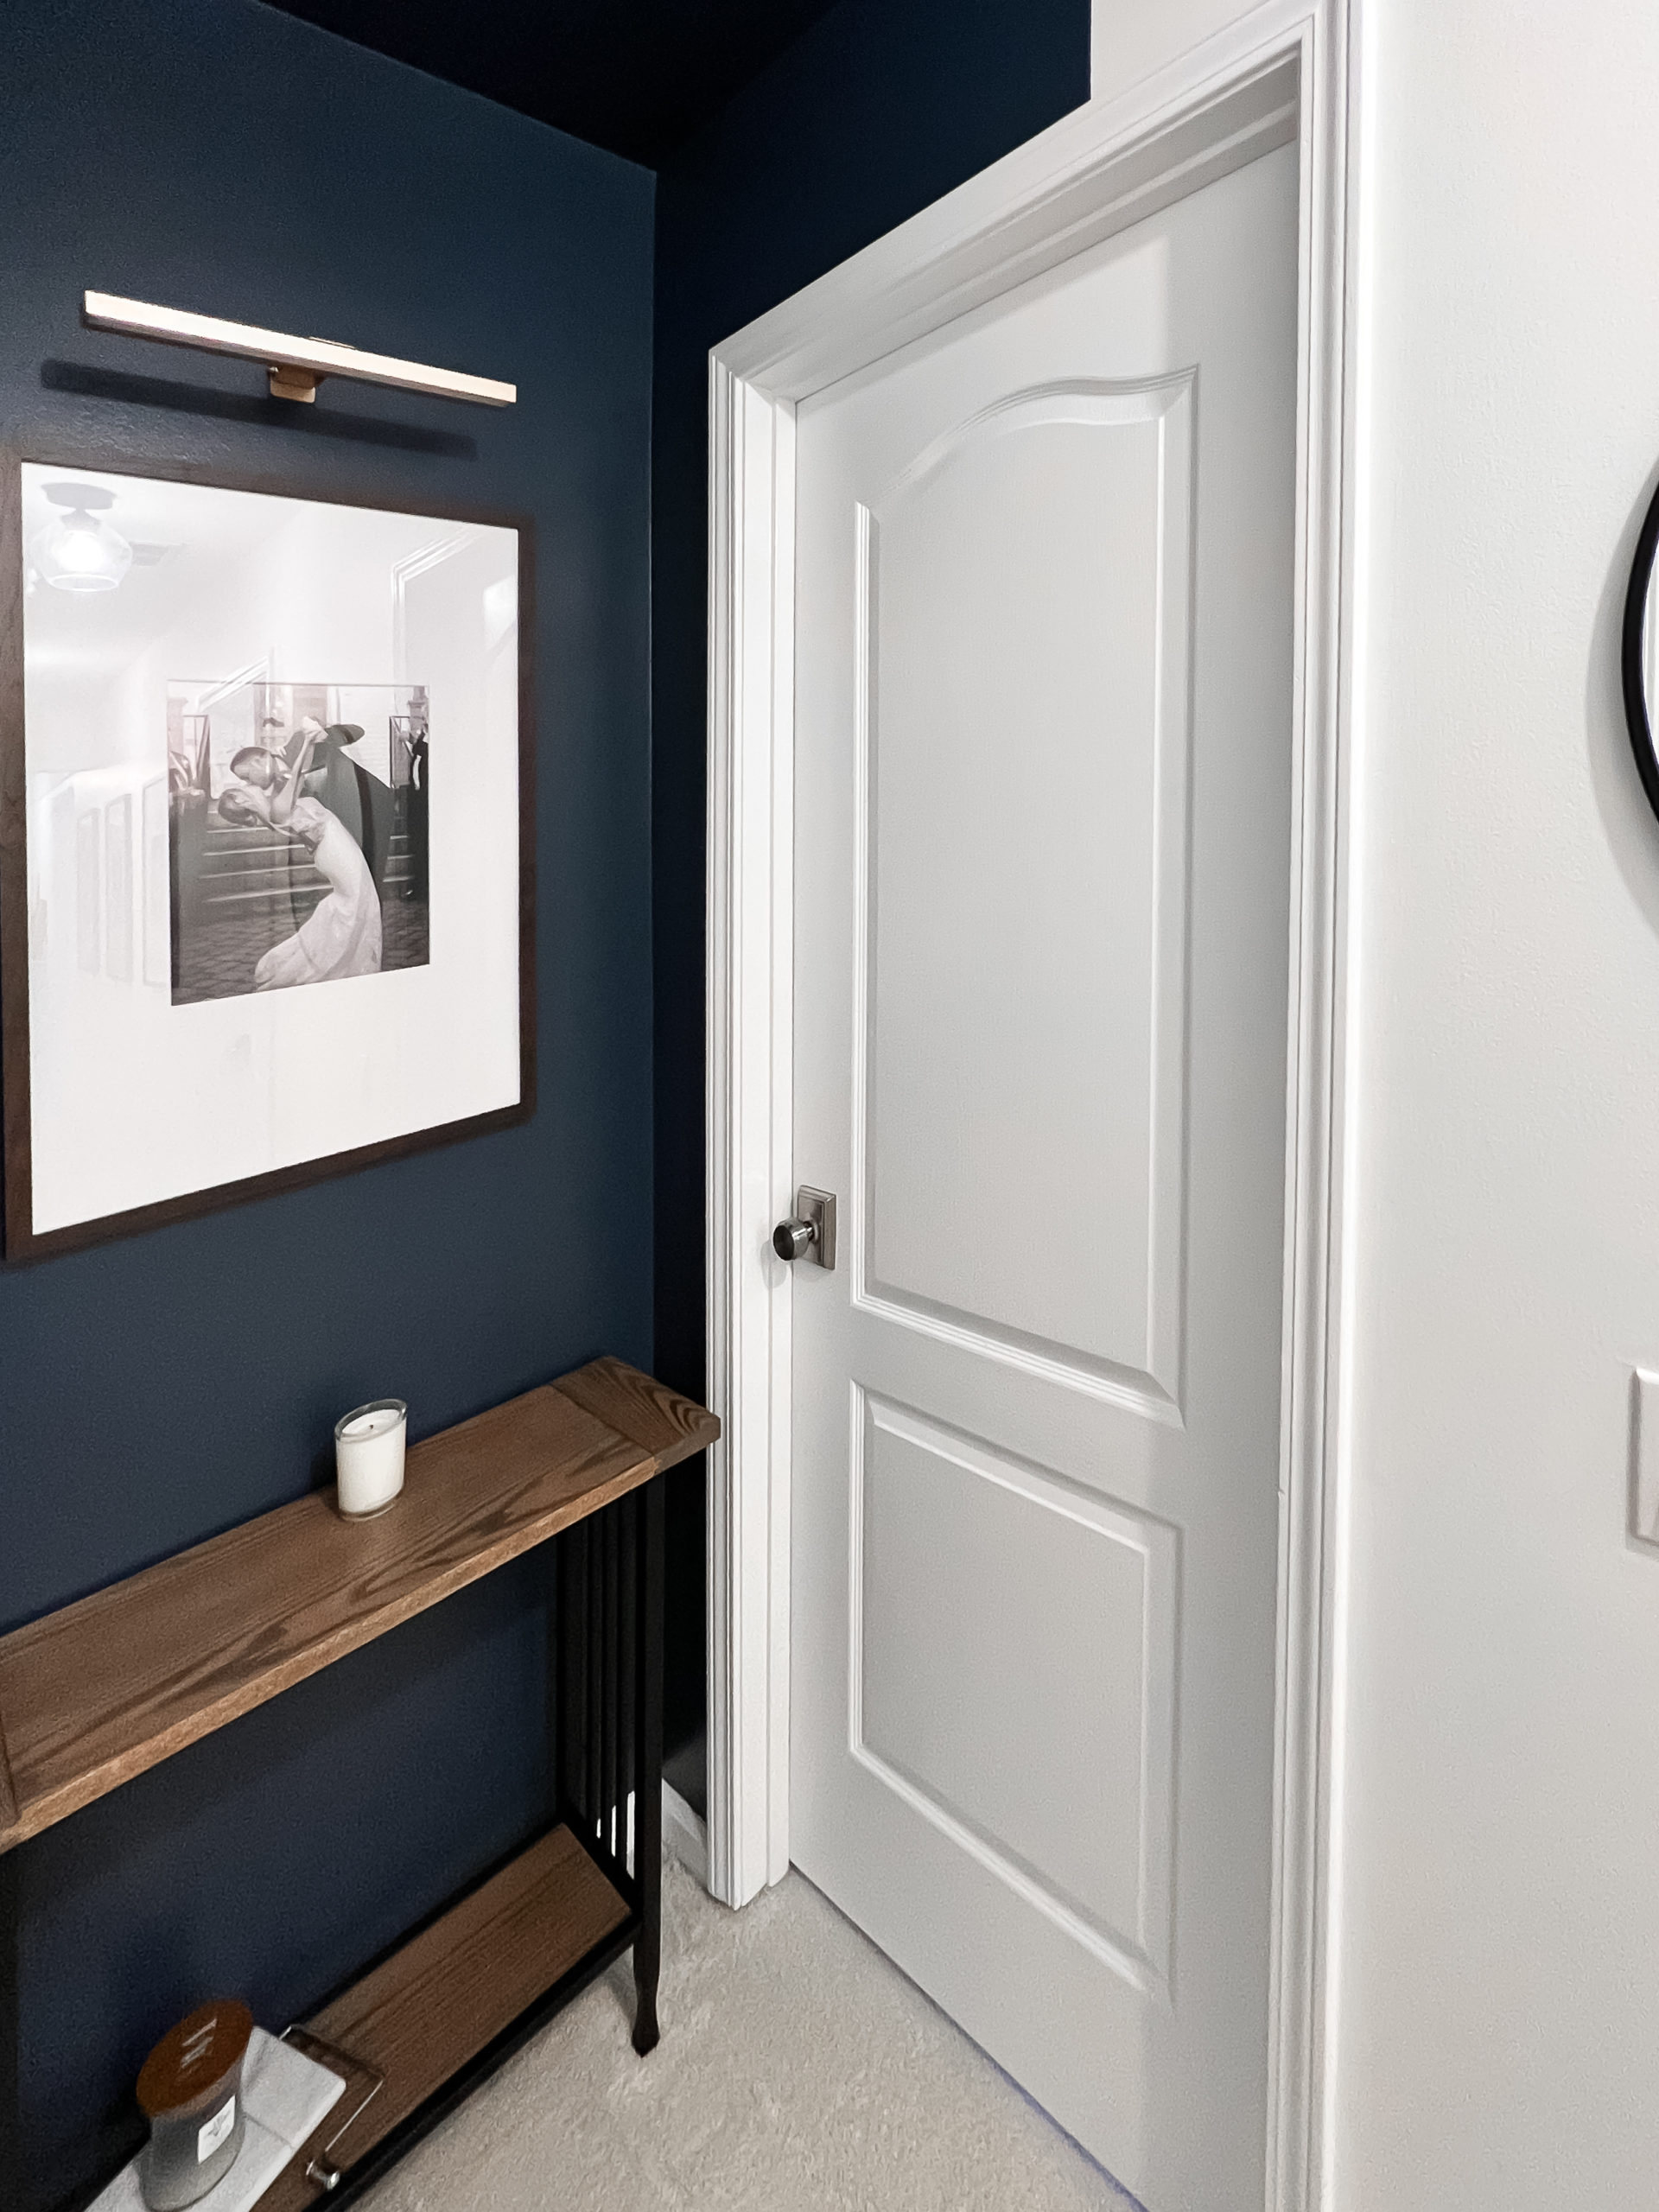
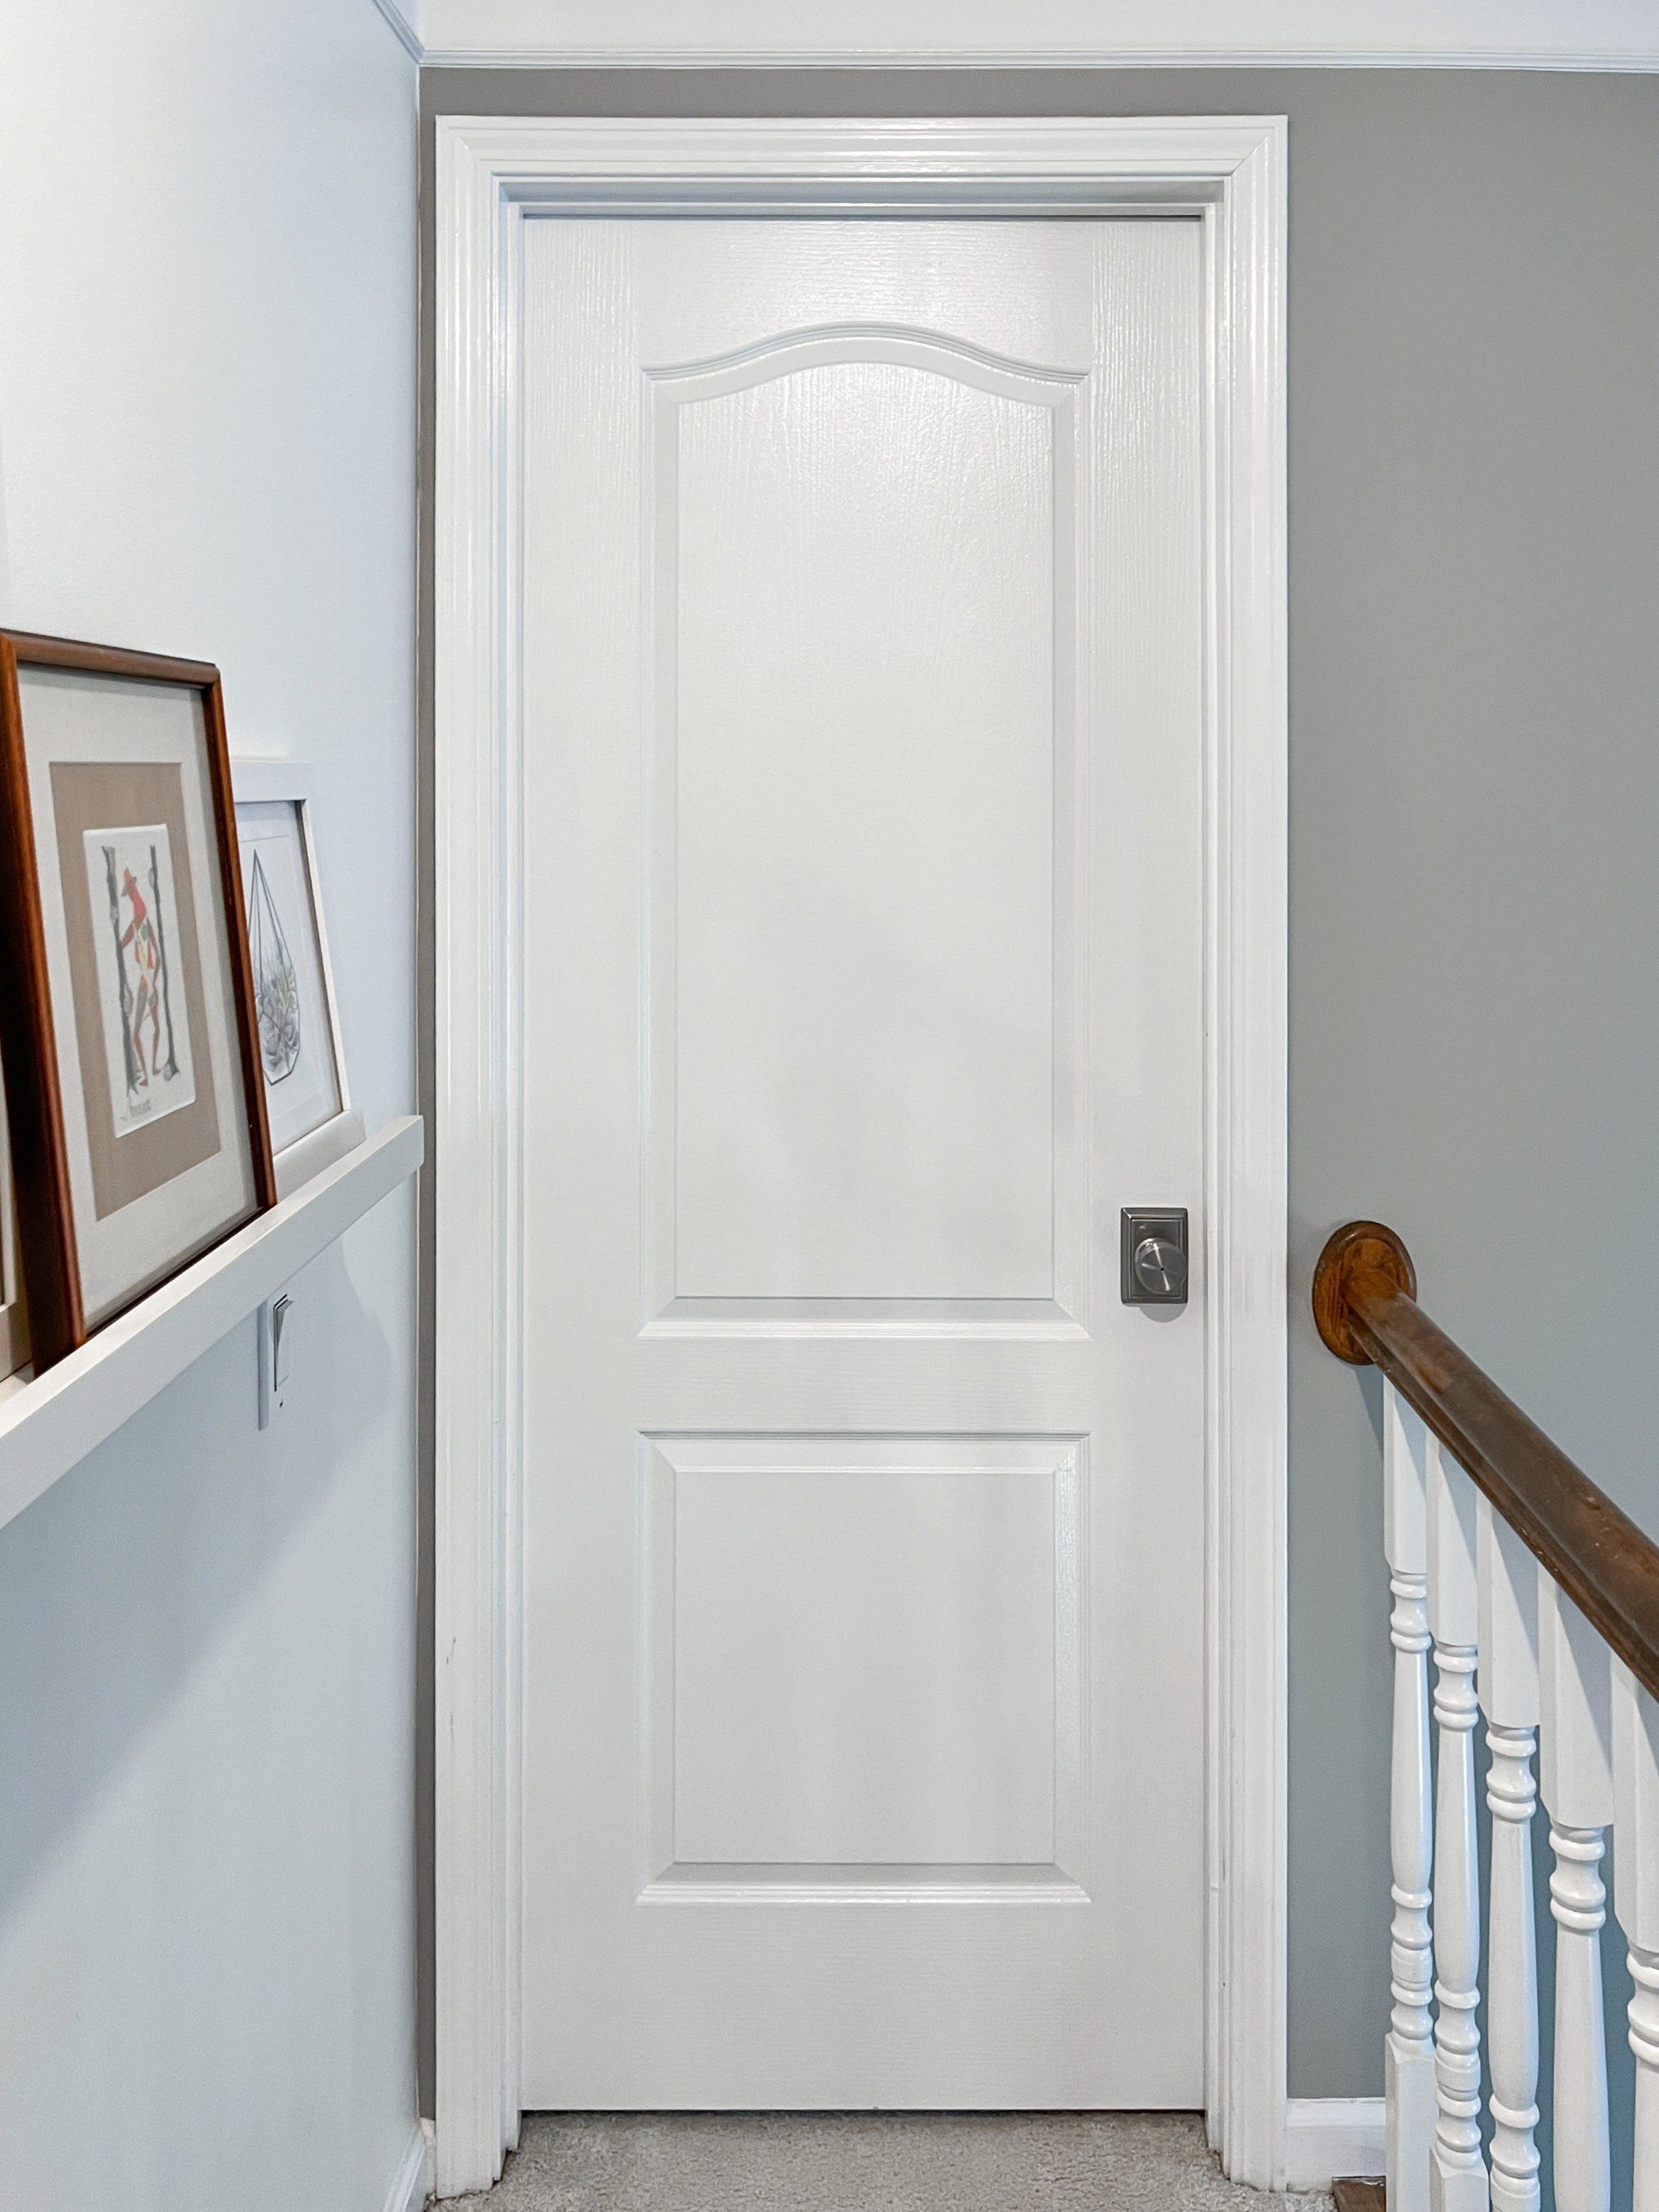
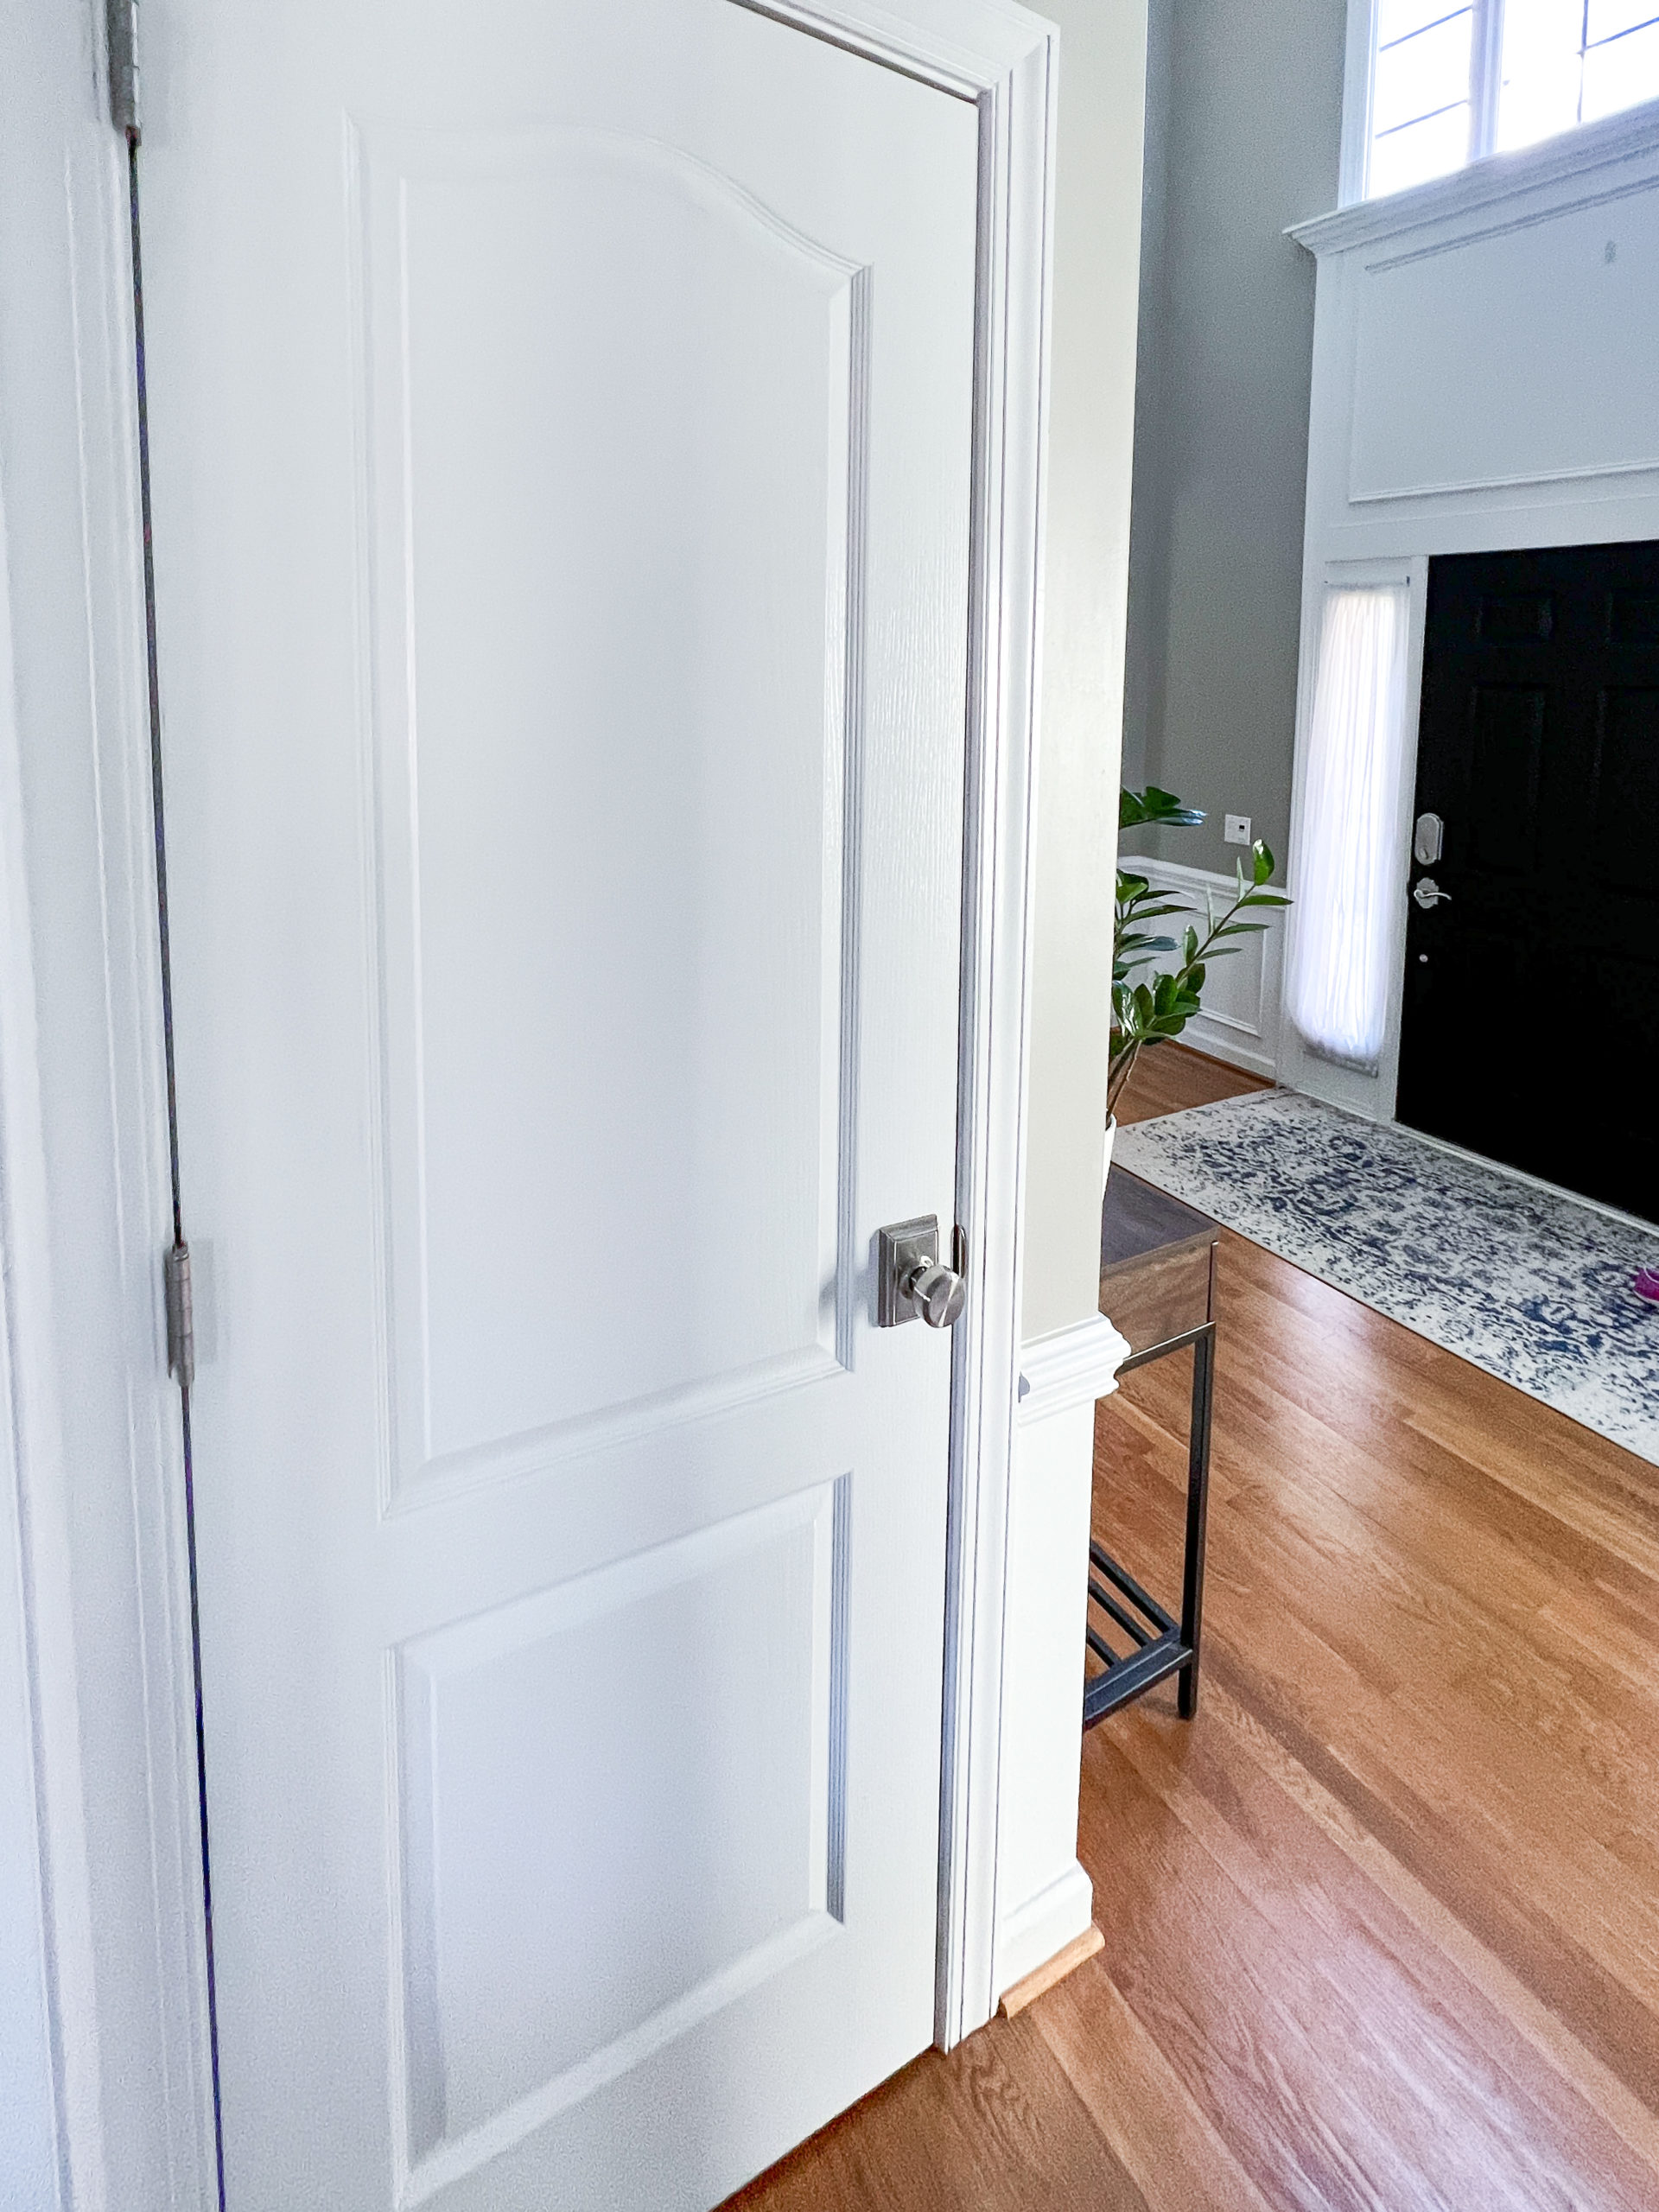
If you’re painting your door white (like me) and it has white trim around it, I recommend using the same paint color and finish as the trim. When picking a paint from scratch, choose from types with a durable gloss or semi gloss sheen which will stand up well to everyday use and makes it easy to clean. I used this HGTV HOME by Sherwin-Williams High-gloss Door and Trim Paint which is a crisp white and is super easy to clean!
2. Decide on Painting Doors in Place or Removing them
The easiest way to paint a door might very well be while it’s hanging on the frame. You have easy access to both sides of the door and the hinges are already holding it up, so you don’t have to worry about leaning a wet door against a wall and ruining your fresh paint job, However, you’ll need to work within the existing space and ensure your family is committed to not touching the doors while they’re drying. Plus, you’ll almost definitely be using paint brushes and rollers to complete the job which is difficult to get a good finish, and takes a long time.
The right way to paint your door is to remove it fully from the frame. It’s easier to fill and sand cracks and imperfections prior to painting with the door on a flat work surface. This way you can use a paint sprayer to apply thin, even coats of primer and paint for ultra-smooth results.
3. Remove Doors from Frames
(assuming you’re doing the right thing, and not just the easy thing)
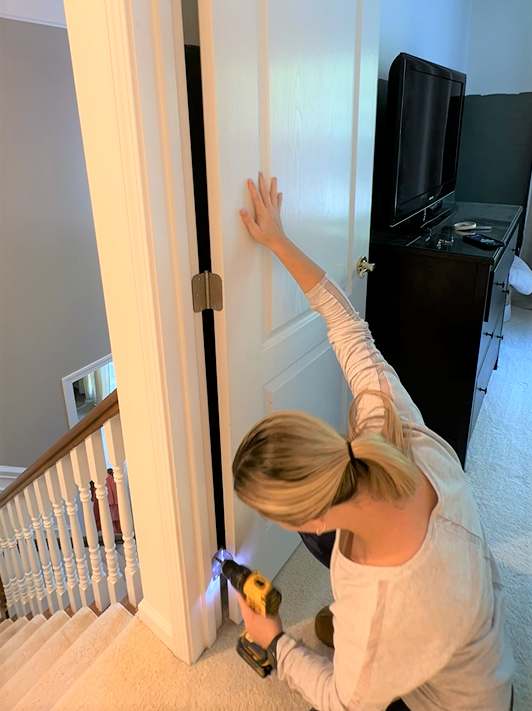
To remove your doors from the frames, use a drill to remove the screws from the hinges. I prefer to remove the hinges from the doors completely to clean them and re-install after the doors are painted.
Interior doors generally have 3 hinges with 3 or 4 screws each. My preferred way to remove the hinges is to place a book underneath the door for support and remove the top and bottom, then middle hinge. This way, no one screw is bearing the entire weight and you limit damage to the door or frame.
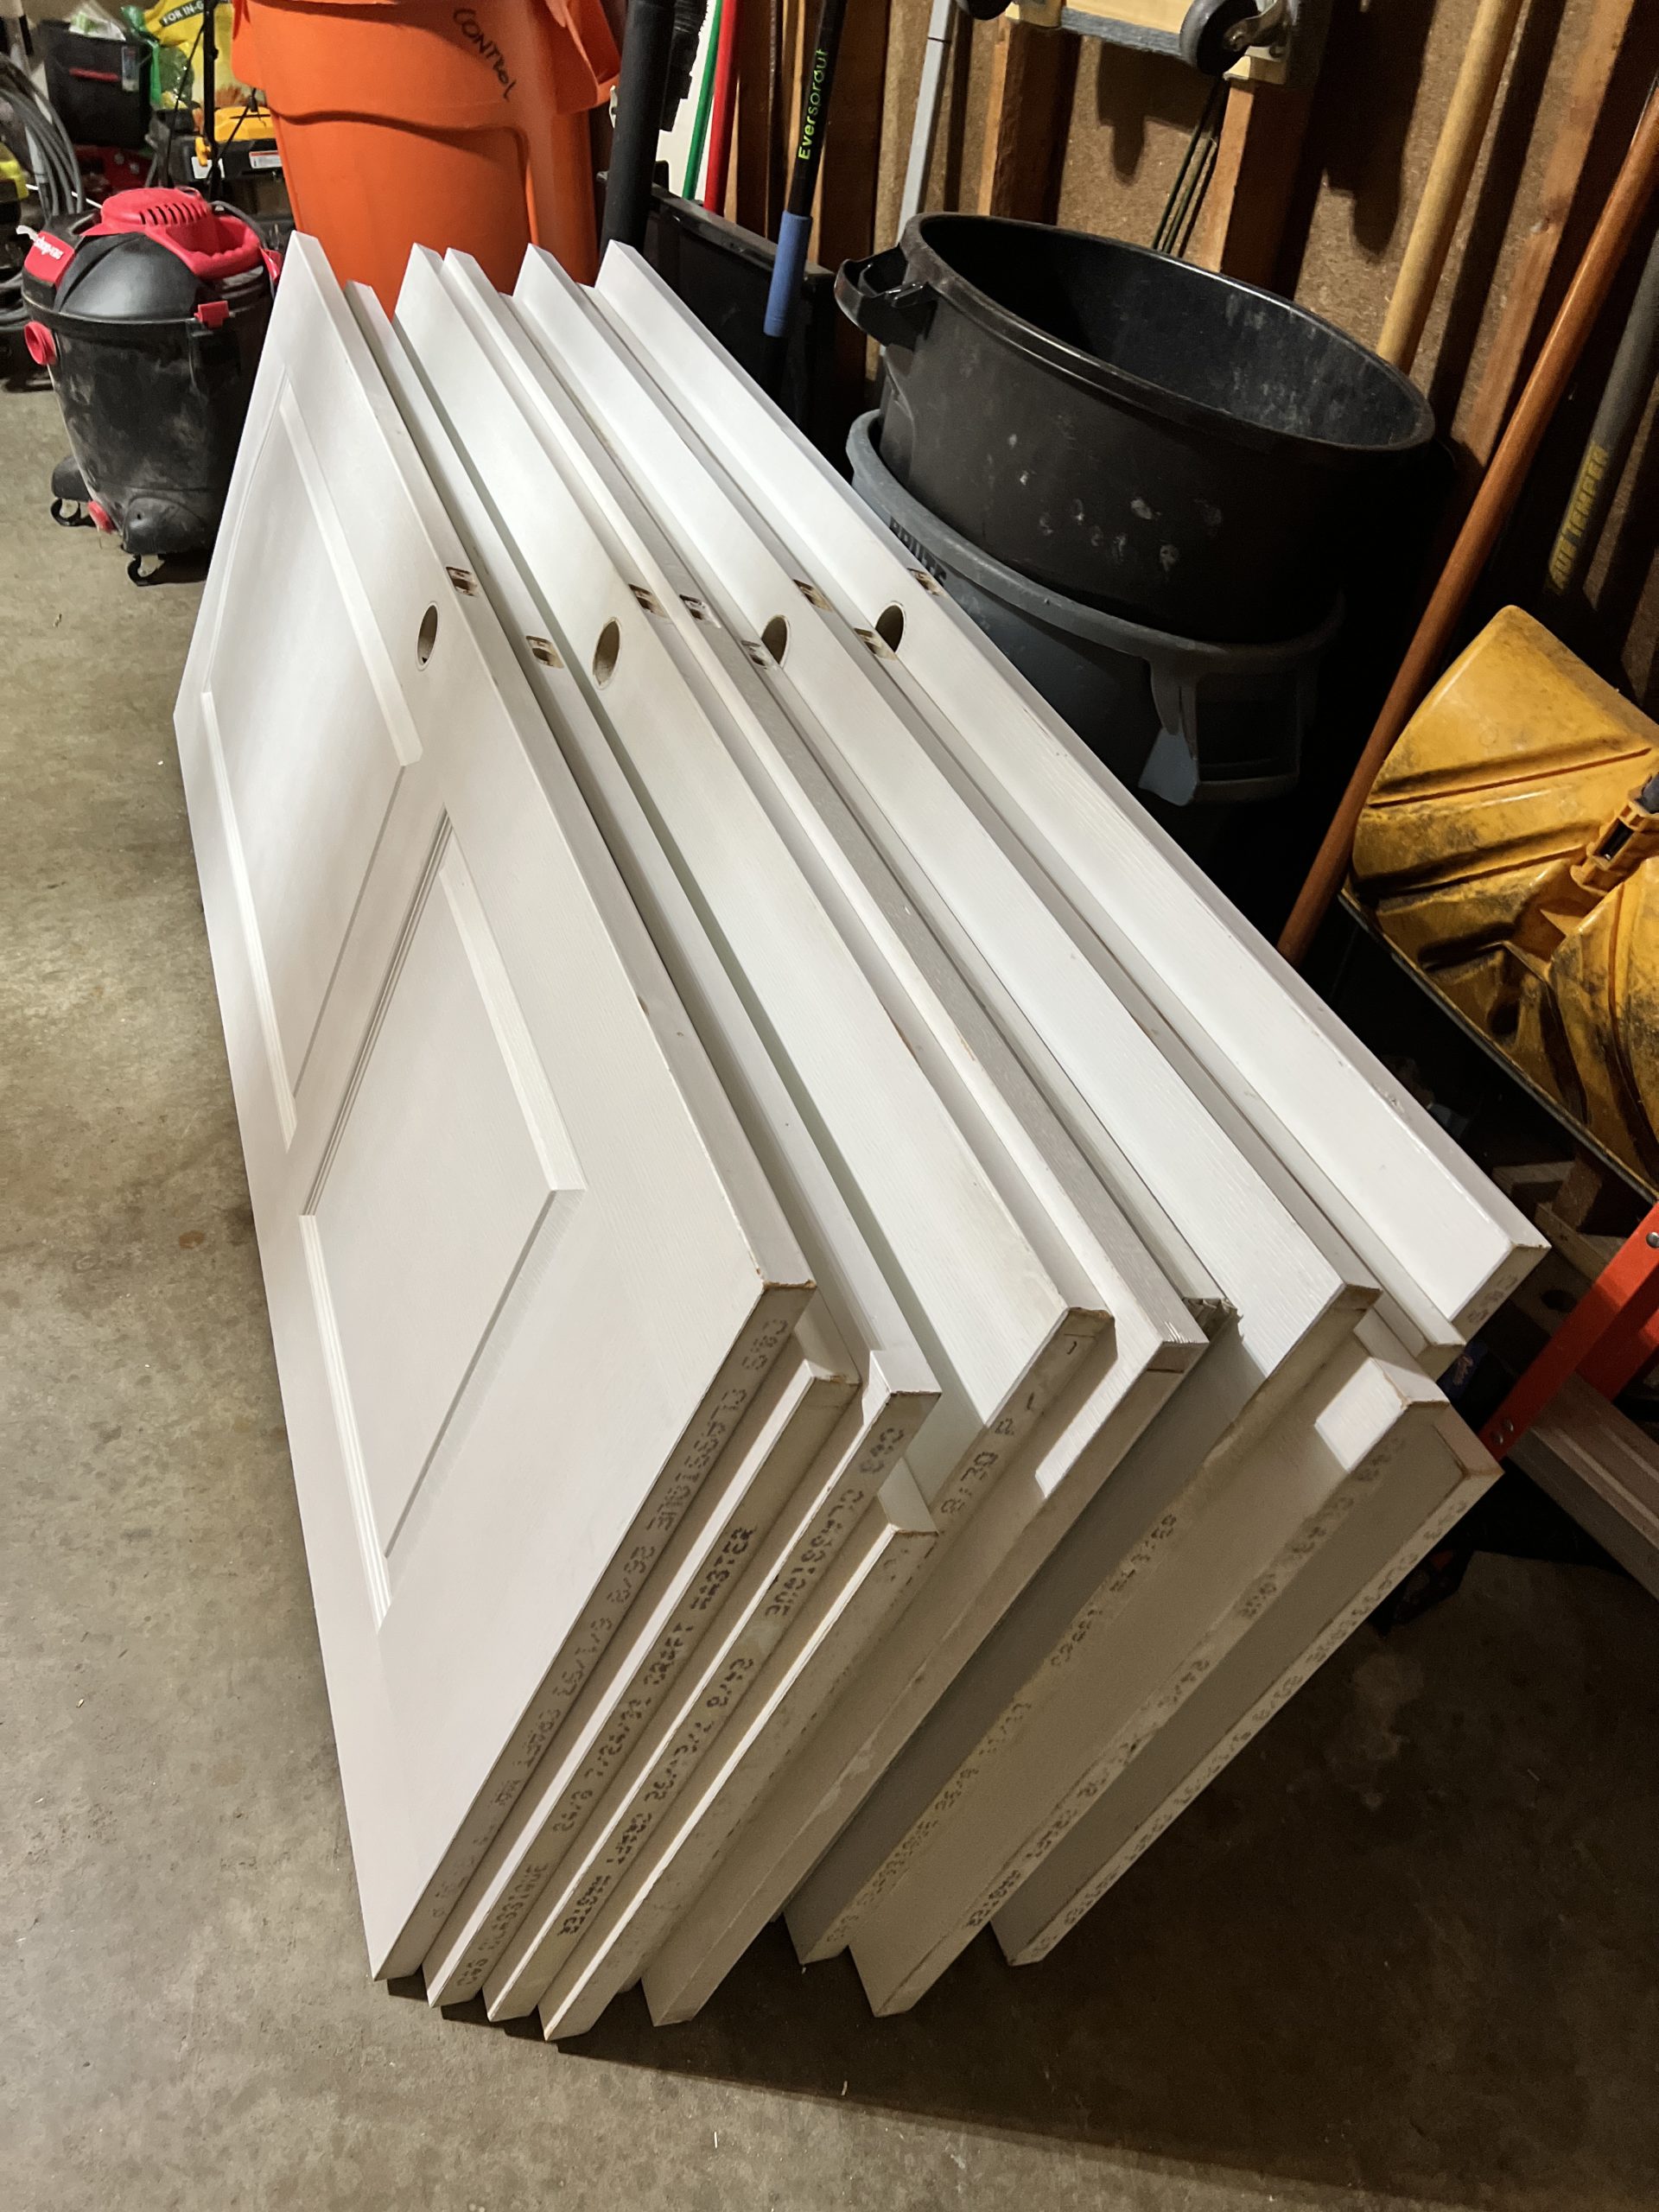
Once the door is off the frame, lean the door against a piece of trim. Trim is generally made out of wood or MDF and is more resistant to paint transfer and dents than drywall. First, label the door with the location where you removed it from (like “Hall Bath” or “Guest Room Closet”). You can label the door on the top edge, where it won’t likely be covered with paint. Then, have a friend or significant other help you carry the door to wherever you plan to spray them.
4. Remove Hardware from Doors
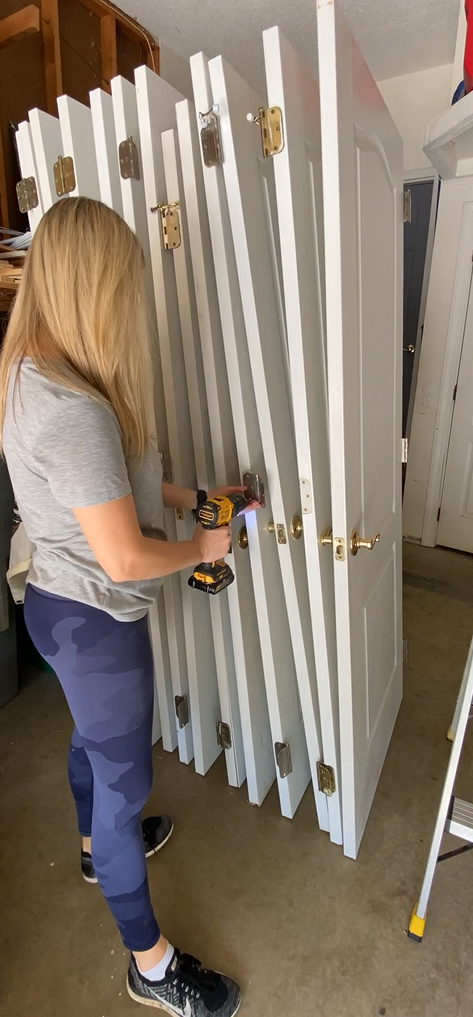
Remove hinges and the door knobs from your doors to simplify the paint application. If you’re keeping the same hinges, make sure to mark them similar to how you marked the door and then add if they were the top, middle, or bottom hinge. This way, small variances in the hardware or doors won’t cause issues during re-install (thanks for the tip, Martin!) If you’re replacing the old knob hardware, it’s especially important to remove and prep the doors to make sure those old hardware spots don’t show.
If you want to leave the knobs on for whatever reason, cover them completely with painter’s tape and plastic.
Prep Your Door for Painting
The success of any paint job always starts with good prep work. Painting a door—particularly an older wood one with trim and molding—requires some effort to prepare the surface.
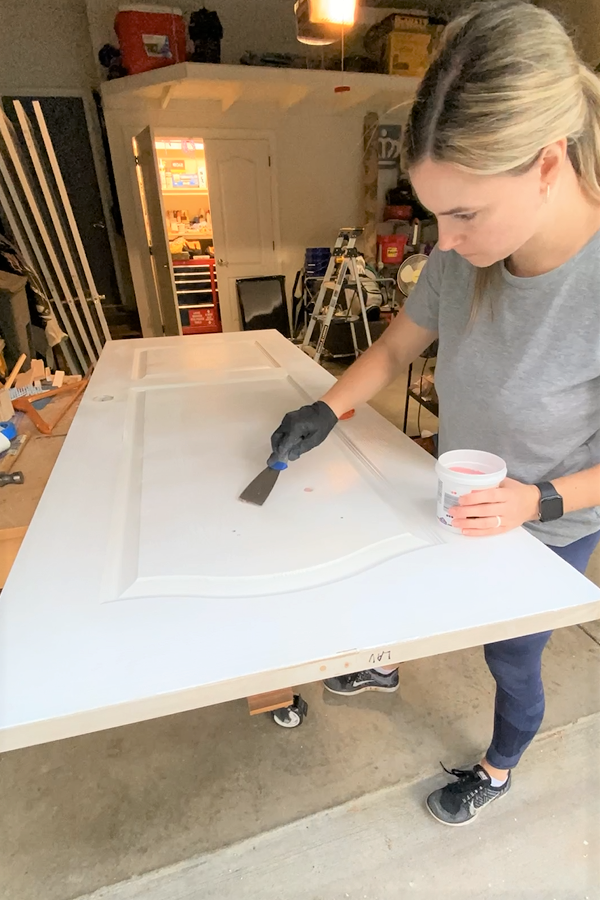
5. Fill Imperfections and Sand Door (lightly)
Note: Practice lead paint safety. If the house or surface you’re painting was built before 1978, see the EPA’s renovation, repair and painting program for guidelines.
Interior doors get a lot of use (and abuse) day-to-day and therefore they are prone to staining, cracks, dents and scratches as well as more serious damage. Fill any damage with wood filler, spackle or bondo, by placing a small amount of filler on a putty knife. Scrape it into the hole as evenly as possible, and let it dry for about two hours. Reassess if you need to add more filler and sand the filled-in spots smooth with 120 grit sandpaper.
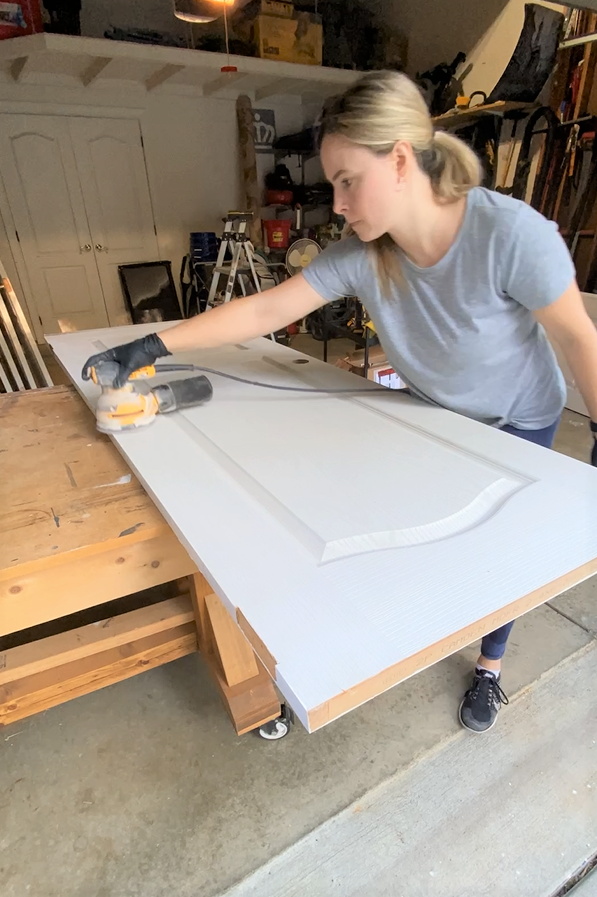
After you repair the damaged areas, lightly sand the entire door with fine grit (150+ grit) sandpaper. This will give the door a smoother surface that will absorb primer or paint more easily. After sanding, remove dust from the area with a tack cloth or a damp microfiber rag.
6. Clean your door with a degreaser
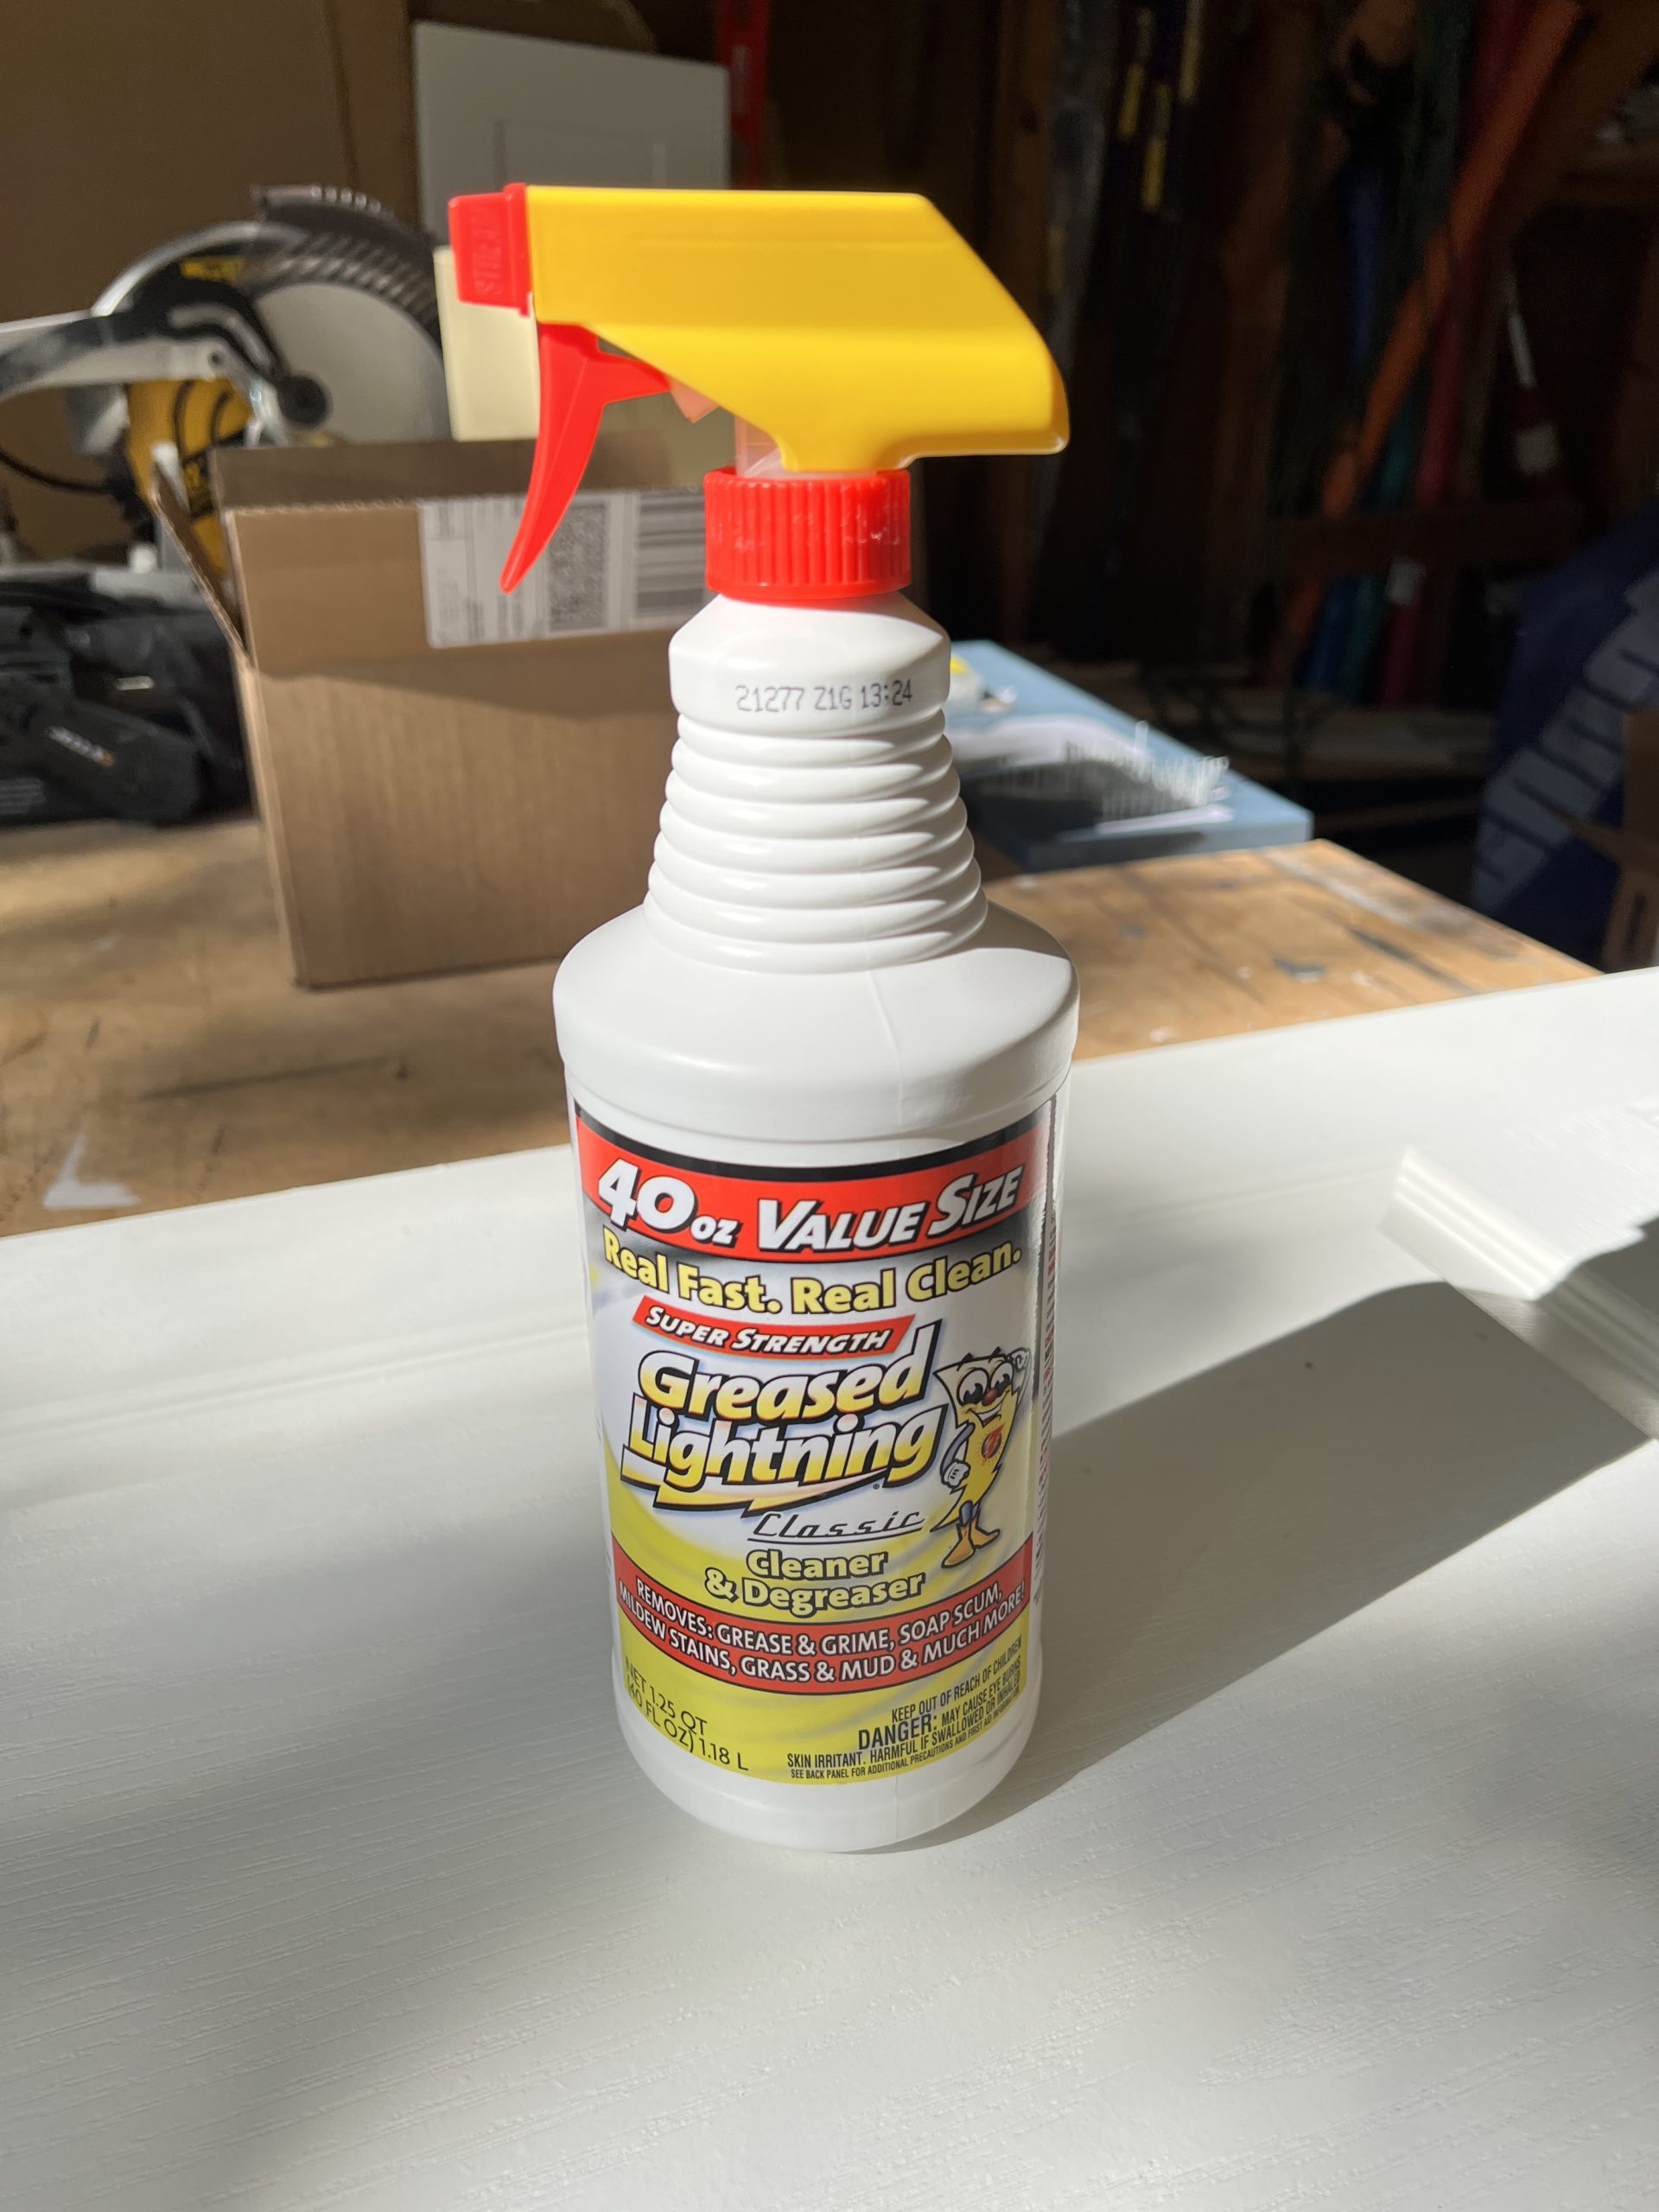
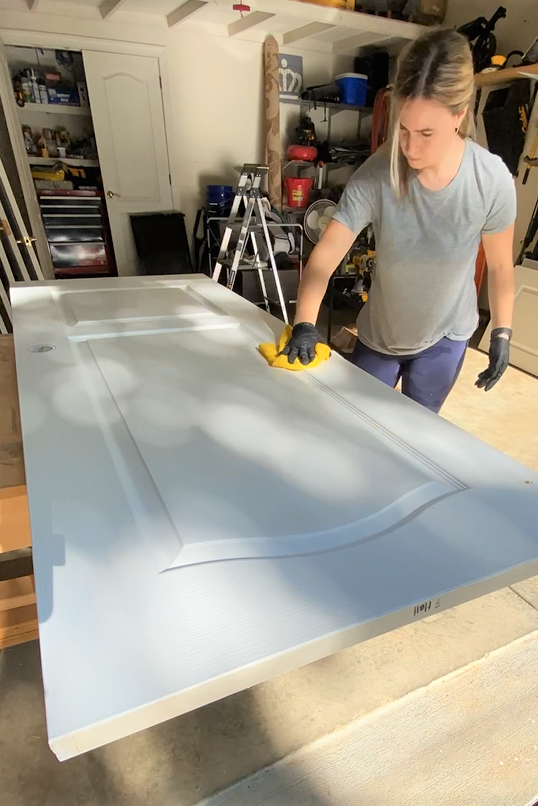
Before painting, wipe down your door with a degreasing cleaner. We touch our interior doors every single day so you need to clean off the oil and dirt from our hands with a thorough degreaser. Many tutorials recommend Krud Kutter but it was sold out in my local store, so I used Greased Lightning Degreaser. After using a generous amount of spray to clean 22 doors, my bottle still feels almost full, and it’s less expensive than KK!
7. Prep your workspace
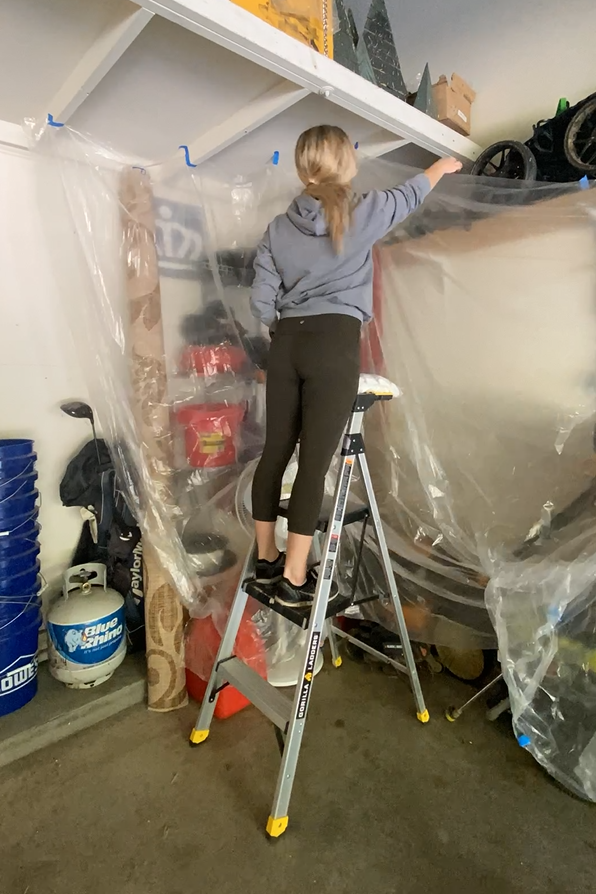
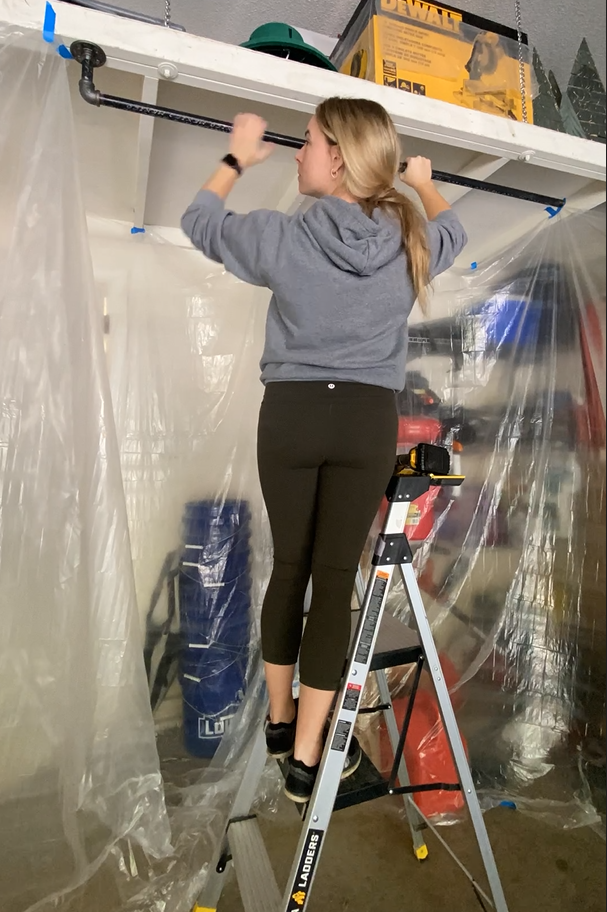
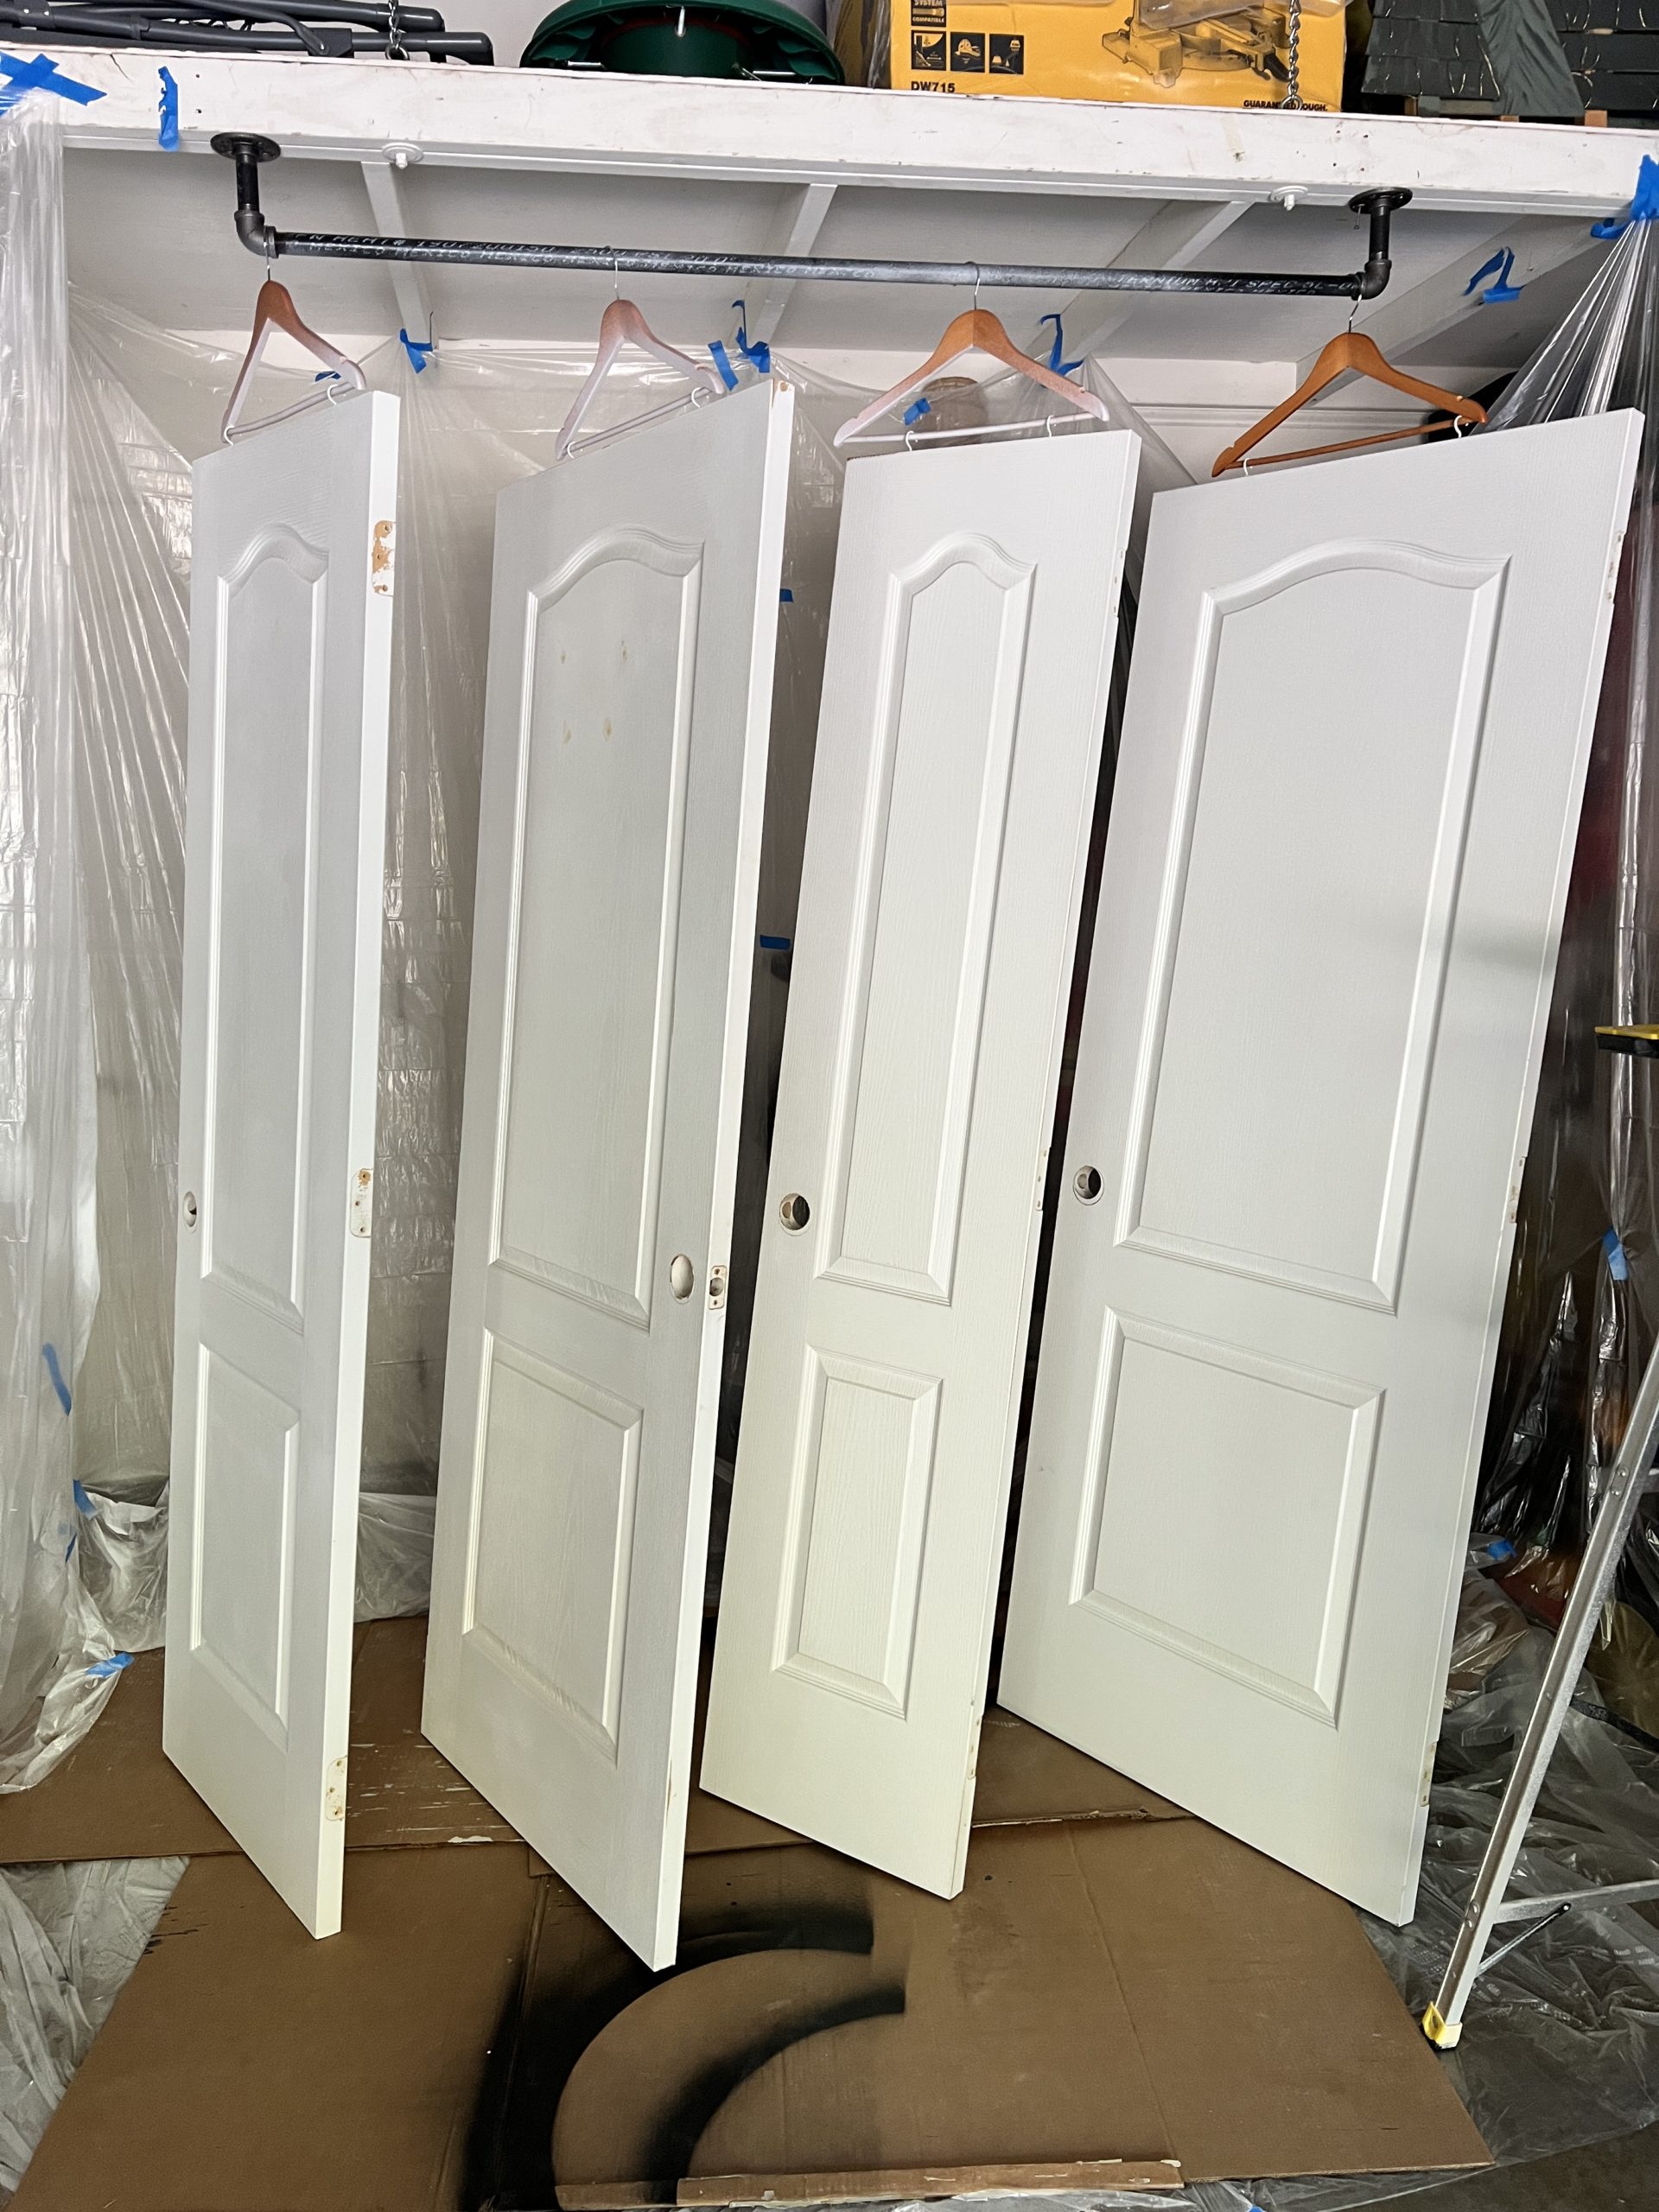
Set up your paint station in a well ventilated area. Cover any area you don’t want to get paint on with Traditional or Plastic Drop Cloths. If you plan to hang your doors, make sure you have a hanger that can support the weight and an area to hang the doors. I used iron pipe from the plumbing aisle to build a hanger rod but my doors ending up still sitting on the floor. I made it work.
Make sure to use a solid surface if your doors will be touching it at all- do not set directly on a drop cloth or it could potential fly up/around the door when using the sprayer or if there’s any fan or wind.
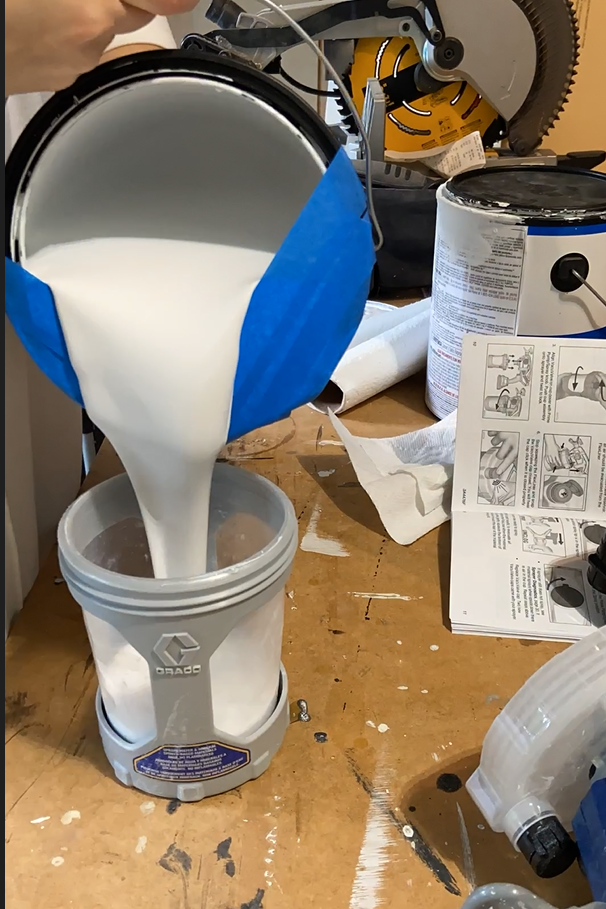
8. Prime
I always recommend priming, but you don’t need to prime if you’re working with new, pre-primed doors or you’re using latex paint on a door that was previously painted with latex paint.
To prime your doors, use a high quality primer like my favorite, KILZ 2 Primer. Primer preps the painting surface and seals any stains. This ensures that your paint will adhere to the surface properly and you’ll get the smoothest, cleanest finish possible. Follow the directions in steps 9 and 10 for the best way to apply paint (or primer) based on whether you’re spraying or using a brush/roller.
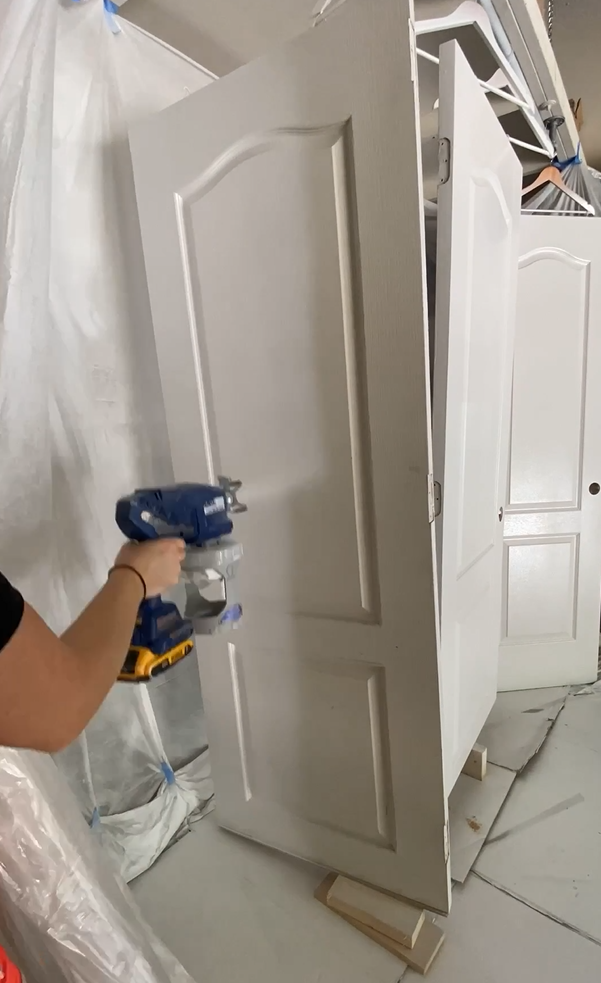
9. Paint
If your doors were handled a lot after prep, wipe them down with a little bit of degreaser on a microfiber cloth.
Spray Directions:
This project was in sponsorship with Graco Homeowners Paint Sprayers. This is the paint sprayer I used but this corded version is more budget-friendly.
Fill your paint sprayer and follow the instructions to get paint flowing, I recommend starting at the lowest flow setting, then increasing as you spray, if needed. Make sure to start the flow of paint a few inches above the door and stop a few inches below to prevent drips on the door itself.
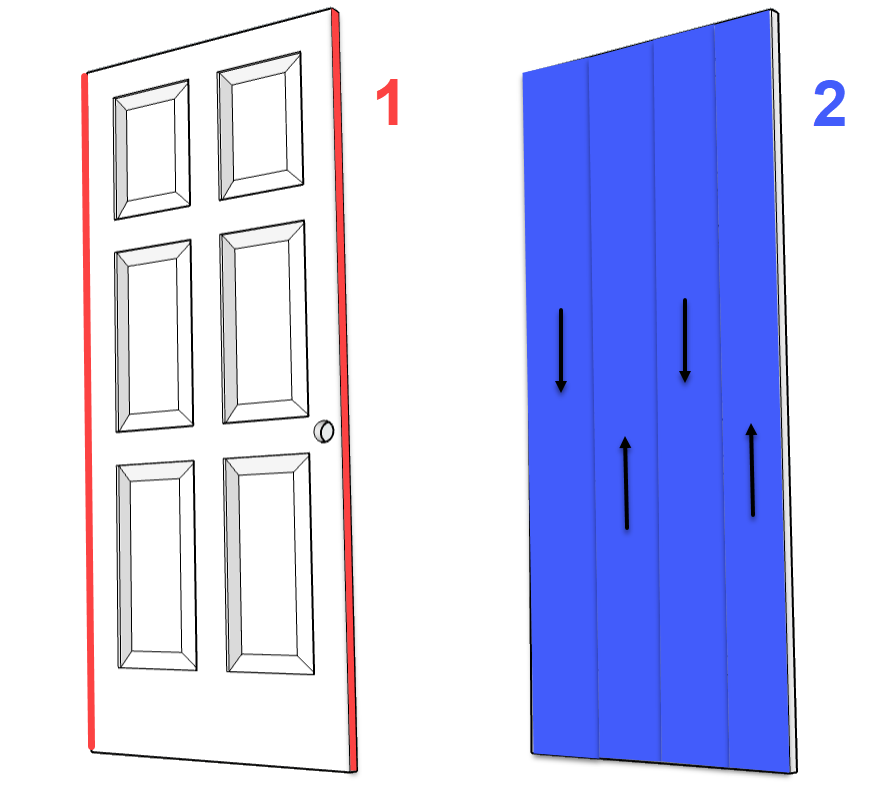
- Spray the long edges of the door, first. You don’t need to paint the bottom or top edges of your door (no one will see them!)
- Spray the flat panels, one side then the other.
Brush/Roller Directions:
Many people successful paint doors using just a brush, but a combination of a brush and a small roller will give you a smoother finish. For a paneled door, rather than simply painting the door from top to the bottom, you’ll get the best finish by painting in the following order:
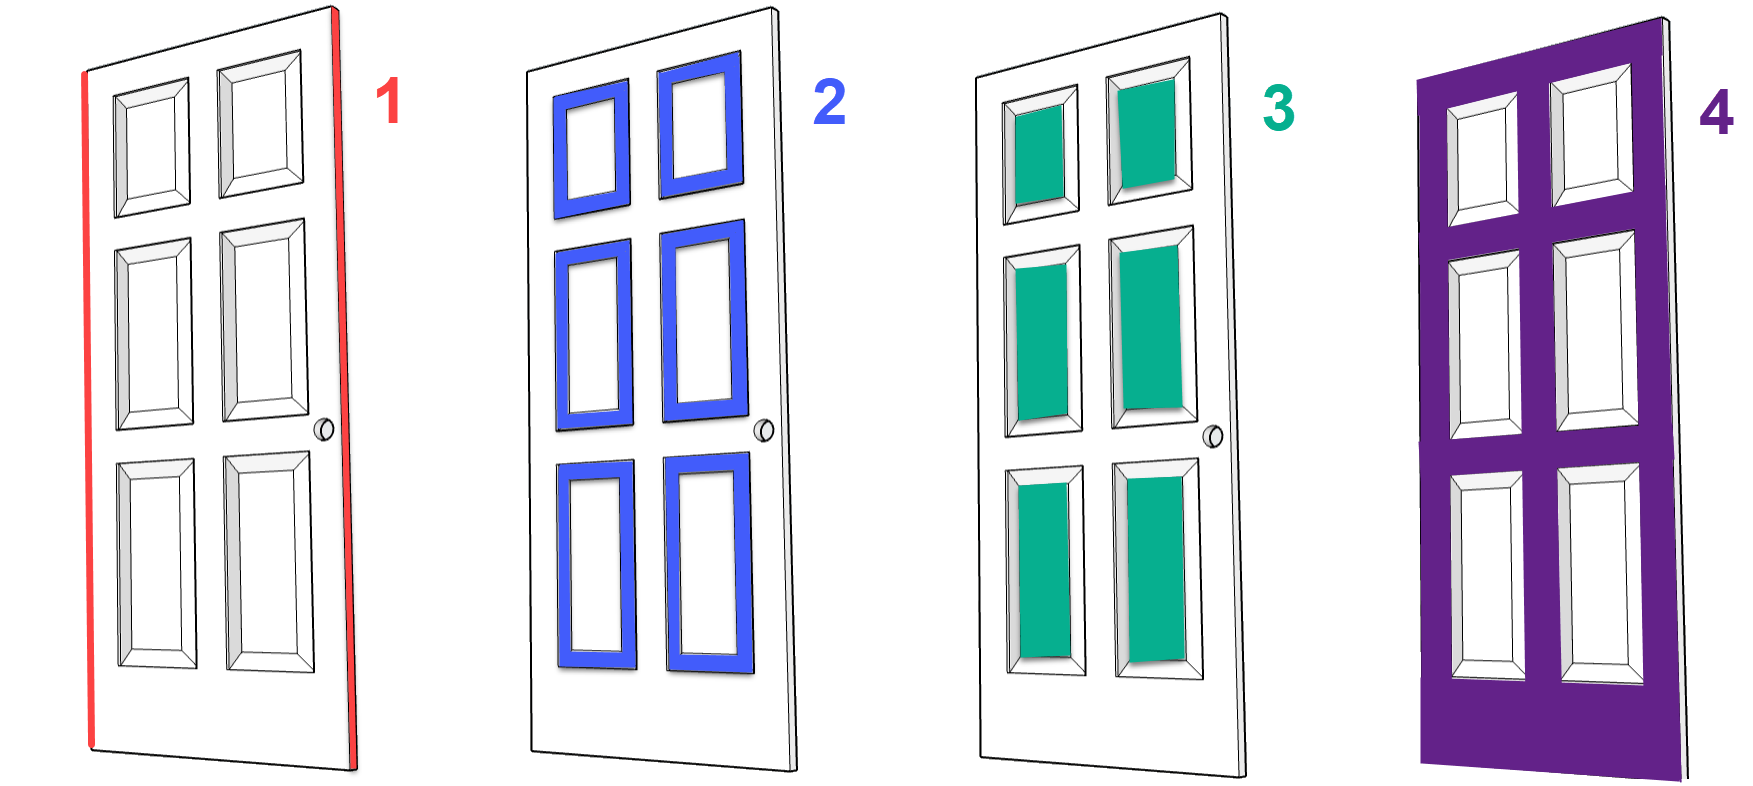
1. Start by painting the edges of the door with the roller. Again you don’t need need to paint the top and bottom edges if you don’t want to.
2. Paint the door panels. Use a 1 ½″ brush to paint any recessed molding areas if you have them. Make sure to feather the edges of your brush strokes by slowly lifting the brush off the piece at the end of your brush movement. This ensures you don’t get any hard brush strokes showing or drips in the corners.
3. Next, use a roller on the flat, inside panels. Make sure not to load too much paint onto your roller or roll down into the recessed molding. This could cause drips.
4. Finally, paint the rails of the door with your 4″ roller. It’s best to paint the three vertical strips followed by the 4 horizontal rails.
10. Sand & Recoat
If you’re painting one side at a time and resting the other side flat on a surface, allow the paint to dry at least 24 hours before flipping the door over to coat the other side. Cover your surface with a smooth cloth to prevent the newly painted door from sticking to it.
Once your primer or first coat of paint is dry, give your door a very light sand with 220 grit paper. Remove the sanding dust with a tack cloth, and then go back to the previous step and apply your paint.
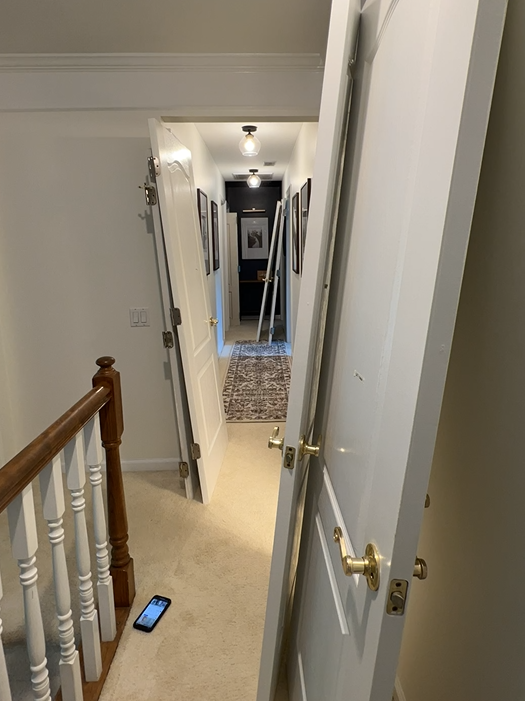
Once both sides are dry, rehang your doors and reinstall your door hardware. Done!

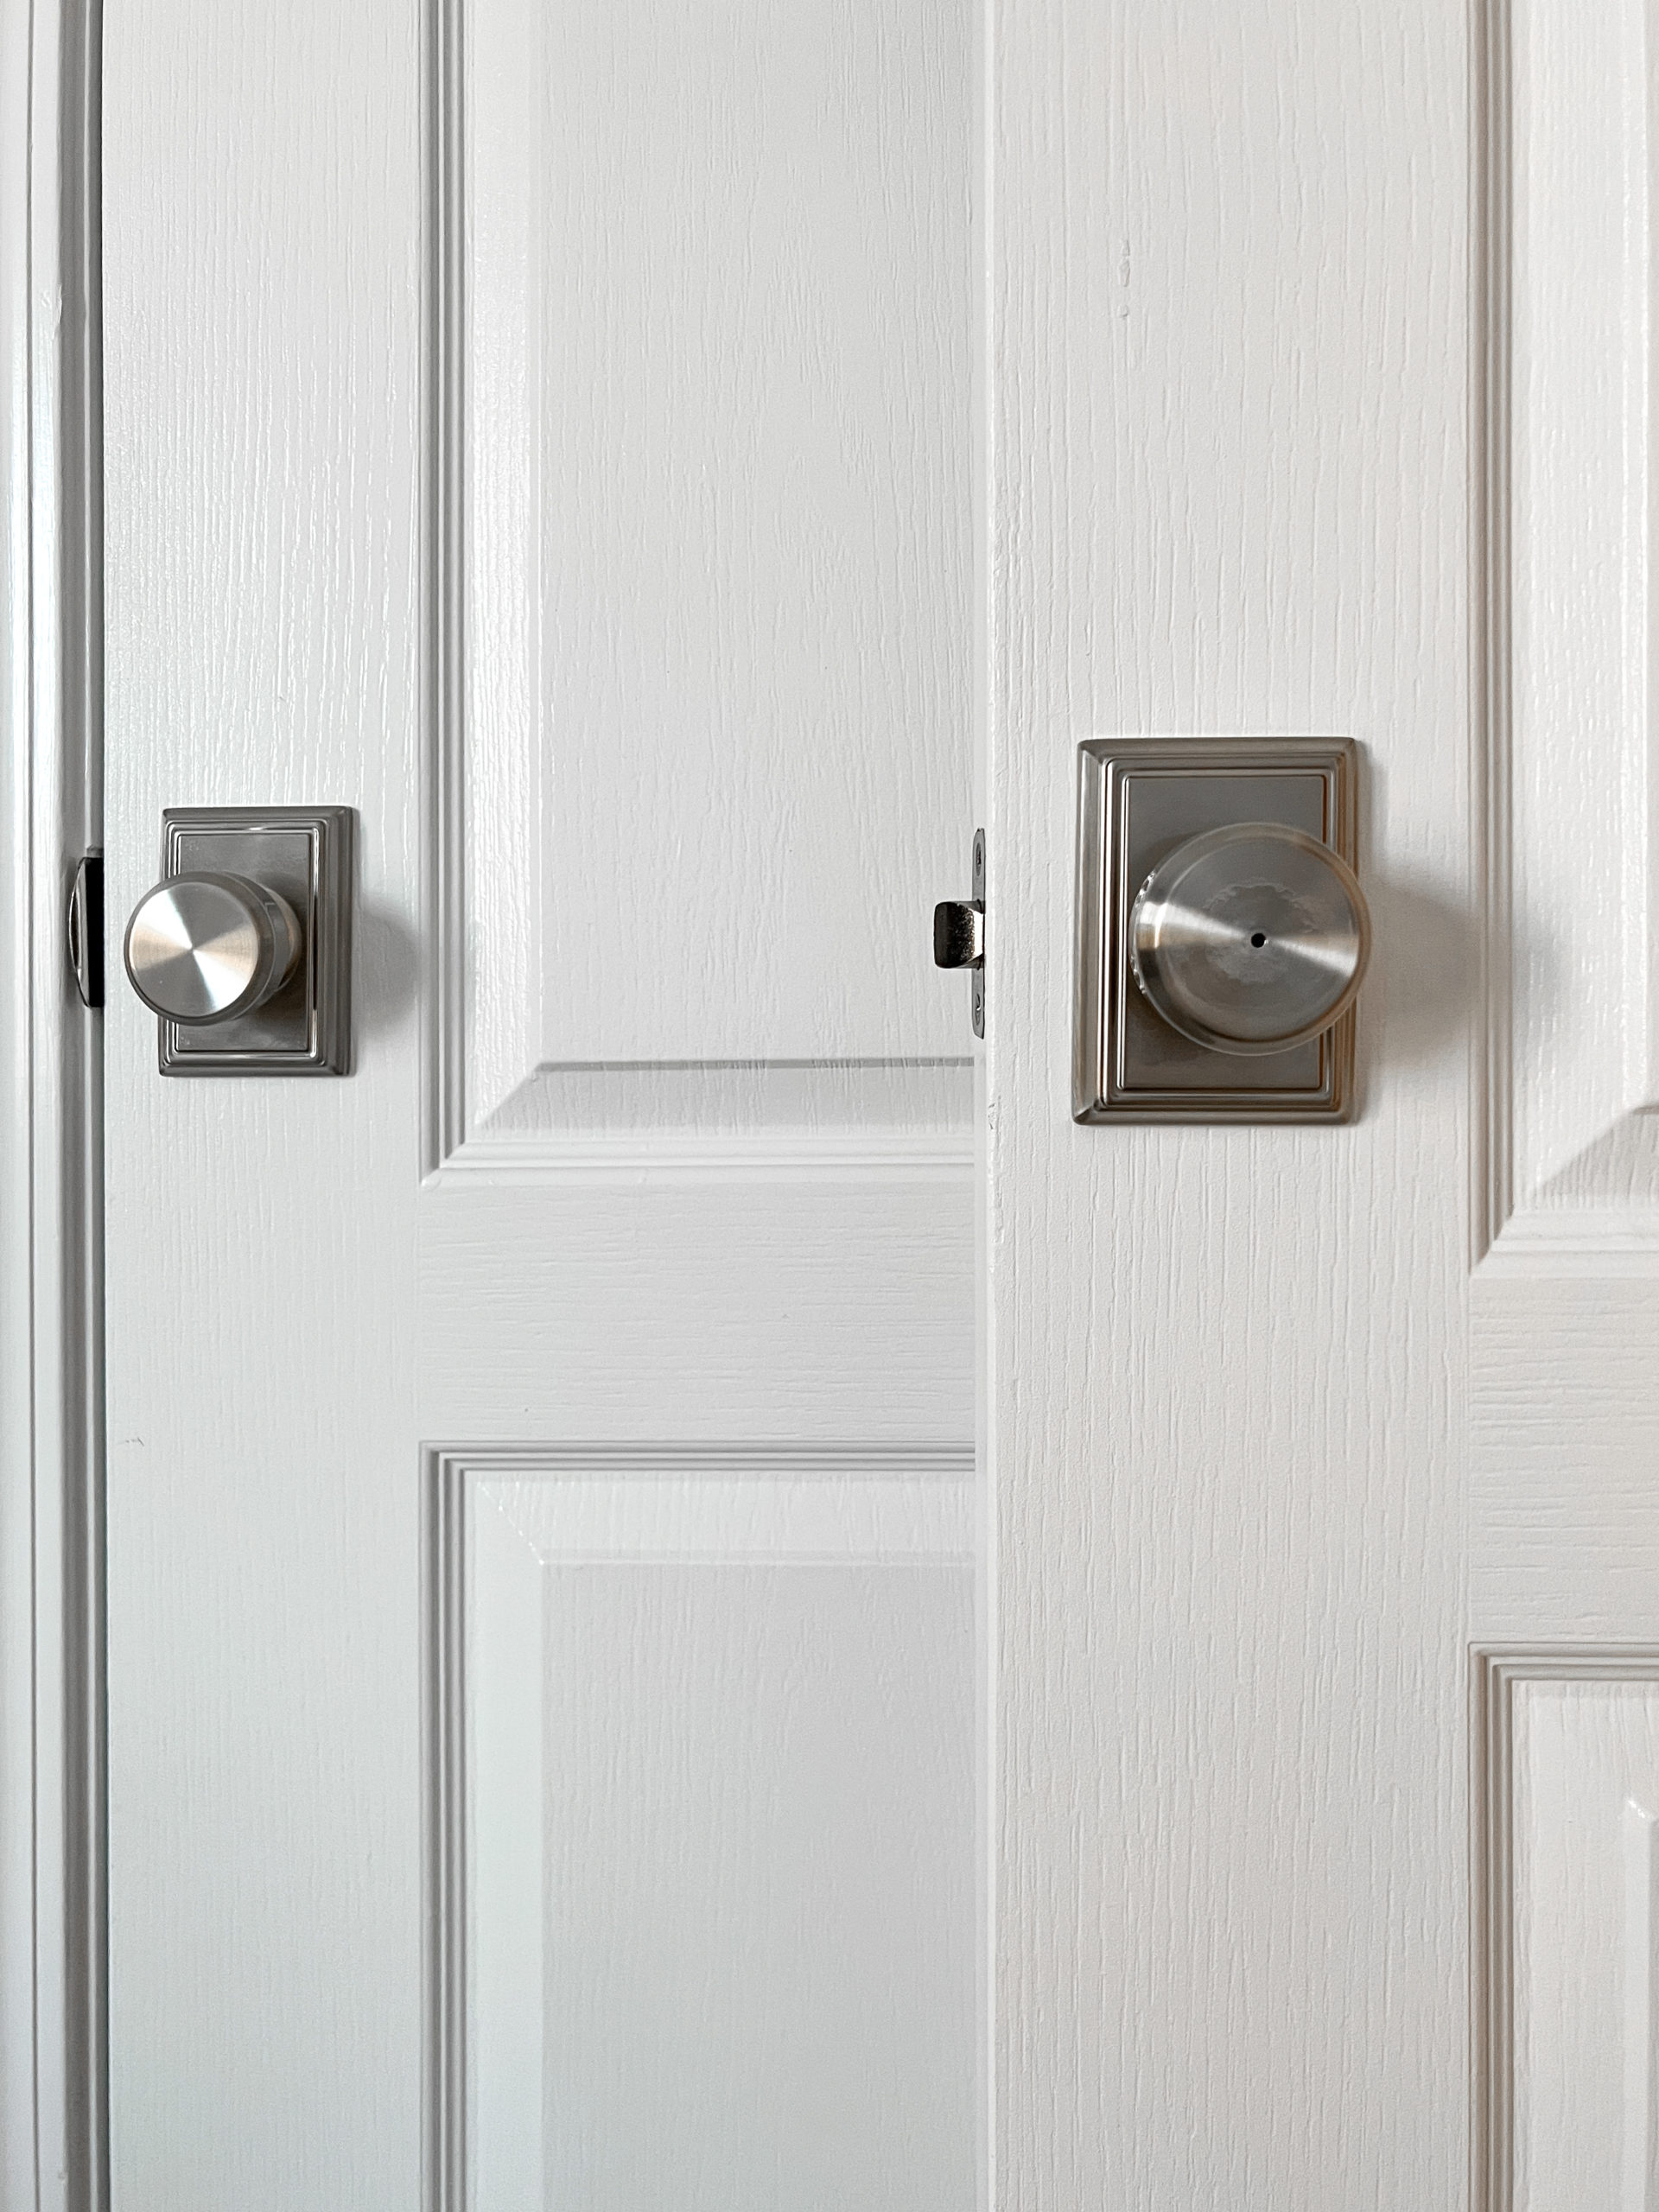
My new Brushed Nickel Door hardware really upgraded the look of my doors!

Painting doors isn’t the most exciting DIY project ever but a fresh coat makes a huge difference in the feeling of your home! It almost makes my house feel like a newbuild!
If you have any additional questions about Painting Interior Doors, leave a comment below!
Want to keep up with my newest projects? Come hang out on my social media accounts, below!
Love this post! Thank you for going into so much detail and providing a clear detail!