DIY Small Walk-In Closet Makeover on a Budget! (Part I)
(This post contains affiliate links which means I receive a small compensation at no cost to you. As an Amazon Associate I earn from qualifying purchases. You can read more about it here. Thank you for supporting my blog!)
I’m not sure if there’s been anyone more embarrassed of their closet than I have for the last 3 years. I have been waiting for the day that I could rip out all the dirty, wire shelving in our small walk-in closet and create a closet fit for the Bravo network (I’m talking Real Housewives level, just not in the Mary Cosby way!) However, true to form, I’ll be completing a DIY Walk-in closet makeover on a budget because I’m clearly not in the same tax-bracket as anyone on Bravo. (I’m also not evading taxes, so that’s a win!)
I’ve looked into a few options for updating our closet. The first option is to use Ikea PAX Units but once you start adding all the shelving and drawers, the cost skyrockets and you’re still installing everything yourself. Also, the PAX- while being pretty versatile, with the 3 different lengths and 2 different depths, can still be limiting. Especially in a smaller space. Another option would be to hire a company to update the closet with retrofitted systems. I’ve had friends get quotes and have closets completed by these companies and while they are really nice, they are definitely not in my budget.
After my wedding in September, I decided I just couldn’t take it anymore- I would DIY my walk-in closet makeover from scratch. Grab your sweats and settle in, this is a long one!
The Current Sitch
Our primary bedroom closet layout leaves a lot to be desired. The closet is attached to our bathroom and while it’s decently long (just over 10 feet), it’s really narrow and it gets even narrower on the left side.
Closet Dimensions:
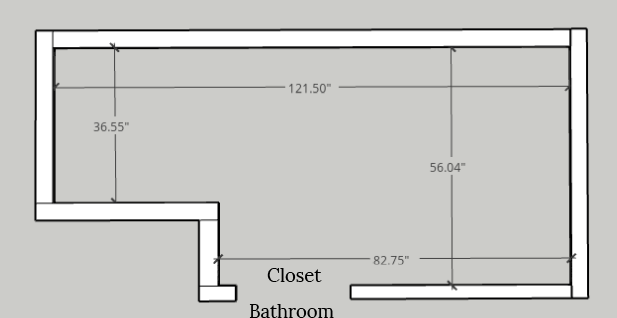


The first thing I did when we moved in was remove all the old, dirty wire racks that were basically falling out of the wall already- and I replaced them with… new wire racks. This worked well for a few years, but I knew I eventually wanted to redo the closet with built-ins to maximize the [little] space we had.
Current Layout:
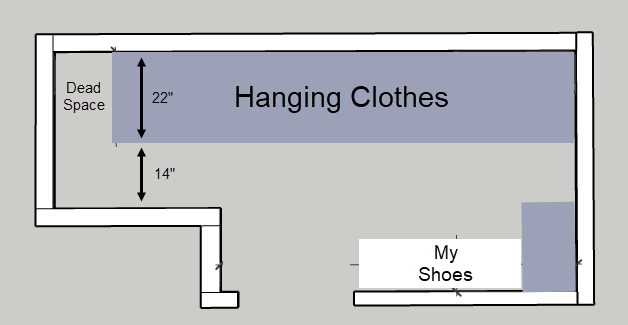
Mark got the short end of the stick- or the narrow side of the closet. His hanging clothes on the very left side took up roughly 22” of space from the wall. This left him only 14” of space to view/access those clothes- not OK. Also, wire shelves come in 4, 8 and 12 ft lengths, so even though our closet wall is 10’ long, the shelf was only 8’ long, leaving a dead spot in the narrowest corner. We also had hampers and Mark’s shoe rack on the floor underneath the lower clothing rods so that area became unusable for hanging clothes. Not maximizing our space at all!
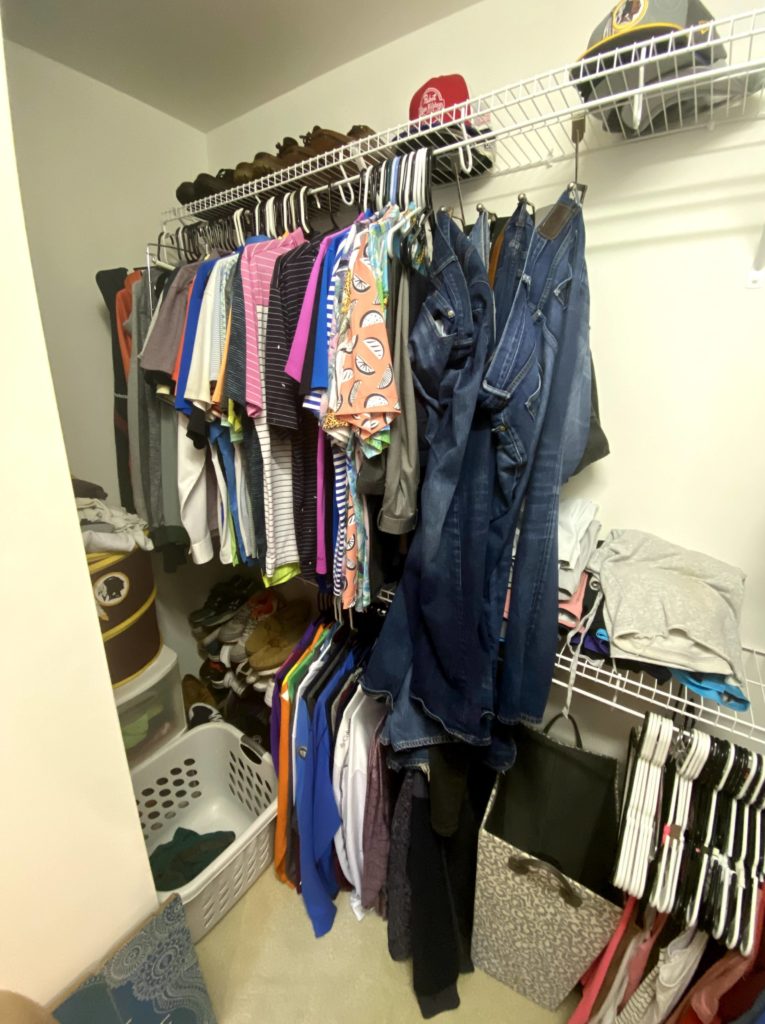
Here are some pictures of this set up:

To help visualize the new setup, I created the below layout to easily see our space and play around to see what could make it more efficient and make it easy to view, hang and remove clothes. The answer was the shorten the length of the closet- minimize the amount we would have to walk into the narrow parts of our closet and maximize the space we had to walk around. Here is what that looks like:
New Layout:

This project is easiest done in parts. The hanging clothes are the highest priority for me since that is the majority of the stuff that we store in our closet. I also want to take some time after getting the hanging clothes structures in to understand the spacing of the middle structure that would include drawers. Again, this closet is pretty narrow so I really wanted to live in the space and see how deep of a middle structure could we get away with before impeding on the ability to use the left hanging clothes space.
MATERIALS:
2″ x 4″ Boards – for the framed bases
3/4″ Sande Plywood – for the hanging clothes “boxes”
1/4″ Backerboard – to cover the wall (optional, I recommend this if you have textured walls)
1″ x 2″- for the trim
TOOLS:
Drill + Wood Screws (2+1/2″ for framing, 1+1/4″ for pocket holes)
Brad Nailer + 18g Nails
Kreg Jig Pocket Hole Jig (I have the old K4 version but this is new and less expensive!)
Hand Sander (120->220 grit paper)
Wood Filler & Caulk
Tape Measure, Level, Stud finder, Utility Knife, Trim Remover, Hammer/Mallet, Pliers
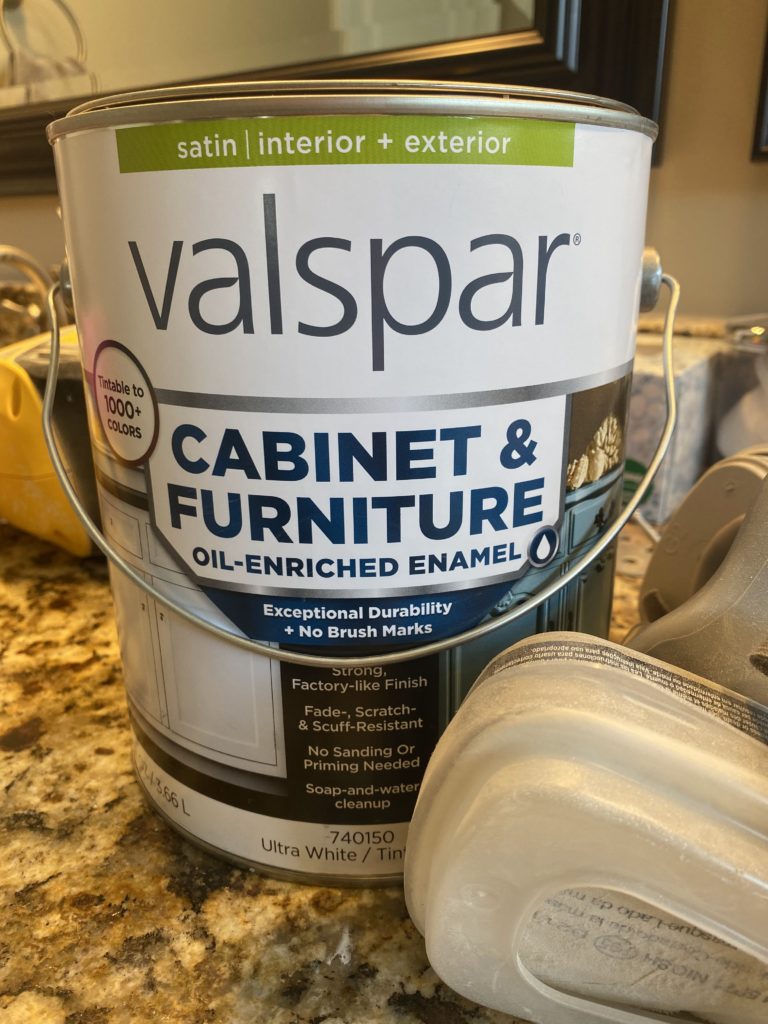
KILZ Primer & Satin Furniture Paint
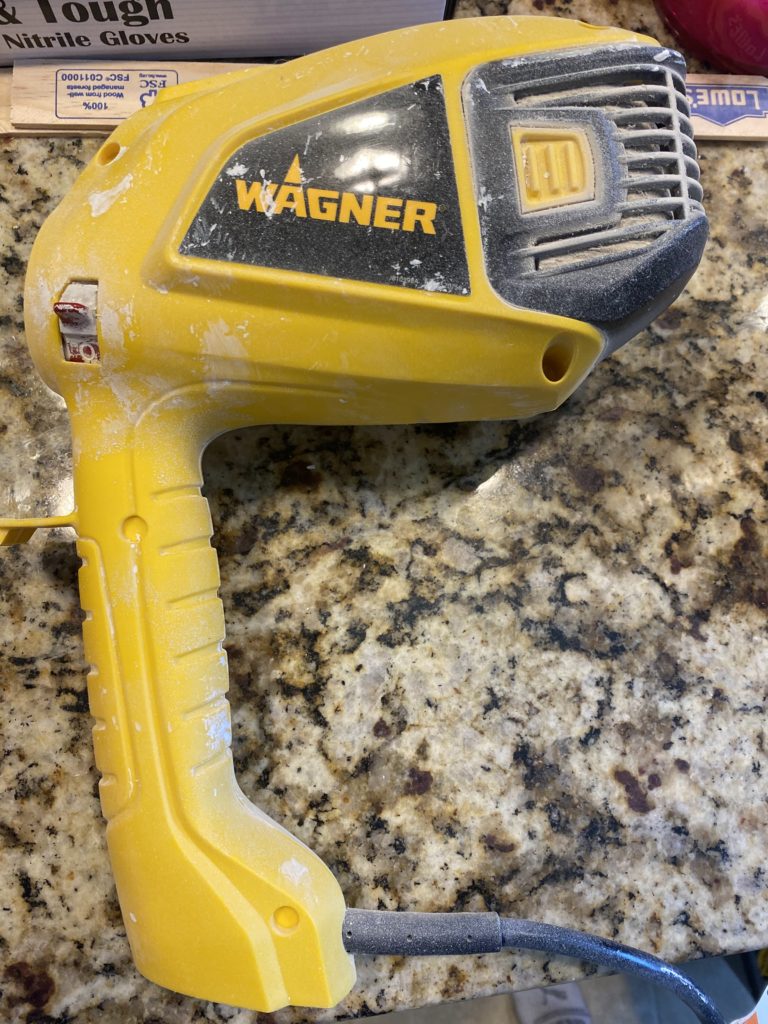
Painting Supplies (Brushes, Rollers, Sprayer– recco’d but not necessary)
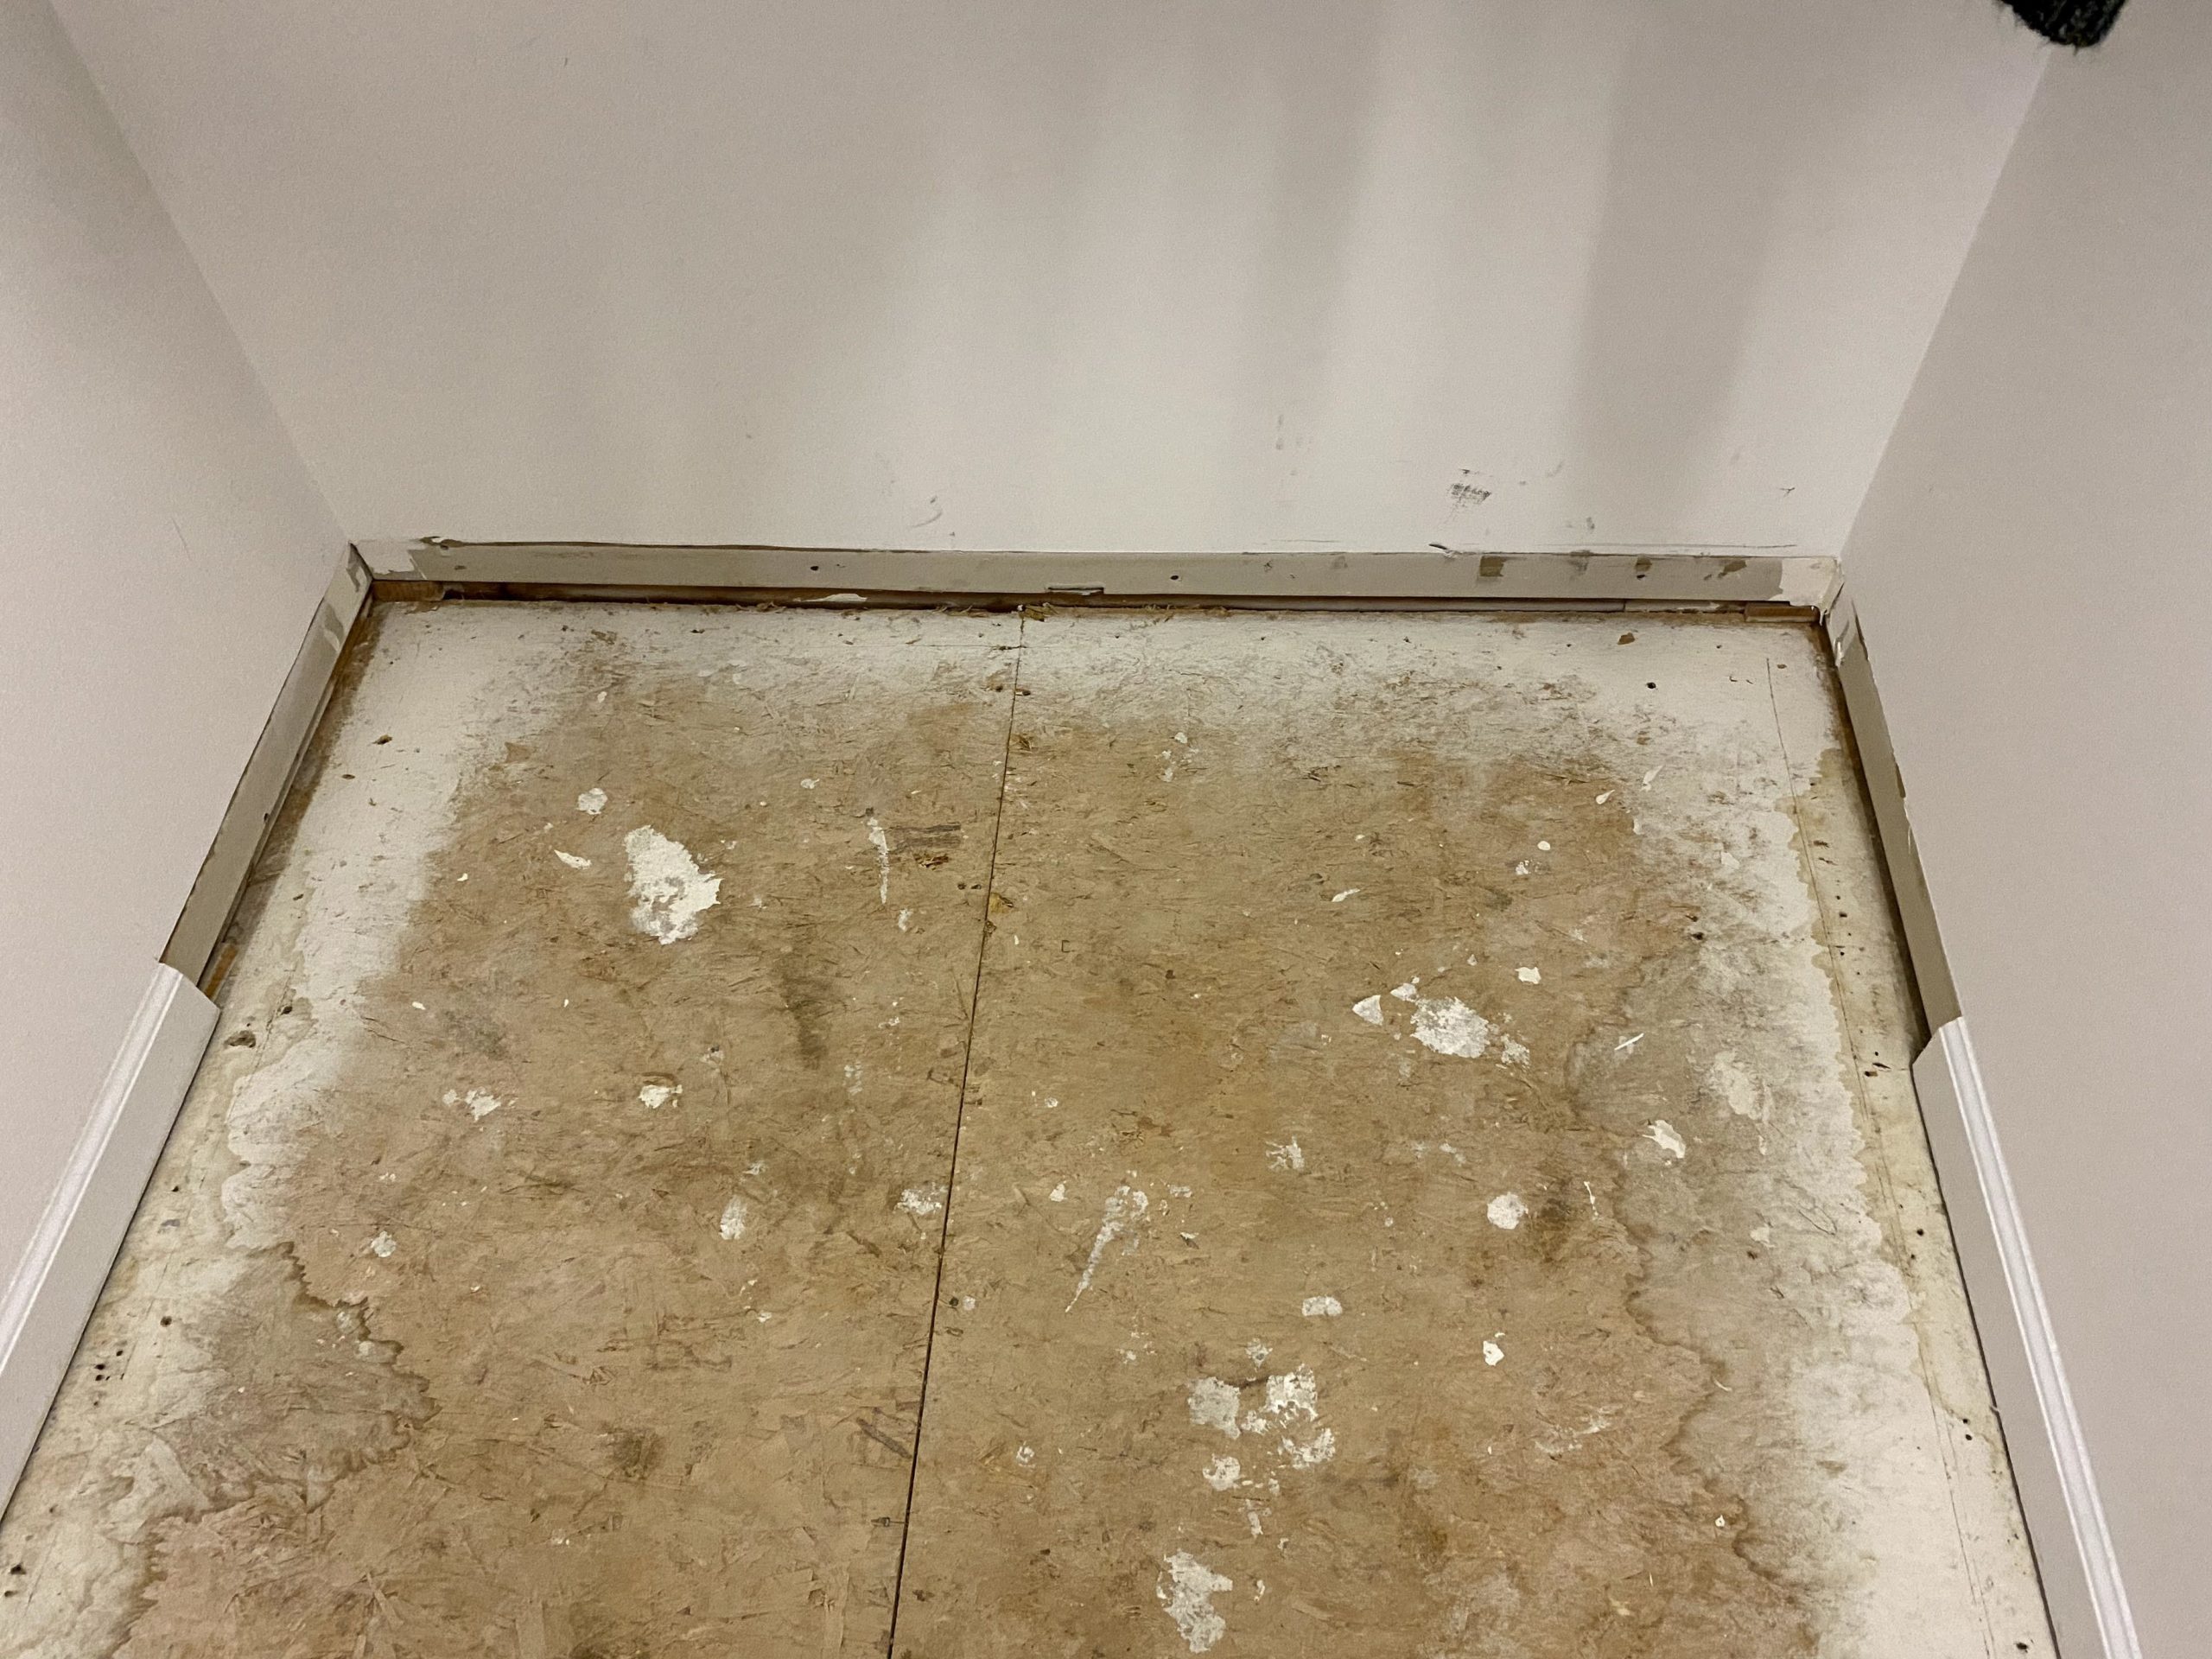
STEP 1- Clear the Closet
I start by emptying out the closet and removing the existing wire closet system. Then I measured where the built-ins were going to be and cut and removed the baseboards from that area.
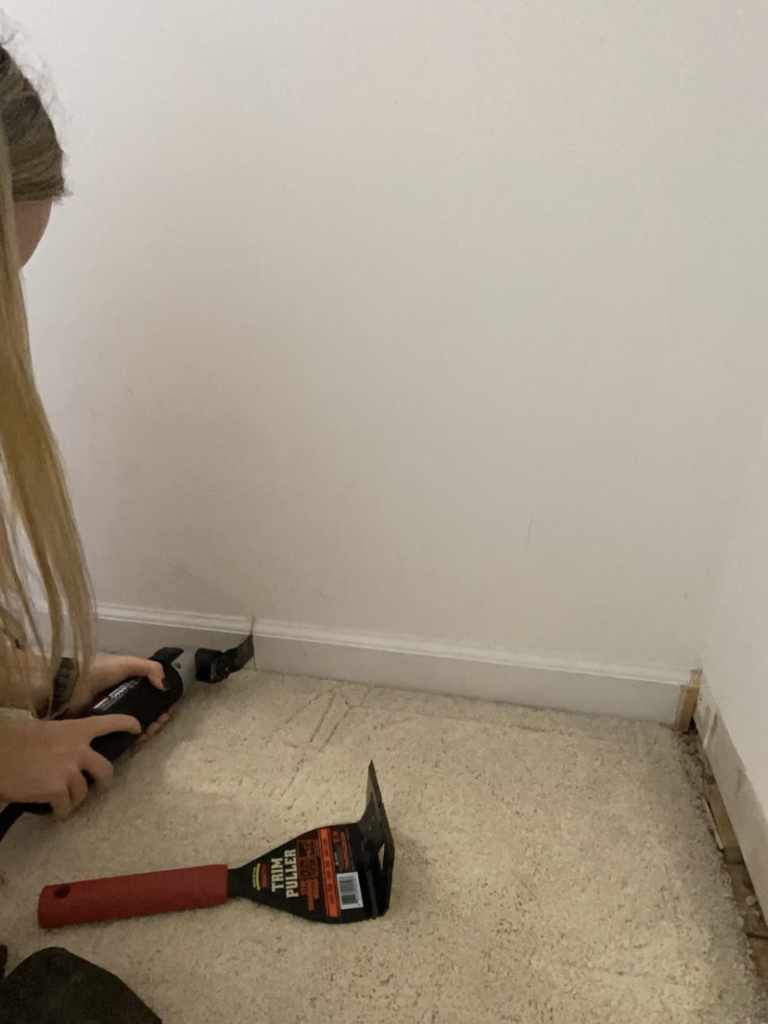
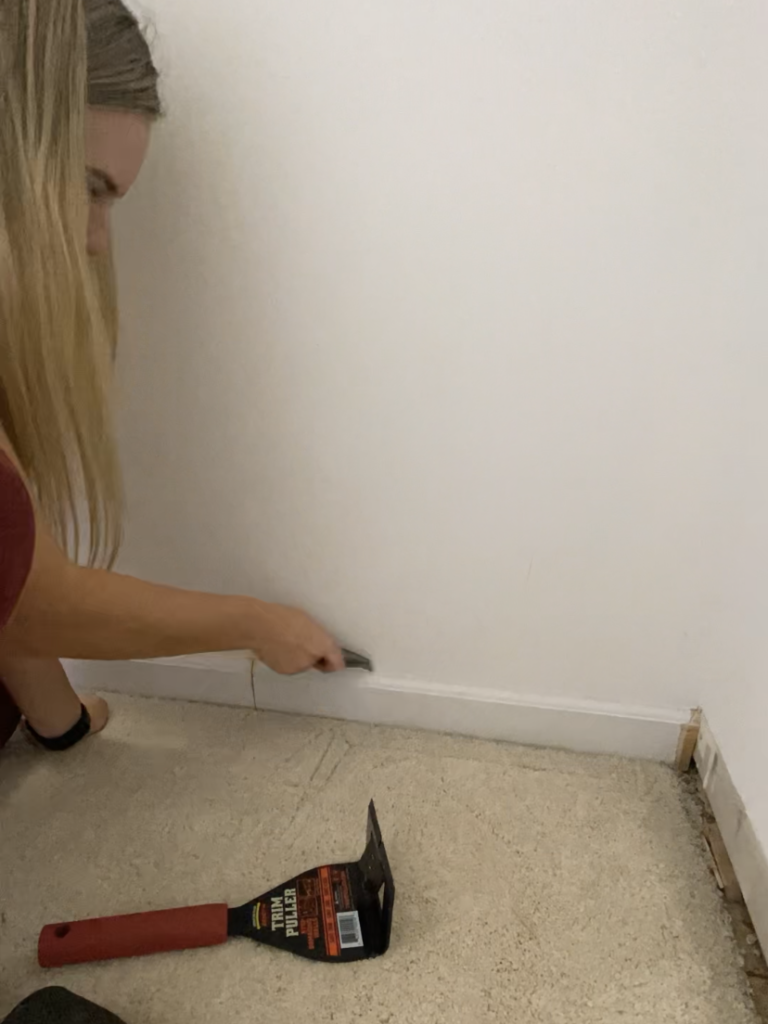
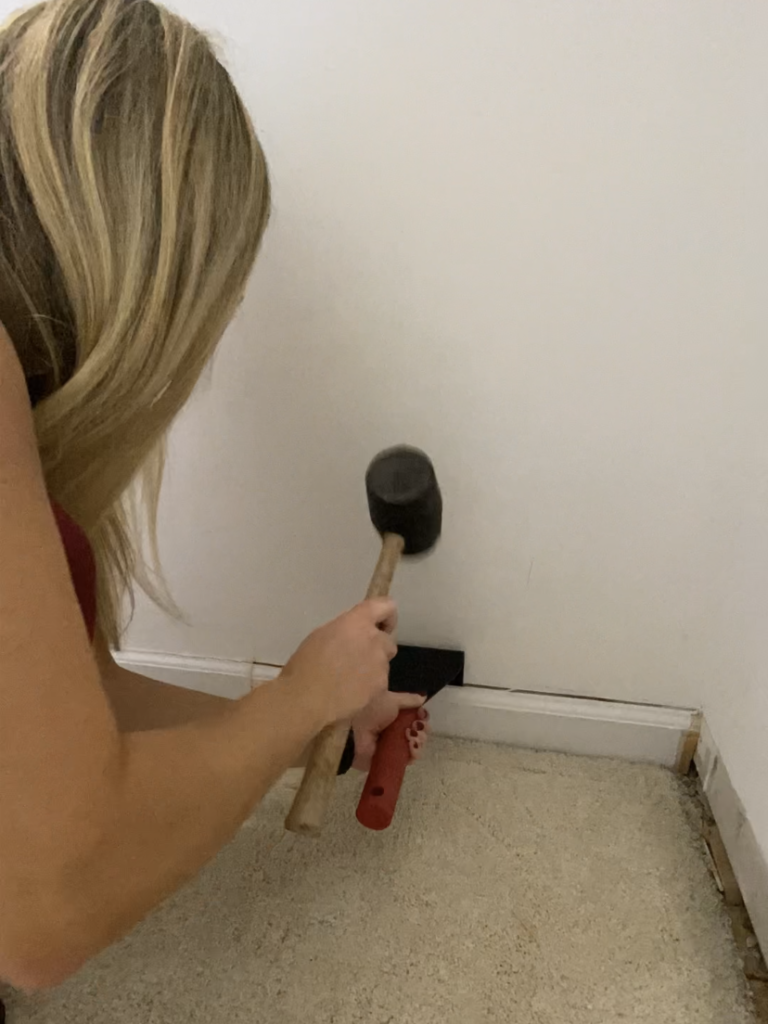
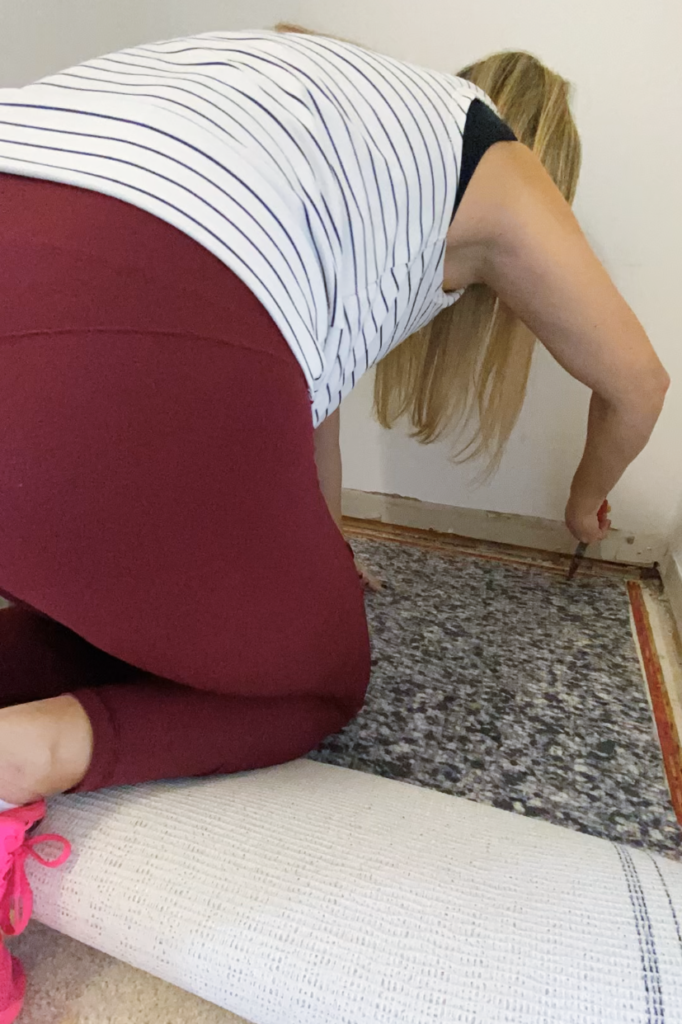
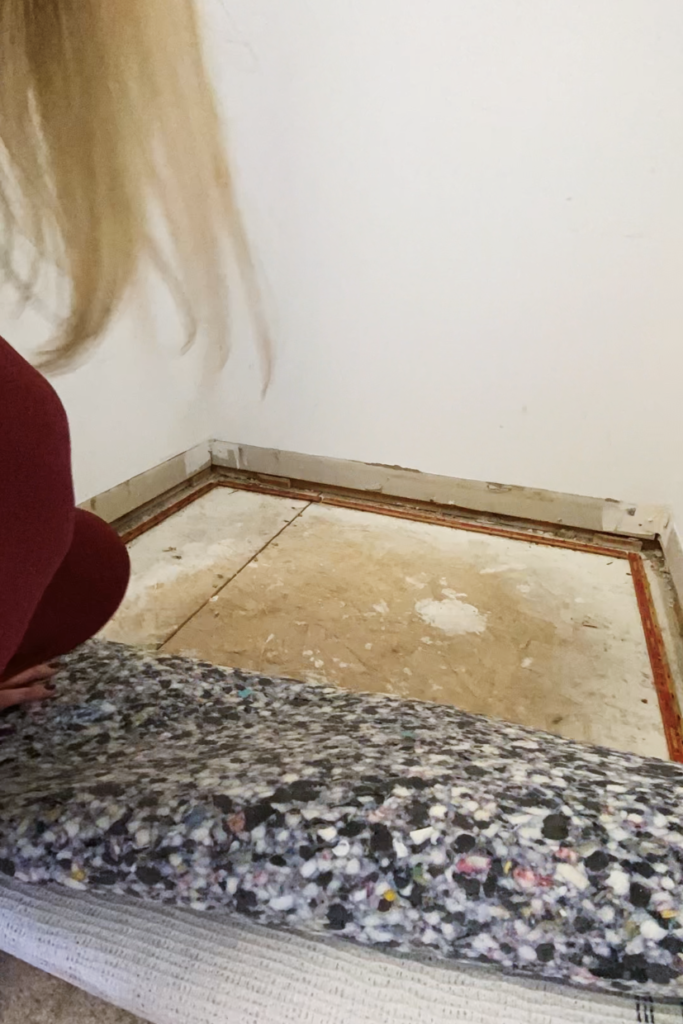
Here’s the first big, scary step in this project for me- removing the carpet. Luckily I found out that it’s super easy to pull the carpet up from a corner and roll it up. It’s more time consuming to remove the carpet pad since you have to pull up all the staples. However, once all the staples are removed, it’s easily rolled up as well. The tack strips along the edges of the room were removed with the same trim removal pry bar that I used to remove baseboards.

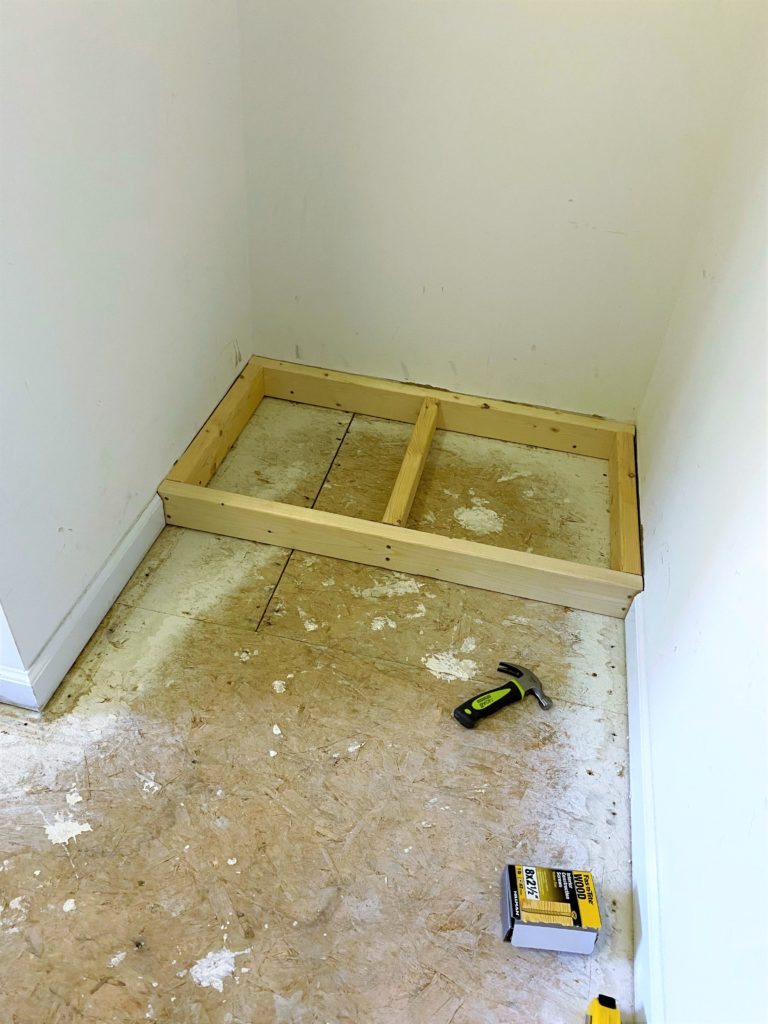
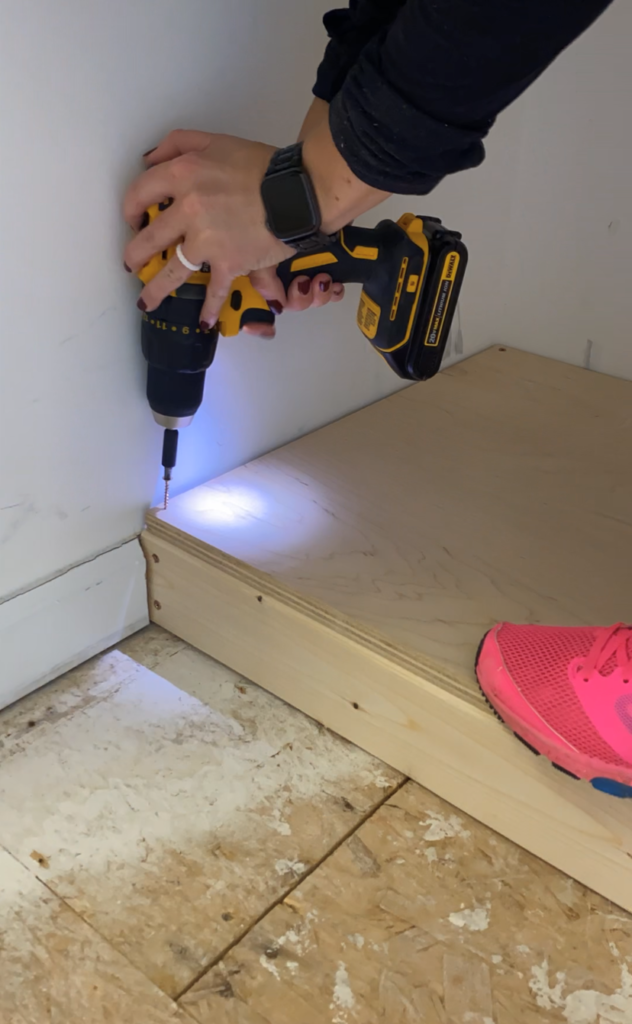
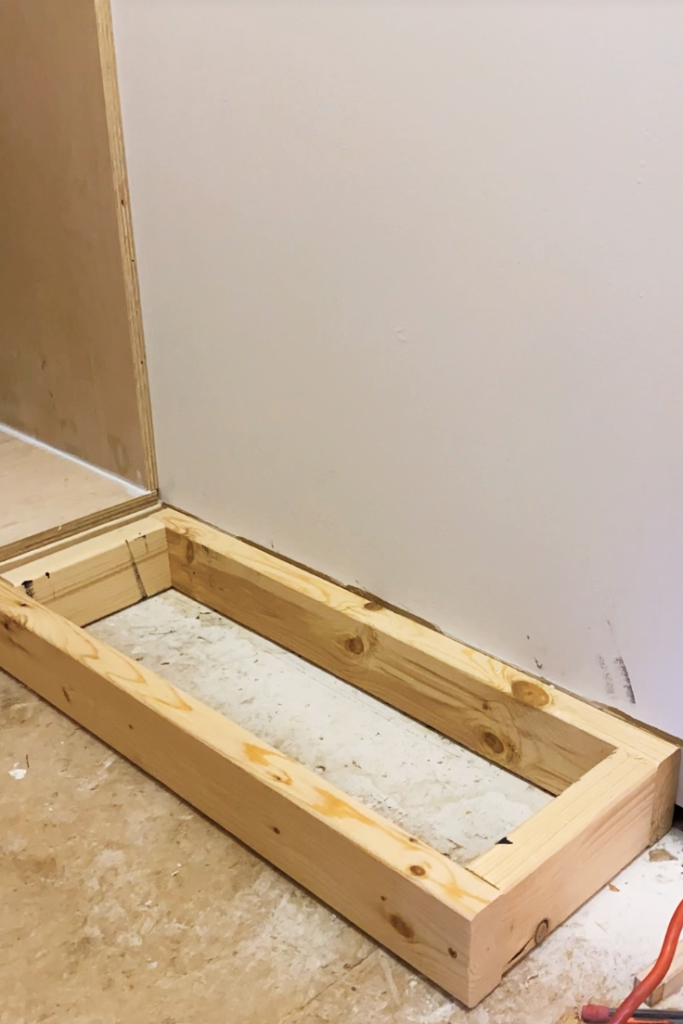
STEP 2: Add Base Frames (Foundation)
I used 2 x 4’s for the foundation and added middle supports so that it wouldn’t sag under weight. Then, I cut 3/4″ plywood to size and screwed it on top of the foundation with 1+1/4″ screws. This platform will support the walls of the built-in structures and create a nice, clean base.


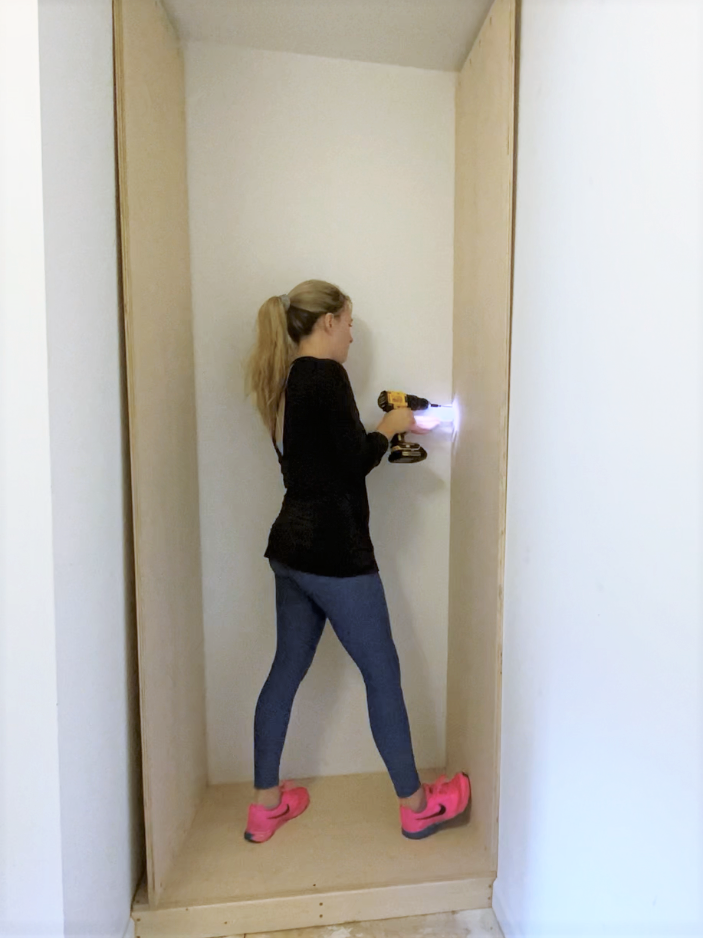
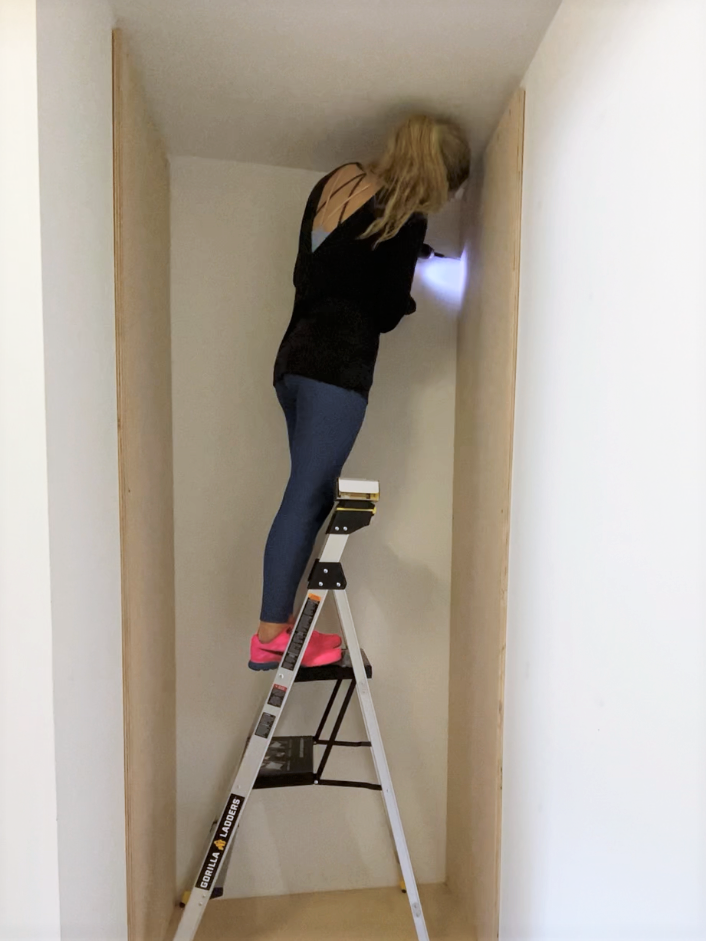
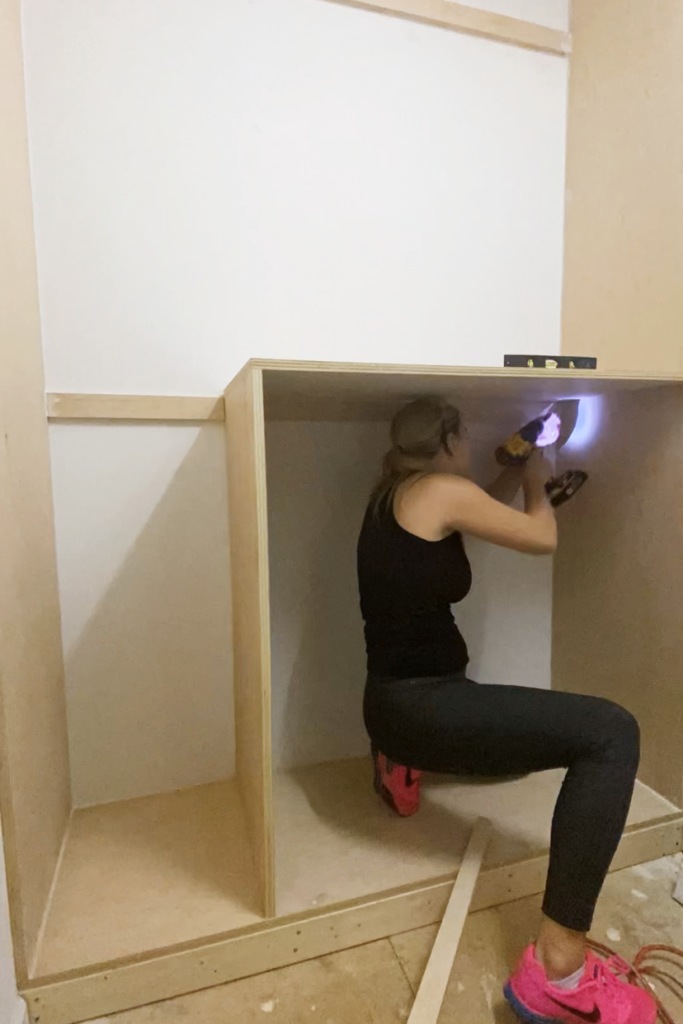
STEP 3: Install Vertical Supports
I created boxes where our hanging clothes would go using 3/4″ plywood. First, I cut the vertical supports to the depth of the foundation and to the height of the wall. Then, I attached these to the wall by screwing them into studs with 2+1/2″ screws and to my foundation using pocket holes and and 1+1/4″ screws.
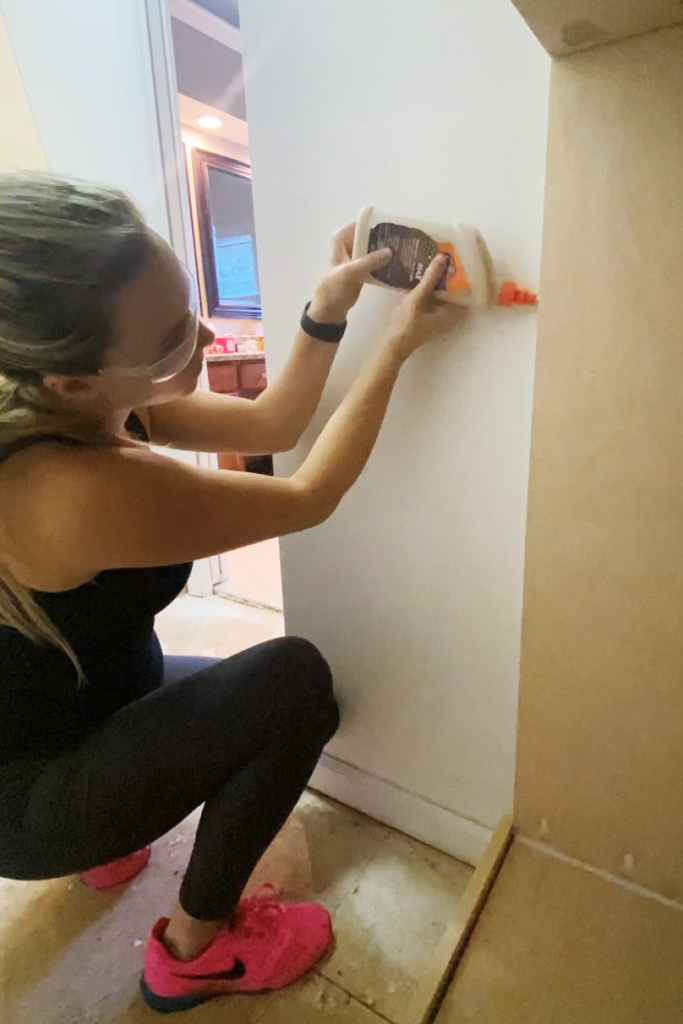
Optional: Cut backer board for the back of your box and attach it the wall using brad nails. I realized that this wasn’t needed after I already completed it on the left (Mark’s) side, since our walls are smooth. Plus, the back of the closest would rarely show with all the clothes in front of it. If you have heavily textured walls, I would recommend completing this step.
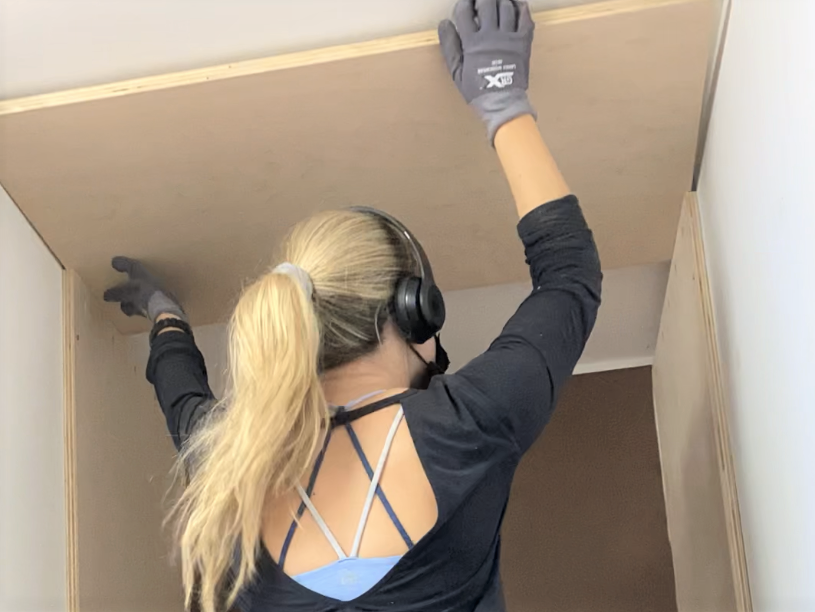
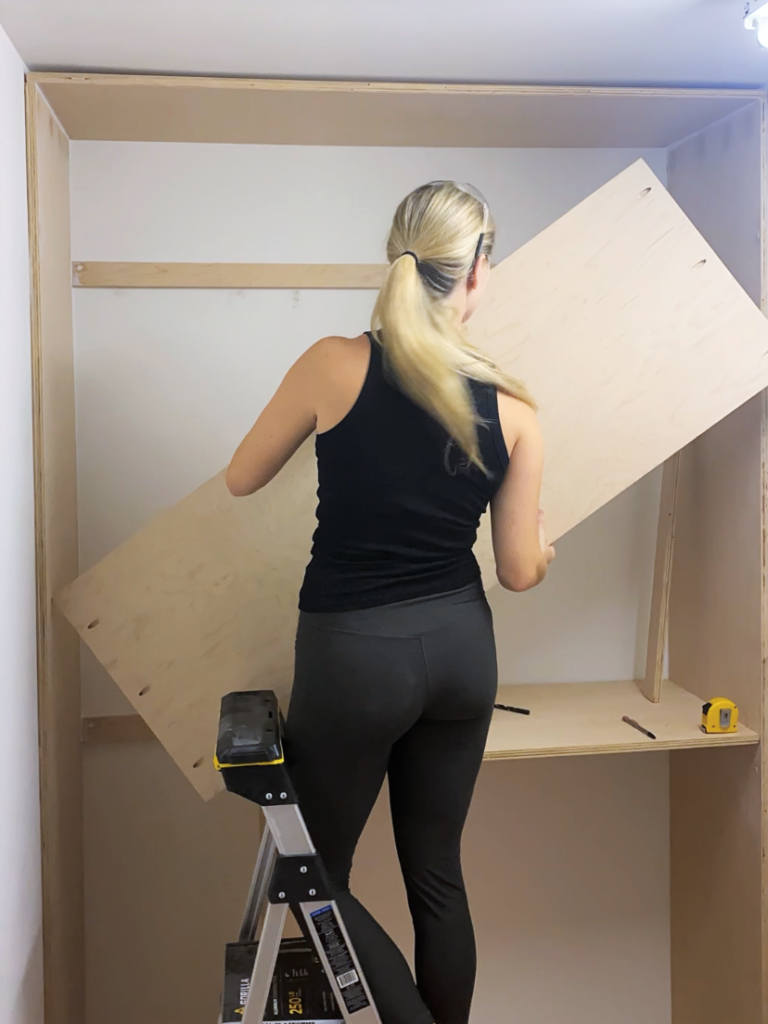
STEP 4: Install Top Horizontal Panels
Adding the top of the box is pretty simple. Cut it to size and attach it to the vertical supports with pocket hole screws. I didn’t screw the top to the ceiling, since this part isn’t completely flush with our ceiling. I’ll use trim to cover the gap between the box and the ceiling in the next few steps!
STEP 5: Install Shelving (for hanging sections)
Typical hanging clothes design consists of a shelf with a hanging rod about 3-4″ beneath it. I decided to screw horizontal ledges into the studs against the back wall since my shelves are so wide. There are two horizontal supports on each side of our closet so that we’ll have 2- 41″ hanging areas. This would also create a 10″ high area at the very top for additional storage.

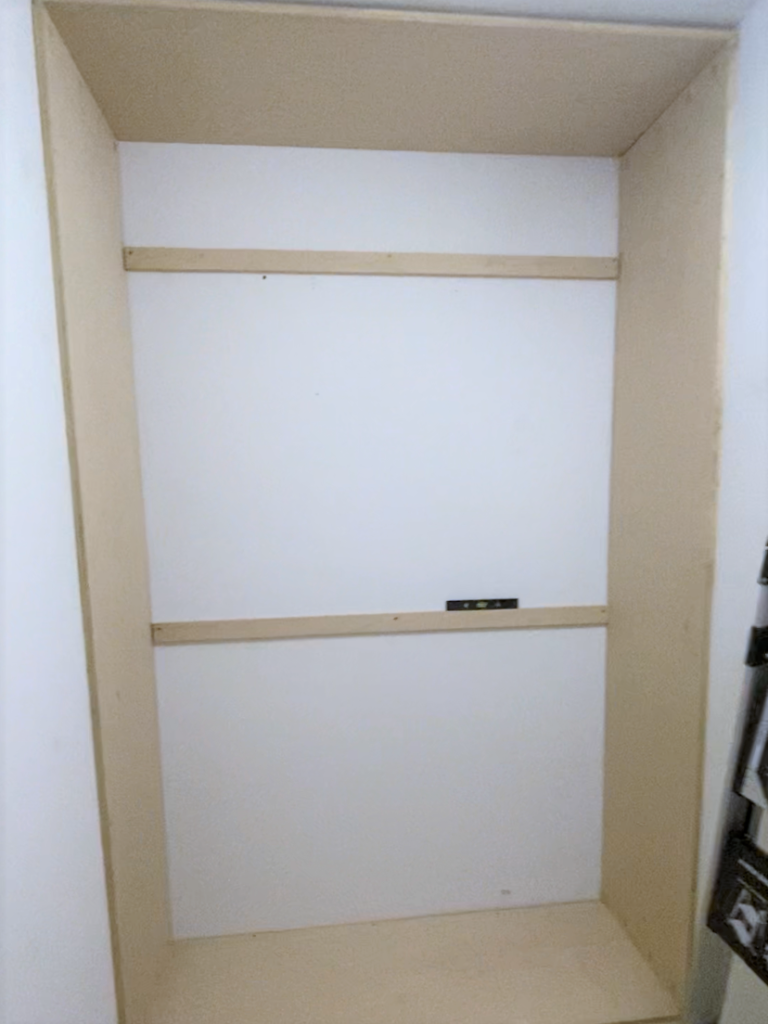
Once the horizontal supports were in, I installed the shelves using pocket hole screws into the vertical plywood supports. The horizontal ledges proved very helpful to support the shelves while I screwed them in. For my side, I made the top shelve full length but made the bottom shelf 3/4 the total length. This way I have some room for longer hanging items like dresses.

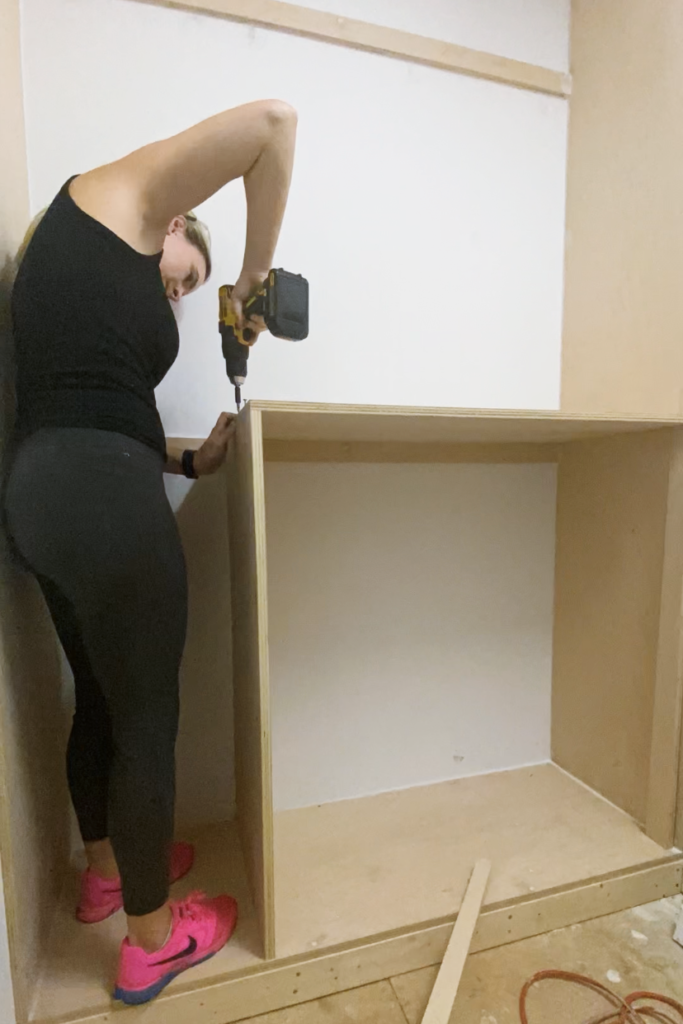


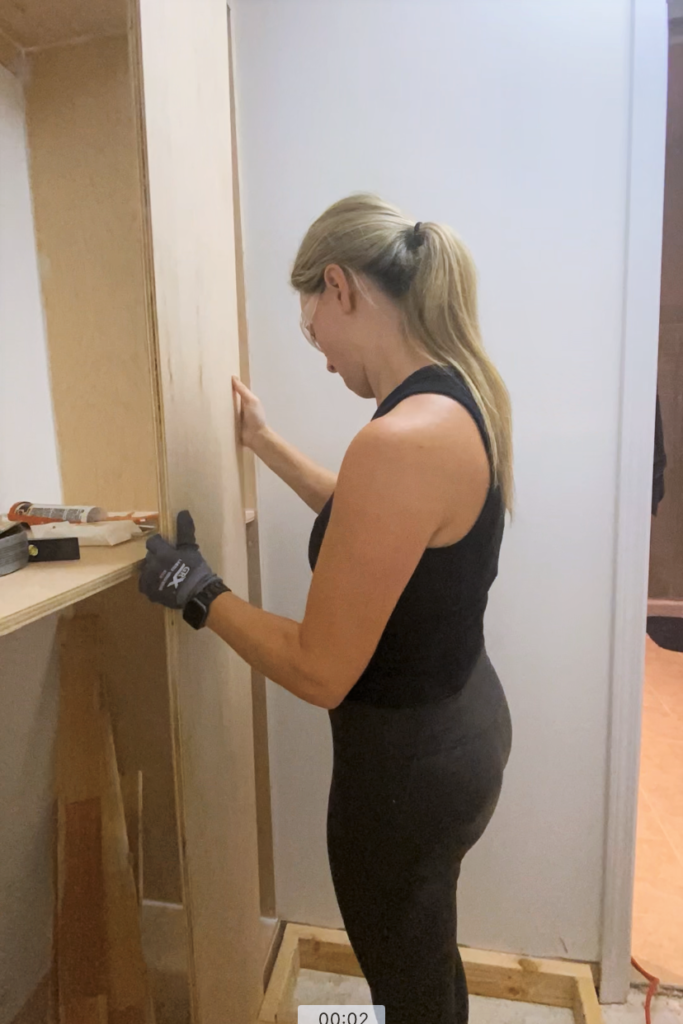
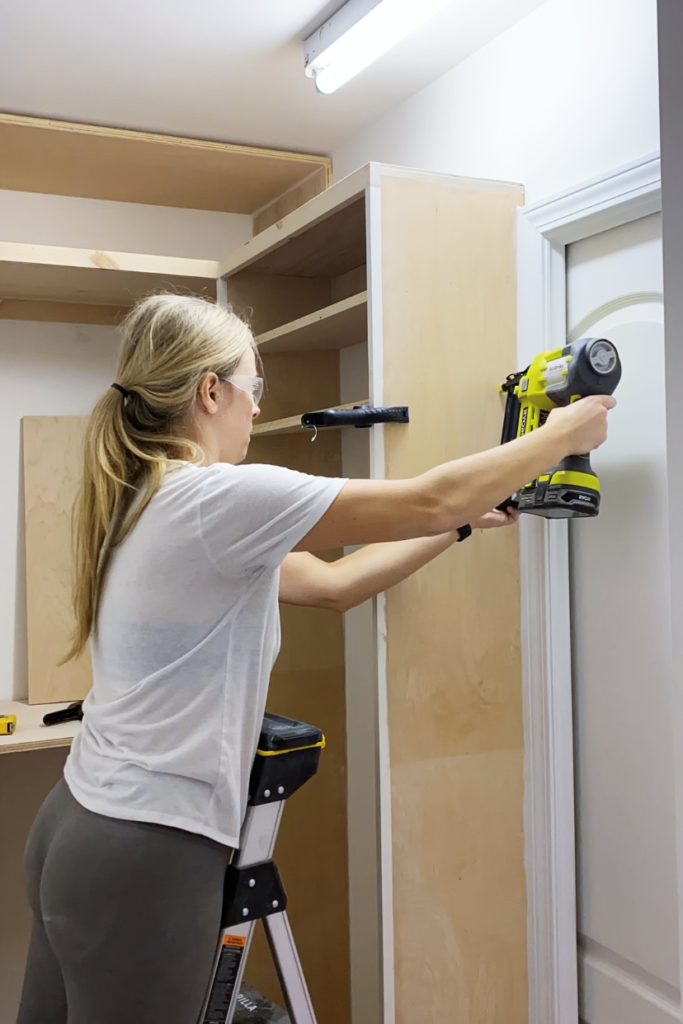
STEP 6: Build Shoe Shelf & Add Face Trim
At this point in the project, I built a smaller cabinet for shoe before I added the face trim to the entire closet. I repeated steps 1-4 to create an 11″ deep box, deep enough for my shoes. For the trim, I used 1″ x 2″ boards and attached them to the front of the plywood boxes using wood glue and brad nails. In order to get a really professional look, I used shims to pull the trim flush before attaching it. This step covers the ugly edges of the plywood and really brings home that custom look.

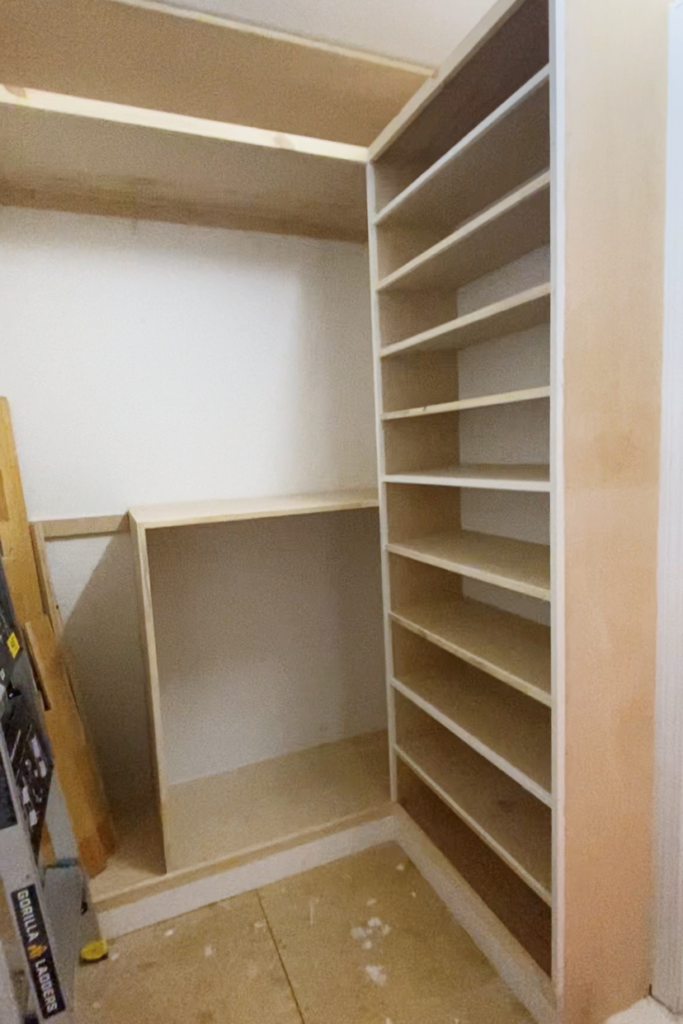
STEP 7: Install Shoe Shelves
Back to the shoe shelves. Instead of using pocket holes to attach the shelving for the shoes, I just nailed them in from the side with my brad nailer. I knew that the shoes wouldn’t need too much support and would be OK with just brad nails holding them up.
I built 10 shoe shelves total. 5- 8″ shelves on the bottom and 5- 6.5″ shelves on the top half. I also angled the top 5 shelves down 5° so that I could see what was on them better.
After I nailed in the shelves, I finished them with face trim. I changed the face trim for these shelves since the 1 x 2″ didn’t seem proportionate to the smaller openings. I made these shelves slightly inset from the rest of the shelving unit and I cut down the trim pieces so that they were flush with the width of the shelf.

STEP 8: Wood Fill, Sand and Caulk
This was the most tedious part of the project but it’s an imperative step to getting a professional finish. I filled all the pocket holes, nail holes and cracks with wood filler and then sanded it all down. In order to get ready for paint, I used 120 grit, then 180 grit, then finally, 220 grit.
Then, after a thorough vacuum, I moved on to caulking all the areas where wood meets wood, or drywall. I use a thin bead of caulk then run a wet finger along the line, wiping away the excess on a baby wipe.
Update: After about 2 months my caulk started to crack, so I will have to go over these seams again. This time, with a slightly larger bead of caulk.

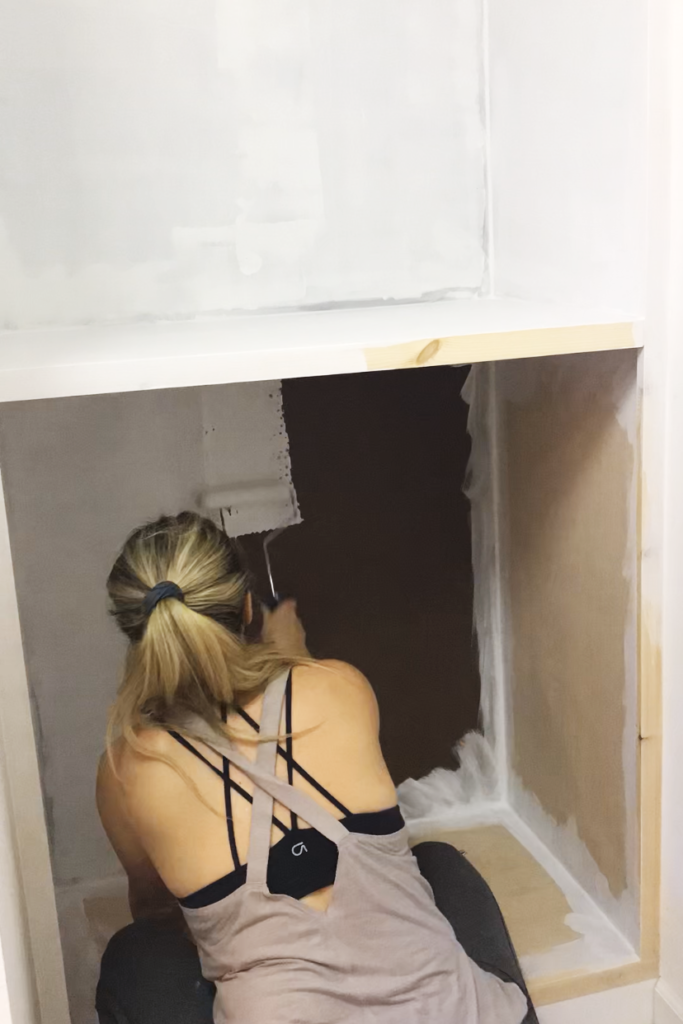
STEP 9: Prime & Paint
Do not skip primer on raw wood! (Or on any project, but especially raw wood.) I used to think I could add another coat of the paint and it would act like primer- nope!
Raw wood is extremely hygroscopic, meaning it absorb liquids very easily. Primer contains resins that sit on top of and seals porous materials. It also provides a stable bond on your surface so that it’s ready for your topcoat (paint). Paint is mostly liquid pigment- and that means it’s is easily absorbed. If you paint raw wood without primer, you will waste a lot of expensive paint. Even if you think you’re getting good coverage with paint alone, trust me, you’re not. Wood will continue to absorb overtime, and eventually your grain and knots will start to appear through your paint. TL;DR: Don’t skip the primer.
I primed the entire closet, using a brush to cut in, and a roller for flat surfaces. Don’t be scared when the primer looks really blotchy, it’s doing it’s job! My favorite primer is KILZ Primer. It has amazing coverage and is super affordable!
Once I was done priming, it was like deja vu and I sanded the wood all over again to keep the finish smooth! This time I used 180 grit then 220 grit.

Another good vacuum and a wipe with a tack cloth before I got out my Wagner paint sprayer and sprayed two coats of Valspar Satin Cabinet & Furniture Paint color matched to Sherwin Williams Aesthetic White.

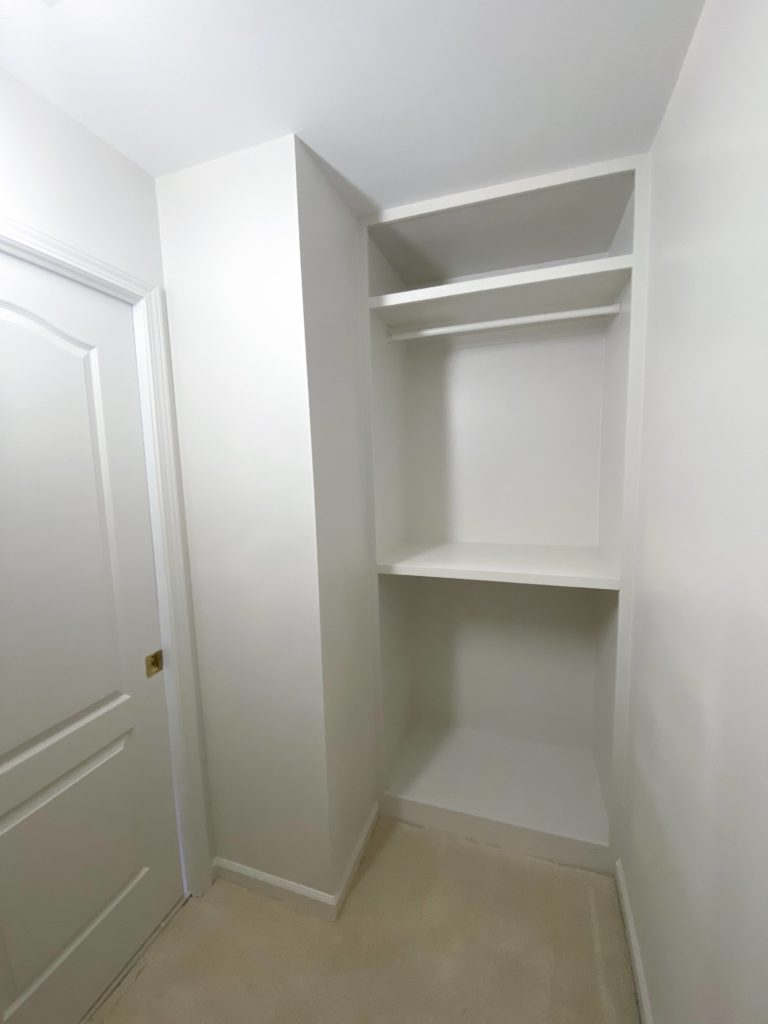
The closet is starting to take shape! If you have any questions about building your own dream closet, feel free to comment on this post!
Come see Part II HERE! View the REVEAL here!
Want to keep up with my newest projects? Come hang out on my social media accounts, below!
Very nice. I wish I had the time and ability to do this at my house.
Thank you Dionne! Trust me, I love that I’ve been able to do some good projects in my house but I have a list 10x as long of projects that I wish I had the time (or money!) to complete as well!!
Have a great holiday season!
Rachel
I Love this and the space is similar to what I have and it’s been a real bugger. I have done a lot of carpentry over the years too. You did an awesome job! Thanks.
Hi Louise,
Thank you so much for the compliments, it means a lot coming from a fellow woodworker! This closet was so dysfunctional with the original wire shelving and almost 2 years later, I’m still amazed and how much of an improvement I was able to squeeze out of this project. Check out my second closet blog post for how I added a dresser into the space as well!
-Rachel
How deep are the boxes for your hanging clothes?
Hi Mindy,
This is actually a great question! His side is 22.5″ deep and my side is 19.5″ deep! I measured our clothes hanging up before I designed the boxes and realized I didn’t need quite as much space for my shirts as he did!
Thanks!
Rachel
Looks fantastic! I’m inspired. Much better than the pricey kits that aren’t as sturdy nor custom to each space. Appreciate the details and pics 🙌
What a beautiful job you did! This is the most helpful step-by-step post I’ve seen, Thank you! I also appreciate your tip for now skipping the priming phase on wood- I never knew that before! Them more you know…
Thanks Melynda! I’ve learned from my own trial and error that you should always prime raw wood!