How to Hem Curtains without Sewing (Two Ways!)
(This post contains affiliate links which means I receive a small compensation at no cost to you. As an Amazon Associate I earn from qualifying purchases. You can read more about it here. Thank you for supporting my blog!)
I’ve found the best affordable curtains online and I will not shut up about them.
They’re great quality, come in a ton of colors and fabrics, and somehow don’t cost a small fortune. I recommend them constantly. Sometimes politely, sometimes unprompted, occasionally while standing in someone else’s house, mentally judging their perfectly nice (and probably expensive) curtains.
Listen, I’m sure your curtains are lovely- Truly. But these are better.
THE BEST, AFFORDABLE CURTAINS ON THE INTERNET
Here’s my particular brand of curtain snobbery: I need my curtains to be as tall as they can physically be in the space. Not “as tall as they come.” As tall as my ceilings allow. Which, annoyingly, almost always means a custom length.
It’s dramatic. It’s unnecessary. It’s a flaw I’ve accepted.
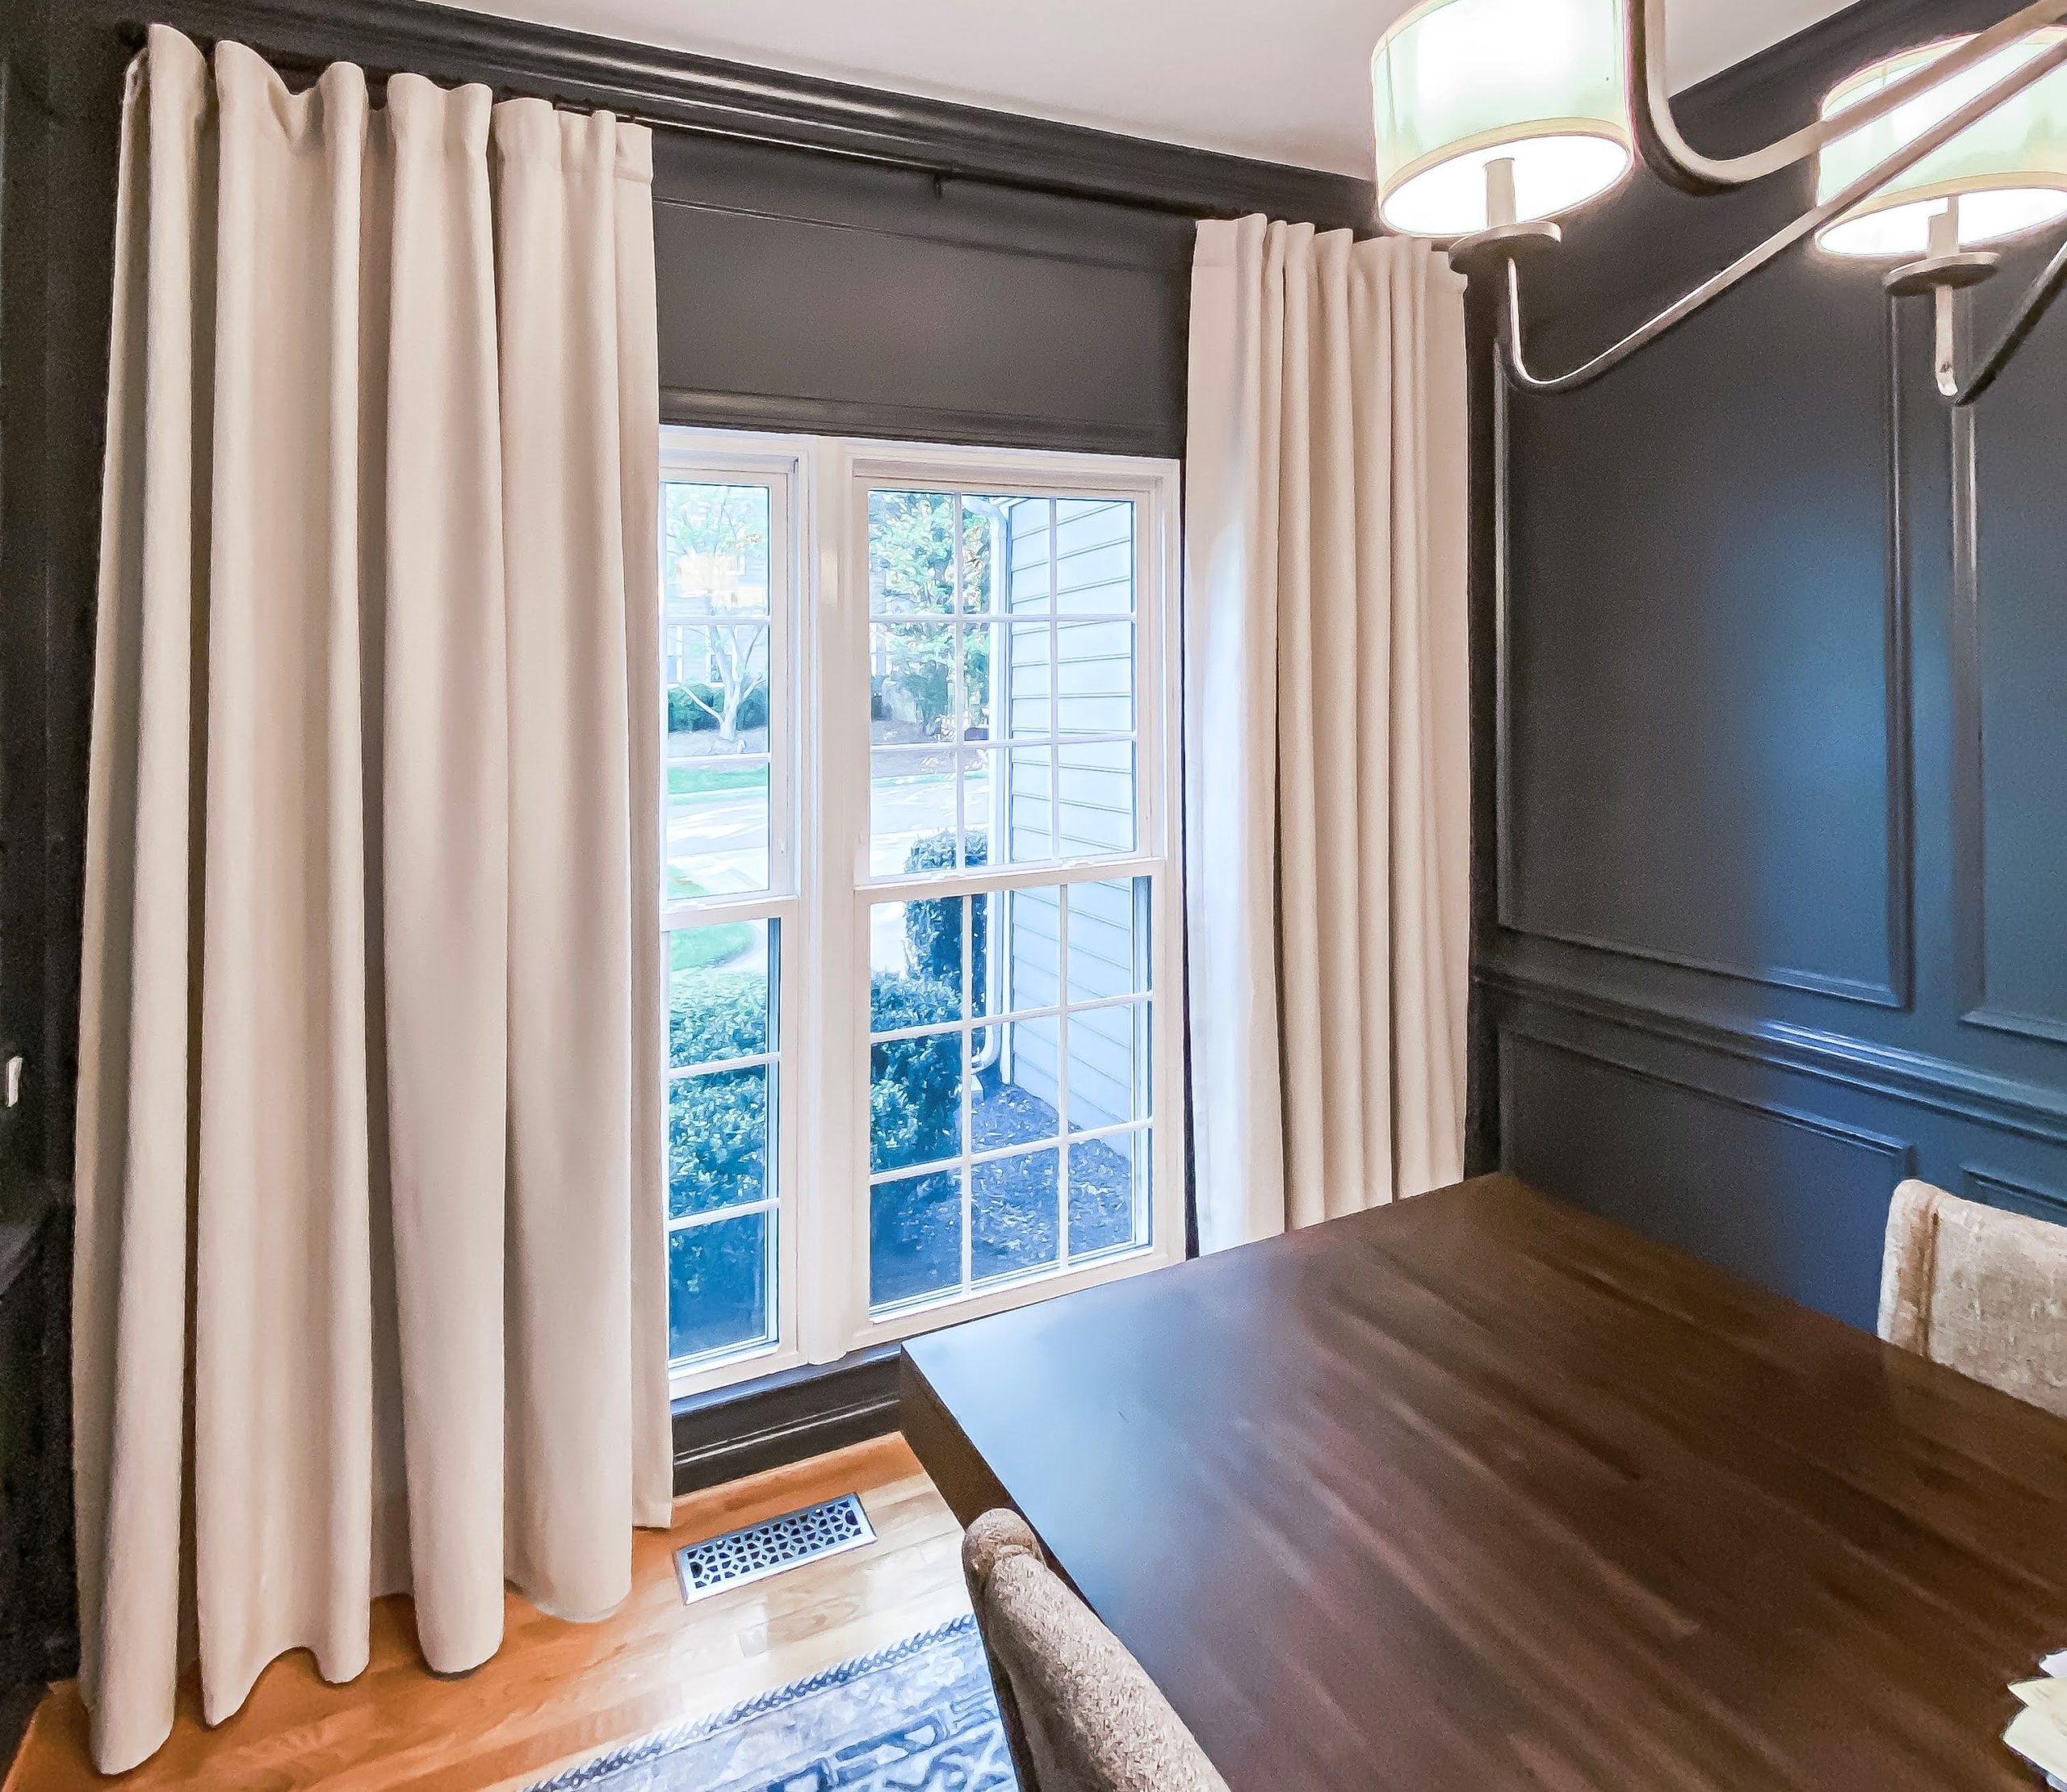
That exact issue came up when I was shopping for dining room curtains. The space could handle 101-inch panels, but the only options available were 96″ or 108″.
96″ was a hard no.
108″ was obviously too long.
And I was not about to blow all my savings from these curtains by paying a tailor to hem them.
So instead, I’m going to show you two easy ways to hem curtains yourself– no sewing required. Because I’m handy… but I’m not that handy.
(You can read more about my dining room makeover in these posts: Dining Room Mood Board, How to Install Picture Frame Molding)
Hem Curtains without Sewing with Iron-on Adhesive
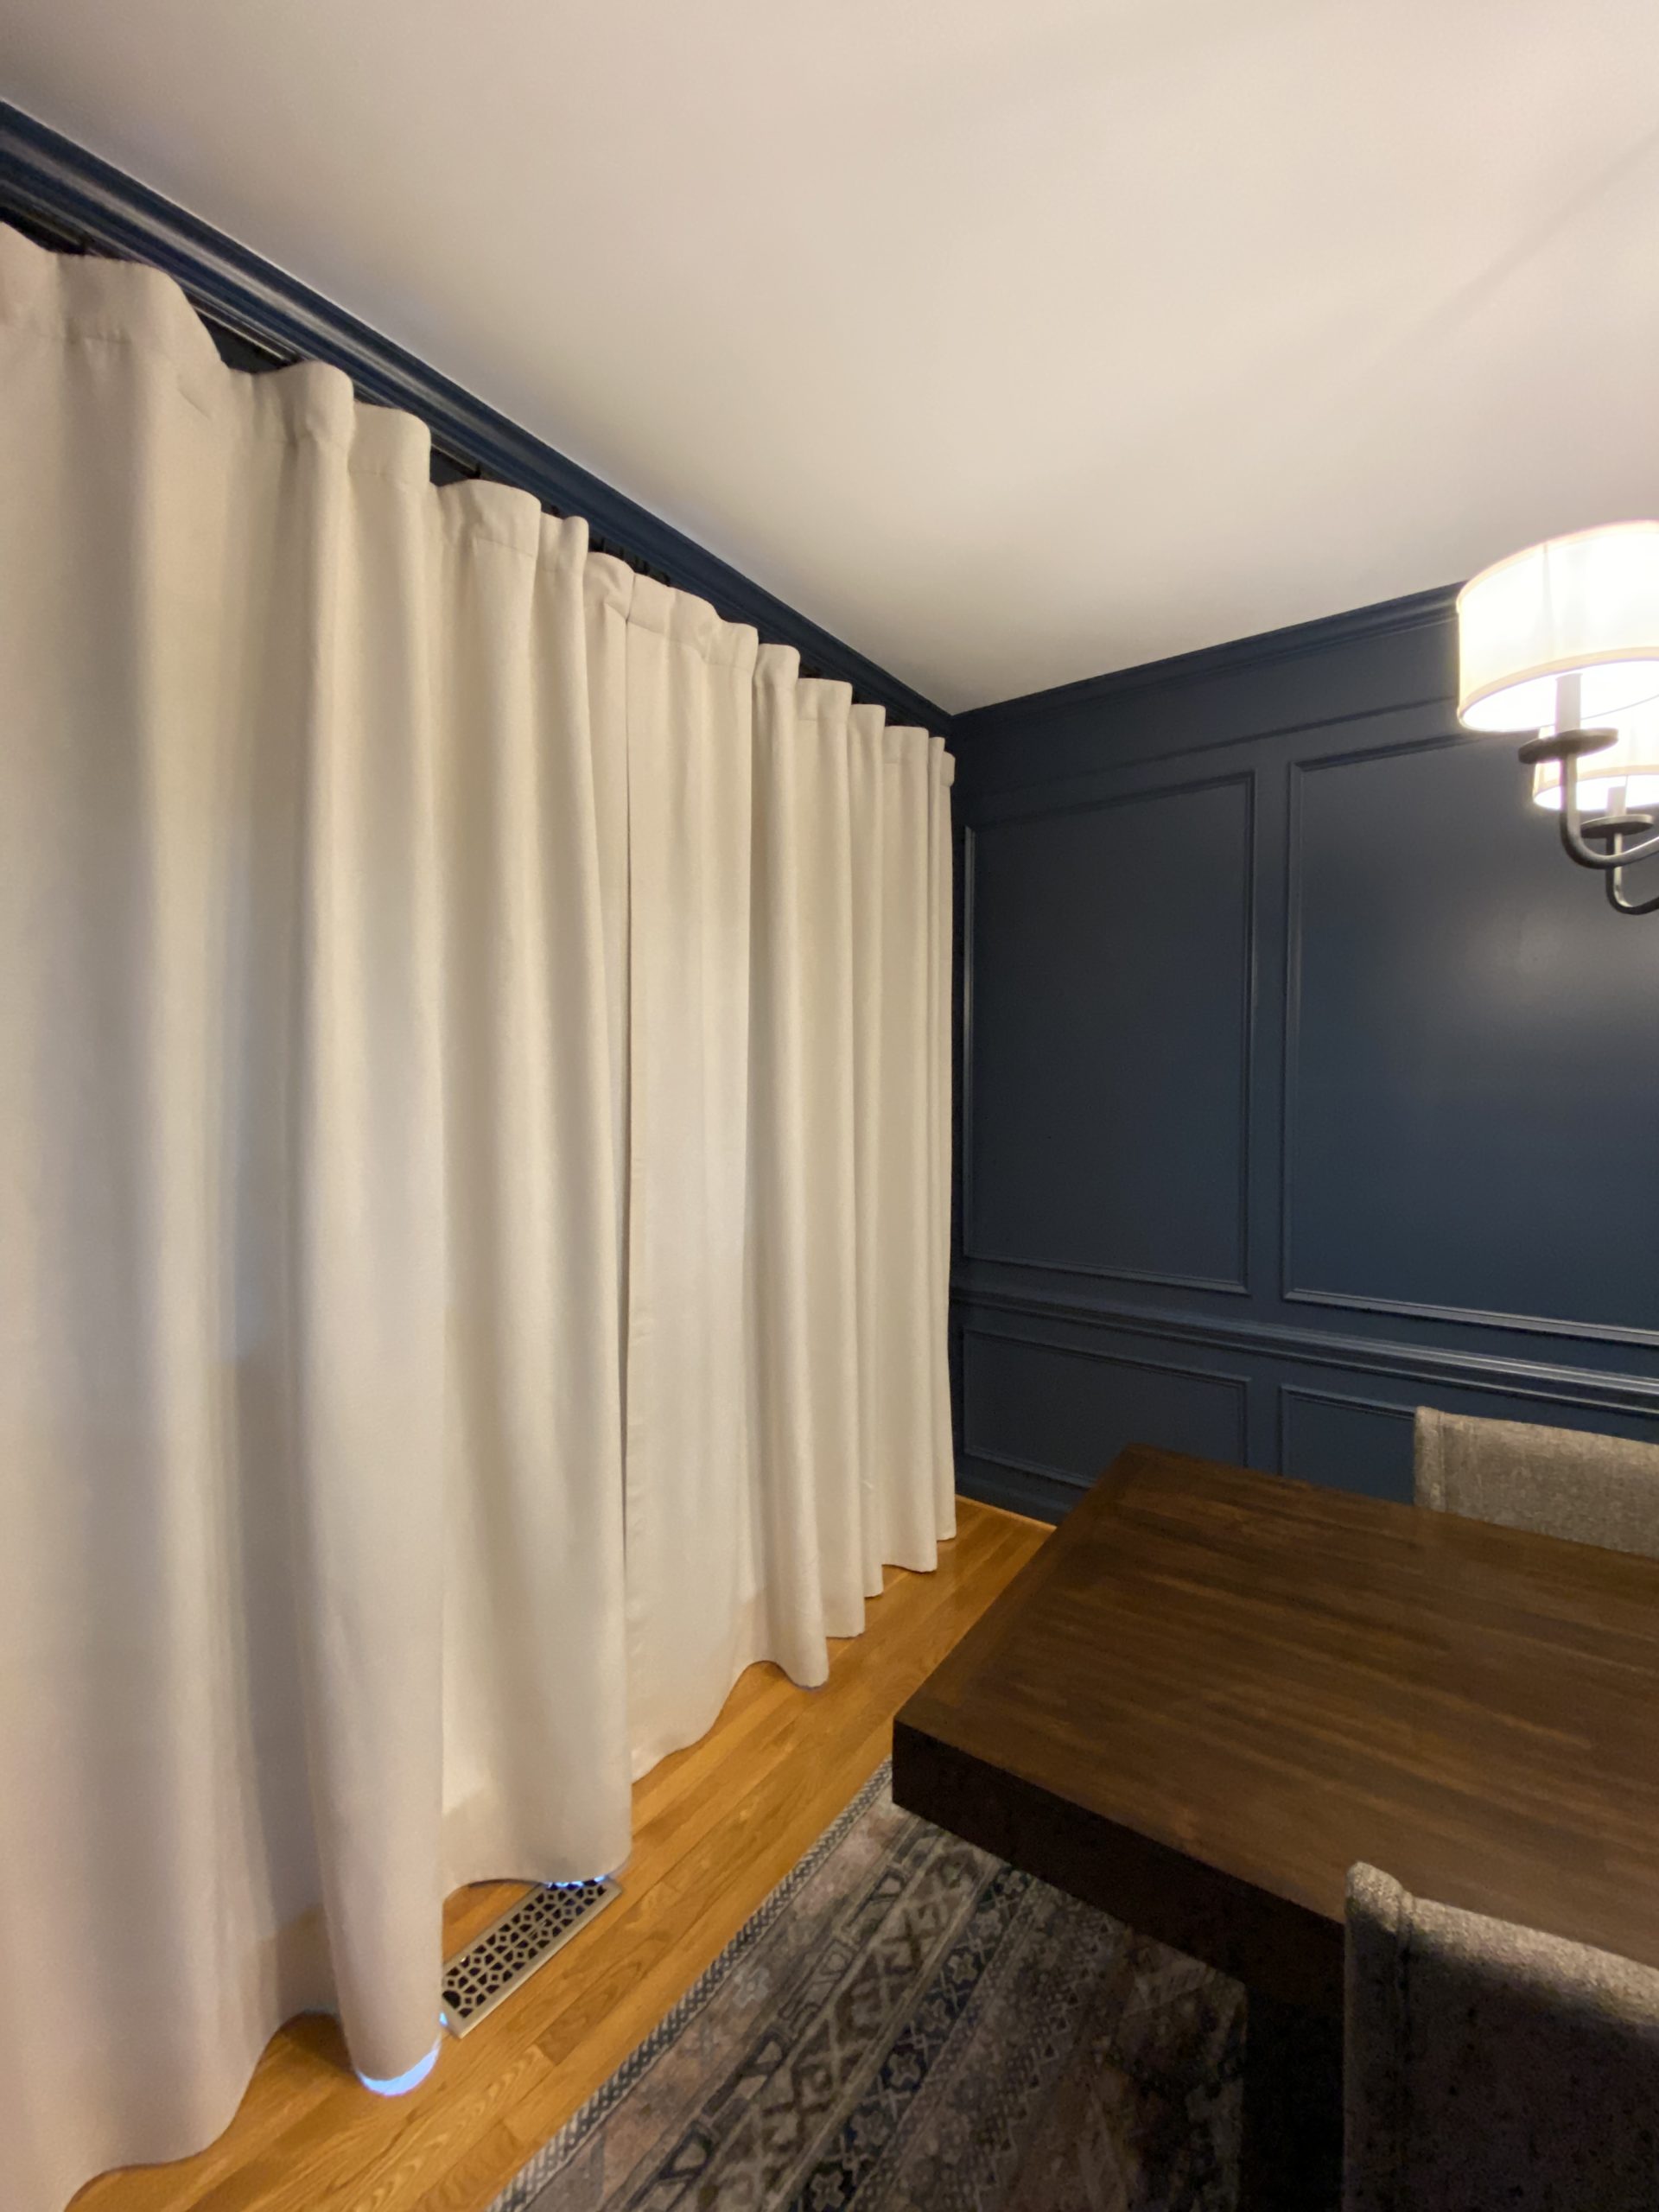
This is the way that I hemmed my dining room curtains without sewing. The whole process can be done while the curtains are hanging on the rod which is really helpful!
MATERIALS & TOOLS:
Half Priced Drapes – Color Birch (Amazon)
Seamstress Pins or Safety Pins
Scissors
Iron & Ironing Board
STEP 1: Steam or Iron your Curtains
Curtains are often wrinkled and creased when you first hang them out of the package. Make sure to iron or steam them completely before starting the hemming process, otherwise, the lengths will change after they’ve been steamed and then will end up longer than you intended and likely crooked as well.
I steamed my curtains with a handheld steamer while they were already hanging on the curtain rod.
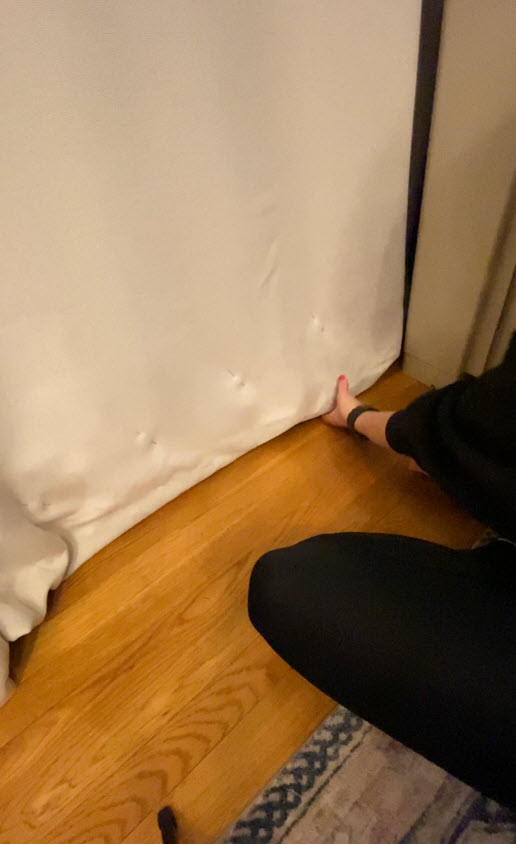
STEP 2: Pin your Curtain to the Desired Length
While the curtains are still hanging on the rod, fold the bottom of the curtains under to your desired length and pin them at that length. Don’t worry about them being perfect, you can finetune the exact length in the next step.

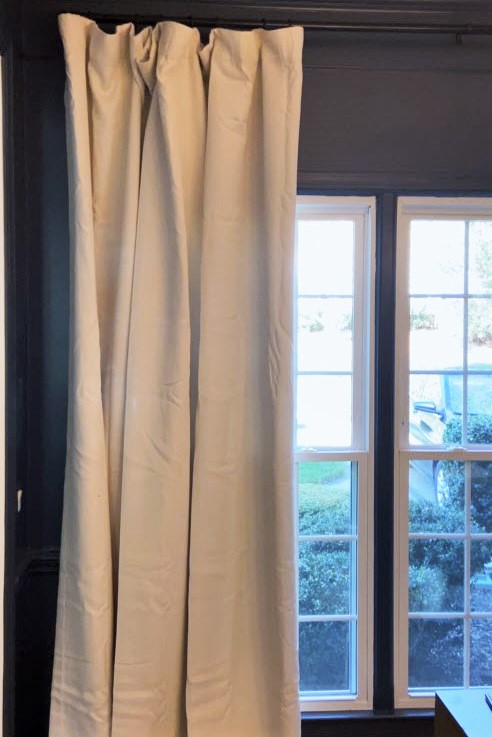
If you’re not sure what length you want your curtains, browse through pinterest to get some ideas! I recommend all standard window curtains at least go down to floor length, but you may like another style! I even have some curtains that are slightly puddled, like the below image:

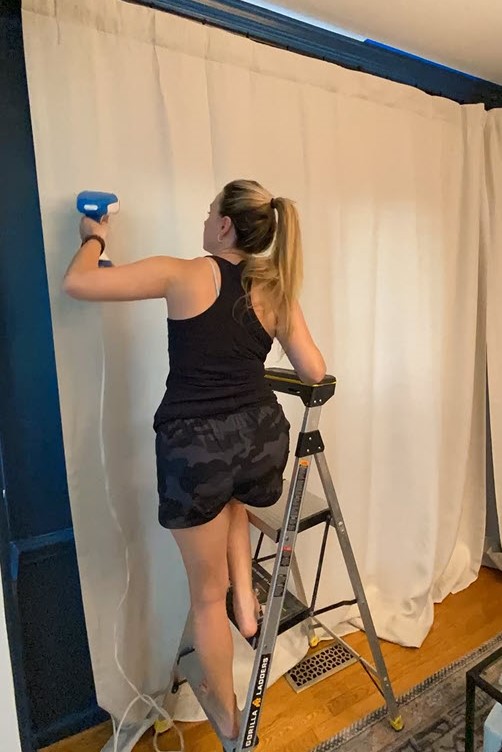
STEP 3: Crease and Iron the New Length
Bring your ironing board over to the curtain and press a crease along the new fold. If you have a tall ironing board, an easy trick is to leave it collapsed on the floor and work right there- it makes checking the length every few inches way easier.
After ironing, drop the curtain down to double-check that the hem is hitting exactly where you want it. If it’s a little off or slightly crooked, no big deal, just adjust and re-iron.
Don’t stress about getting it perfect on the first pass, adjusting the crease is part of the process and I did it many times myself!

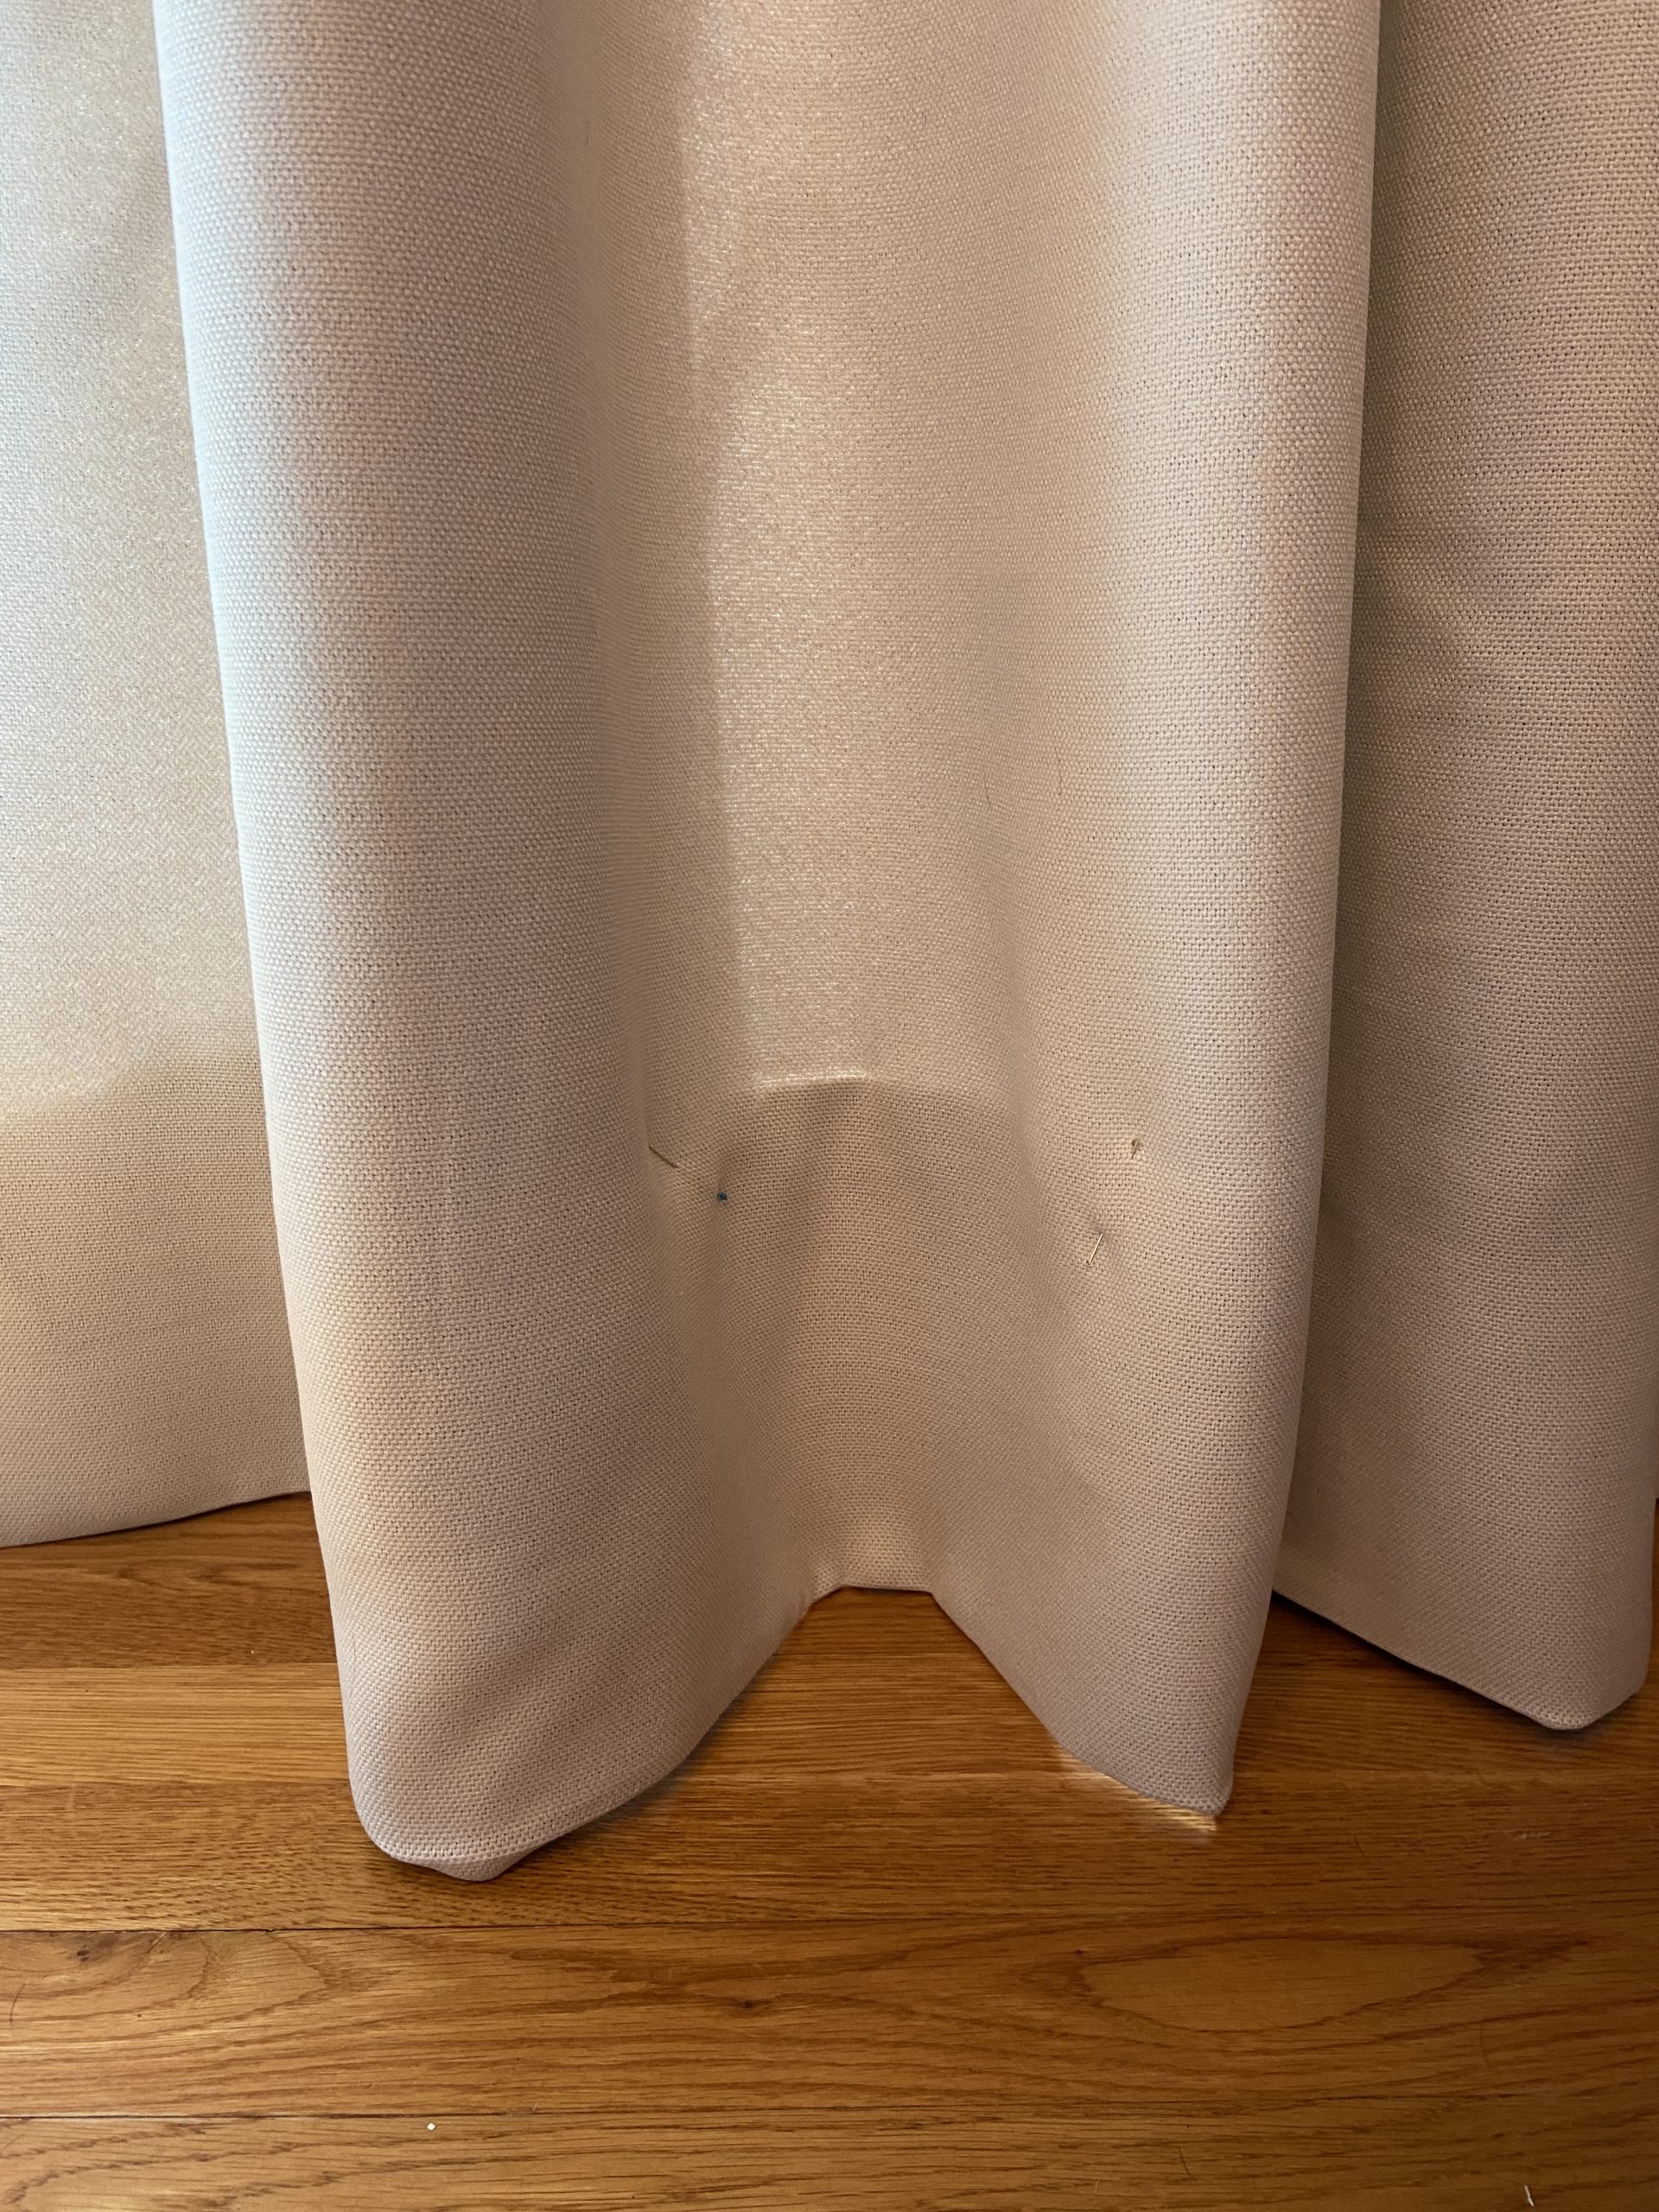
And this is where things start to get exciting. Once the entire curtain is folded and pressed to the right length, you can finally see what it’s going to look like once it’s hemmed- and it’s very satisfying.
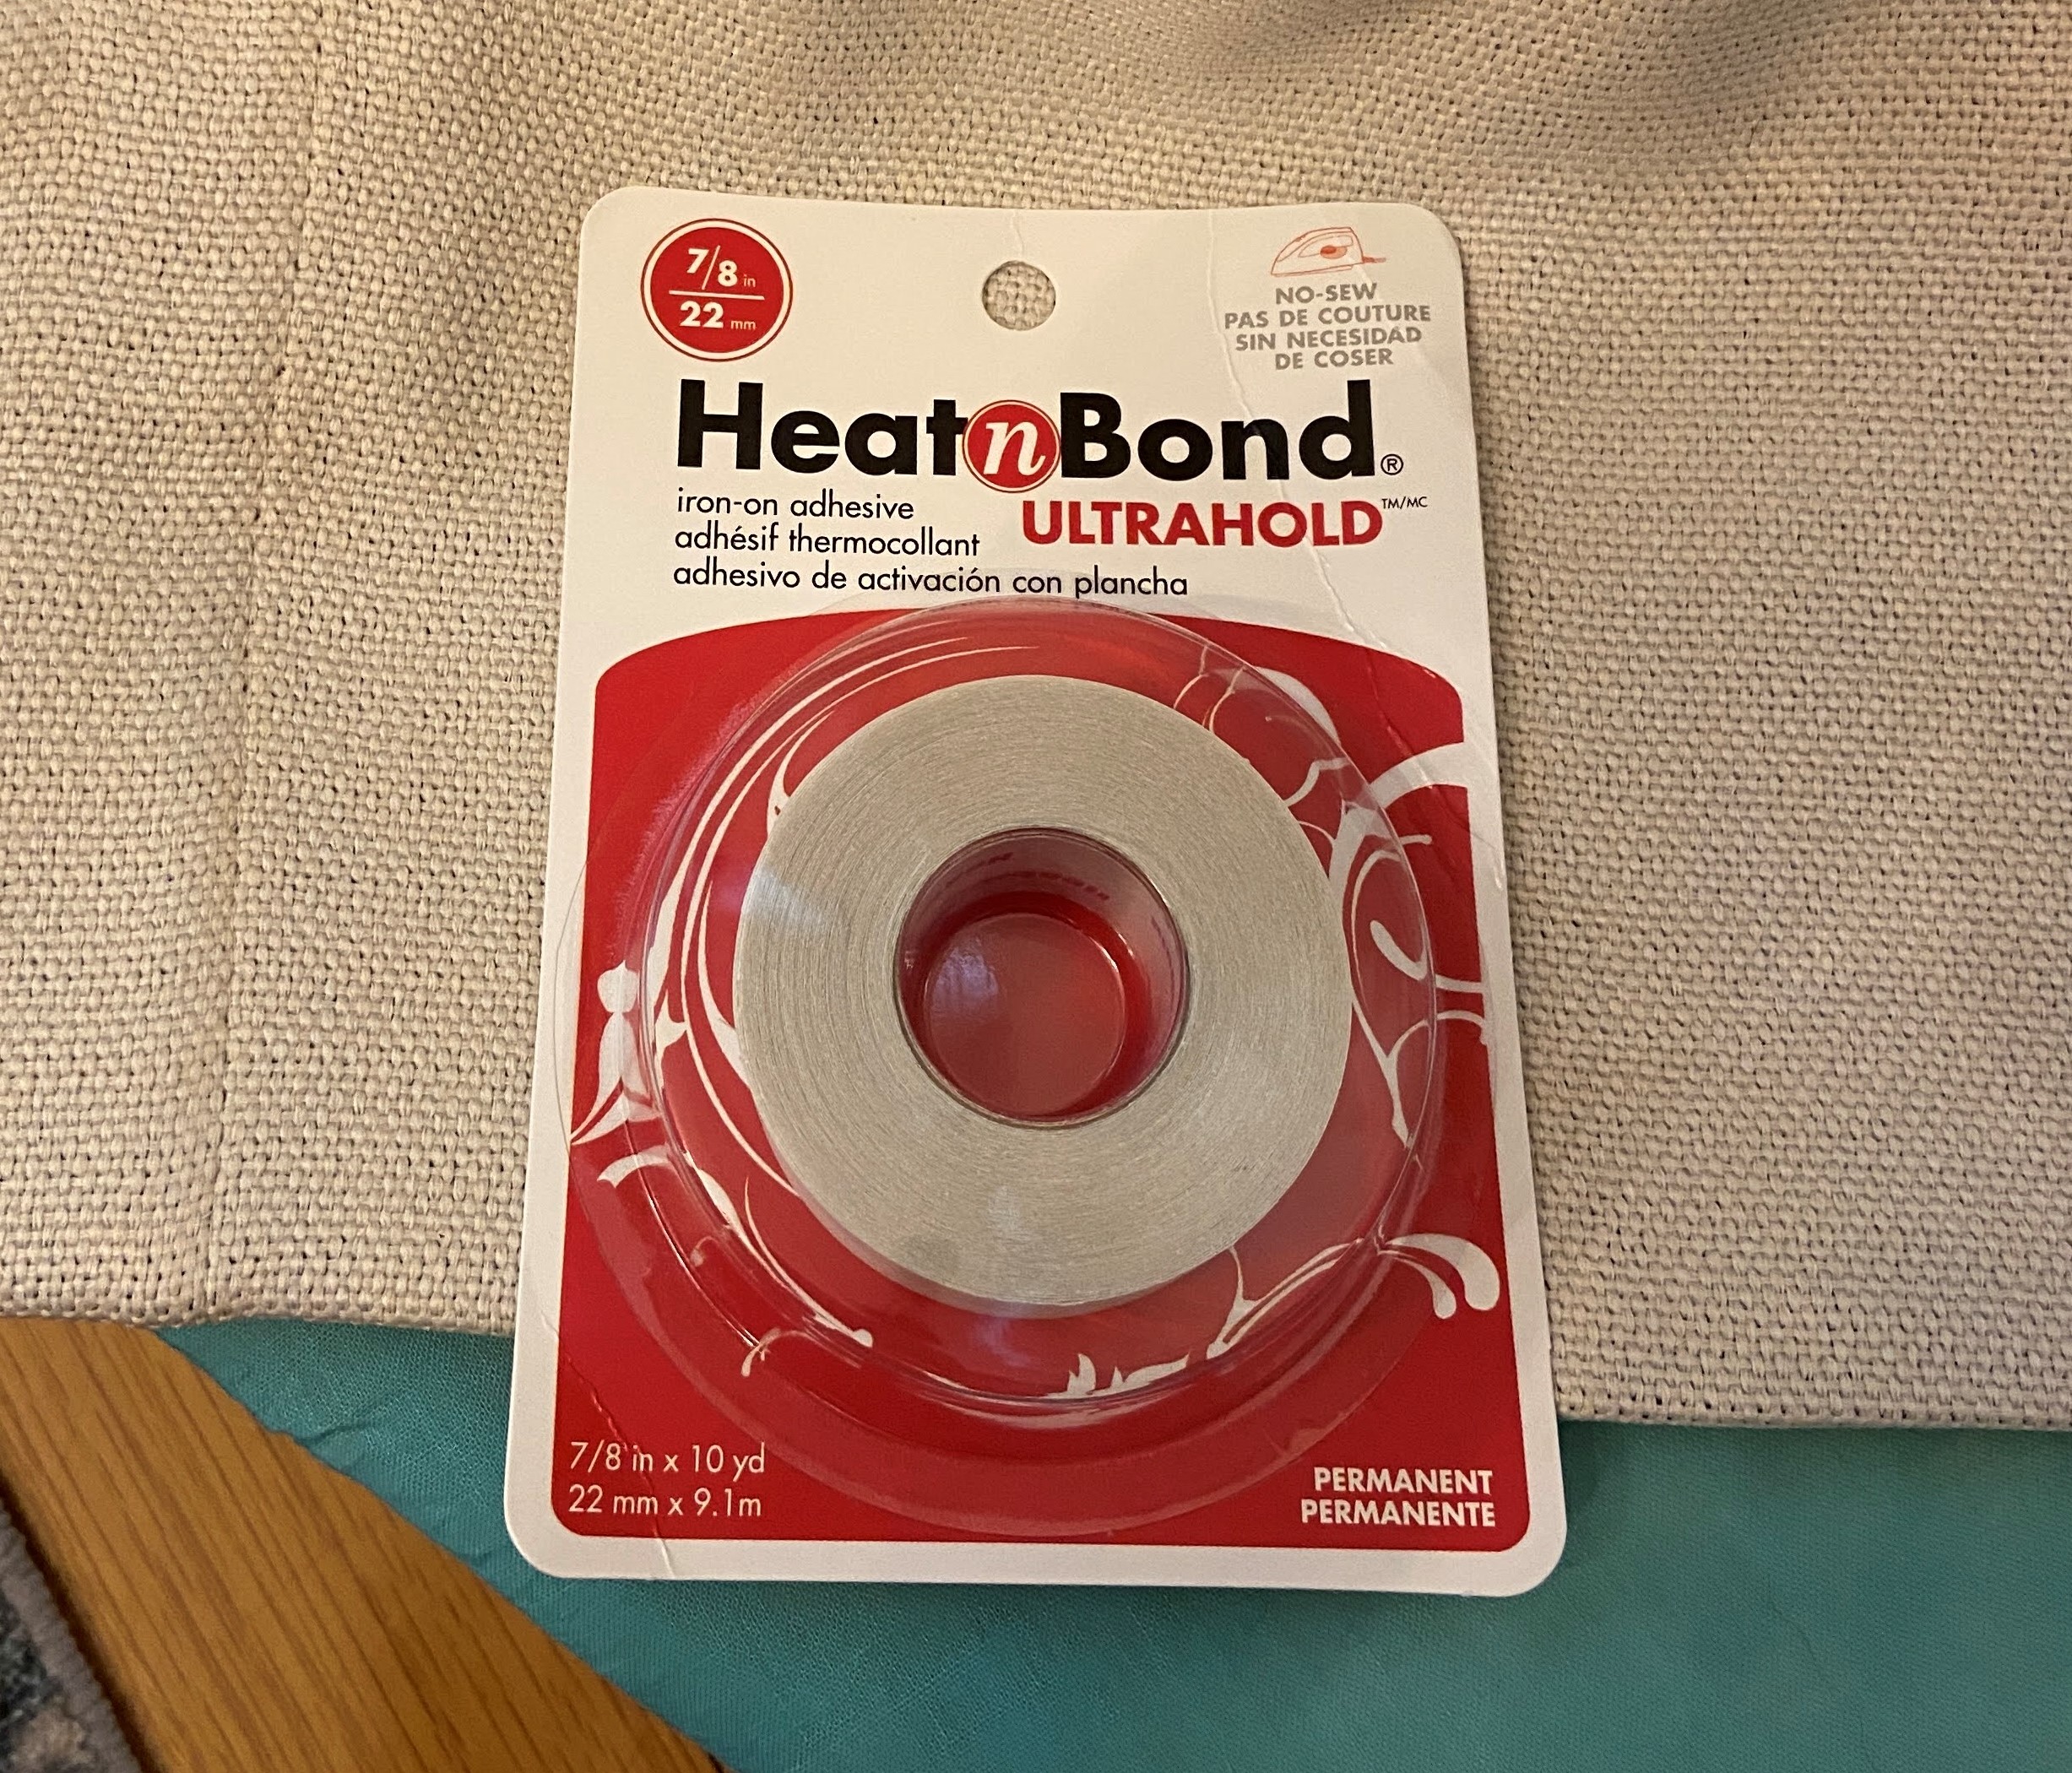
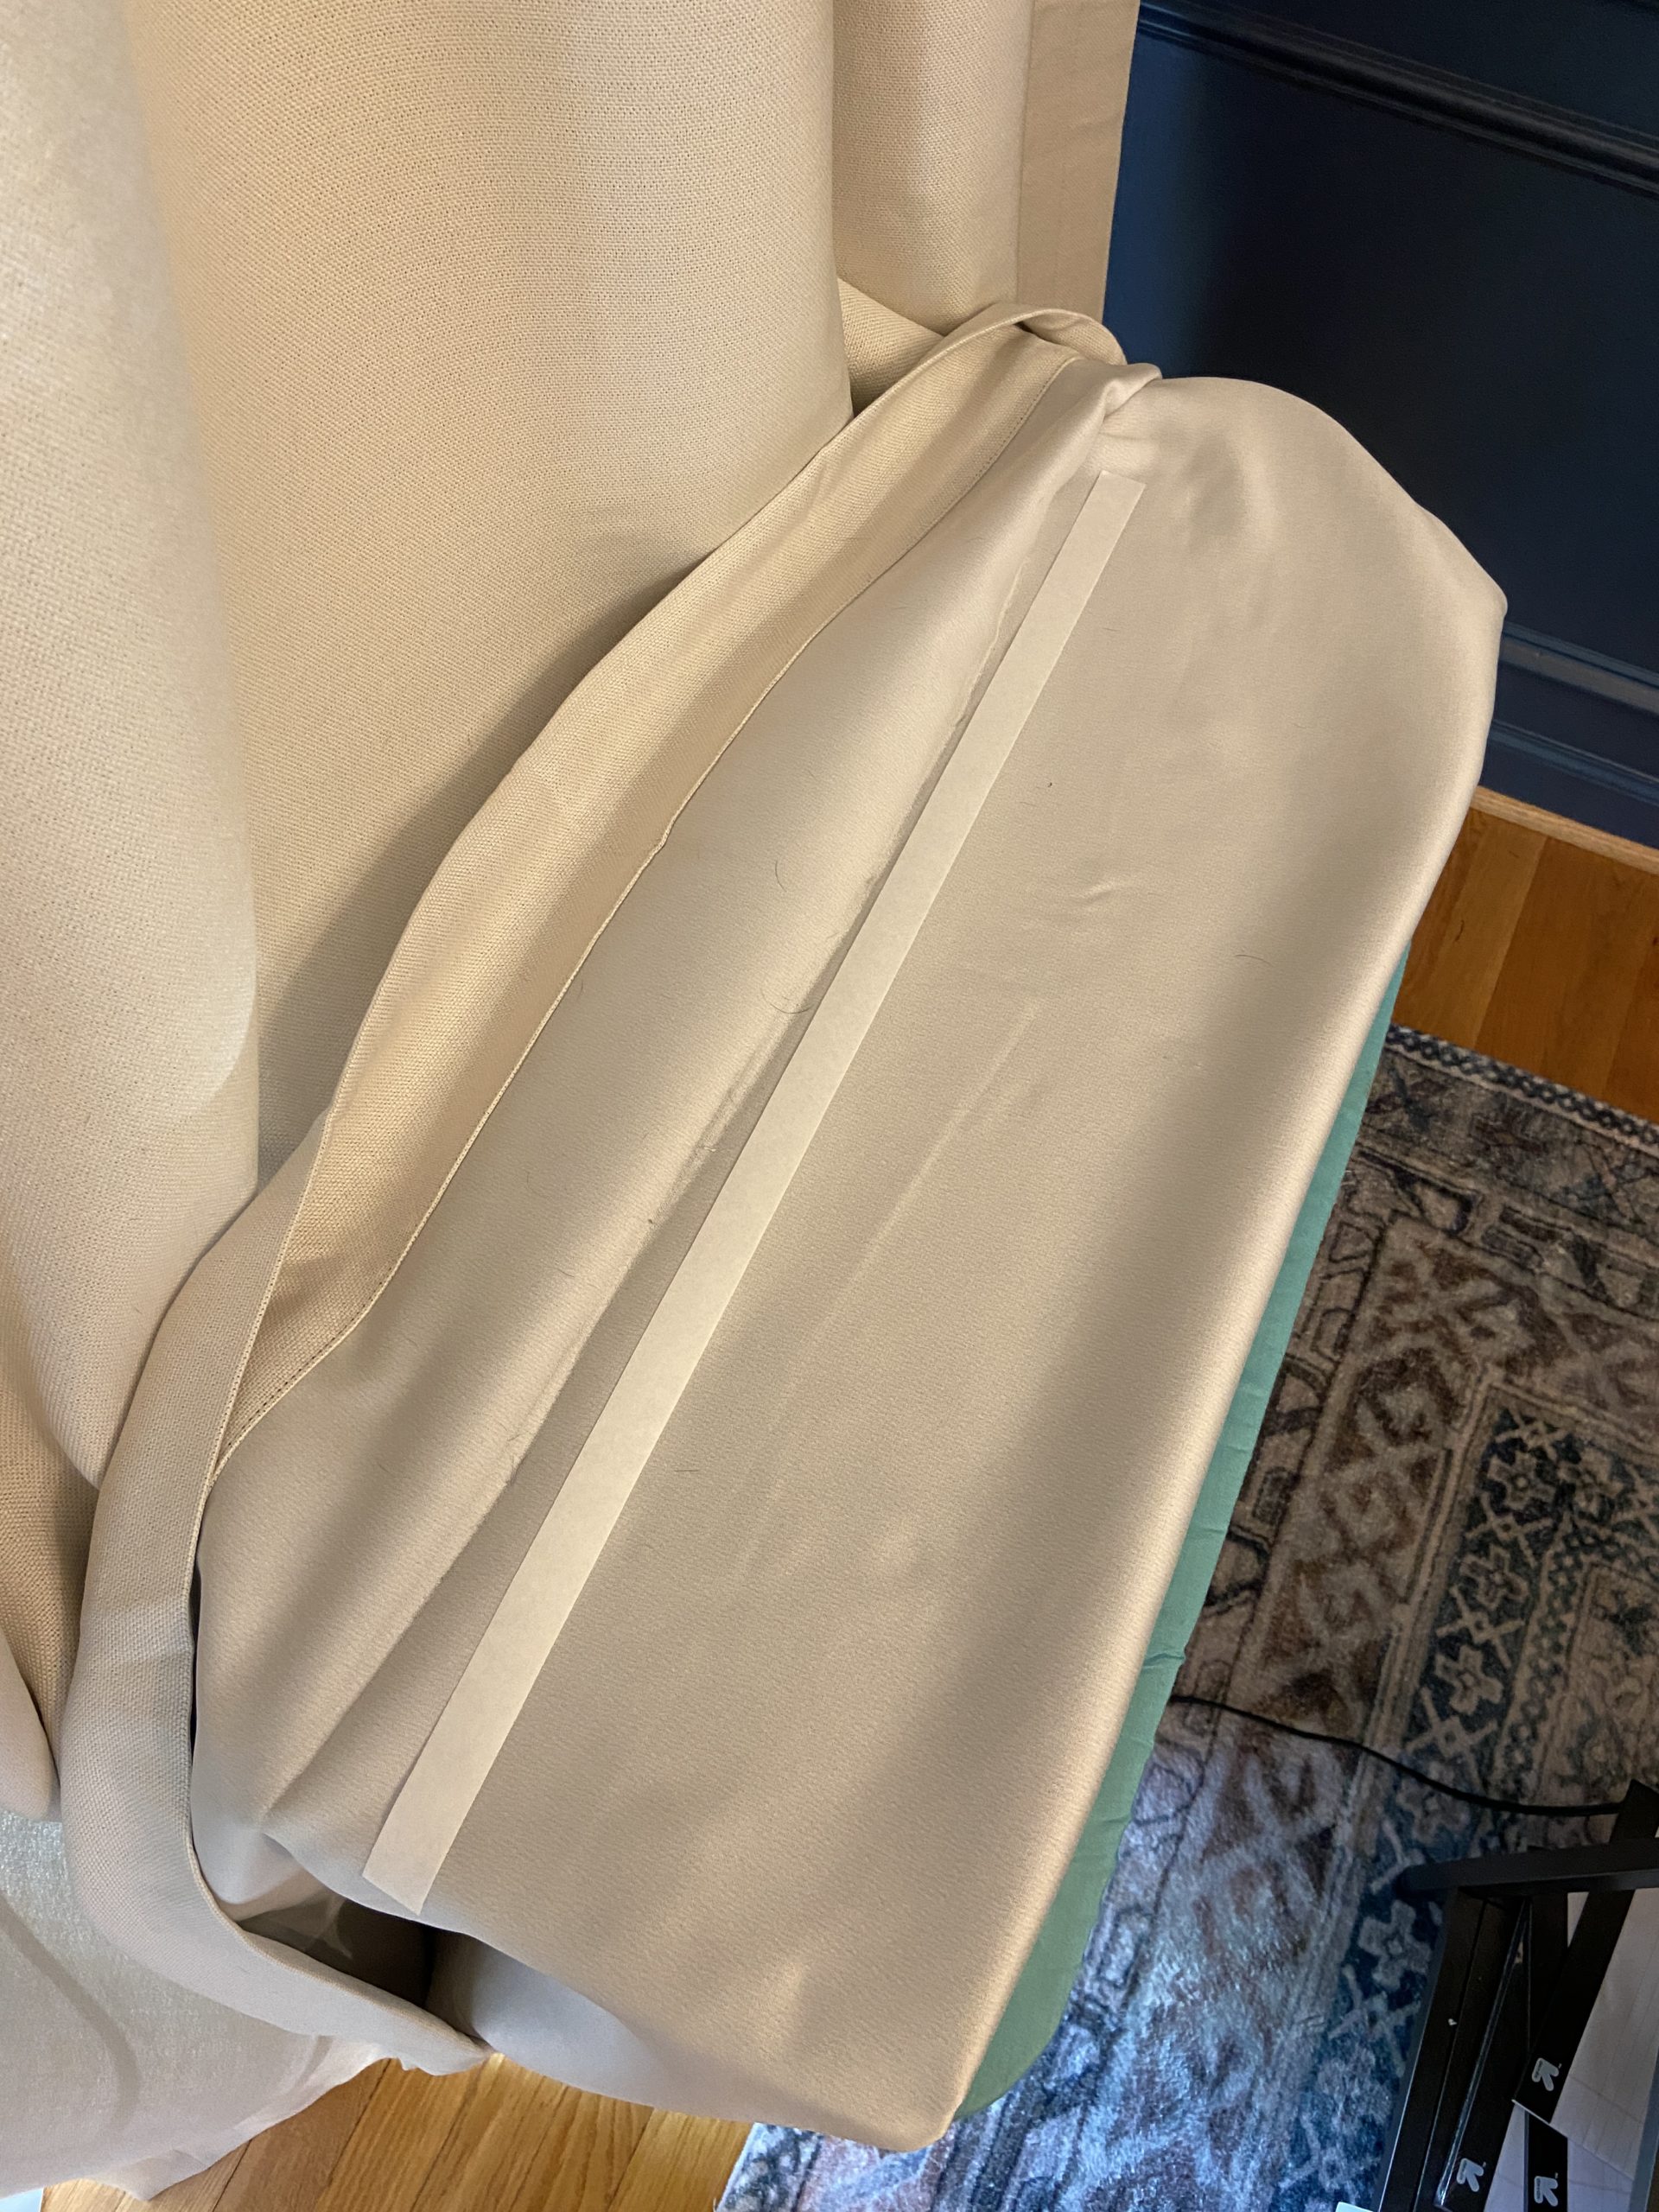
STEP 4: Add the Iron-on Adhesive
With your ironing board still under the curtain, remove the pins and unfold the fabric. Apply a short strip of iron-on hemming tape about an inch above your pressed crease, with the paper side facing up.
Set your iron to medium heat (no steam) and slowly iron over the tape. The package directions say to hold the iron for two seconds, but since my curtains are super thick, I went over each section a few times (around 20s total) to make sure it fully bonded.
I worked in about two-foot sections, mostly because that’s all my small ironing board could handle at once.

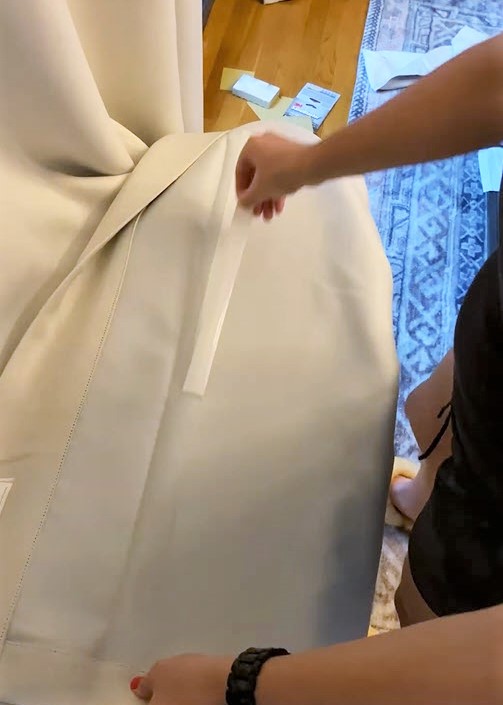
STEP 5: Fold the Crease and Iron Again
Once the adhesive strip is cool to the touch, peel off the paper backing. Fold the fabric up along the crease you pressed earlier and smooth out any wrinkles.
Press the folded edge with the iron, holding it in place for about 20 seconds per section. Work your way across the width of the curtain, repeating as needed until everything is fully bonded.

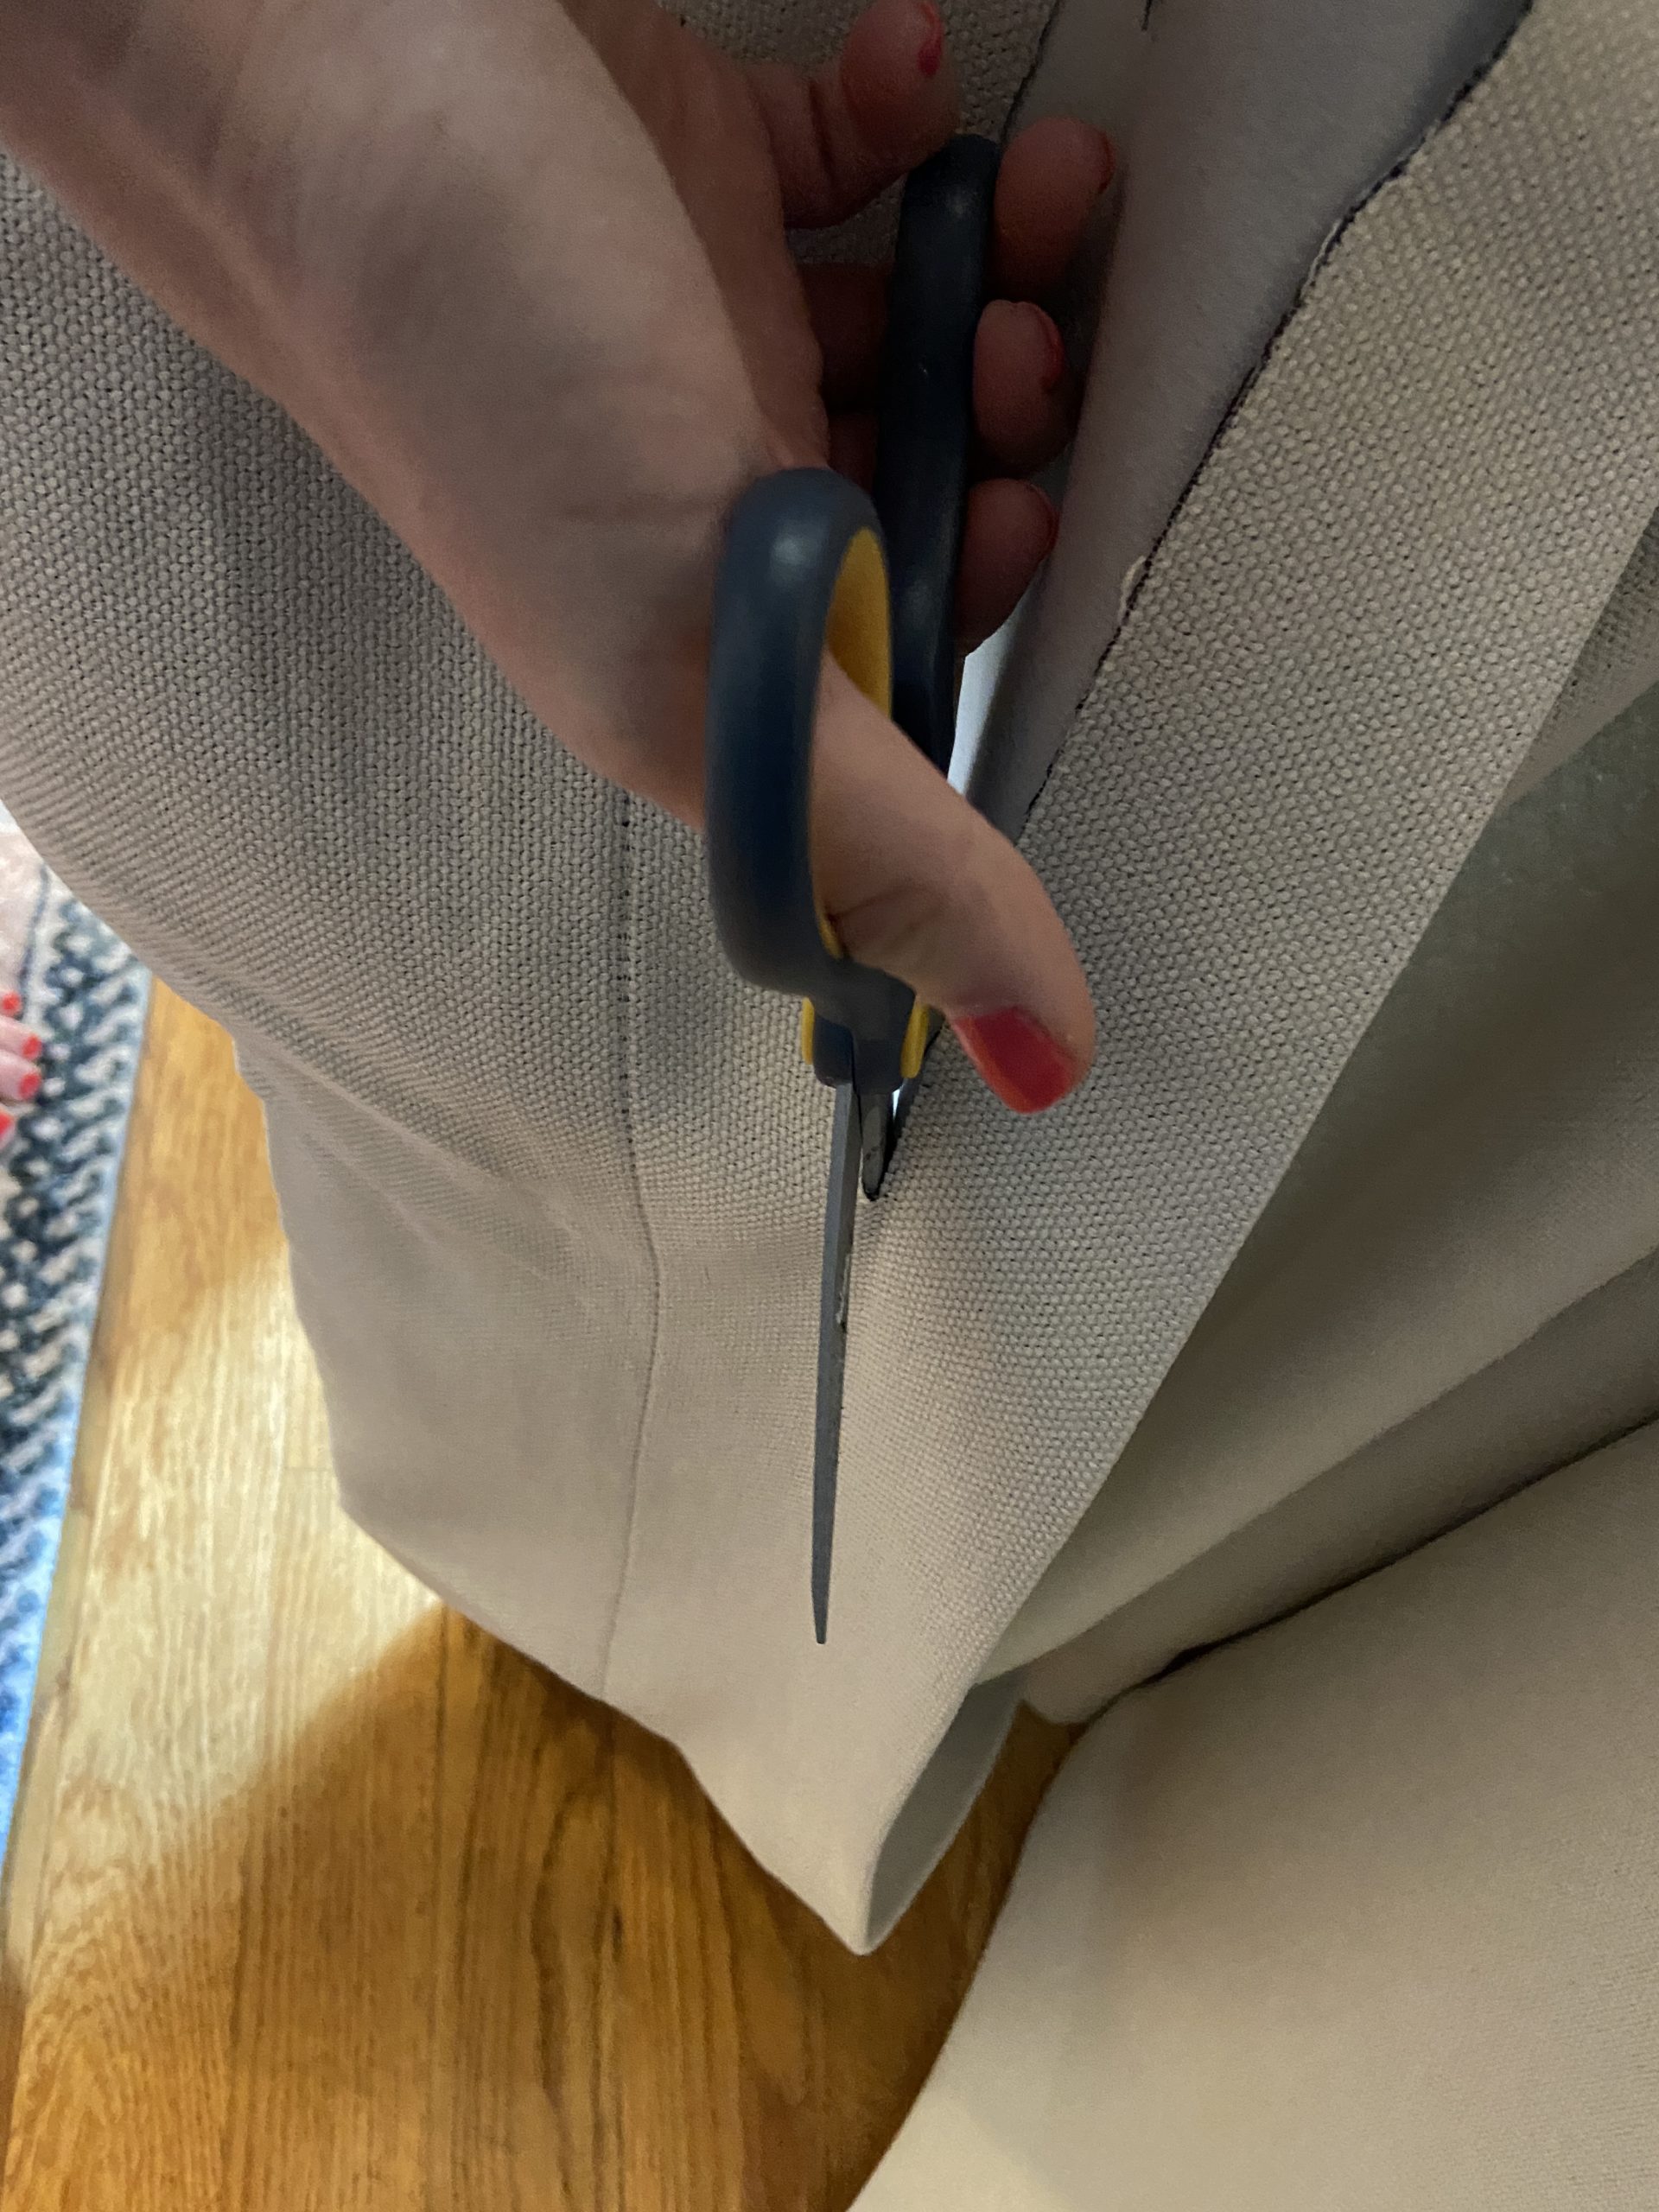
STEP 6: Cut off the Excess Material
Cut off the excess curtain fabric above the hemming tape.
If I were doing this again, I’d probably leave a little extra material above the tape to experiment with folding and ironing a cleaner edge- but honestly, no one is ever going to see the inside of these curtains anyway.
(Optional) STEP 7: Replace Bottom Weight
If your curtains came with weights (mine did), you can cut the weight out of the original hem and reuse it in the new one.
To keep it from shifting around, cut a small slit along the side hem and slide the weight inside like a pocket.


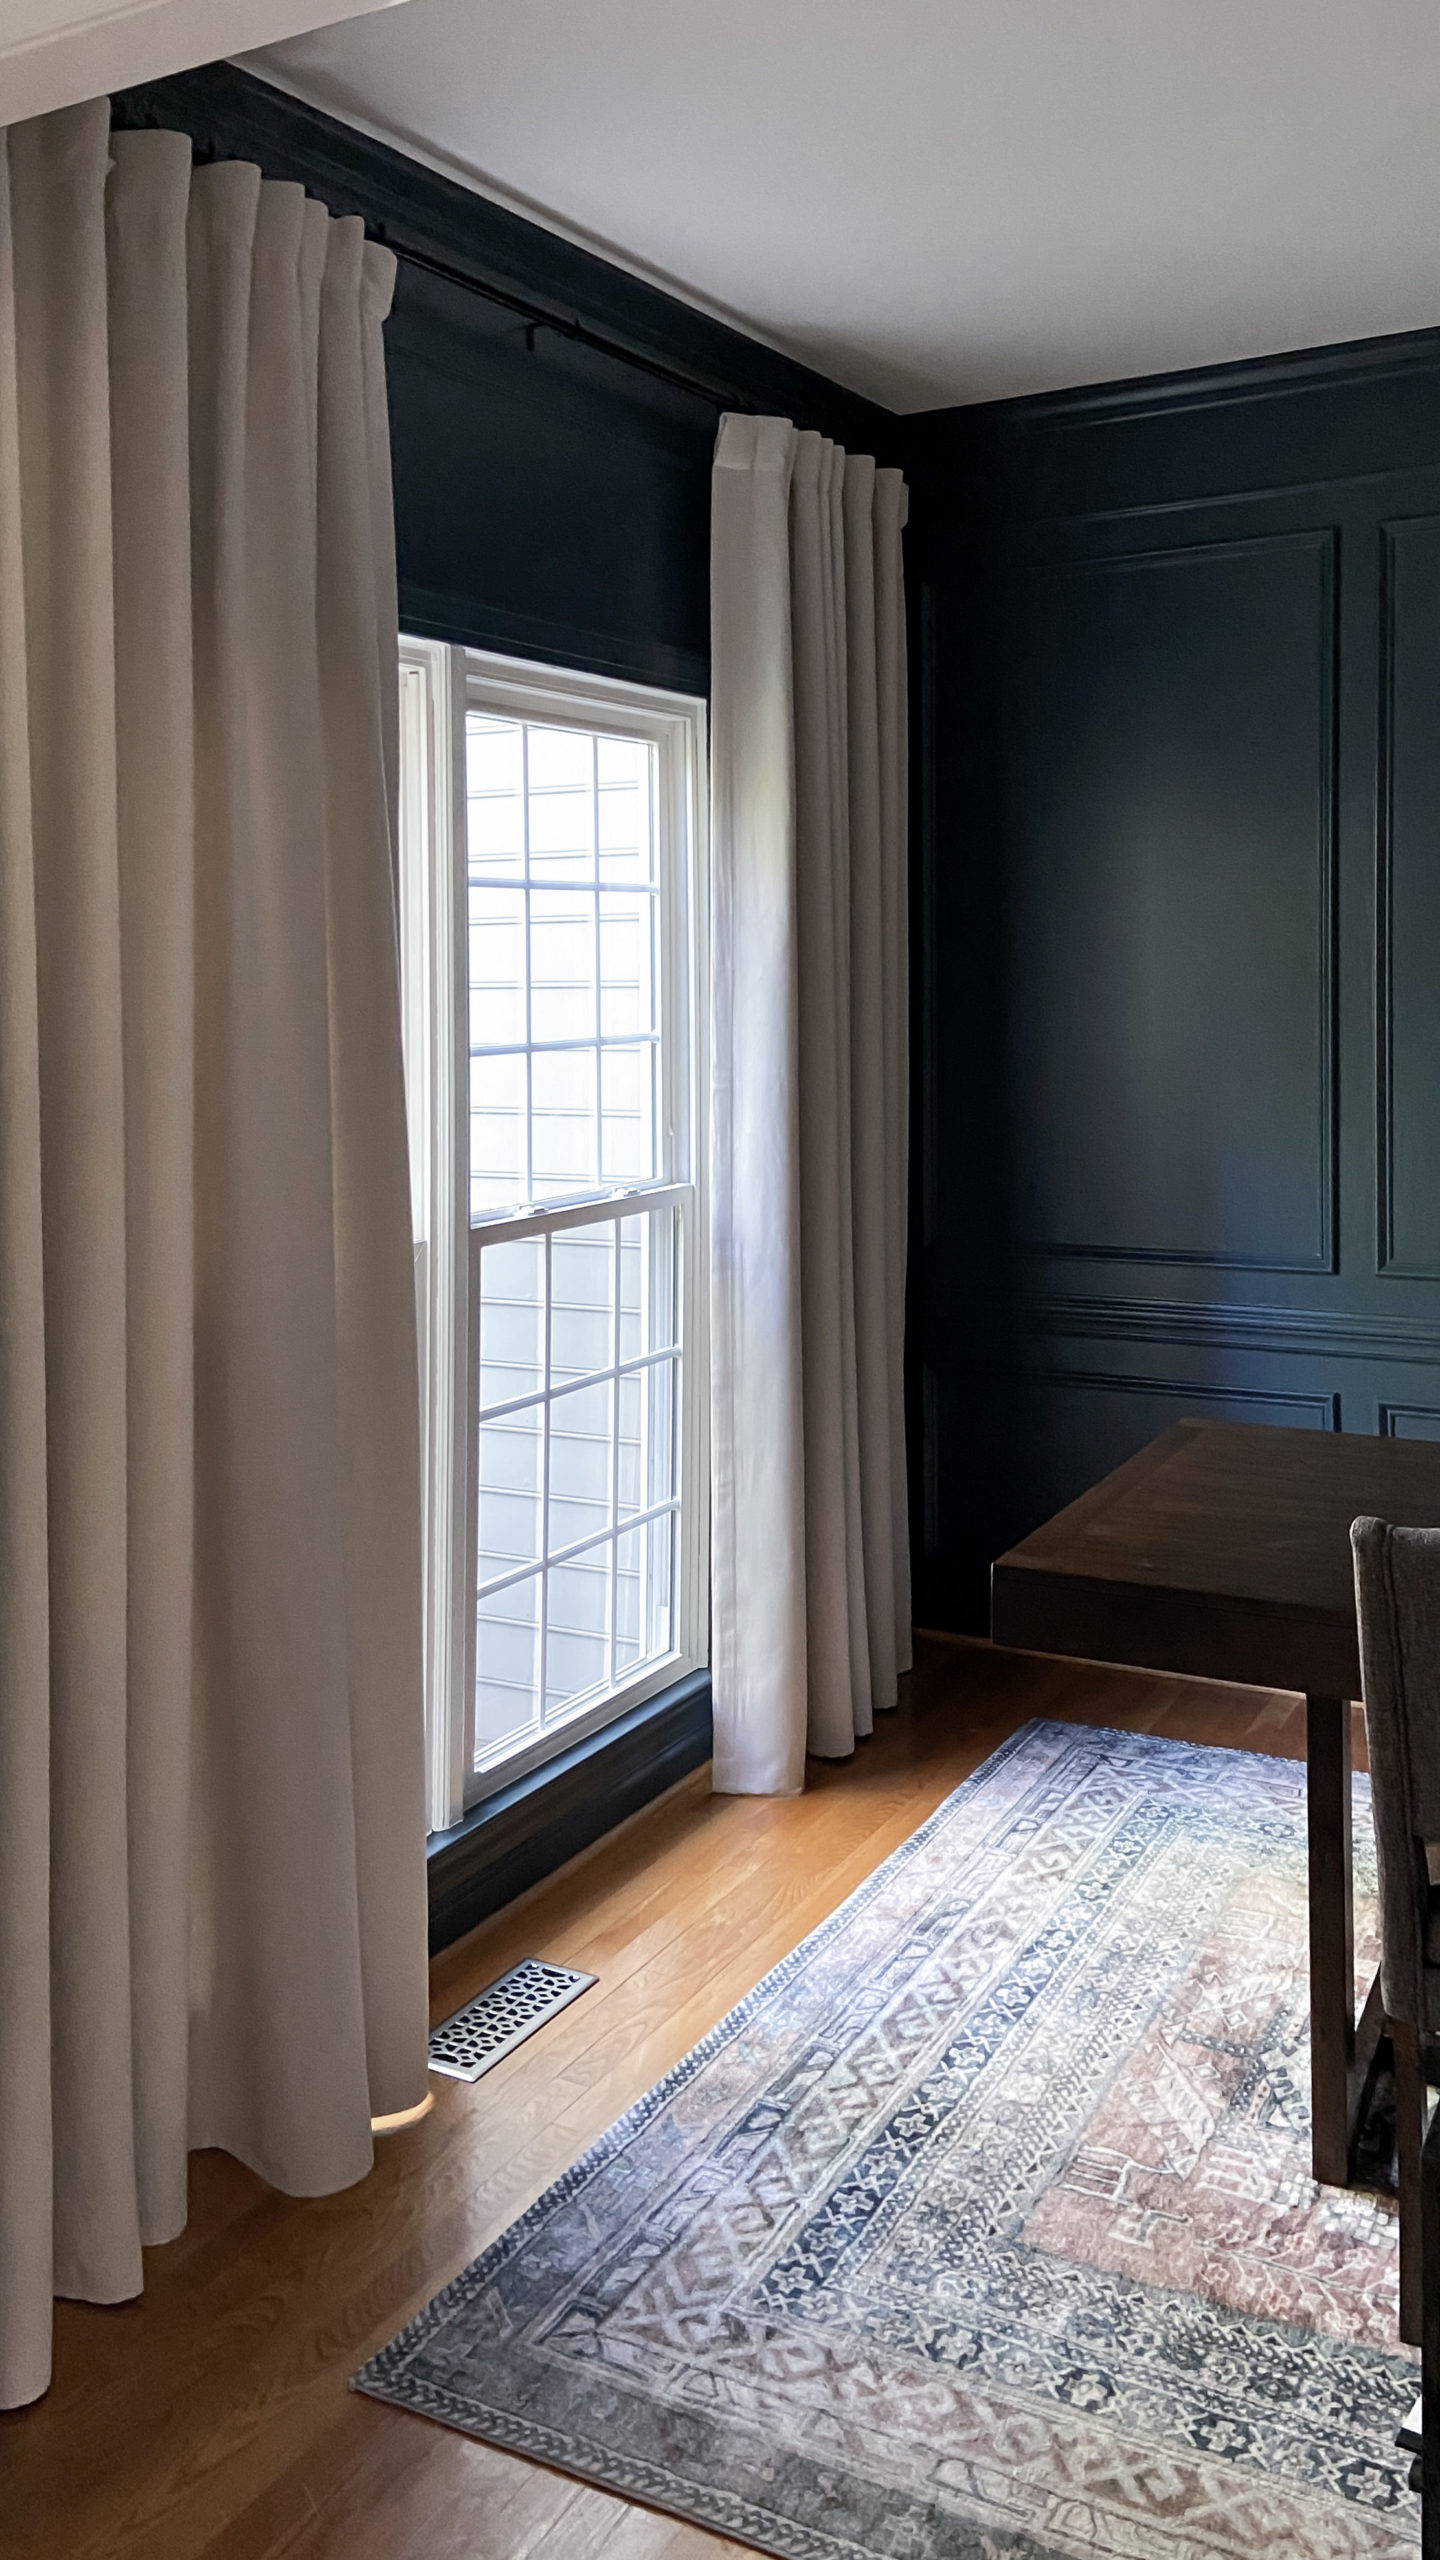
And that’s it! I’m honestly impressed with how easy this was- and even more impressed with how good these curtains turned out. I fully expected them to look obviously DIY, but even up close, they look great. I’d absolutely do this again.
Way 2: Hem Curtains without Sewing using Curtain Rings
I love curtain rings. I use them on almost every curtain in my house- they’re easy to install and they slide effortlessly along the rod, which immediately makes curtains feel more high-end.
But curtain rings are useful for more than just hanging curtains. They’re also a great workaround when your curtains are slightly too long or slightly too short.
By adjusting how the fabric hangs on the rings, you can shorten curtains without cutting or sewing anything. And if your panels are just barely too short, curtain rings can actually give you up to about an extra inch of length.
Here’s the second no-sew method for hemming curtains using curtain rings.
MATERIALS & TOOLS:
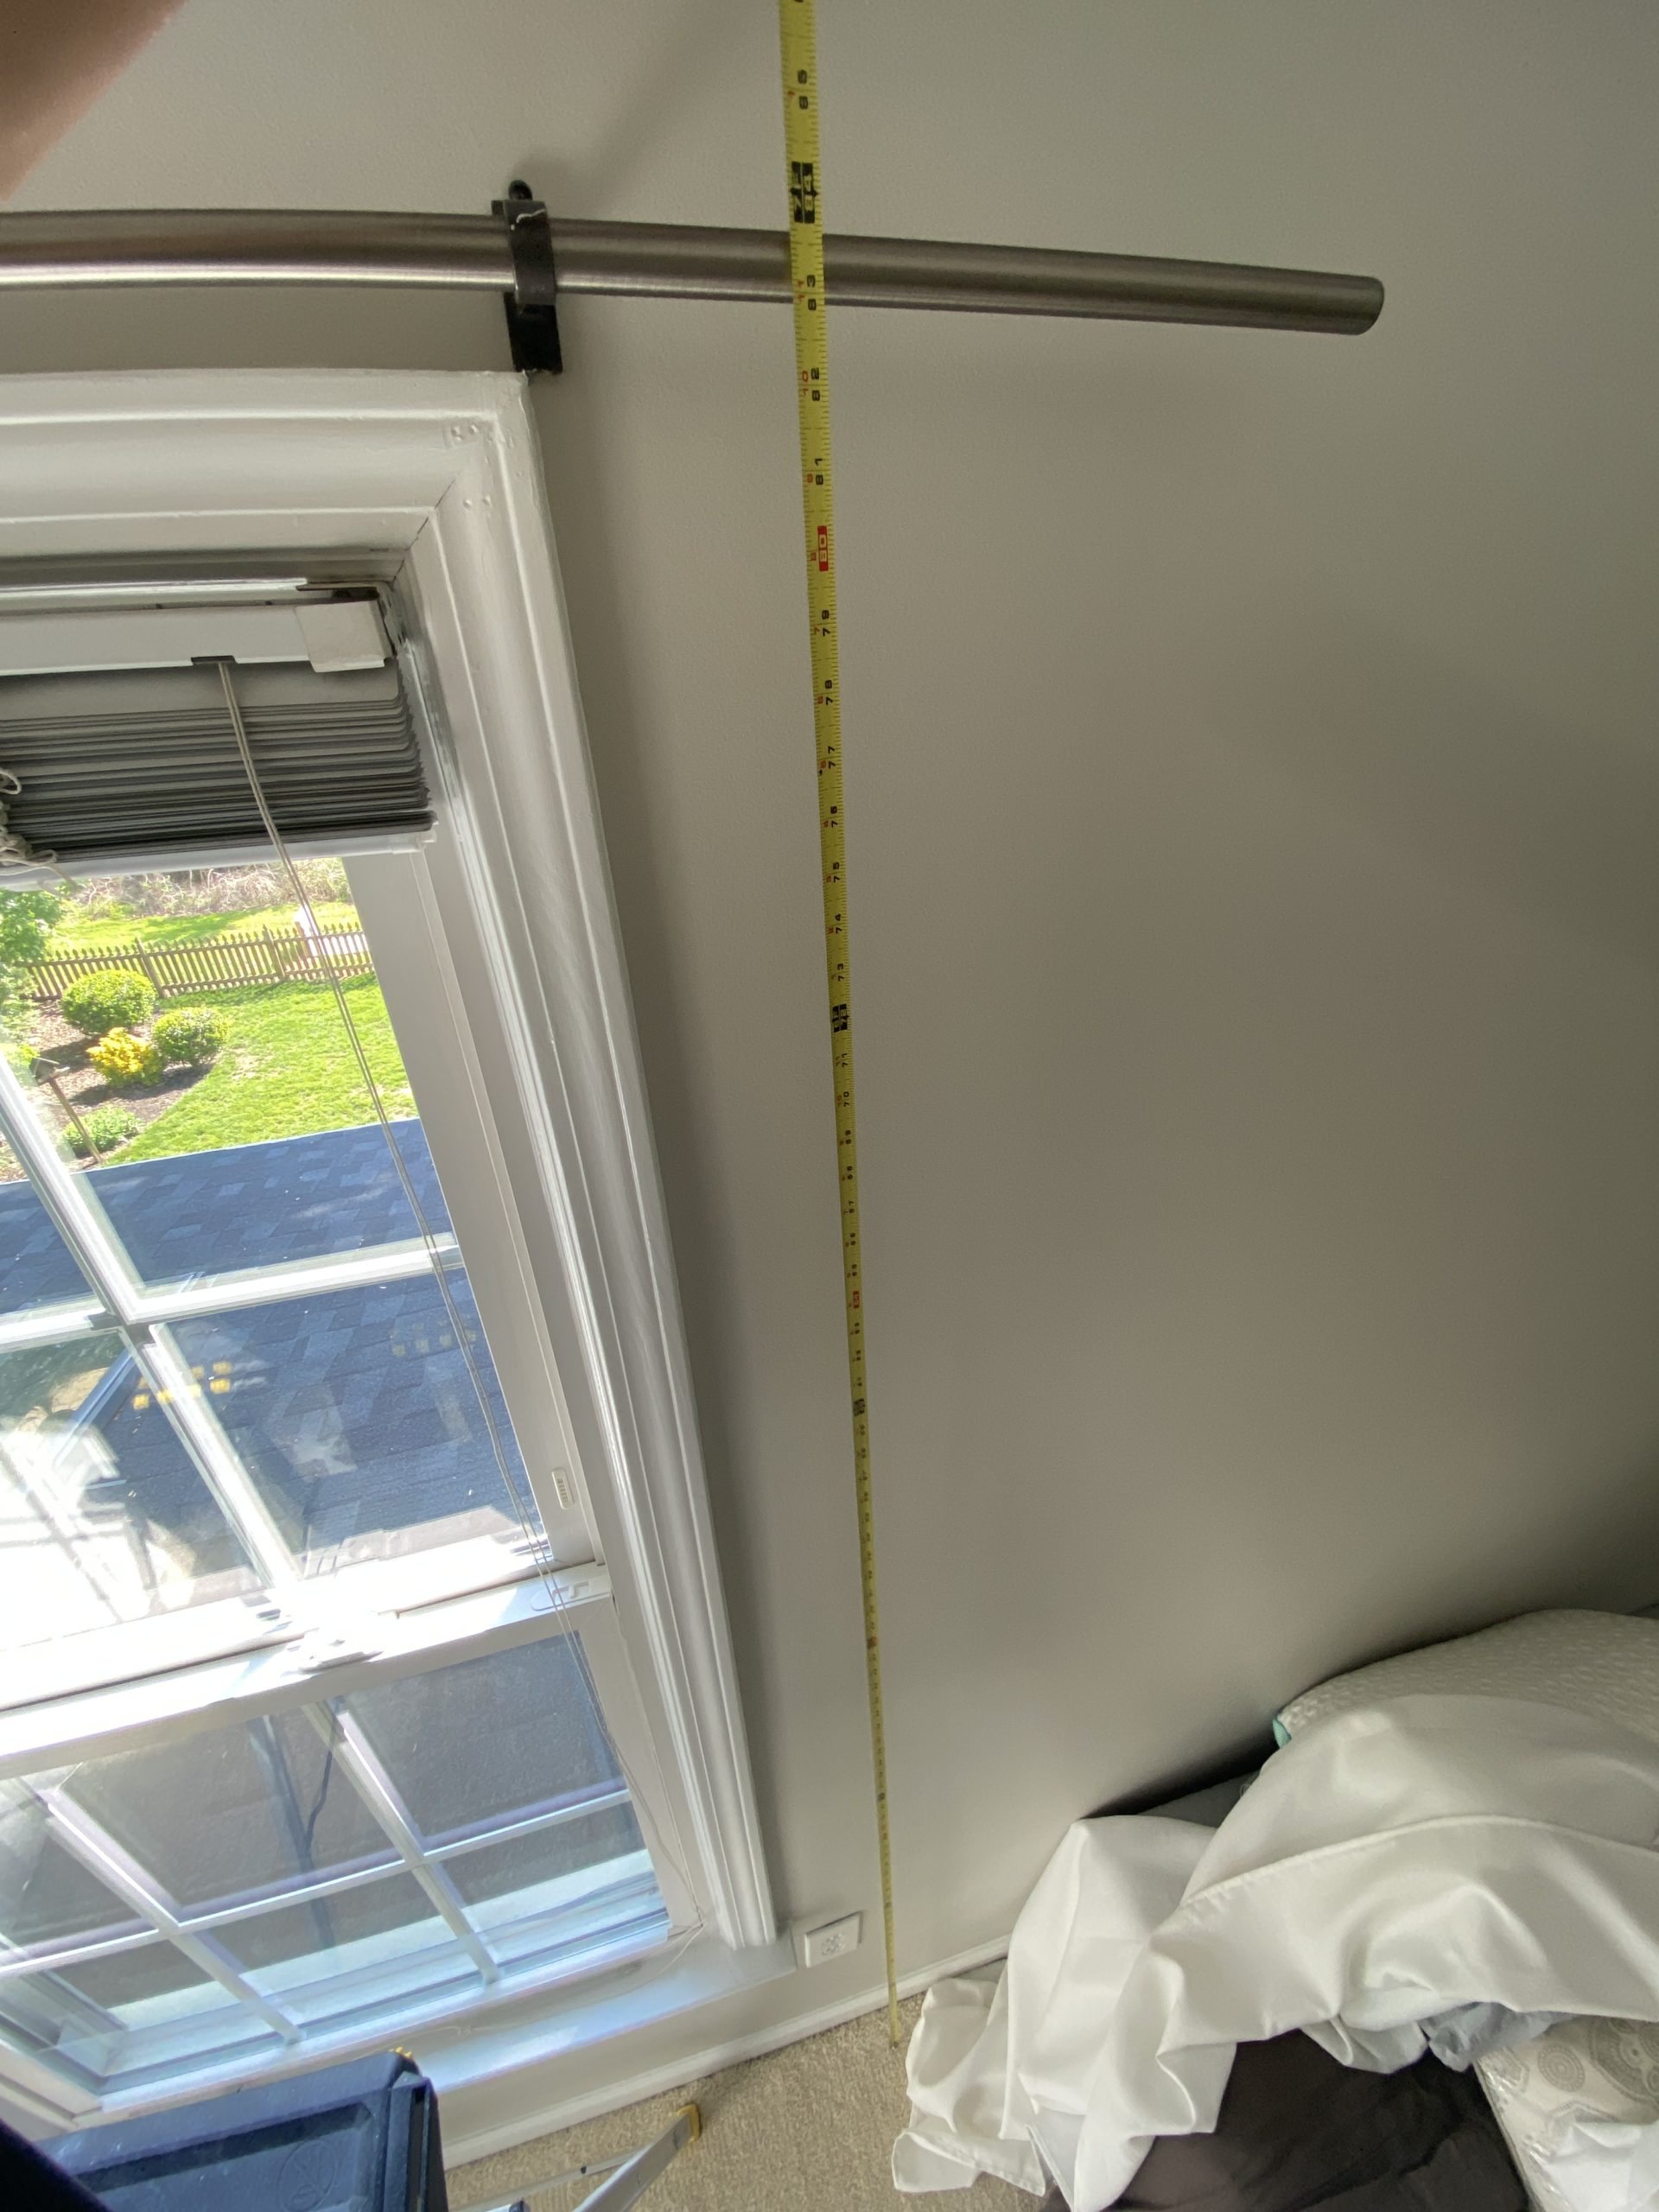
STEP 1: Measure for your Curtain Length
Measure from the bottom of the curtain rod down to where you want the curtains to hit the floor. Be sure to account for the clip on the curtain ring- it adds a little length and can affect where the hem lands.
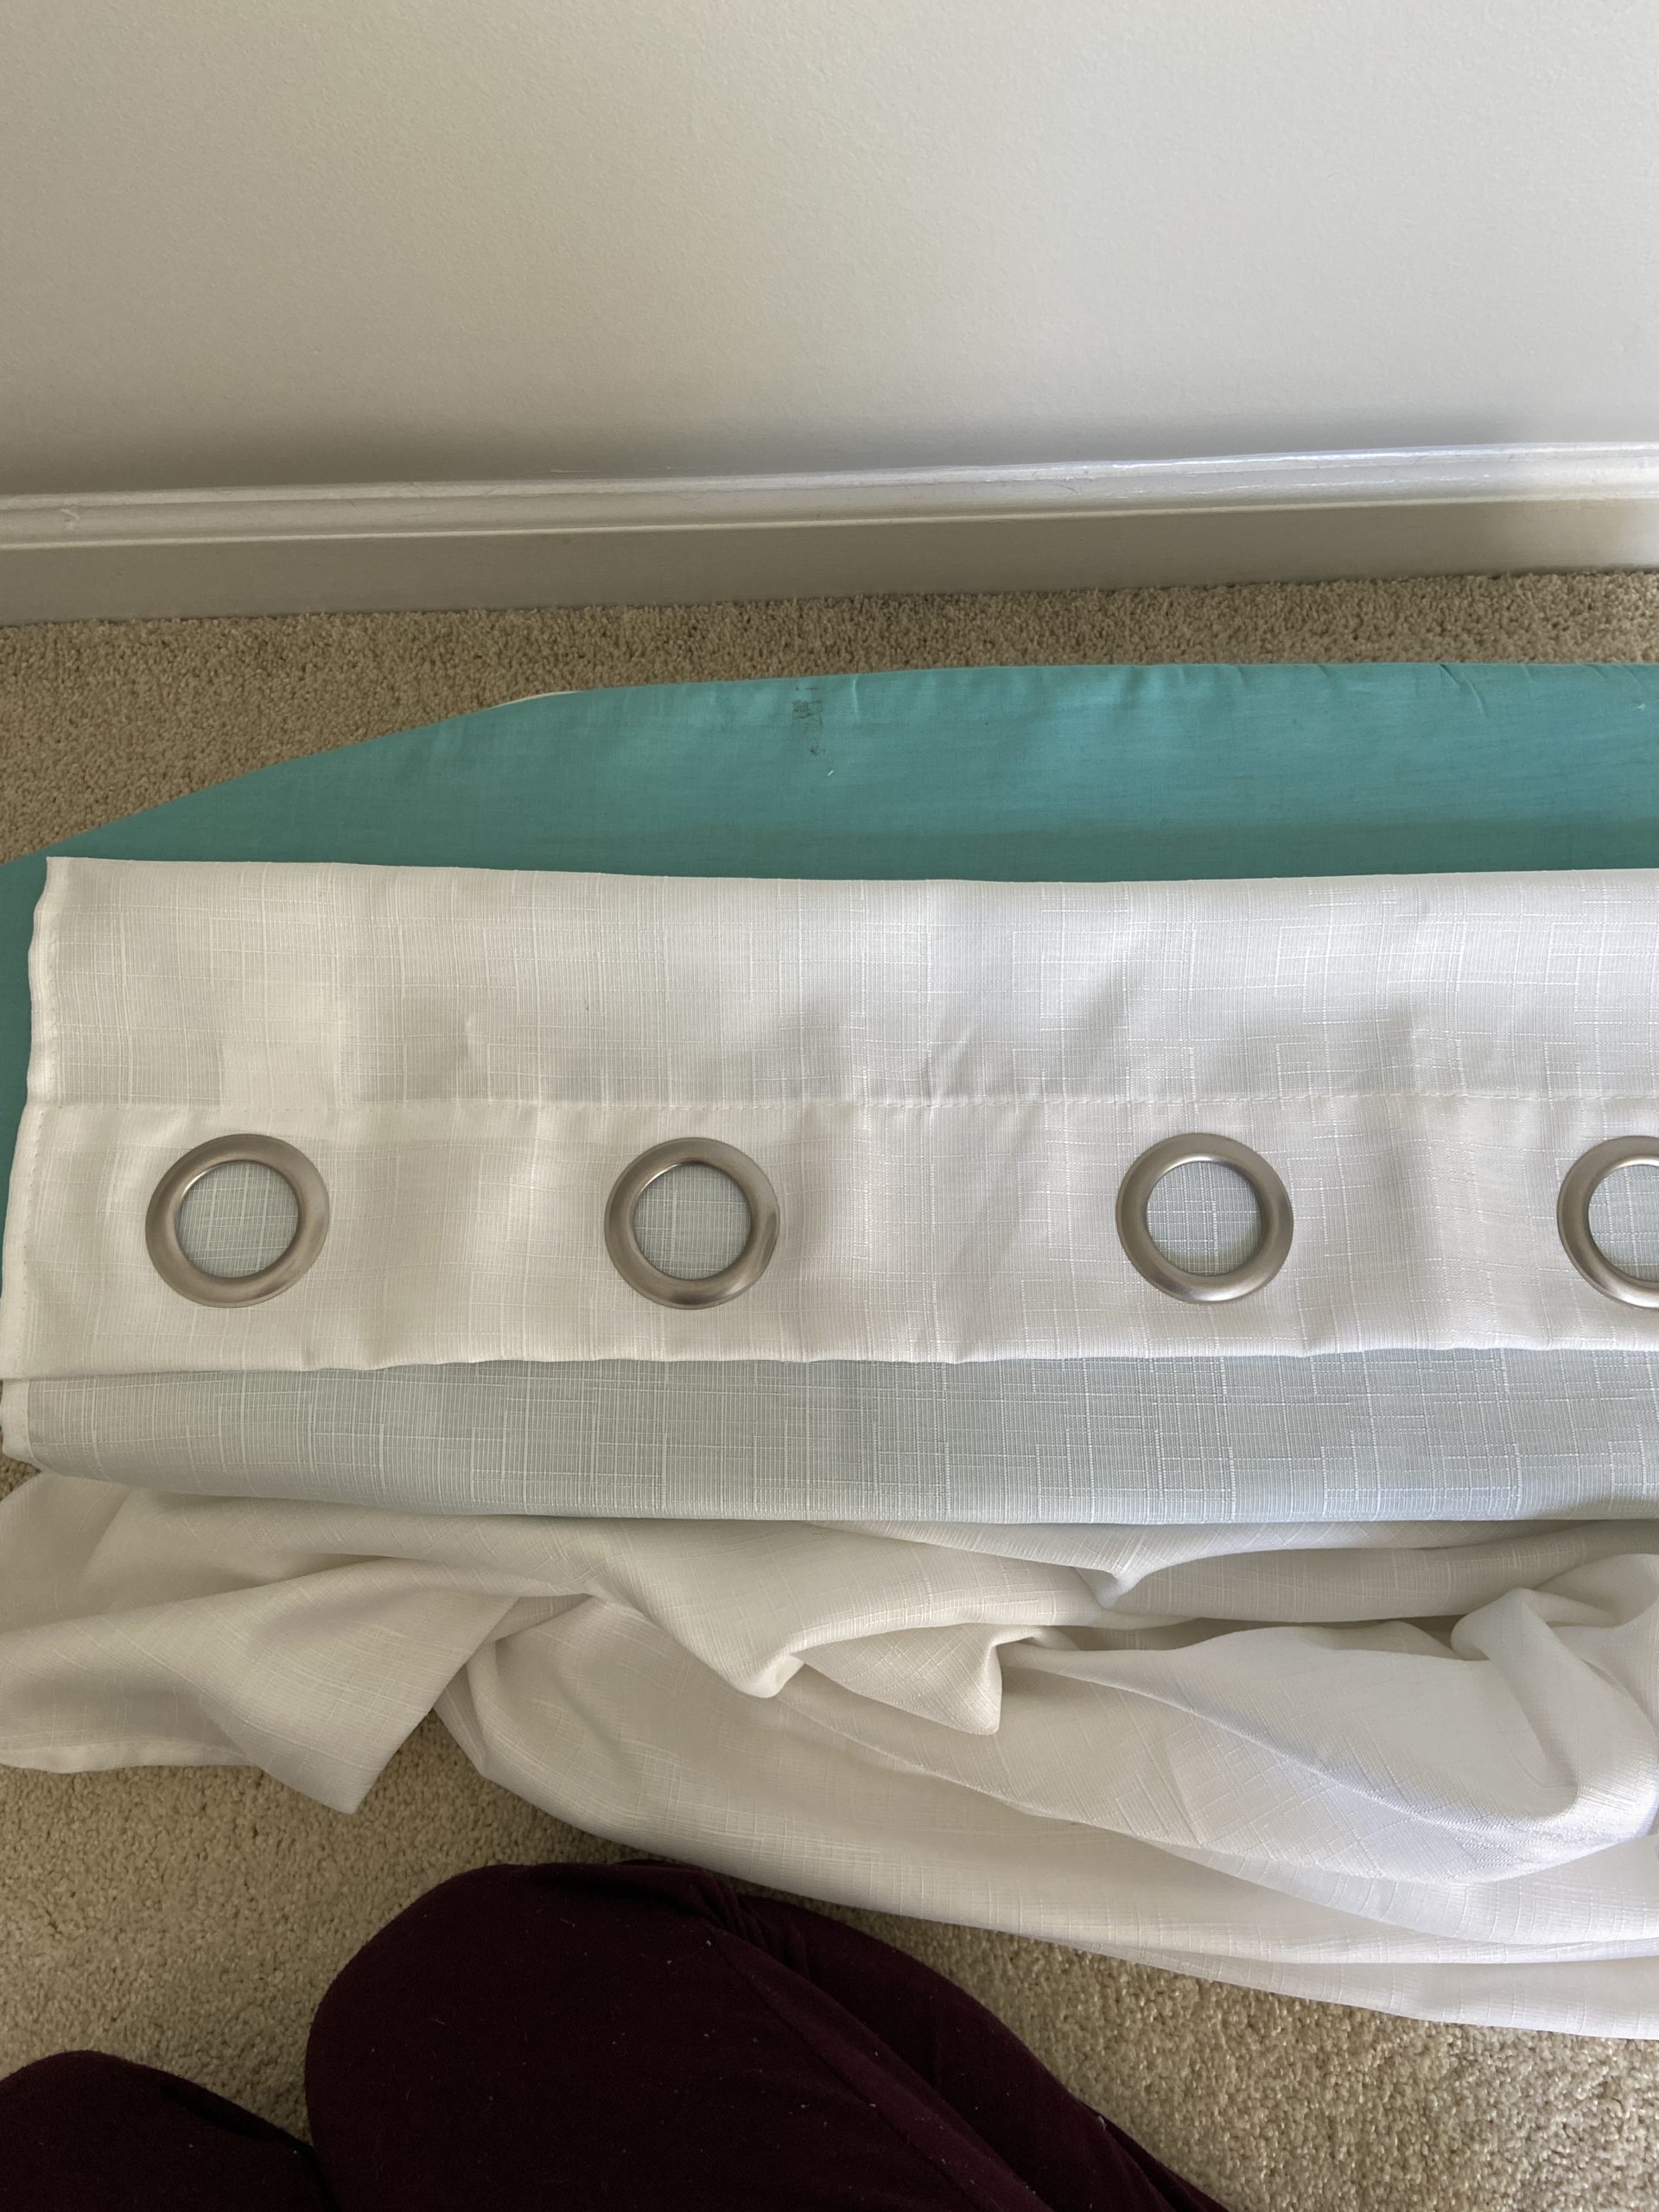
STEP 2: Fold Curtains to the Desired Length
Lay the curtains flat on the floor and fold the top edge down until you reach your desired length. Don’t worry about getting this perfect- you can fine-tune it later.
You can iron the fold to help hold the crease, but it’s optional at this stage.

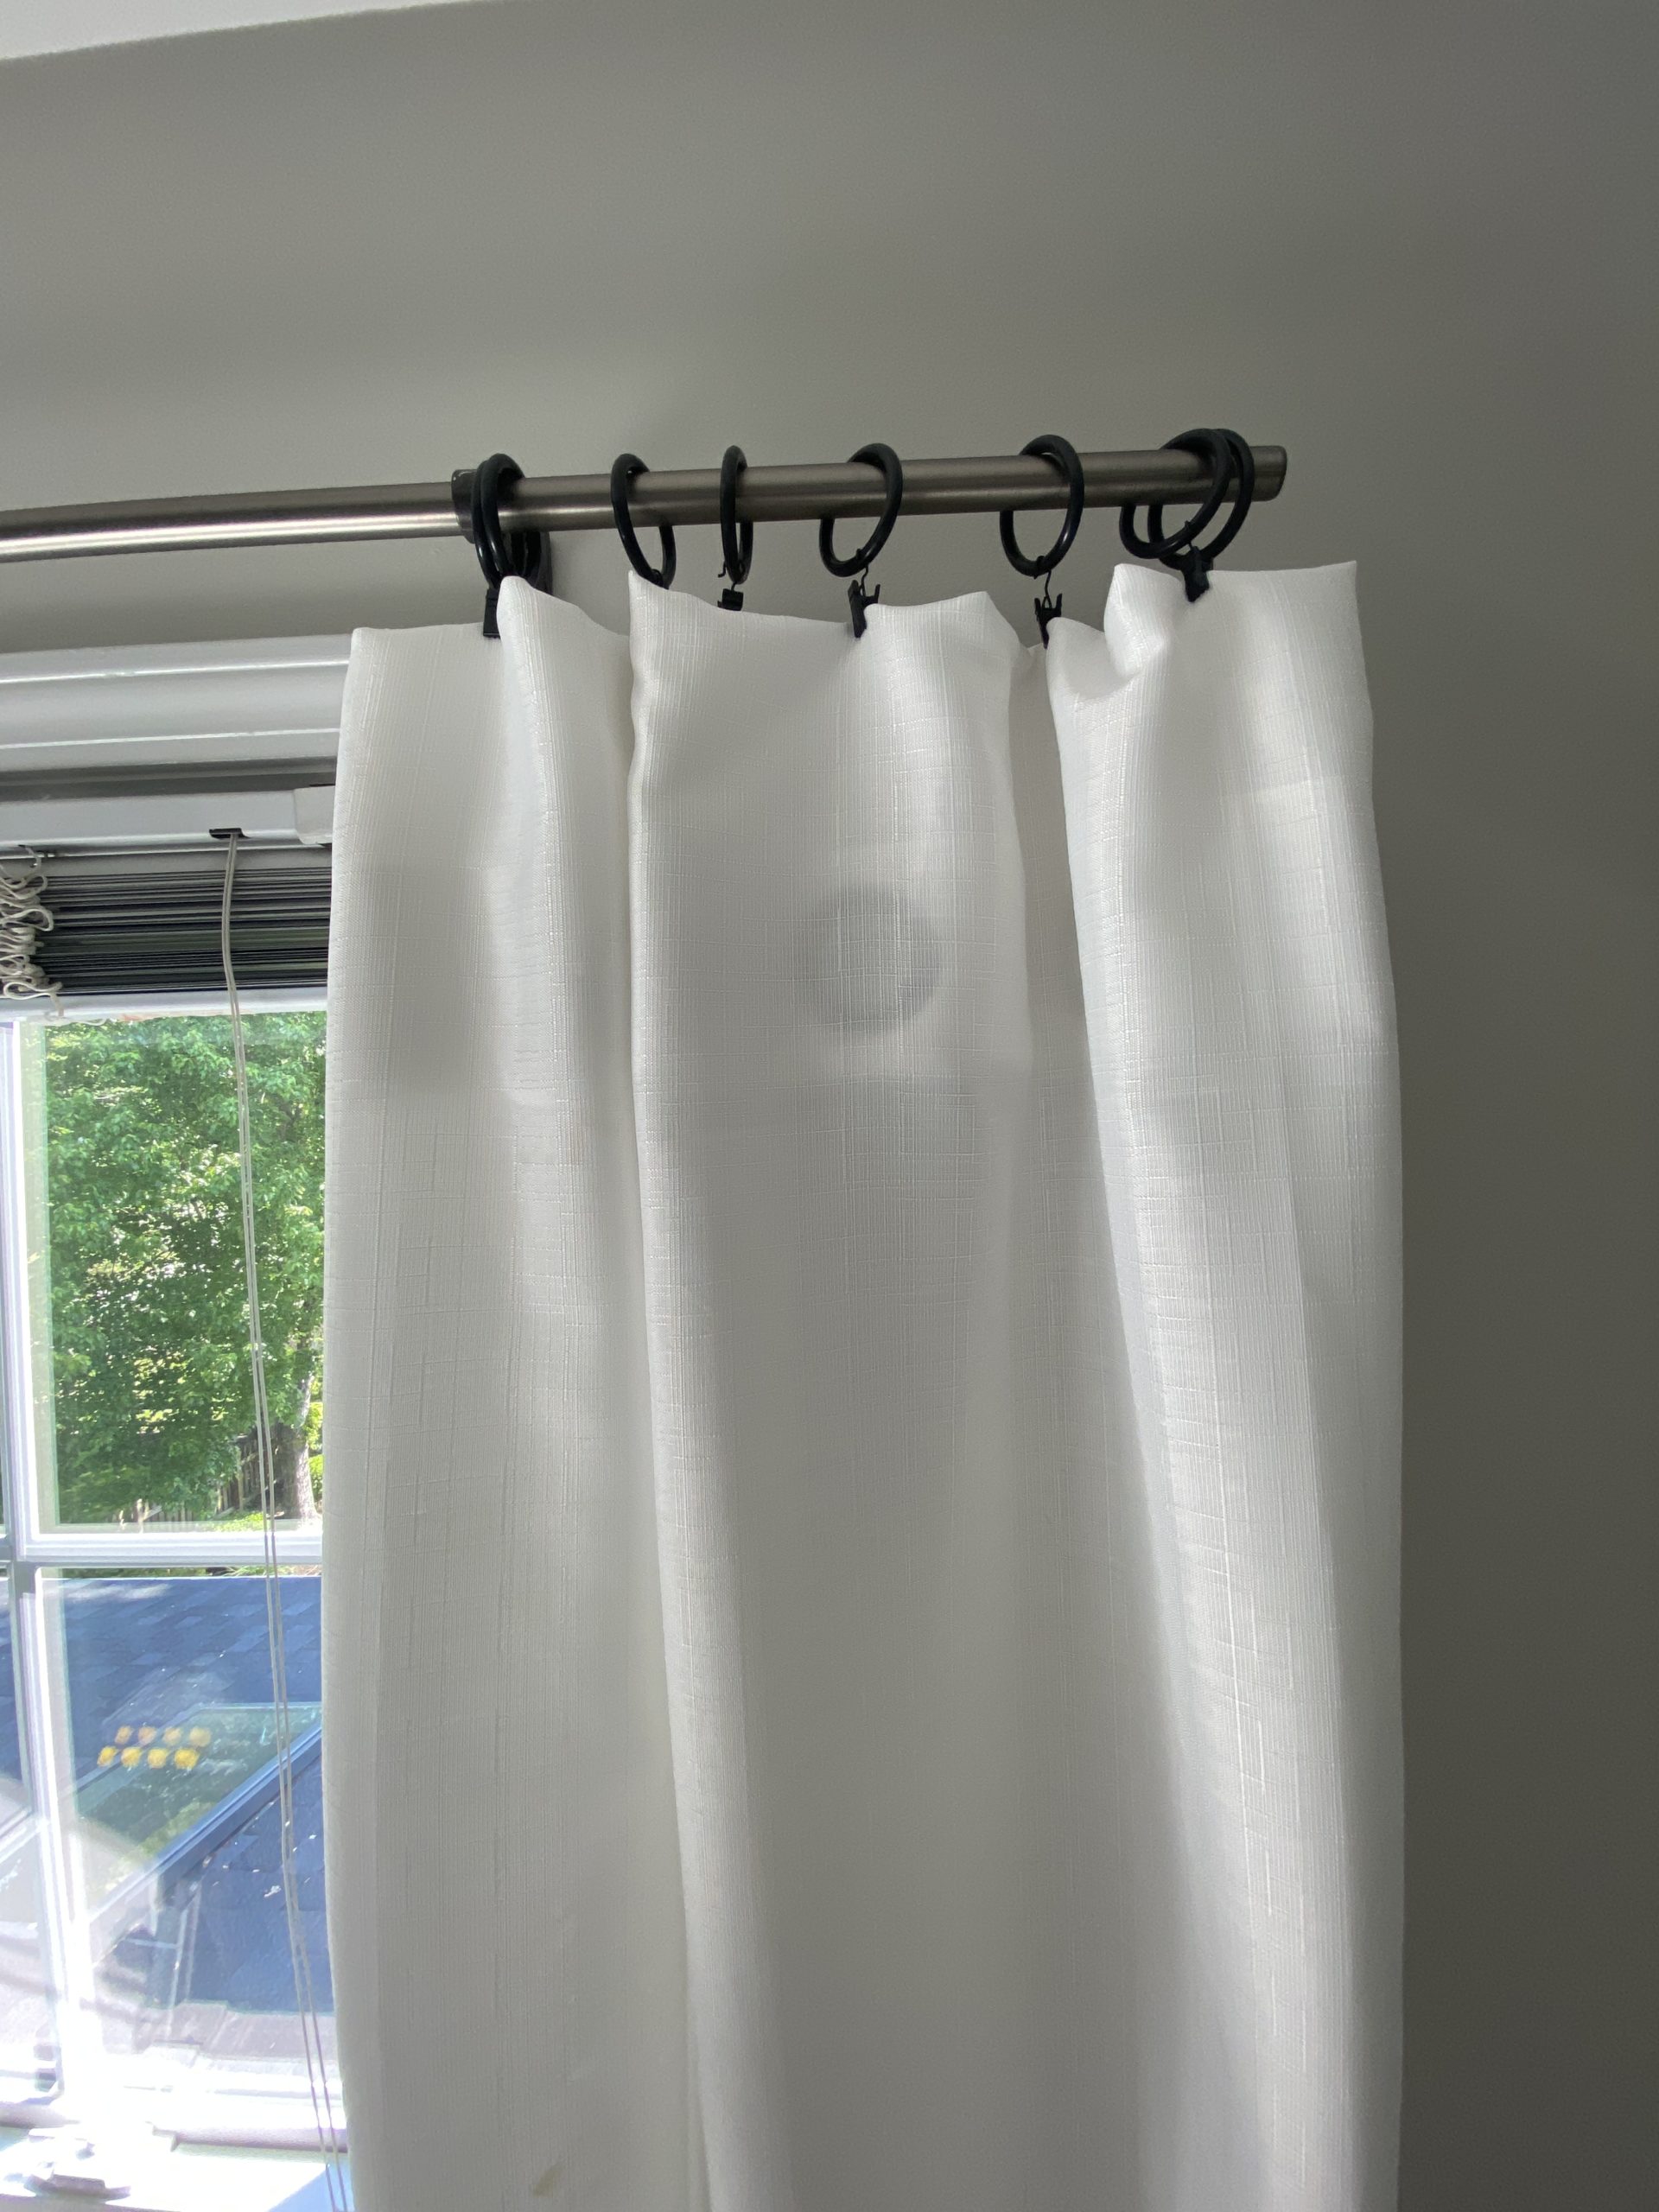
STEP 3: Attach Curtain Rings
Clip the curtain rings onto the folded edge, placing them directly over the crease. I spaced my rings about 5.5 inches apart, but this is something you can adjust based on your preference and the weight of your curtains.

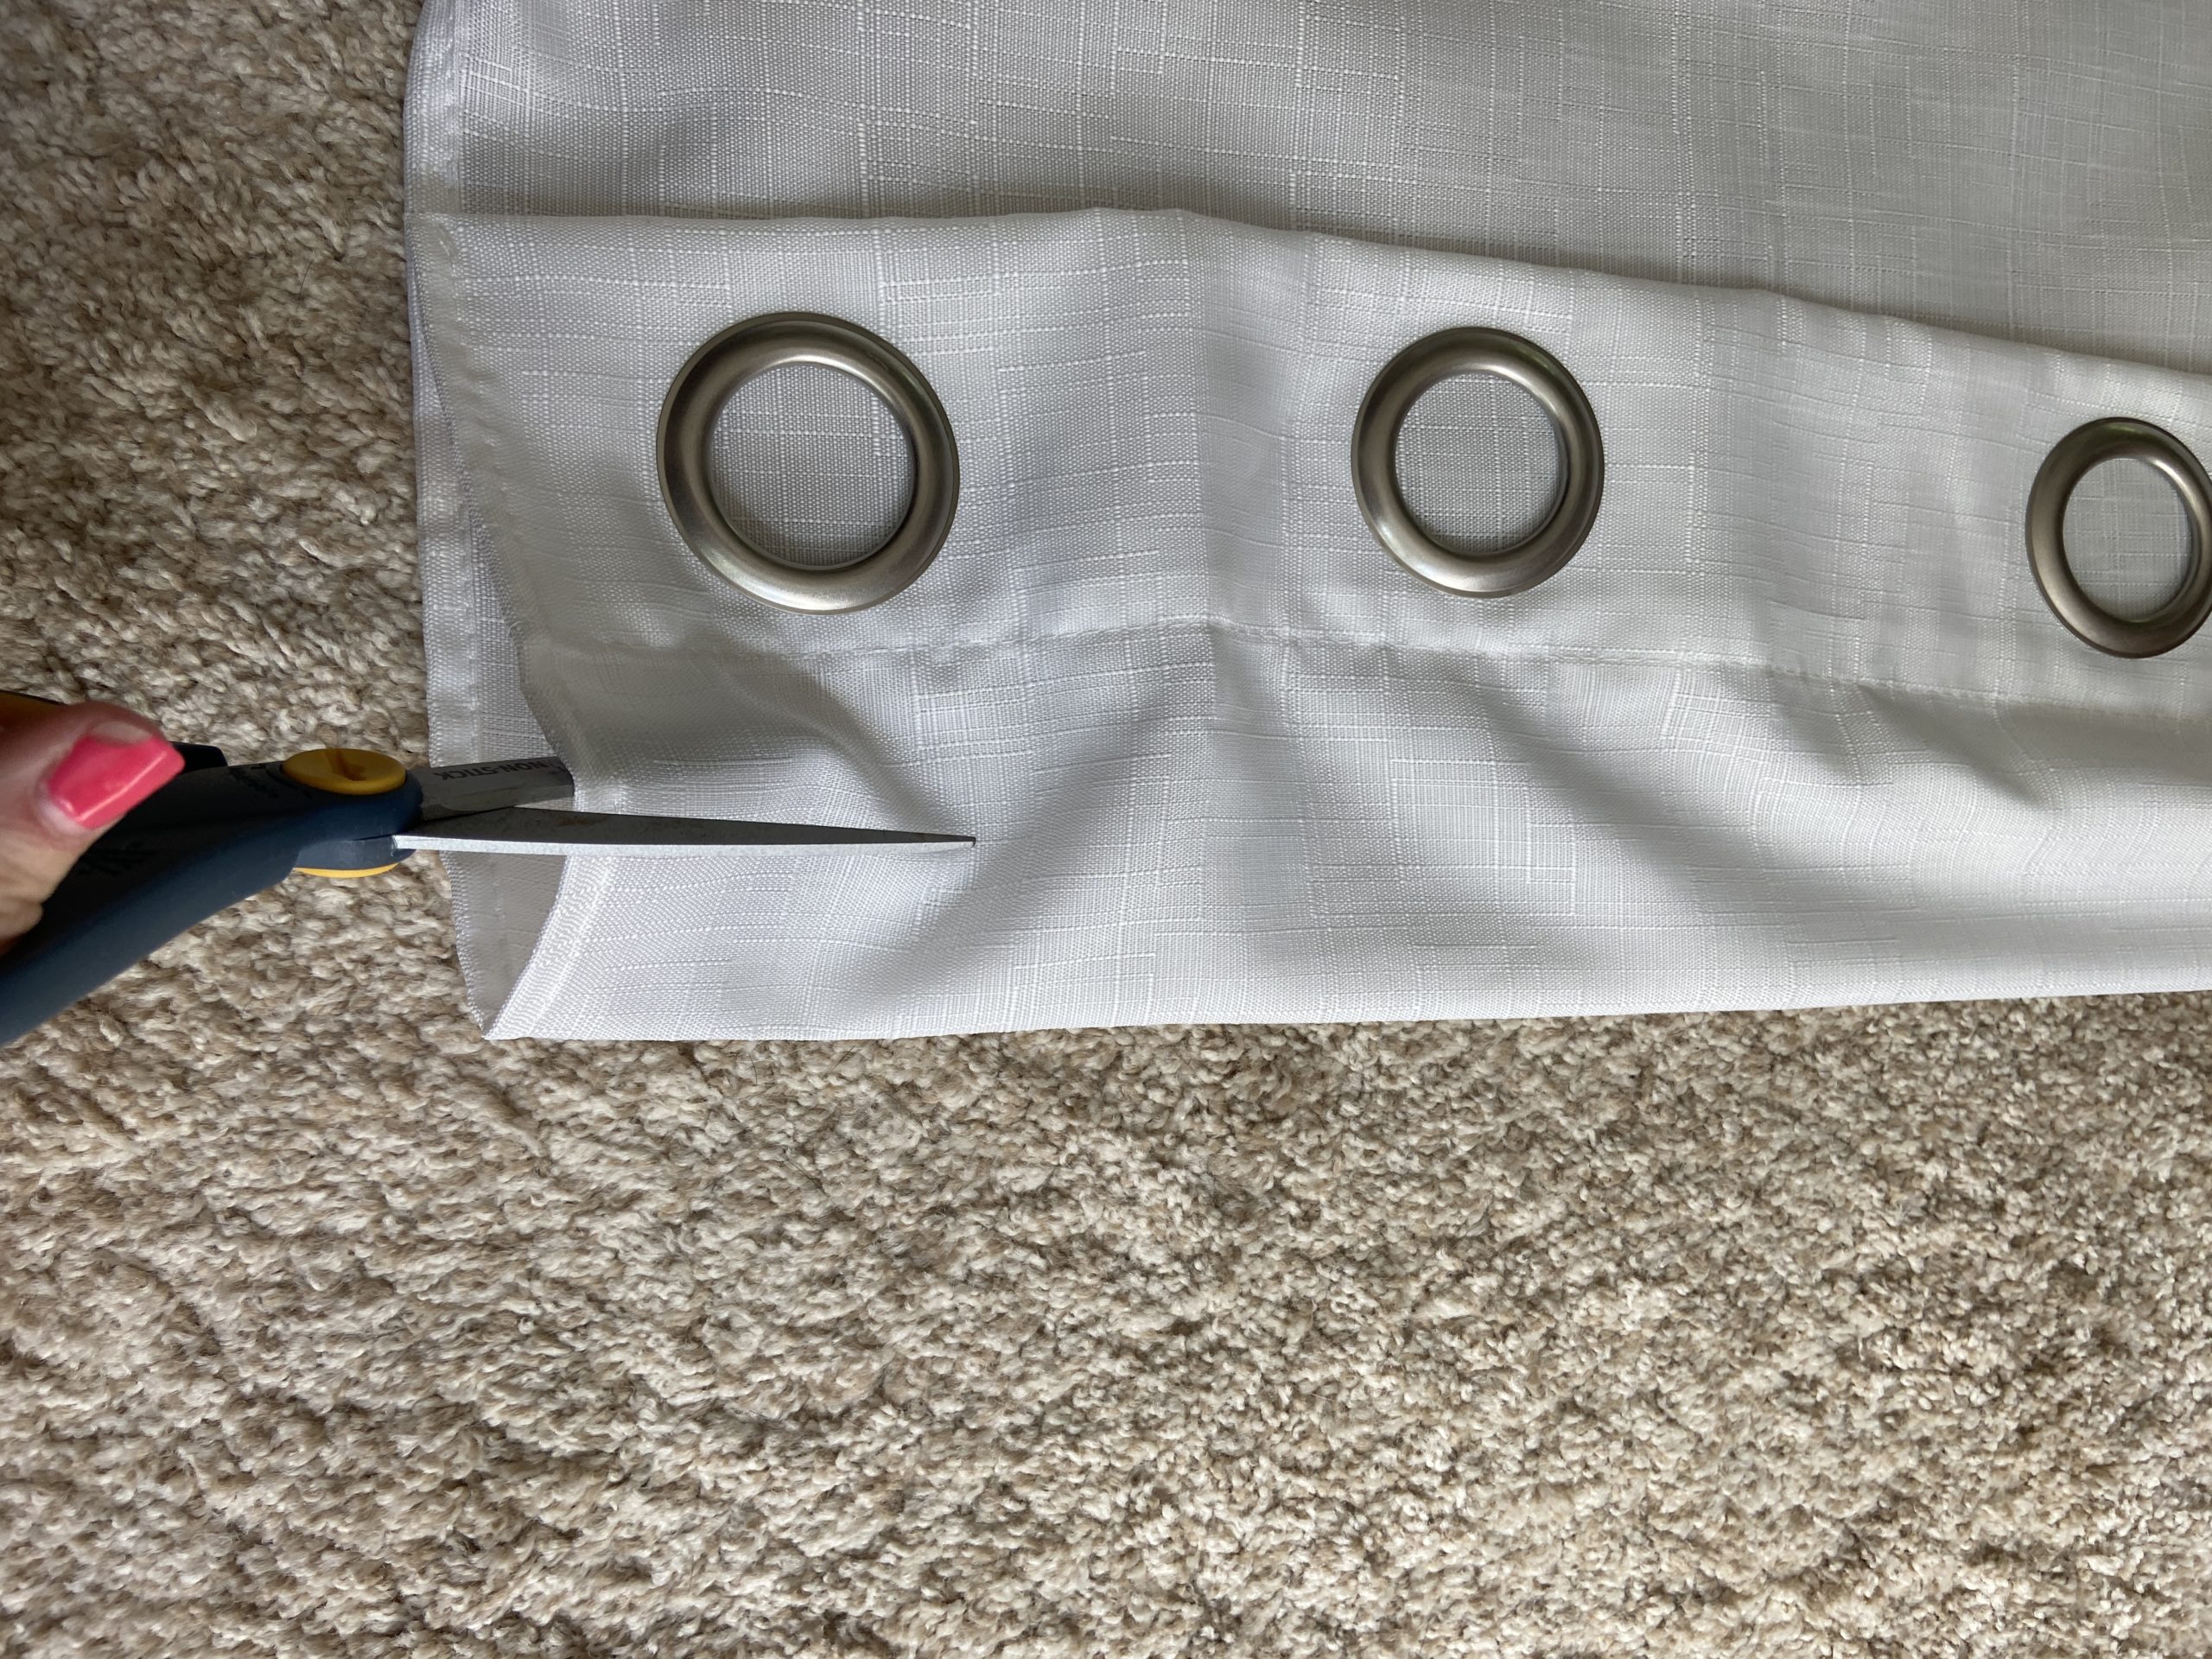
(Optional) STEP 4: Trim the Excess Material
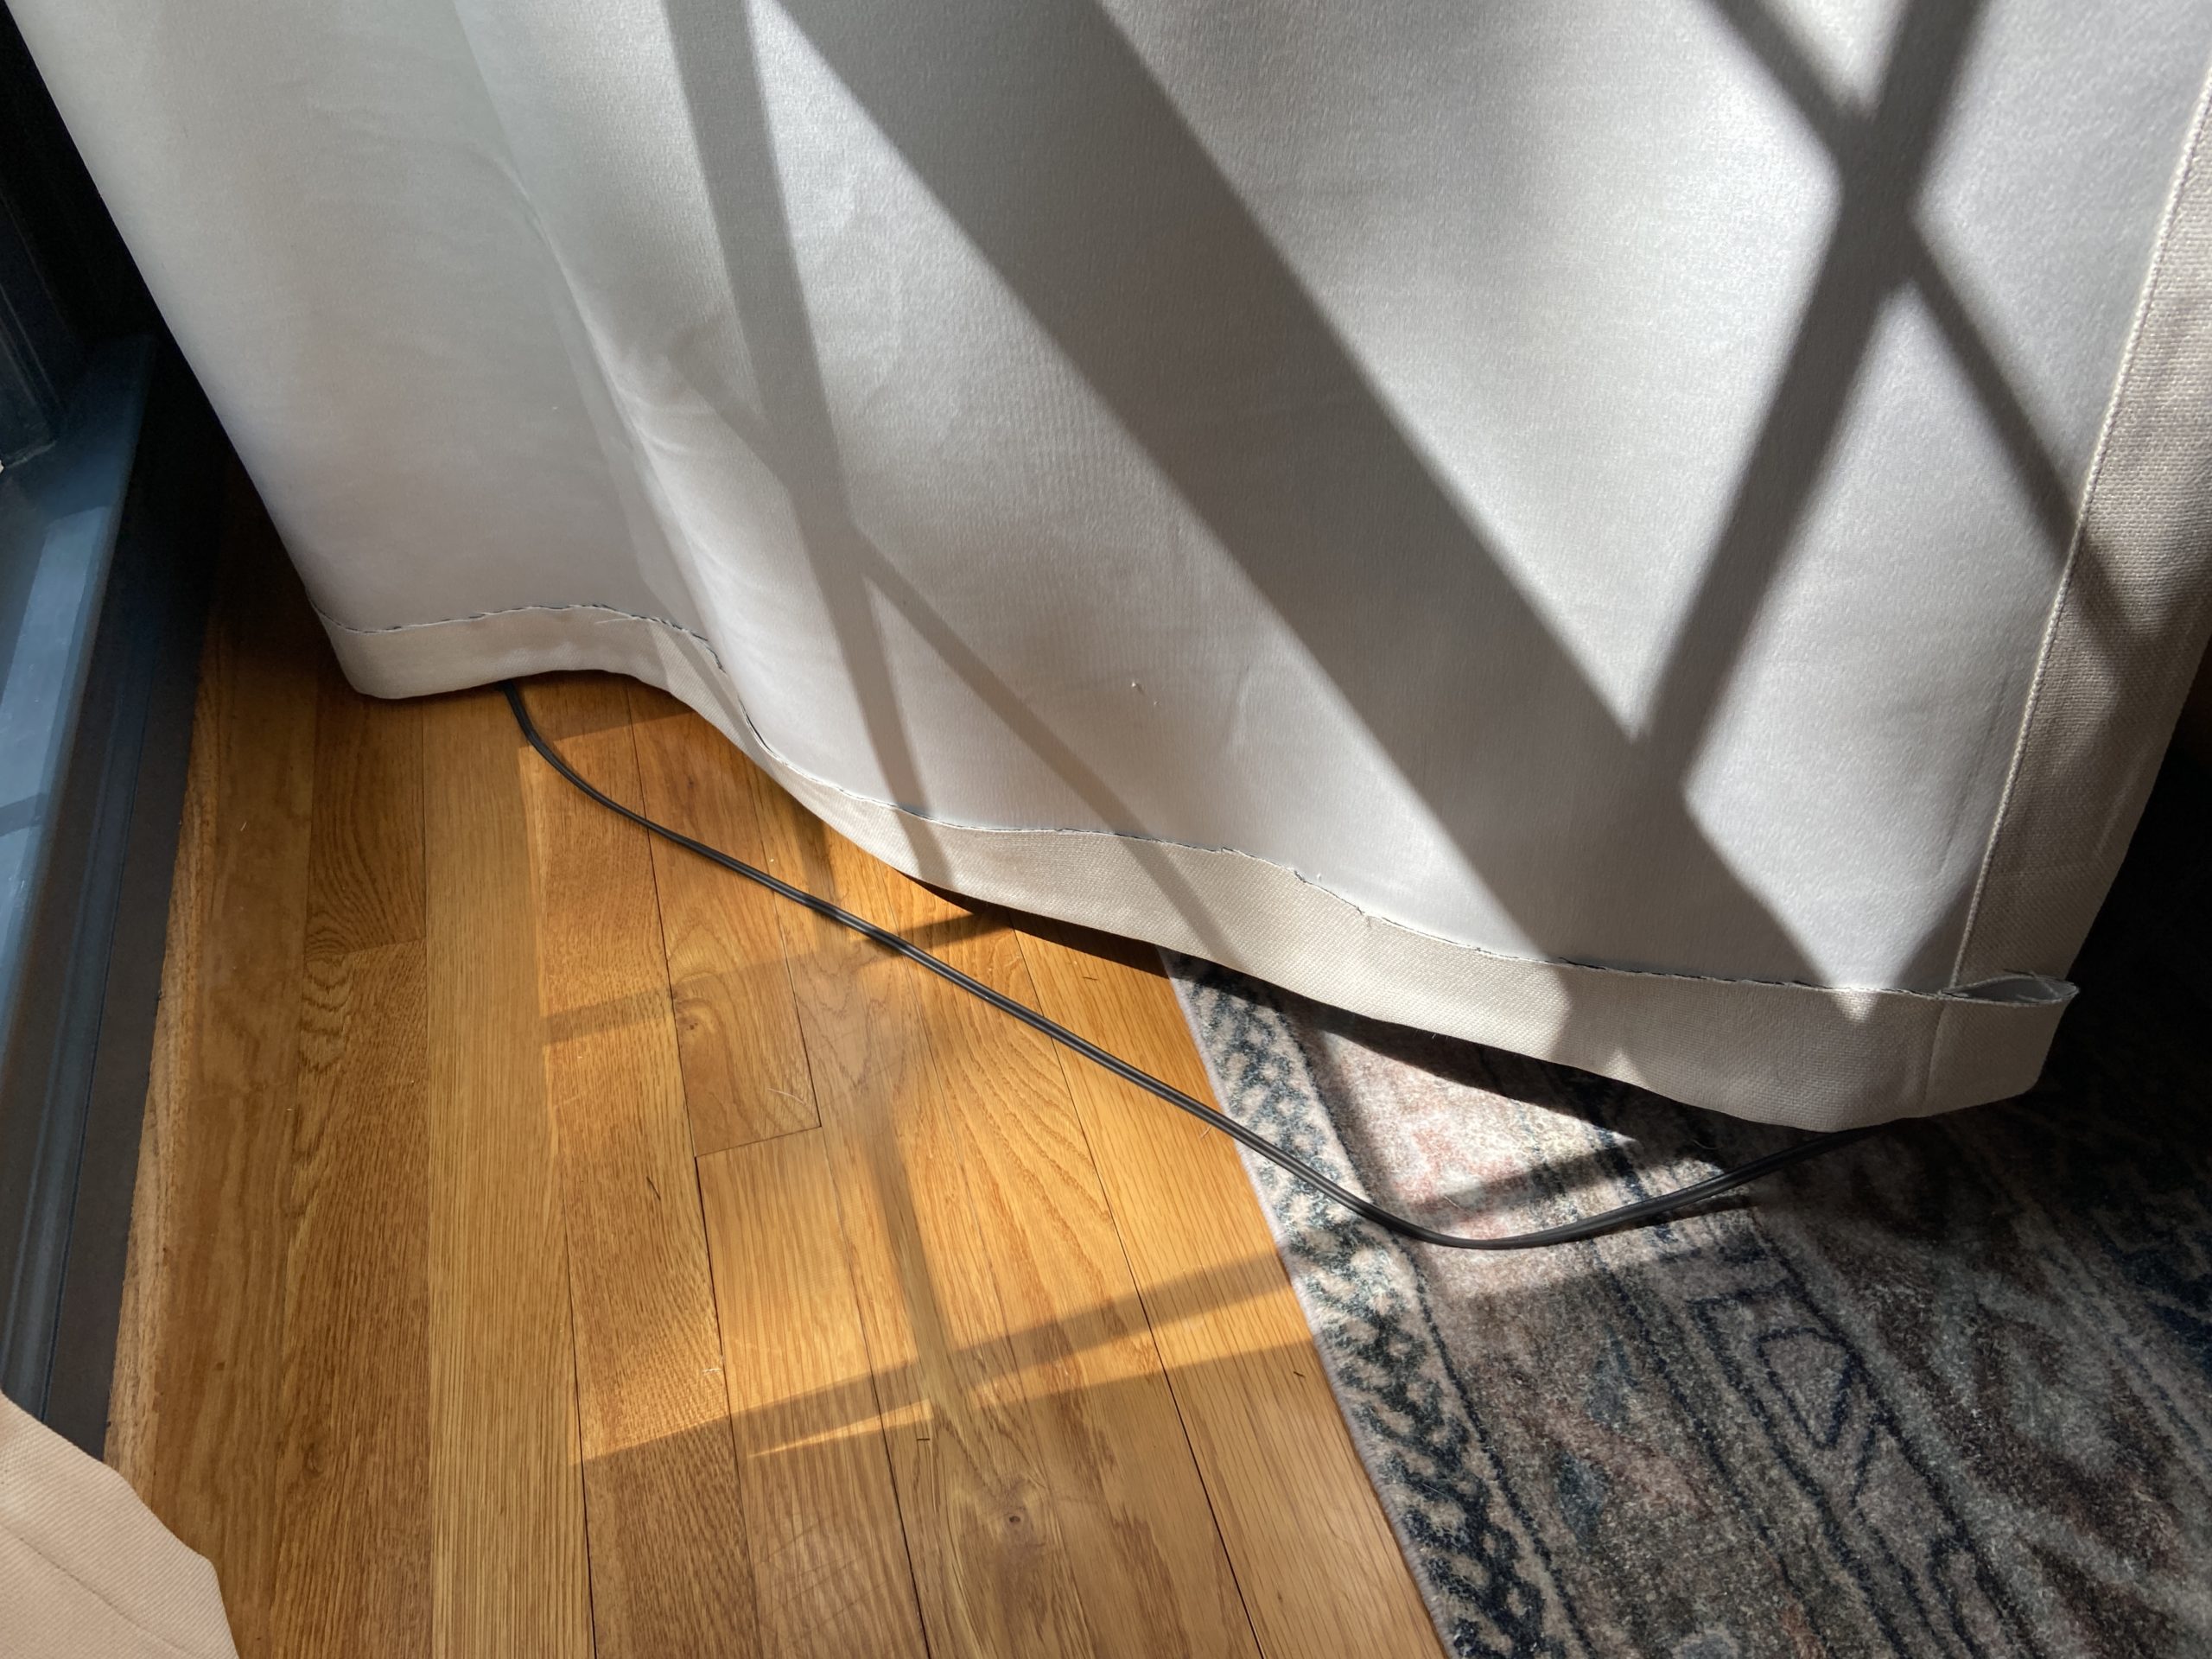
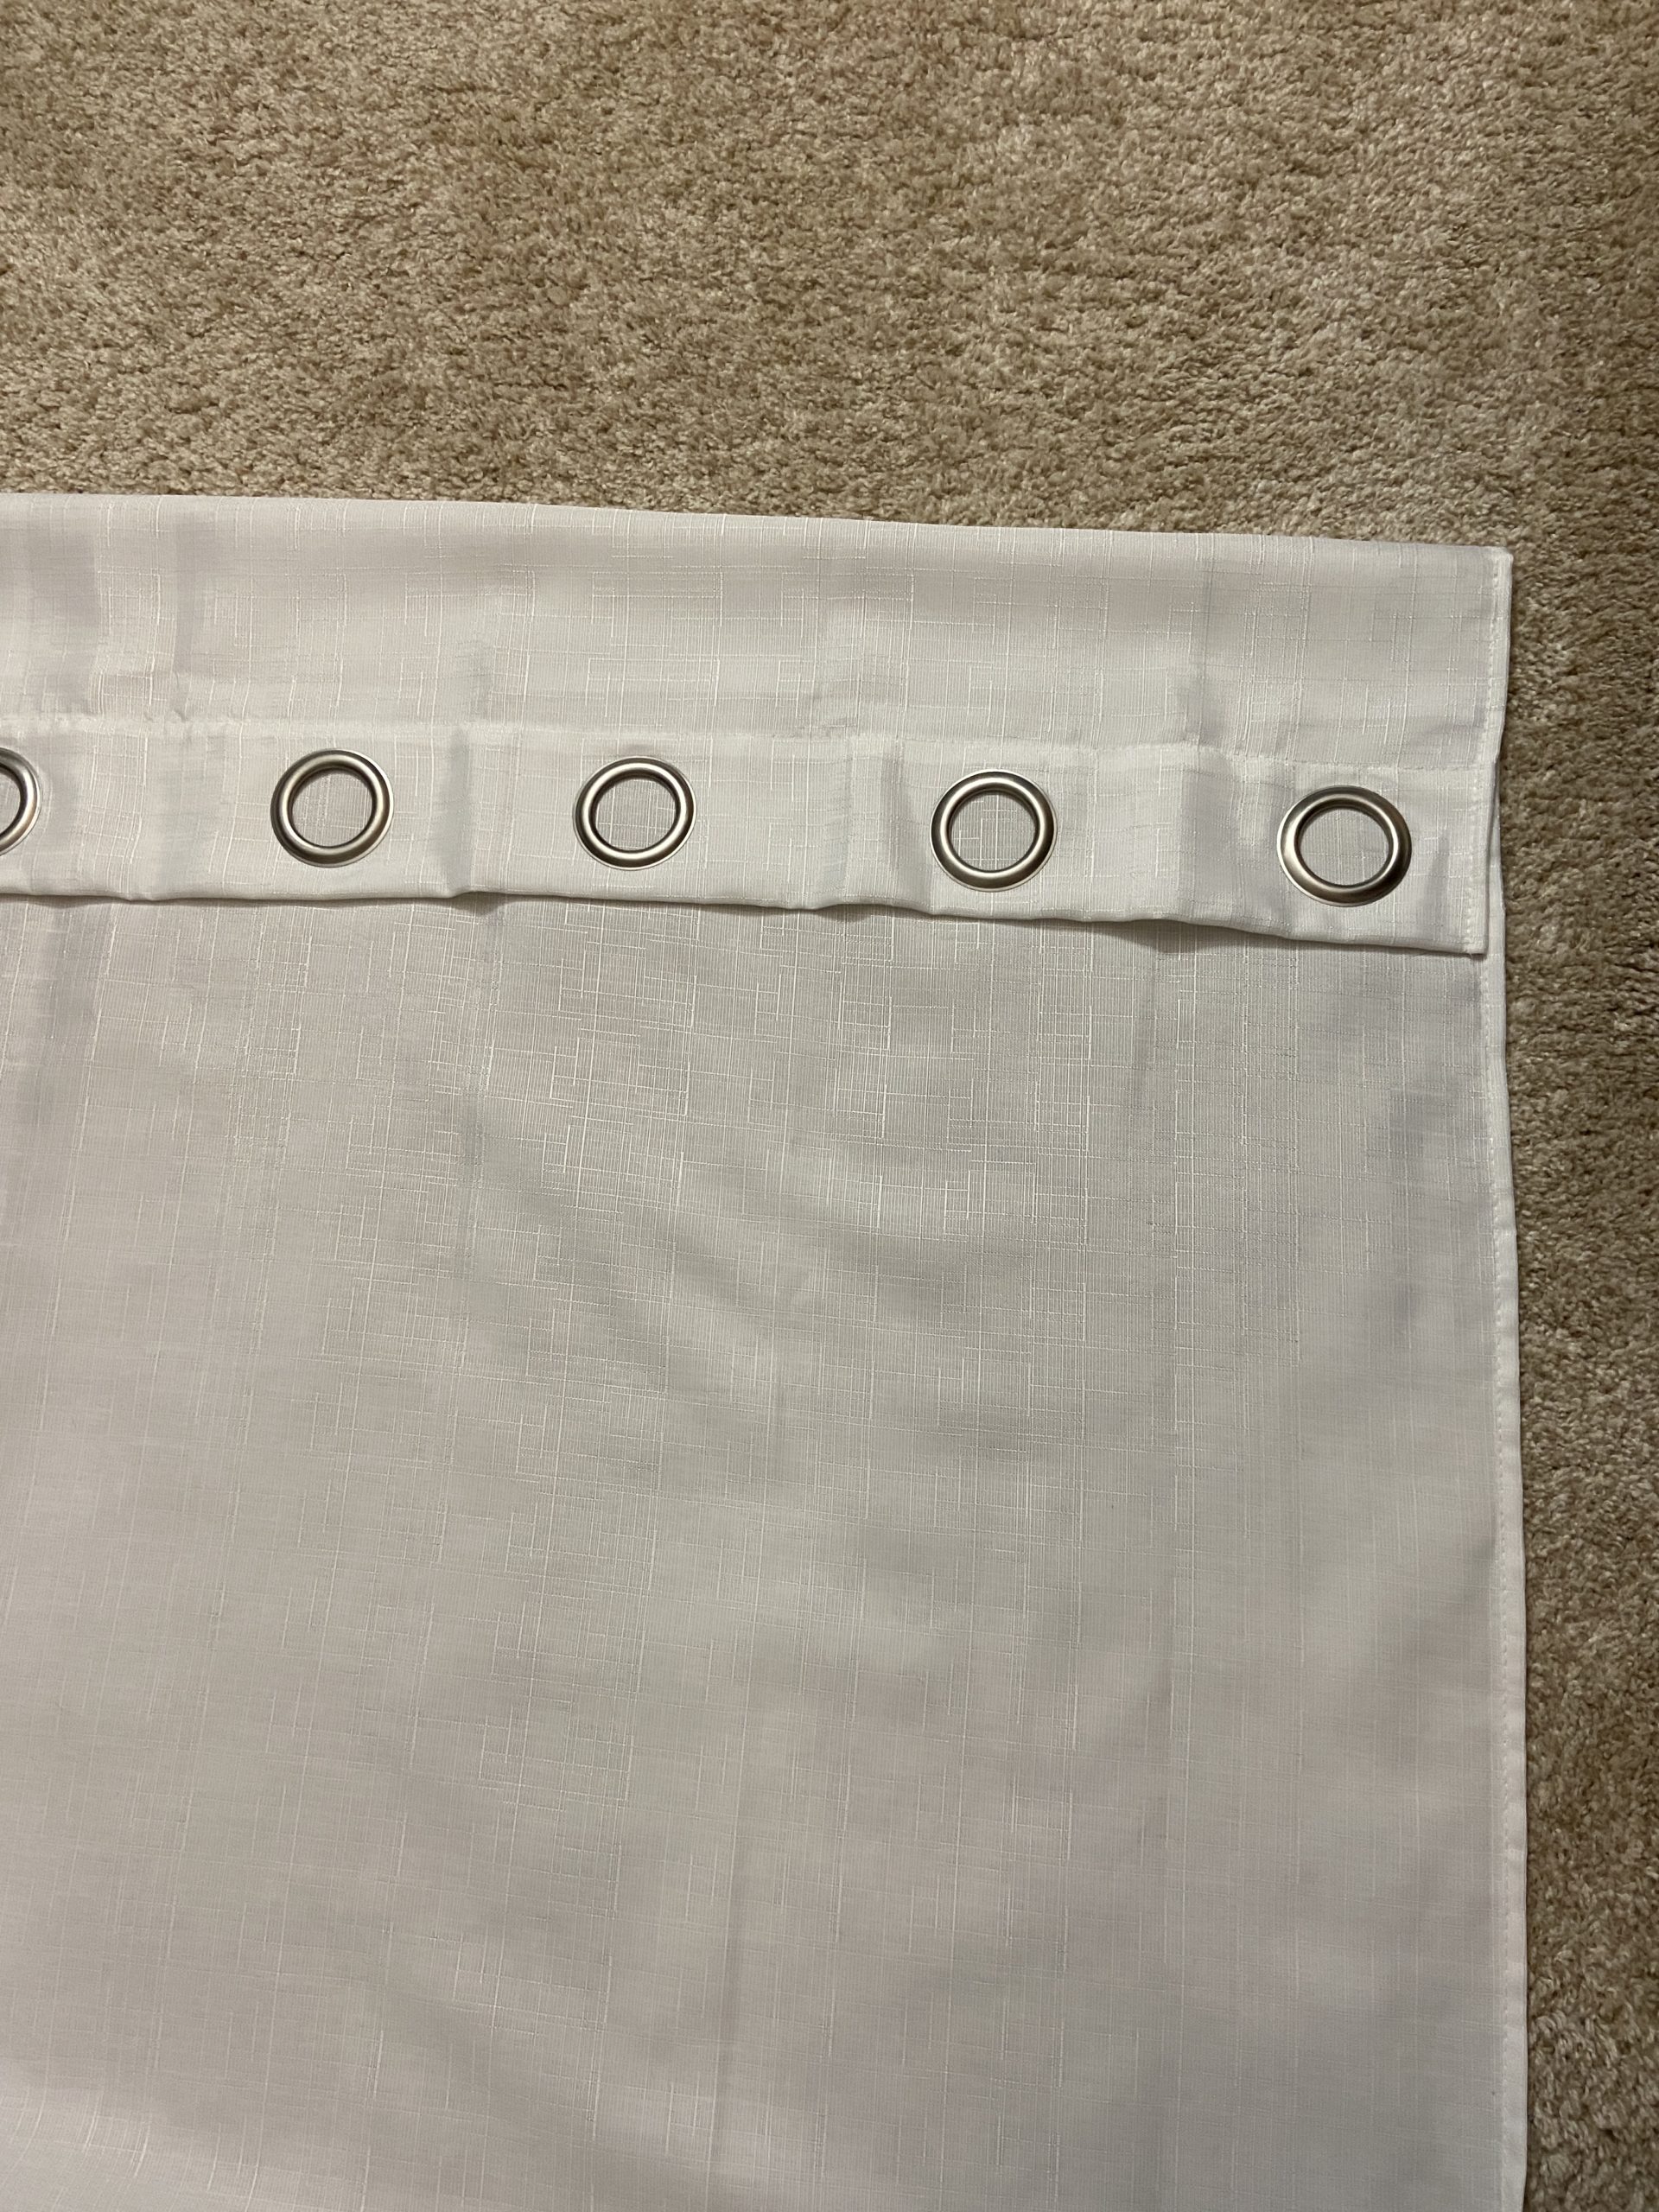
You can absolutely leave the extra fabric folded over and hang the curtains as-is. However, my curtains were thin enough that I could see the folded material and the grommets from the front.
Since the excess fabric was also weighing down the fold, I decided to trim it and press the crease instead. To do this, remove the rings and iron the folded edge to create a clean, straight crease, making sure both ends line up evenly. Once pressed, reattach the curtain rings.

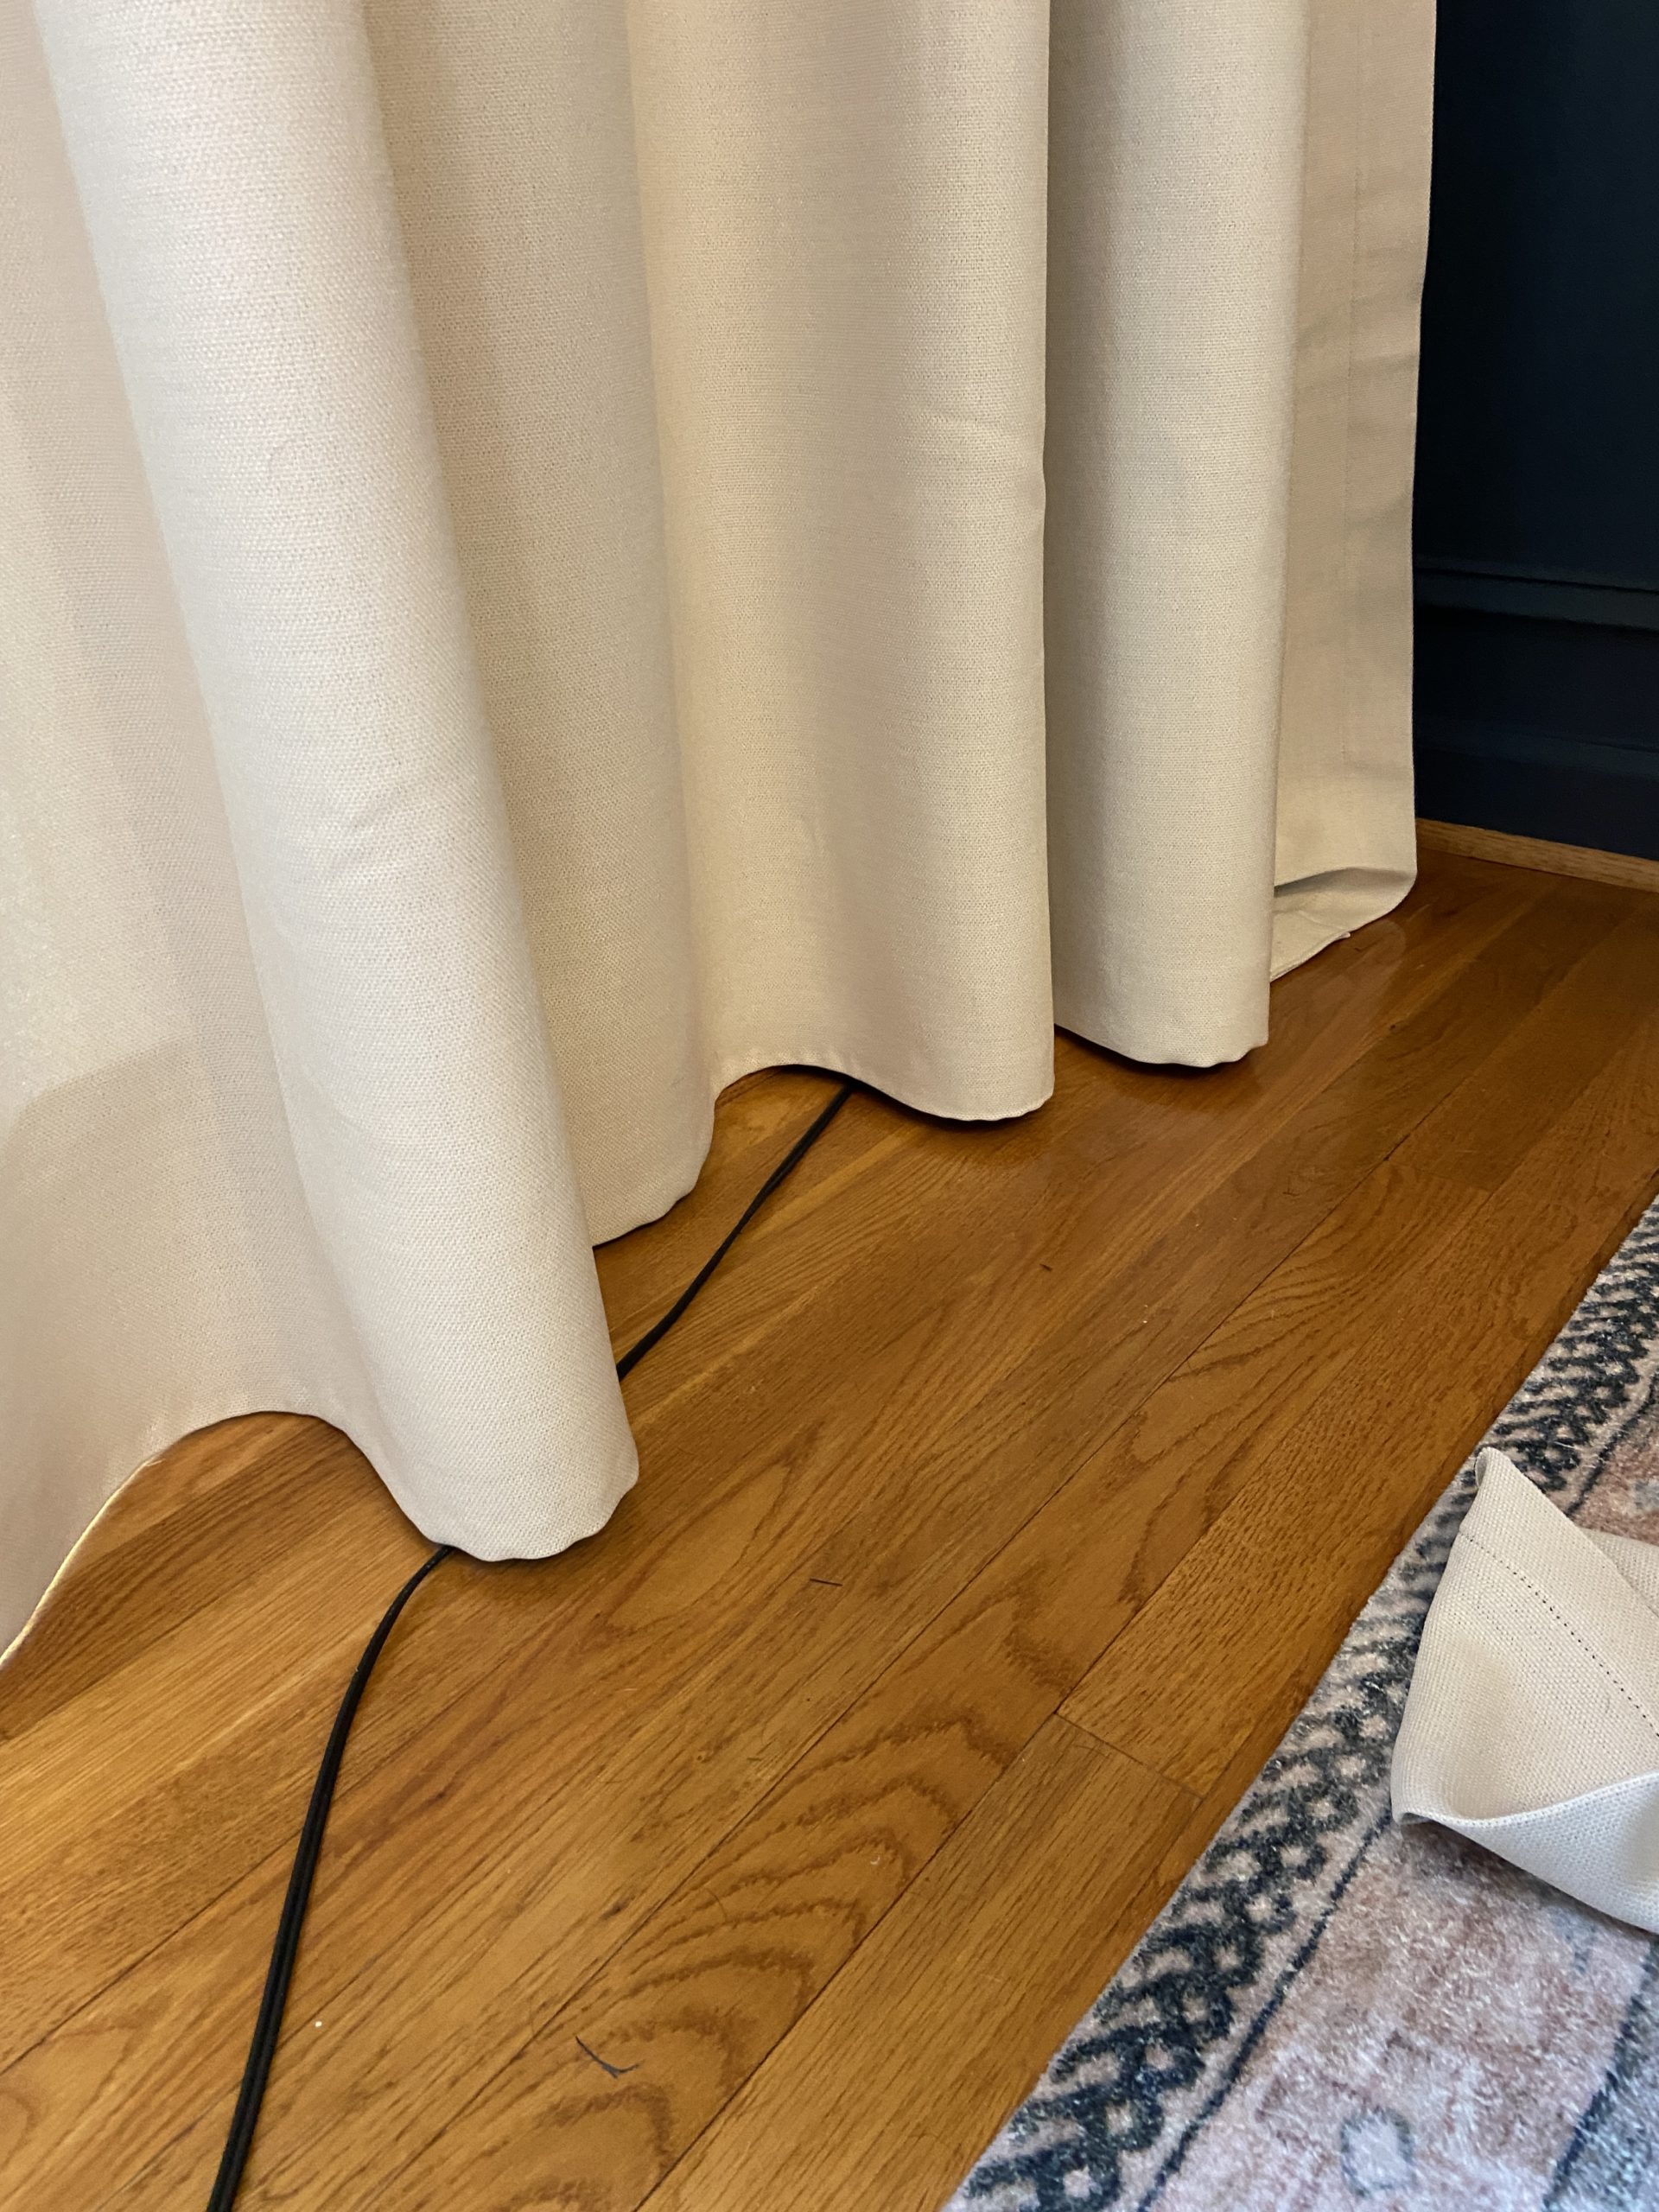
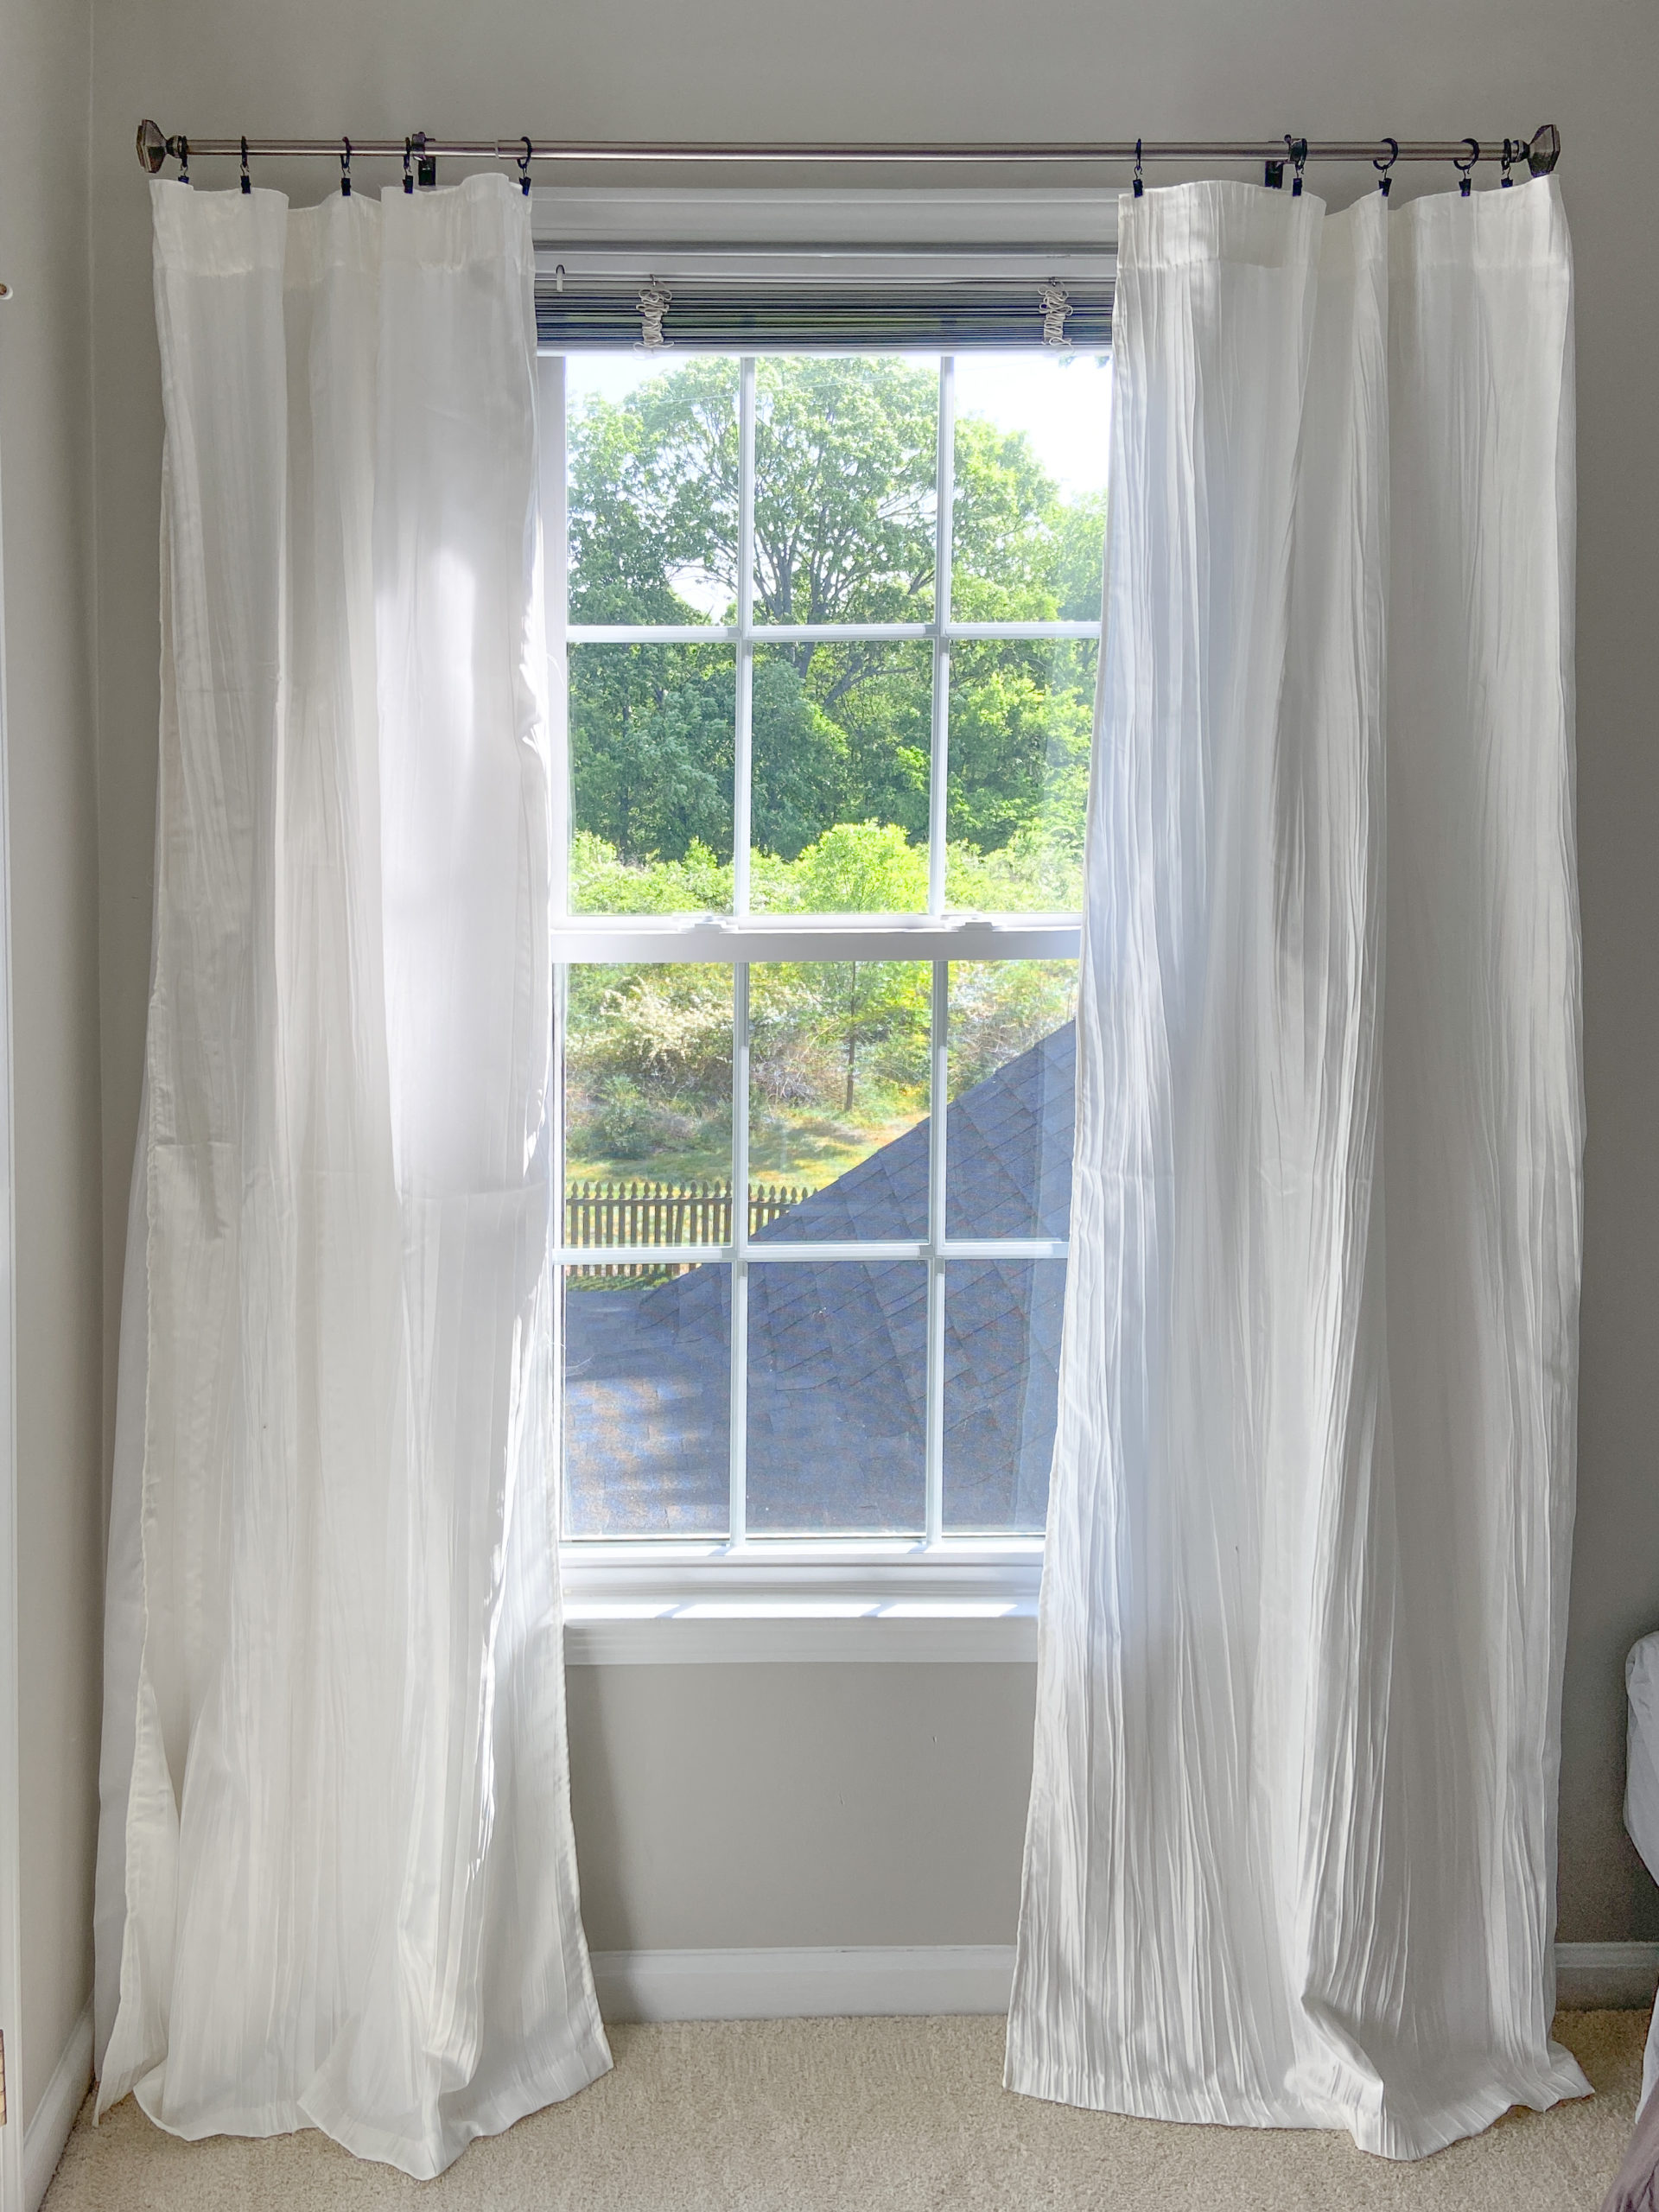
STEP 5: Hang your Curtains
Hang the curtains on the rod and adjust as needed.
This method turned out really well, though it has a slightly less polished look than the first method, in my opinion, which makes it great for more casual spaces.

I’m honestly happy with both sets of curtains and will continue using both no-sew methods throughout my house depending on the room and the look I’m going for.
You could also create a hybrid method by using iron-on hemming tape along the top edge before adding the curtain rings. That extra step helps the top edge look a bit more finished, especially since it’s more visible than a hemmed bottom.
The biggest takeaway: paying attention to curtain details- like length, fullness, and how they’re hung, instantly elevates a room. It’s not something people consciously notice… it’s just something they feel.
Want to keep up with my newest projects? Come hang out on my social media accounts, below!
Is there a link for the curtains? Thank you!
Sorry I missed your comment Aileen! Here is the link to the curtains: https://amzn.to/44ULSiY.
-Rachel