DIY Abstract Artwork you won’t be Embarrassed to Display in your Home
(This post may contain affiliate links which means I receive a small compensation at no cost to you. As an Amazon Associate I earn from qualifying purchases. You can read more about it here. Thank you for supporting my blog!)
Click here to jump to the step-by-step tutorial below.
The day that I finished my shiplap fireplace, I was getting ready to take pictures of it for my Instagram. I took about a dozen photos before I realized that the photo frames on the adjacent wall were EMPTY! How could I show off my brand new fireplace and so blatantly neglect the rest of the room design?! The daylight wouldn’t last for long so I had to come up with a solution quick! I would DIY my own abstract wall art for the pictures!
I used leftover paint from the fireplace project, as well as some wall paint and white ceiling paint and mixed them together on a piece of paper. Side note: The fireplace is a gorgeous chameleon color SW Greenblack- It looks black during the day, blue at night and green when the light hits it just right! Anyways… Pinterest came in clutch that day- I searched for abstract art that might be easy to replicate, ’cause I’m no Picasso. I started by trying to recreate the pictures exactly but then began messing with the lines because I’m a little OCD (one of the many reasons I’m not an artist!) About 10 minutes later I remembered I was trying to make placeholder art for my photos- oh shit, the daylight!
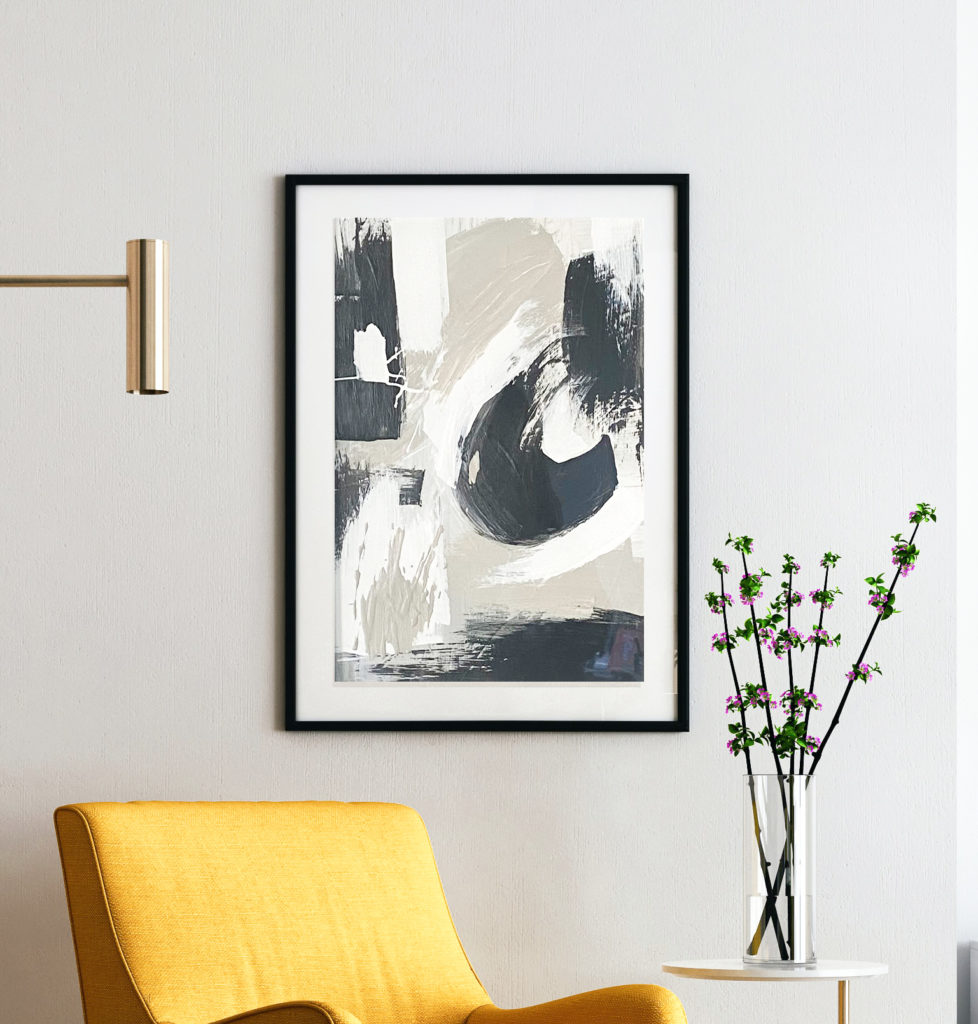
This is what I ended up with:
So why is DIY abstract art so great for busy, un-artistic types like me (and, I bet, you)? 6 reasons.
(#3 is my favorite.)
1. It’s dirt cheap.
Dirt is actually not cheap- and neither is paint. But this was leftover paint and Ikea frames, so this is about as close to free as you can get without being sponsored by Prismacolor.
2. No skill required.
In fact, I would say it’s not even recommended.
3. They don’t have to be… good?
Beauty is in the eye of the beholder- but who even knows what makes a piece of abstract art beautiful? Once it’s on the wall, crooked lines and uneven shapes will just be a quirky feature. They’ll probably be the reason you get compliments on them when friends come over!
4. It takes less time than watching an Office rerun.
But you should still finish the Office episode. It’s good. And you should probably wait until your art is actually dry to put them in the frame. No comment on that one at my house.
5. You can rinse and repeat.
Abstract art is a scam. You can literally use the exact same technique over and over, put them together and call it a gallery wall. No one will even notice because it’s near impossible to recreate the same chaos twice.
6. It’s free therapy.
Seriously, save your money. Painting can be therapeutic because it allows the mind to focus on the images at hand and on nothing else. Unless of course you have a measuring tape out to see if your lines are even- in that case, let’s go back to reason #3.
So put down the “Live, Laugh, Love” sign in the Homegoods aisle and grab a paintbrush!
Steps to Create DIY Abstract Wall Art
MATERIALS & TOOLS:
All of these items are recommended but this project thrives on substitution- use whatever you have!
Canvas or Paper to paint on
Paint- I used leftover wall paint but you can use acrylic paint as well
Paint Brush- I used a foam brush but I used a trim brush last time
A Frame for your Masterpiece!

1. Protect your workspace.
This project can get messy so I recommend covering everything you don’t want paint on. I used paper towel. Somehow I didn’t get any paint on my clothes, but that must be because I wasn’t wearing a brand new pair of Lululemon leggings. Fun fact: new clothes are 100x more likely to get paint on them.
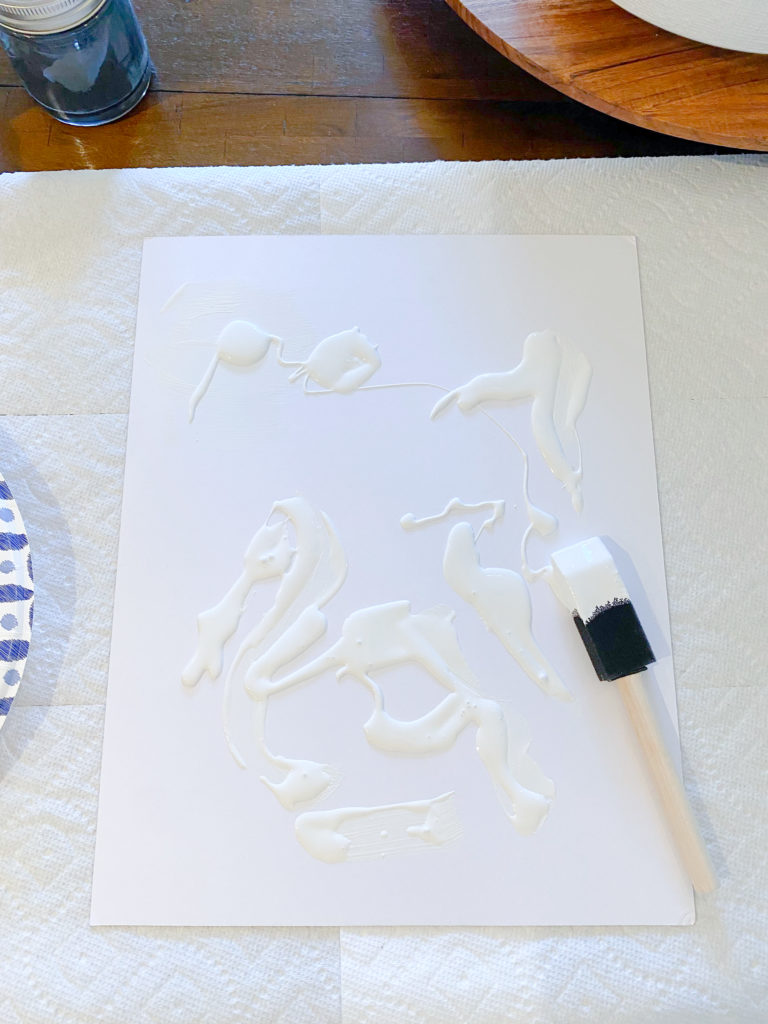
2. Paint the Base
Paint over the entire material surface with a thick layer of paint. This covers the texture of your canvas or paper and gives the painting a consistent base. Depending on what material you’re painting, it may absorb some of your paint so in order to save your effort when actually creating the art, paint the base first. Wait for this base layer to dry so that the rest of your paint doesn’t just mix into it.

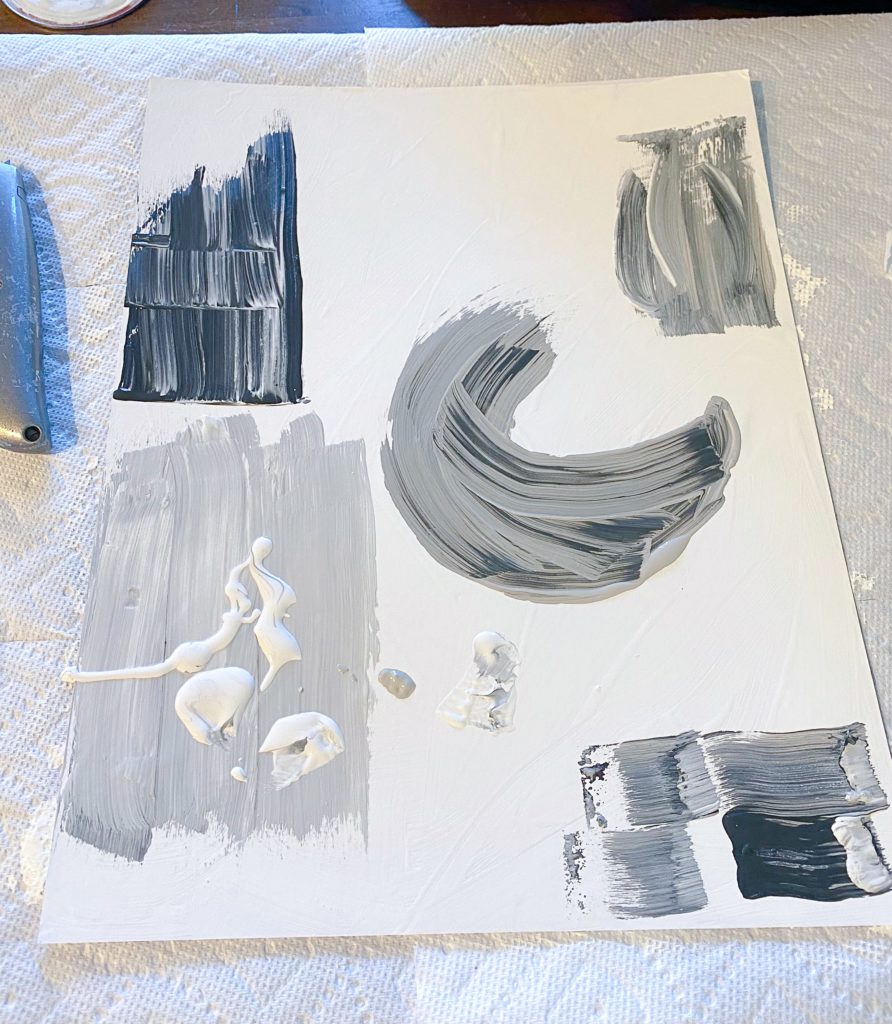
3. Create your Color Palette
You’ll want to practice mixing whatever paint you have before you’re painting it on the canvas. This way, you won’t accidentally mix an awful color on the final piece. My suggestion is to choose a main ‘color’ then add a few neutrals to it. White is a great start. I used a dark blue/black, white and gray. That way, any mixture of my paint would look good.

4. Paint!
I dove right in and put big globs of paint directly onto the canvas and then used light strokes to move the paint around. The thicker the paint is, the easier it is to blend. It also helps with creating texture. It does not help with drying time. Don’t worry about balancing all the colors. In fact, I think the abstract art looks best when it isn’t balanced perfectly.
5. WALK AWAY! (This is the hardest step!)
Paint some blobby shapes onto your canvas and then LEAVE. I’m serious. Does it look like a two year old could have painted it? Perfect- walk away and let it dry. Abstract Art is all about building layers.
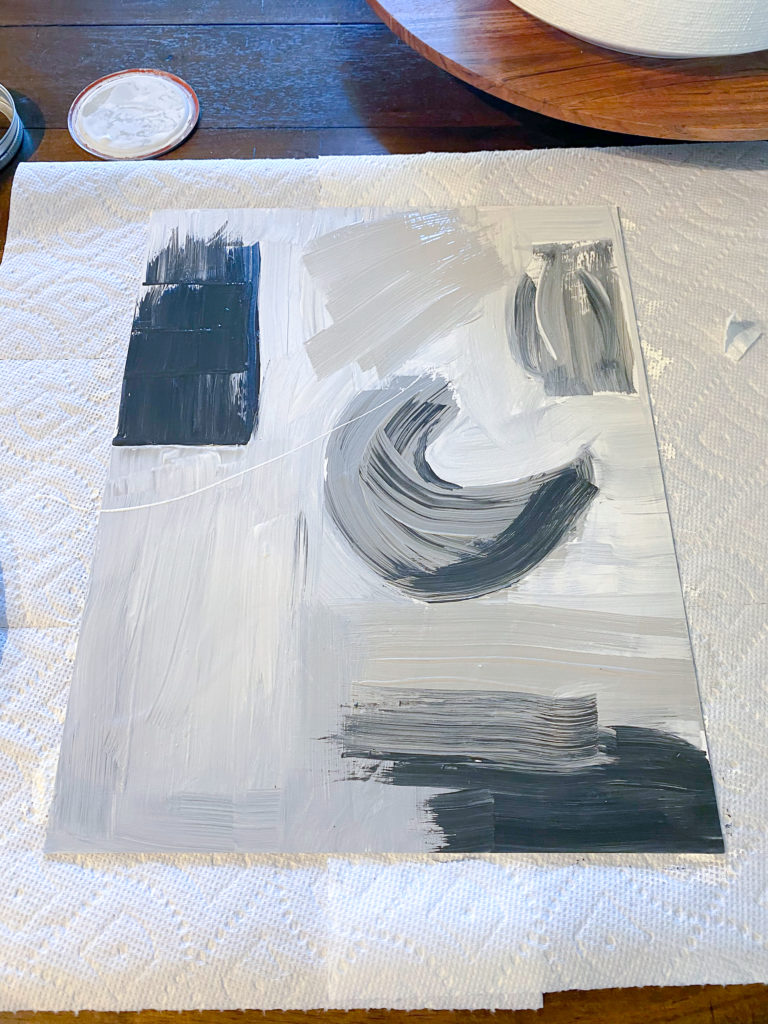
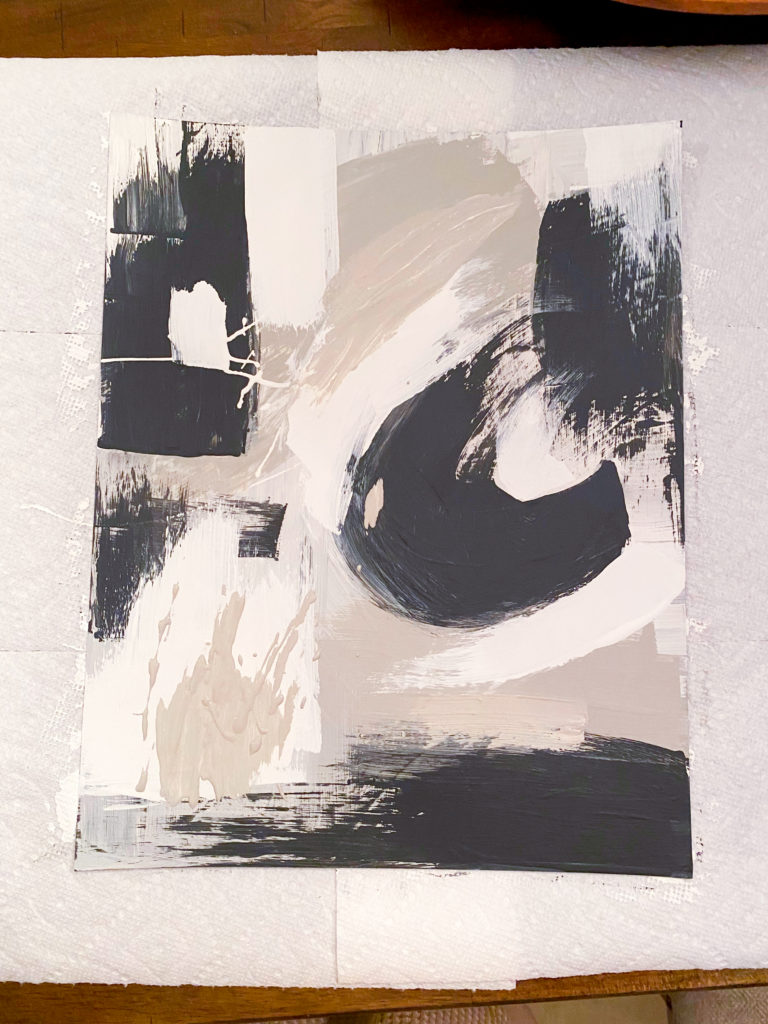
6. Rinse & Repeat
Paint and let it dry a few times- I think I did this about 6 times throughout the day. This way you are building those layers and creating visual (and actual) texture! Here’s a few different stages of my painting:


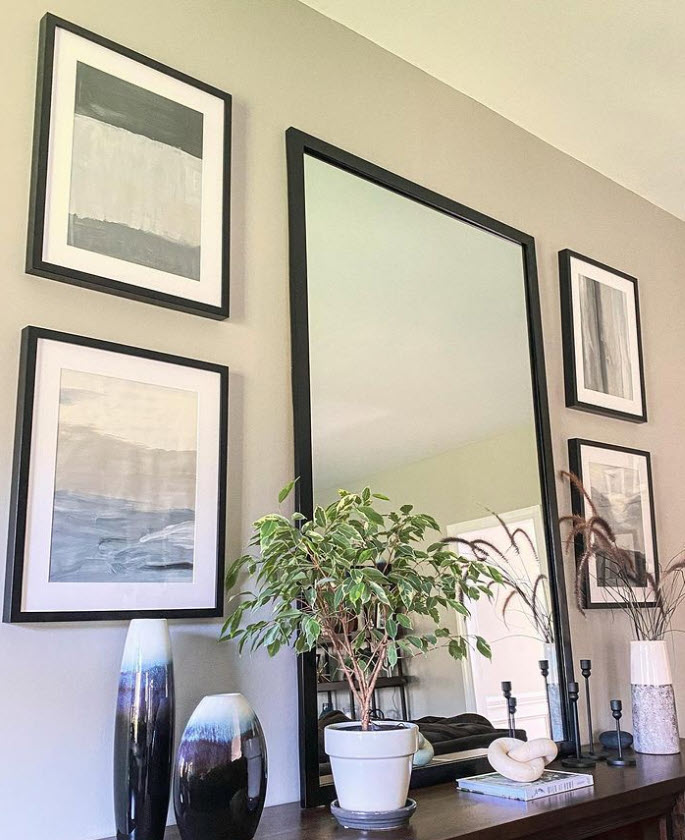
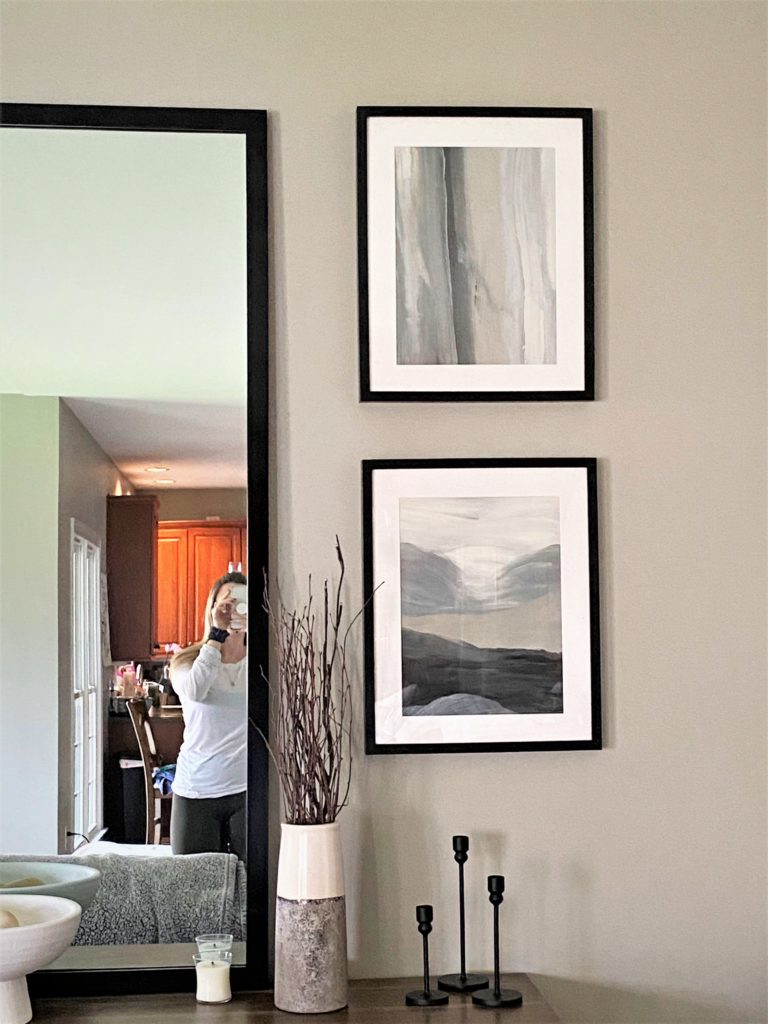
Once your paint has dried, you might actually hate what you created, and guess what- that’s totally OK. However, I challenge you to live with the art for some time before deciding to throw it out. Anything you’ve been staring at for too long, undoubtedly starts to look weird. When I hung the four paintings in my living room I thought they were hideous, but they’ve really grown on me over time and visitors almost always comment on them!
Tips for Painting your own Abstract Art:
- Find Inspiration. I looked at pinterest, however you might look at art on your favorite decor websites to use as frame of reference or to inspire the design of your painting. Pay attention to the paint strokes, are they blended? curves? horizontal? You’re painting doesn’t have to end up looking exactly like your inspiration, rather, it’s a jumping off point.
- Build and blend. Abstract art really has no rules, but if you’re getting stuck, use paint to build texture or blend some harsh lines (or colors) together. If you really feel stuck, let the layer you’re working on dry- then come back and try again.
- Don’t only use paint. You can use metallic flakes or tissue paper (maybe newspaper?) to add even more texture or glam.
- Color Palette Issues?
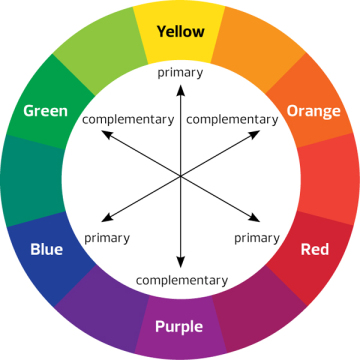
- If you’re struggling to come up with a good color palette for a room that’s already decorated, do what I did and use (or match) the paint colors from the room. You can also find a good complementary color to the colors in your room using the color wheels below. Colors across from each other on the color wheel, are complementary colors and using them will help to create visual depth between the art and your room.
- If you just bought a new house and you’re starting with a white (or gray) box- choose neutral colors (gray, beige even black) that way you won’t box yourself in when decorating later on.

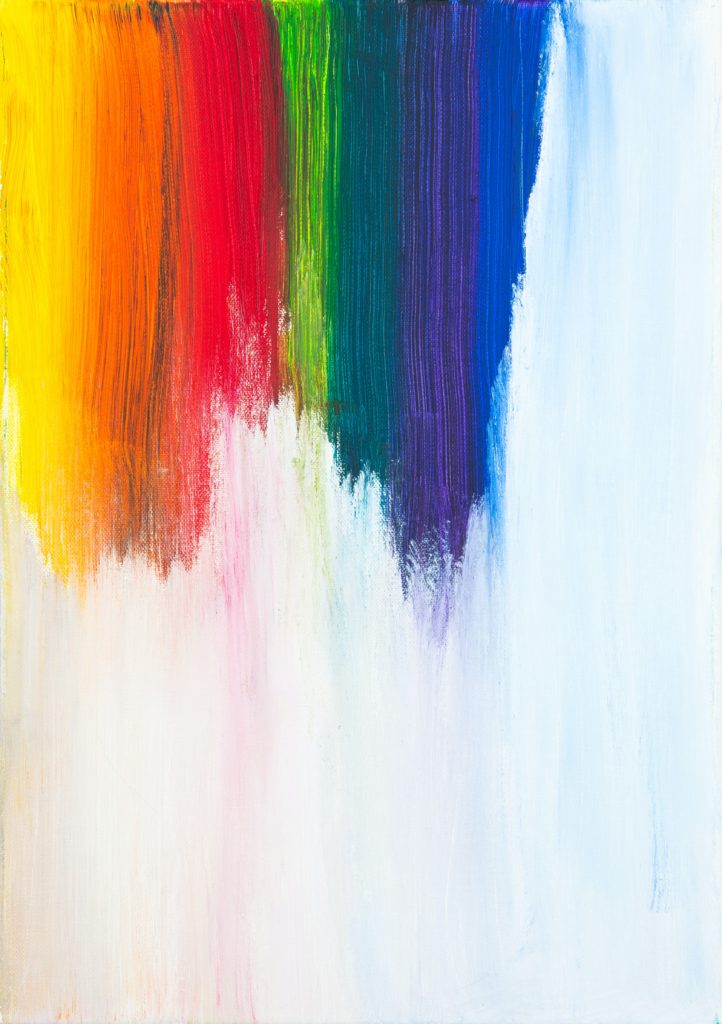
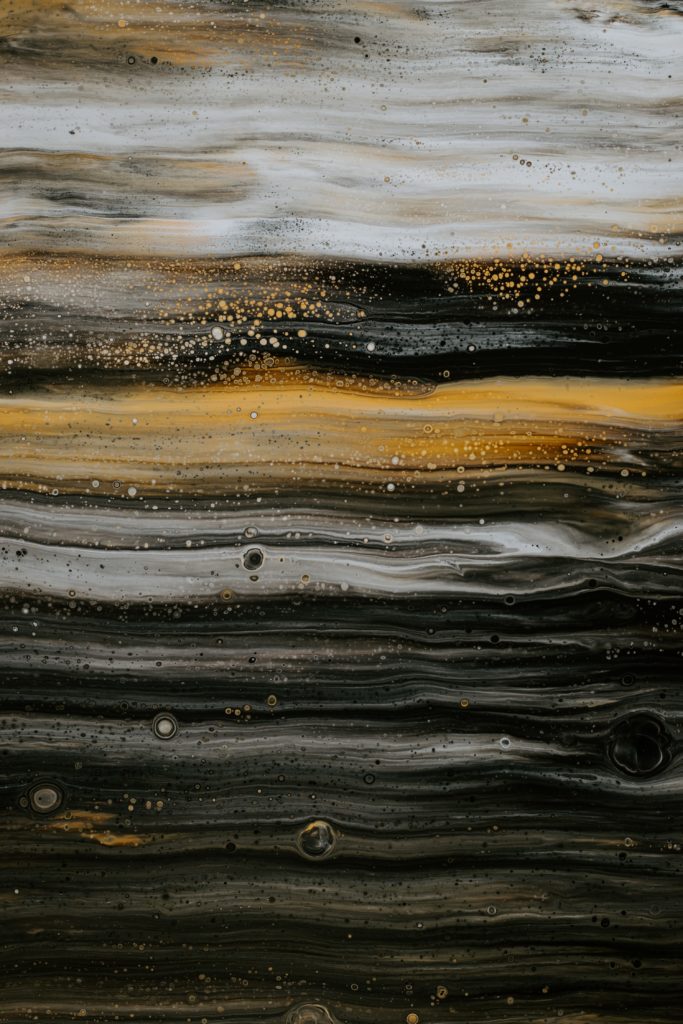
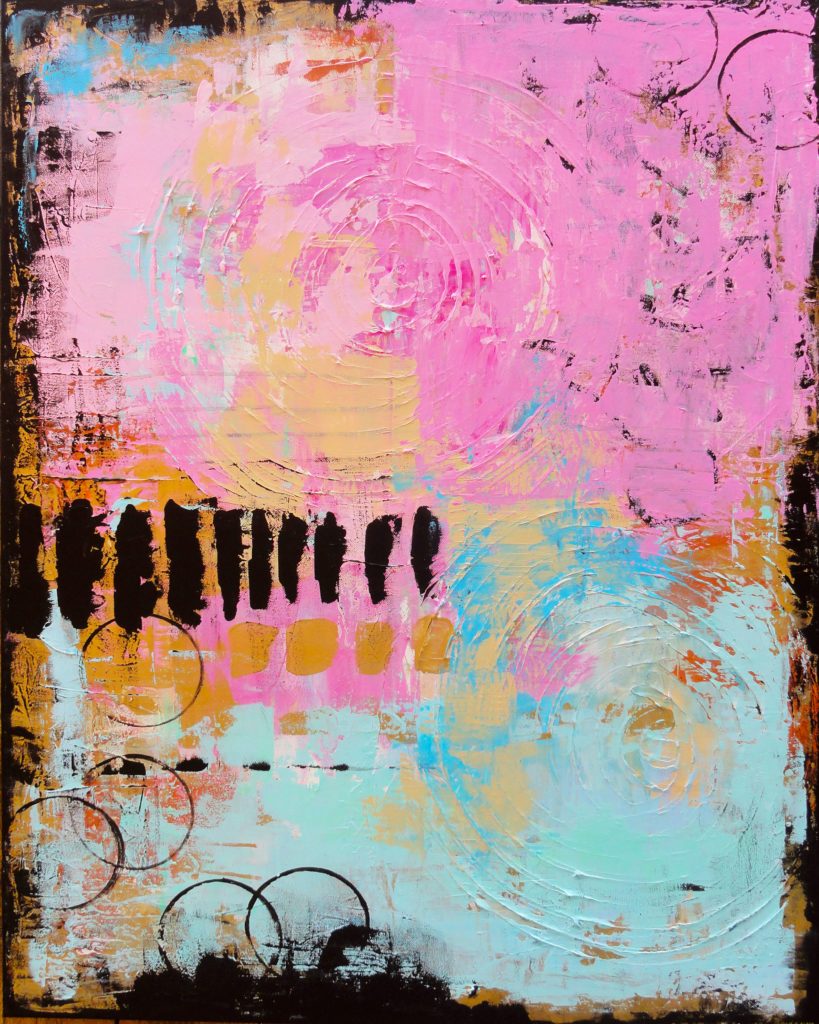
9 Abstract Paintings to use for Inspiration


I hope you decide to give abstract painting a try! And don’t forget that mistakes are good because you can paint over them and then it just adds more layers and dimension!
Share your DIY Abstract Wall Art with me on Instagram!
