How to Build an Easy DIY Art Ledge
(This post contains affiliate links which means I receive a small compensation at no cost to you. As an Amazon Associate I earn from qualifying purchases. You can read more about it here. Thank you for supporting my blog!)
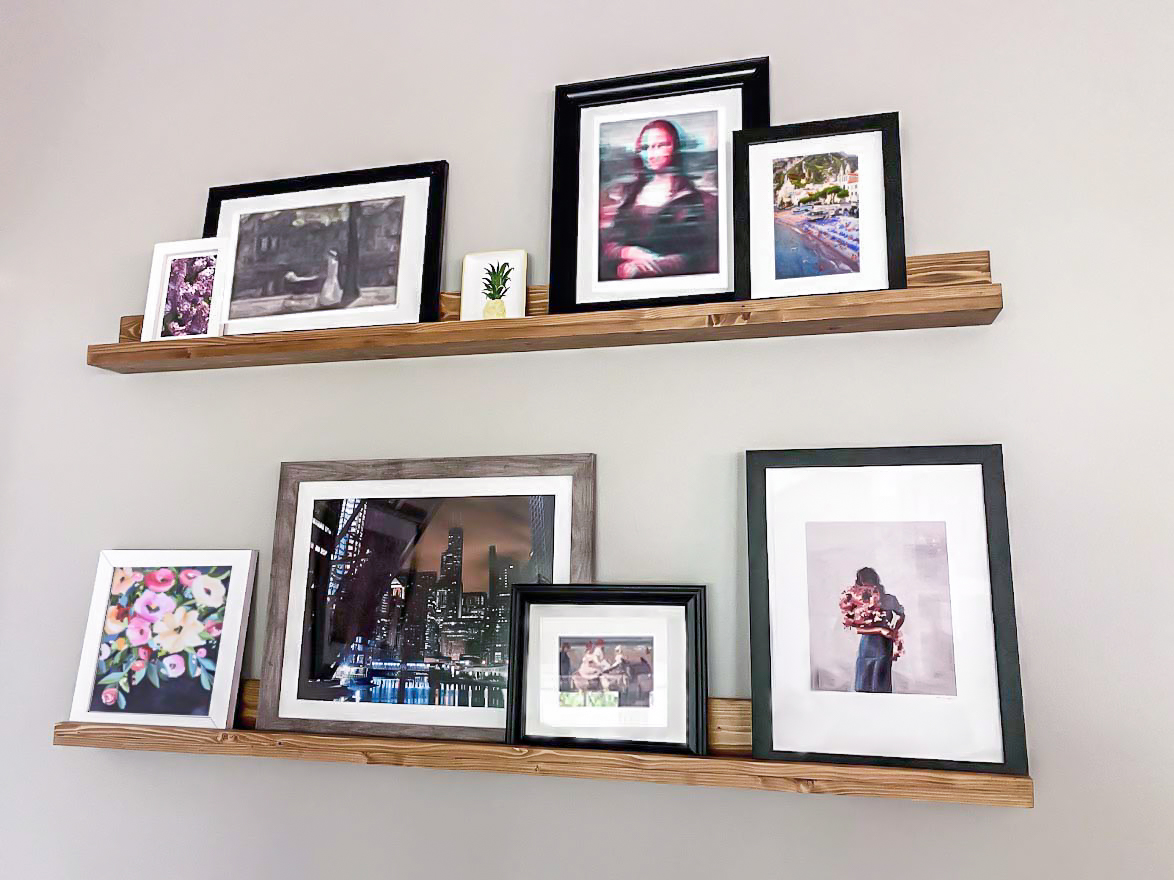
Have you ever seen a DIY that someone else completed that is so simple and so impactful that you drop everything to start your own version immediately? This is exactly how I felt when I saw Chris Loves Julia’s DIY Art Ledge. I immediately began measuring my walls and planning my material list. An art ledge easily adds interest to any blank wall and the best part is that you’re making it from scratch so you can choose the custom size to fit your space perfectly.
True Story: I had to rewatch 30 minutes of The Real Housewives of New York episode I was “watching” while scrolling my phone because as soon as I saw the CLJ post, I forgot where I was and what I was doing. So glad I did rewatch it- Ramona forcing her 50 closest girlfriends to “donate” $100 so that she could buy herself a Gucci purse is classic Ramona and can’t be missed!
This was my third DIY ever. The first was a long shelf in my laundry room and the second was two shelves in our powder room. I had never actually screwed two pieces of wood together at this point and it was a huge step for me. Luckily, the design is so simple that it made this project really appealing. It’s a true beginners projet.
Check out some of my non* beginners projects: Built-in Closet Reveal (Part I, Part II), Shiplap Fireplace.
MATERIALS:
2- 1″ x 4″ Pine Board
1- 1″ x 2″ Pine Board
TOOLS:
Drill + Wood Screws (2 + 1/2″)
Trim Screws (optional)
Tape Measure, Level, Stud finder
Wood Clamps
Staining Supplies (I used foam brushes)
STEP 1: Pick out Straight Boards
The CLJ tutorial uses one piece of 12″ wide board and rips the different widths to size on a table saw. You may be able to have the hardware store rip one piece of wood down into the three different widths, but sometimes getting things like that cut can be tedious and the cuts aren’t always accurate.
If you don’t want to bother with that and don’t have a table saw, you can simply just buy the different width boards that you need. I decided I was making two 60″ long ledges for my wall. When buying your wood at the store, make sure you’re picking out straight pieces by closing one eye and looking down the end of the wood to see if there’s any obvious bends. Remember to rotate the board to check all sides.
STEP 2: Cut your Boards to Length

Using a miter saw, cut your boards to the length that you want your ledge. I cut all of my boards to 60″ long. You can have your boards cut to length at the hardware store if you don’t have a miter saw.
STEP 3: Assemble your Boards


The 1″ x 4″ boards will be the back and the base while the 1″ x 2″ will be the front edge. Using wood glue and clamps, glue the pieces together like below and then CLAMP them together in at least a few places. Make sure to have your boards lined up flush and scrape any excess glue once they’re in place.
STEP 4 (optional): Screw Boards together
If you’re just planning to place some light picture frames on this ledge, wood glue alone is sufficient. I added a couple finish screws from the bottom up into the 1 x 4″ back board (because that’s what CLJ did!)

To add finish screws, using a 1/8″ drill bit, drill pilot holes through the bottom of the base into the back board, being careful to drill straight so your bit doesn’t come out the sides of the board.
Screw wood screw into each of the pilot holes, countersinking the heads slightly so they are flush or just below the wood surface.
Step 5: Sand and Stain
Use a fine grit sandpaper (I used 220 grit) to sand the entire ledge and remove any splinters or roughness. Clean with a dry rag or tack cloth. Use a wood conditioner to even out the pores in the wood and help it take the stain evenly. Once the wood conditioner has been absorbed and wiped, stain your ledge. I used Dark Walnut by Minwax for a nice medium-tone. I usually like to give stain overnight to fully dry before applying finish but the directions for the Minwax stain only state 4-6 hours are needed.
Step 6: Apply Finish
I finished my ledges with Minwax Satin Poly, making sure to stir (not shake!) the contents really well before application.
Poly Tip: For a satin poly, the gloss is reduced by flattening agents which are suspended in the clear finish. Flattening agents are tiny particles that reflect some of the light back, thereby reducing the sheen of the finish. If they settle out or are not mixed well, then the finish will be more glossy. TL;DR: Stir your satin or matte poly really well before use!
I applied 3 coats of poly, with 2 hours of drying time between each coat. After the final coat, I allowed the finish to cure for 24 hours before a very light, careful sanding with a 500 grit wet/dry sandpaper. This is totally not necessary but I wanted to experiment with fine grit sandpapers and this project was pretty approachable for that. Let me tell you, that final finish is butter soft.
Step 7: Hang the Ledge
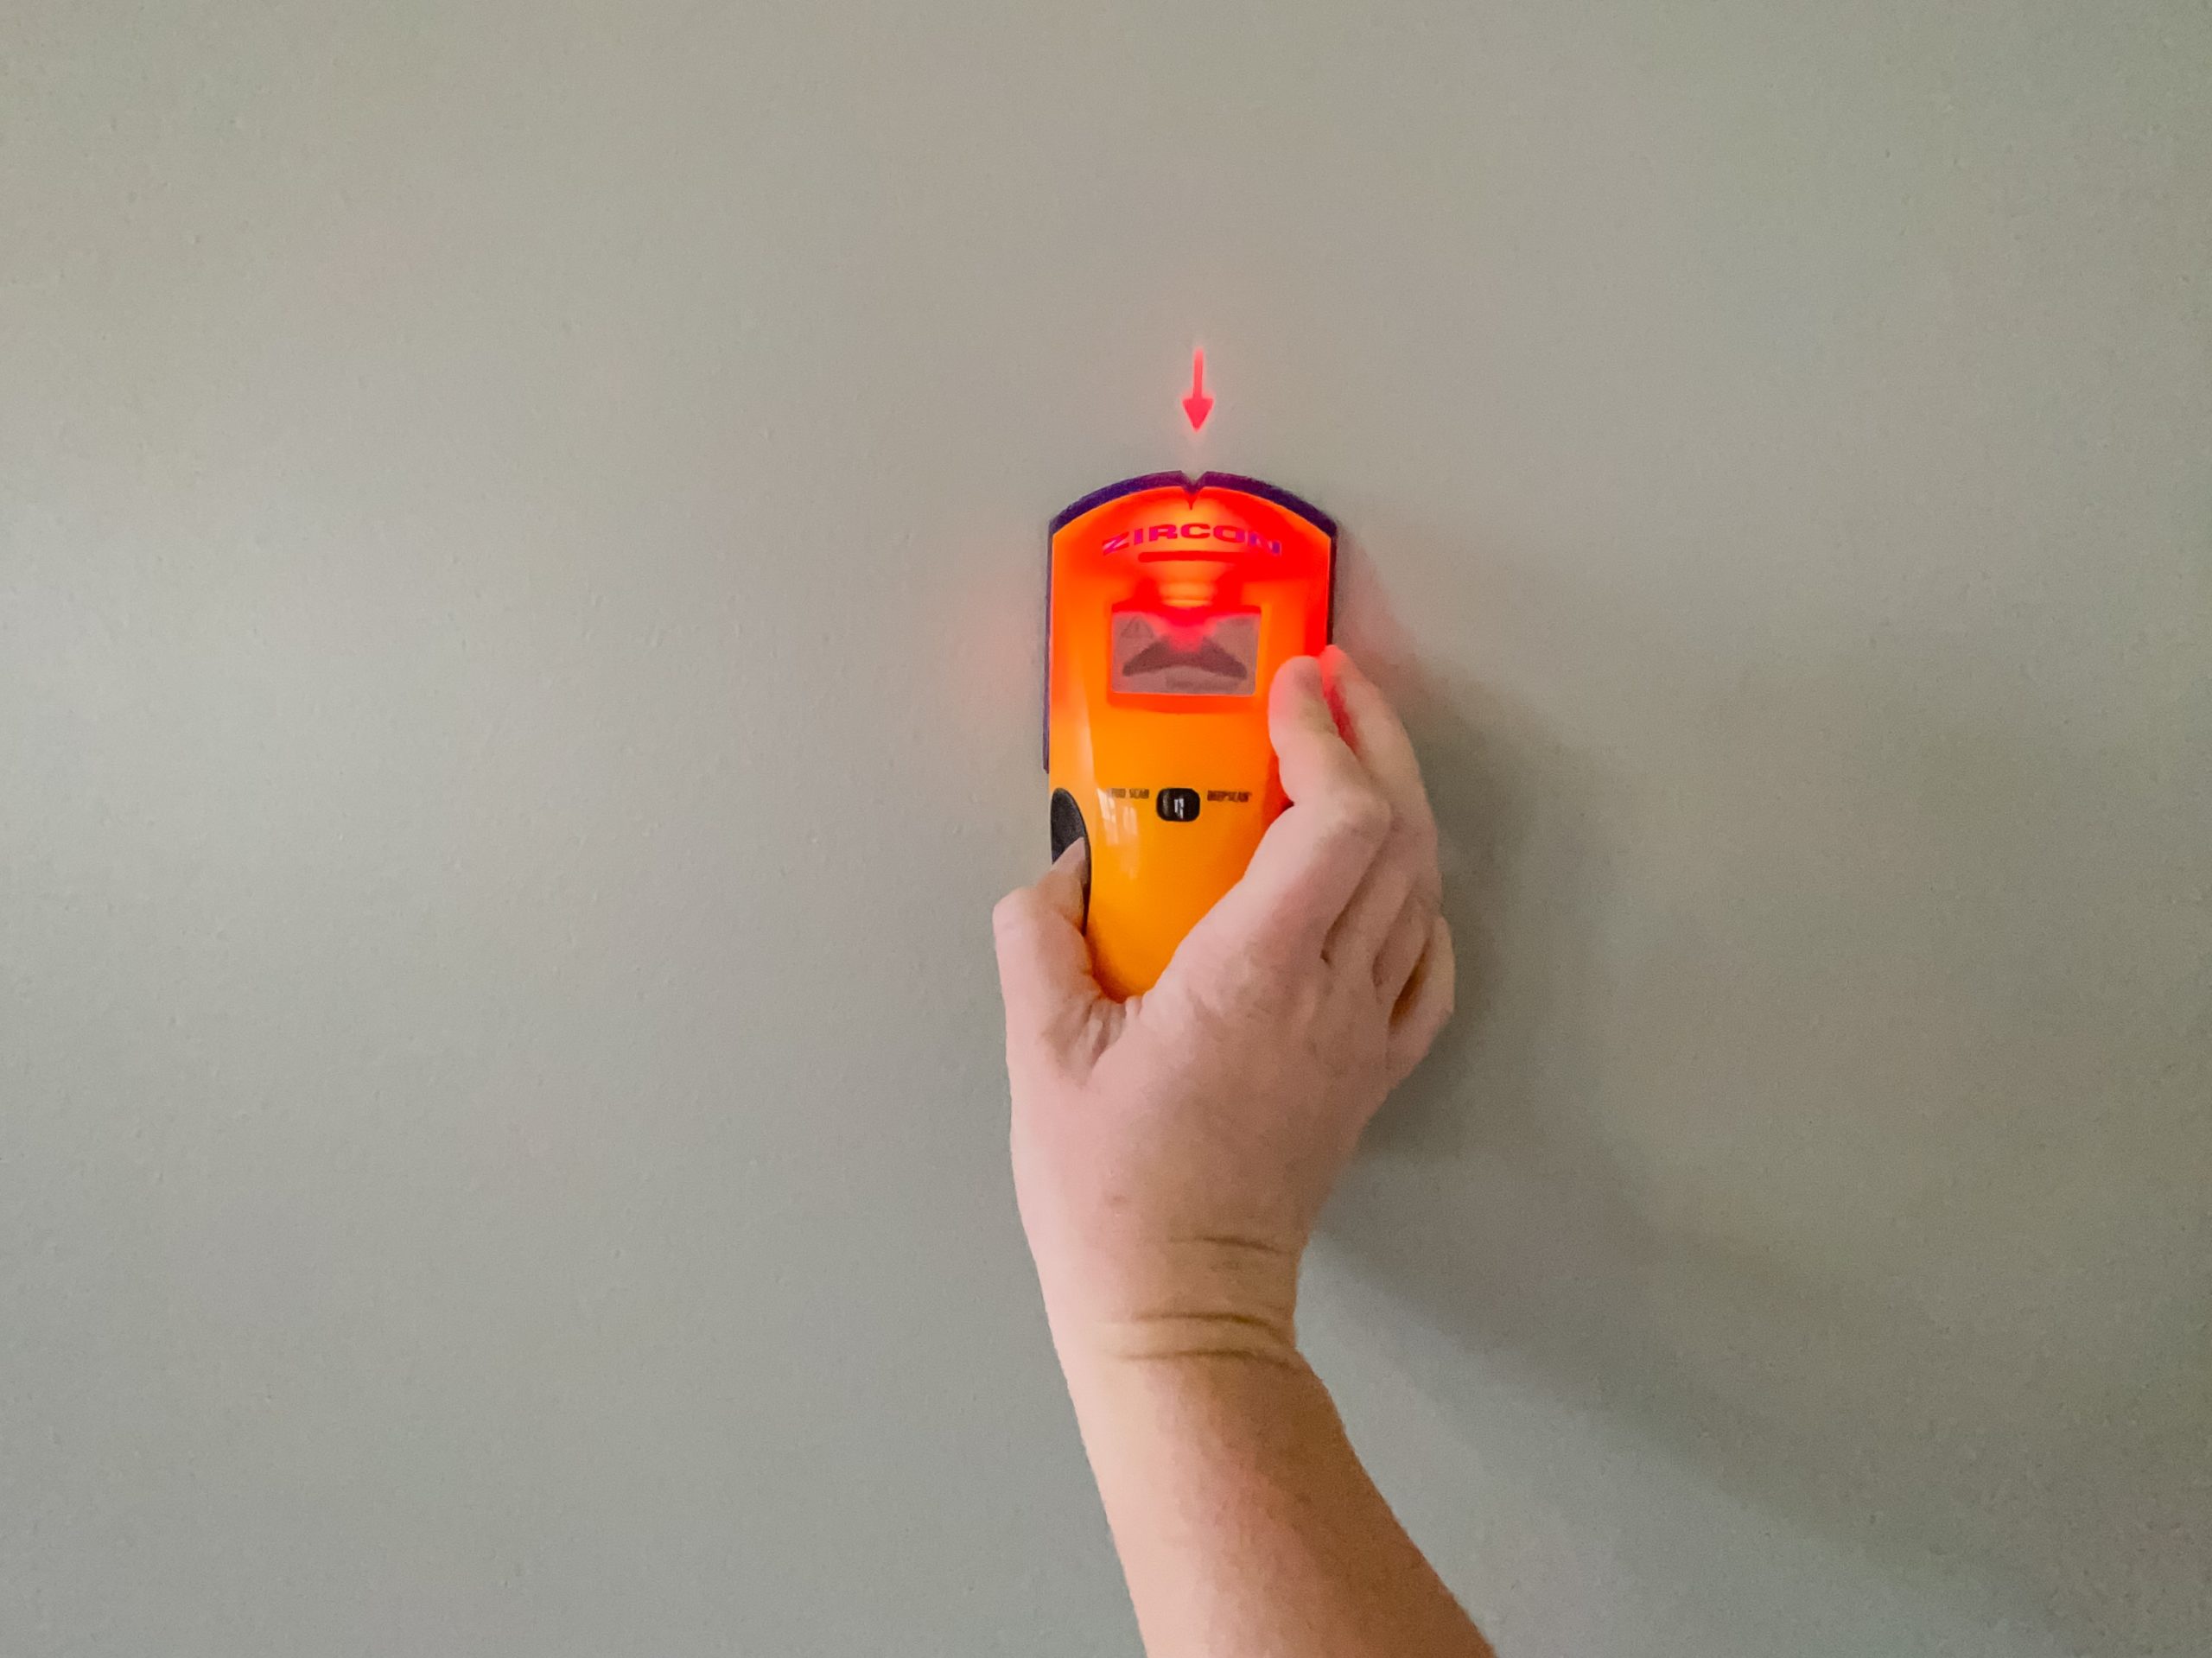
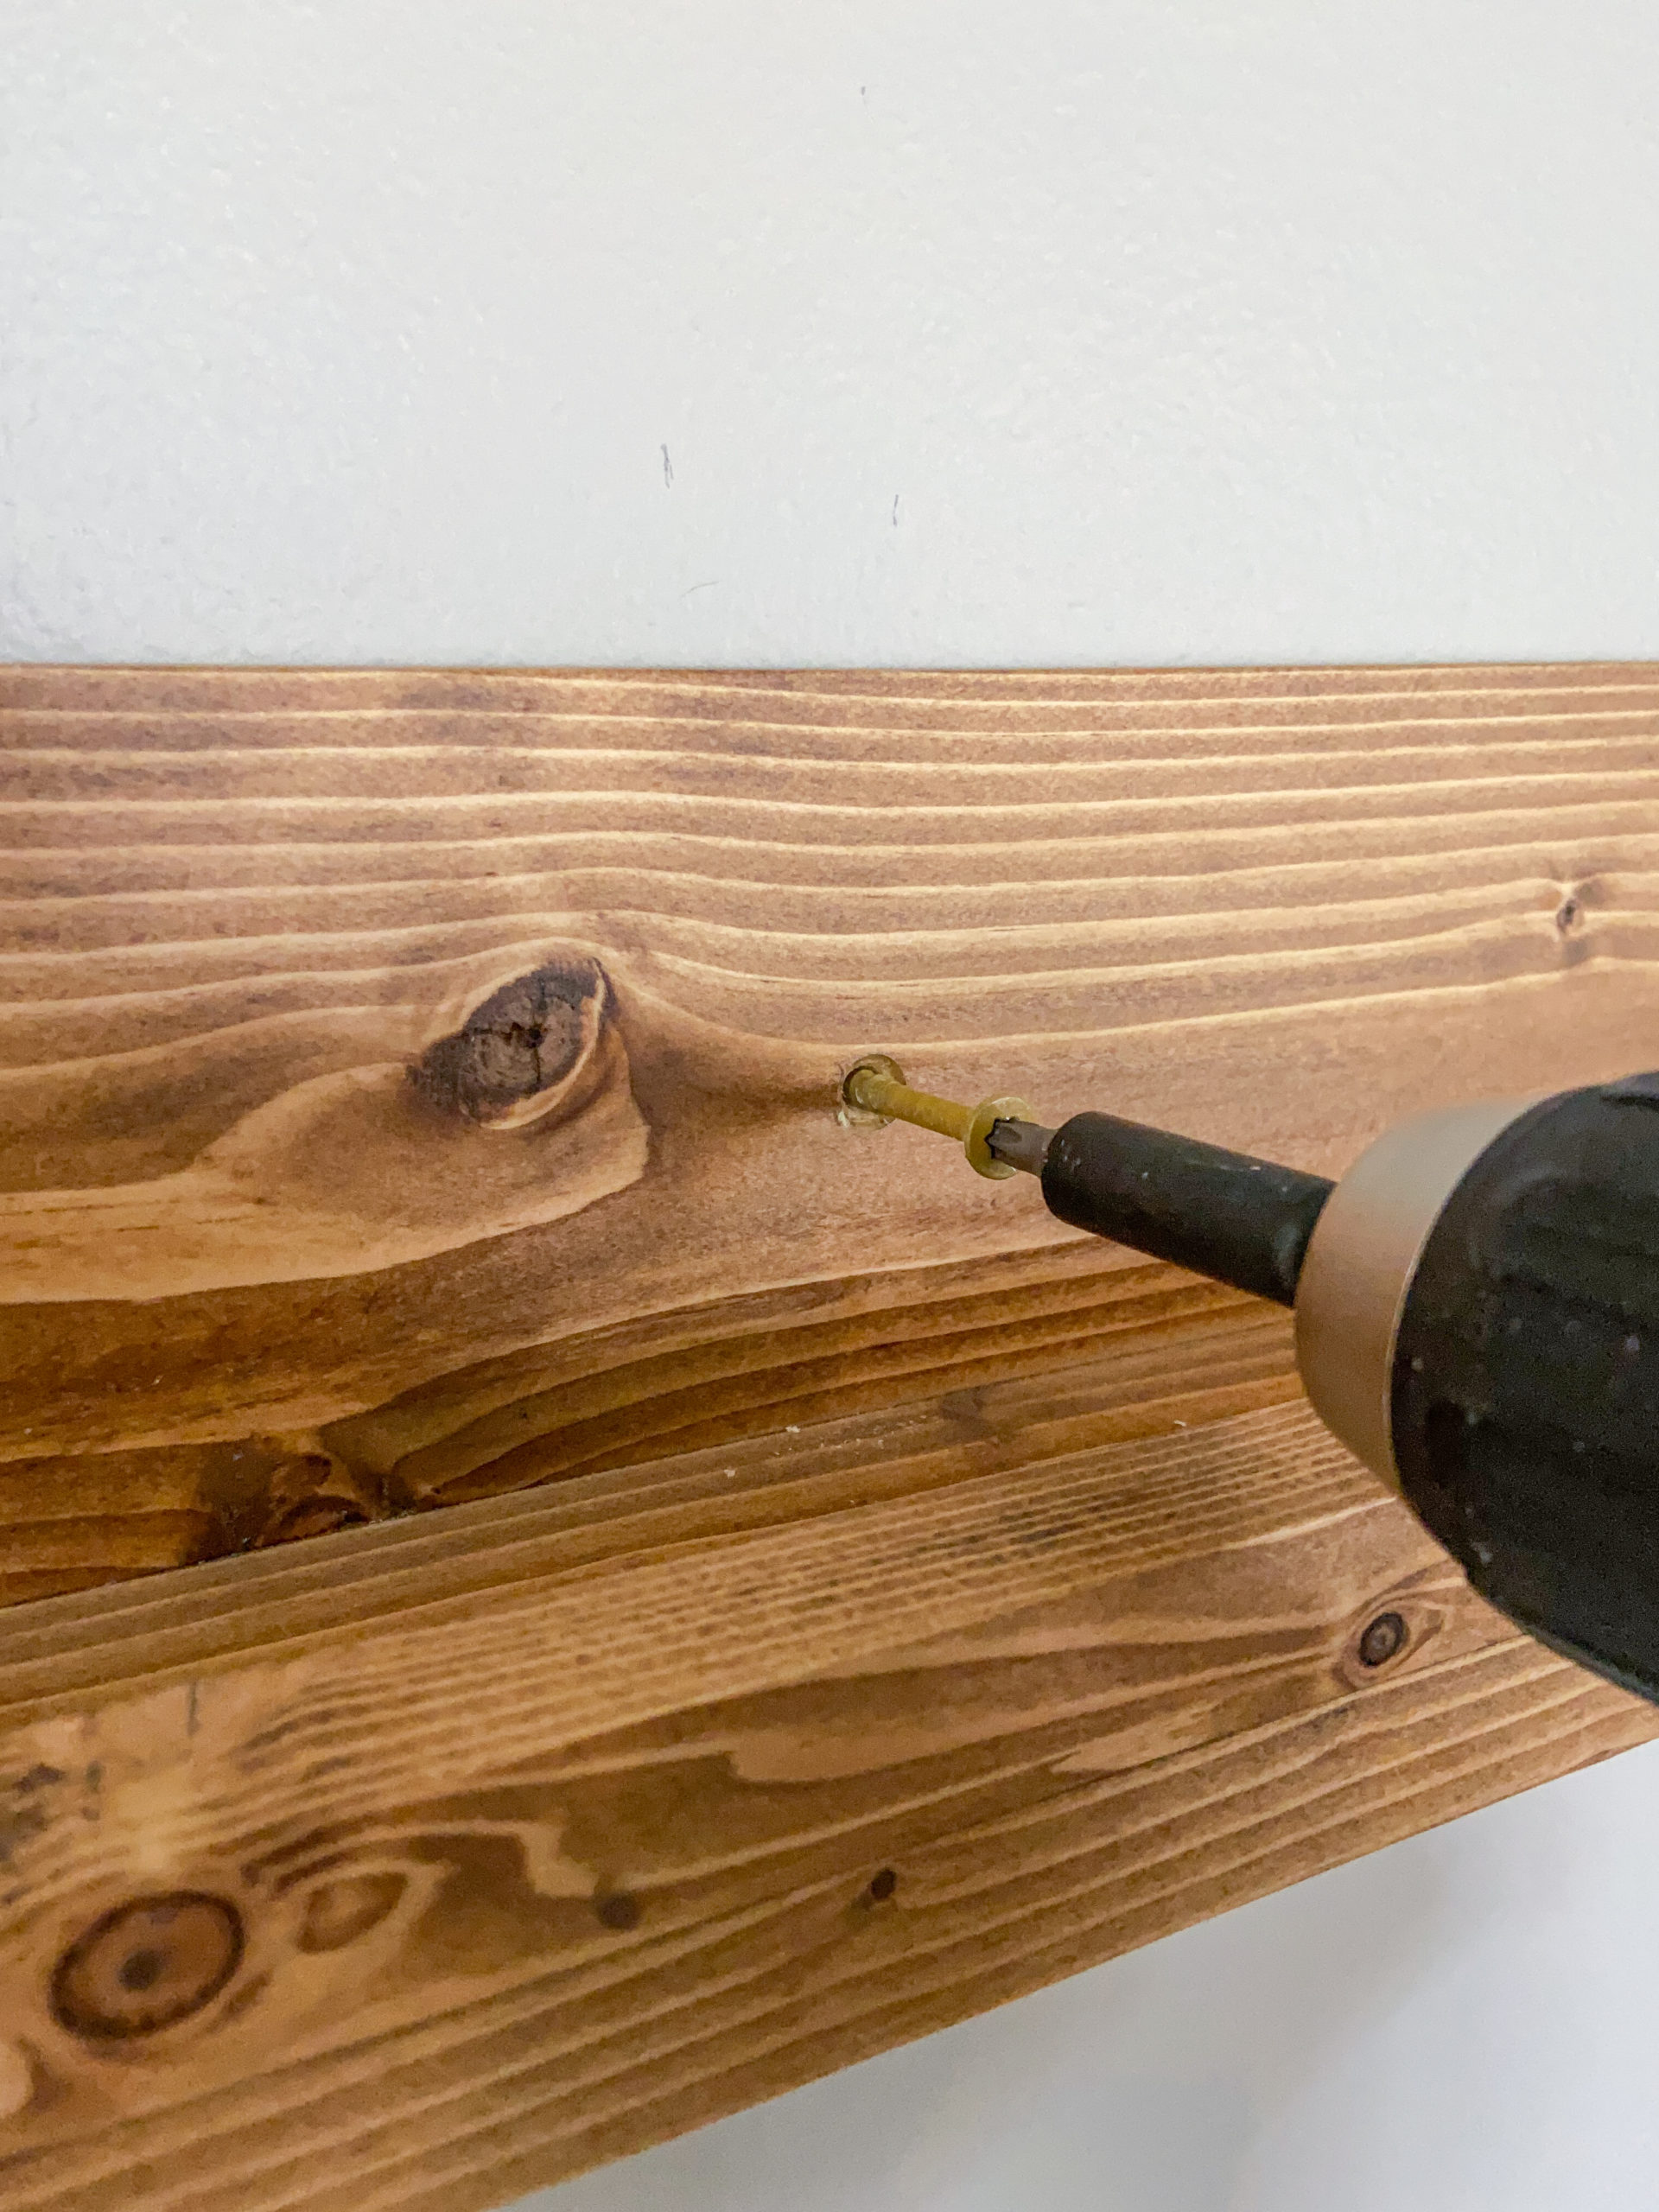
Locate and mark the studs on the wall where you are hanging your ledge. Measure and drill pilot holes through the back of your ledge so that they will match up with the studs. Screw your ledge into the studs with 2″ screws.


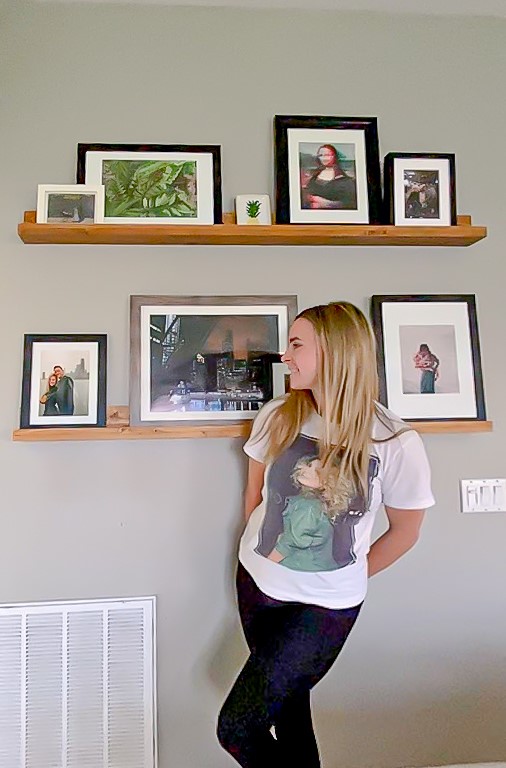
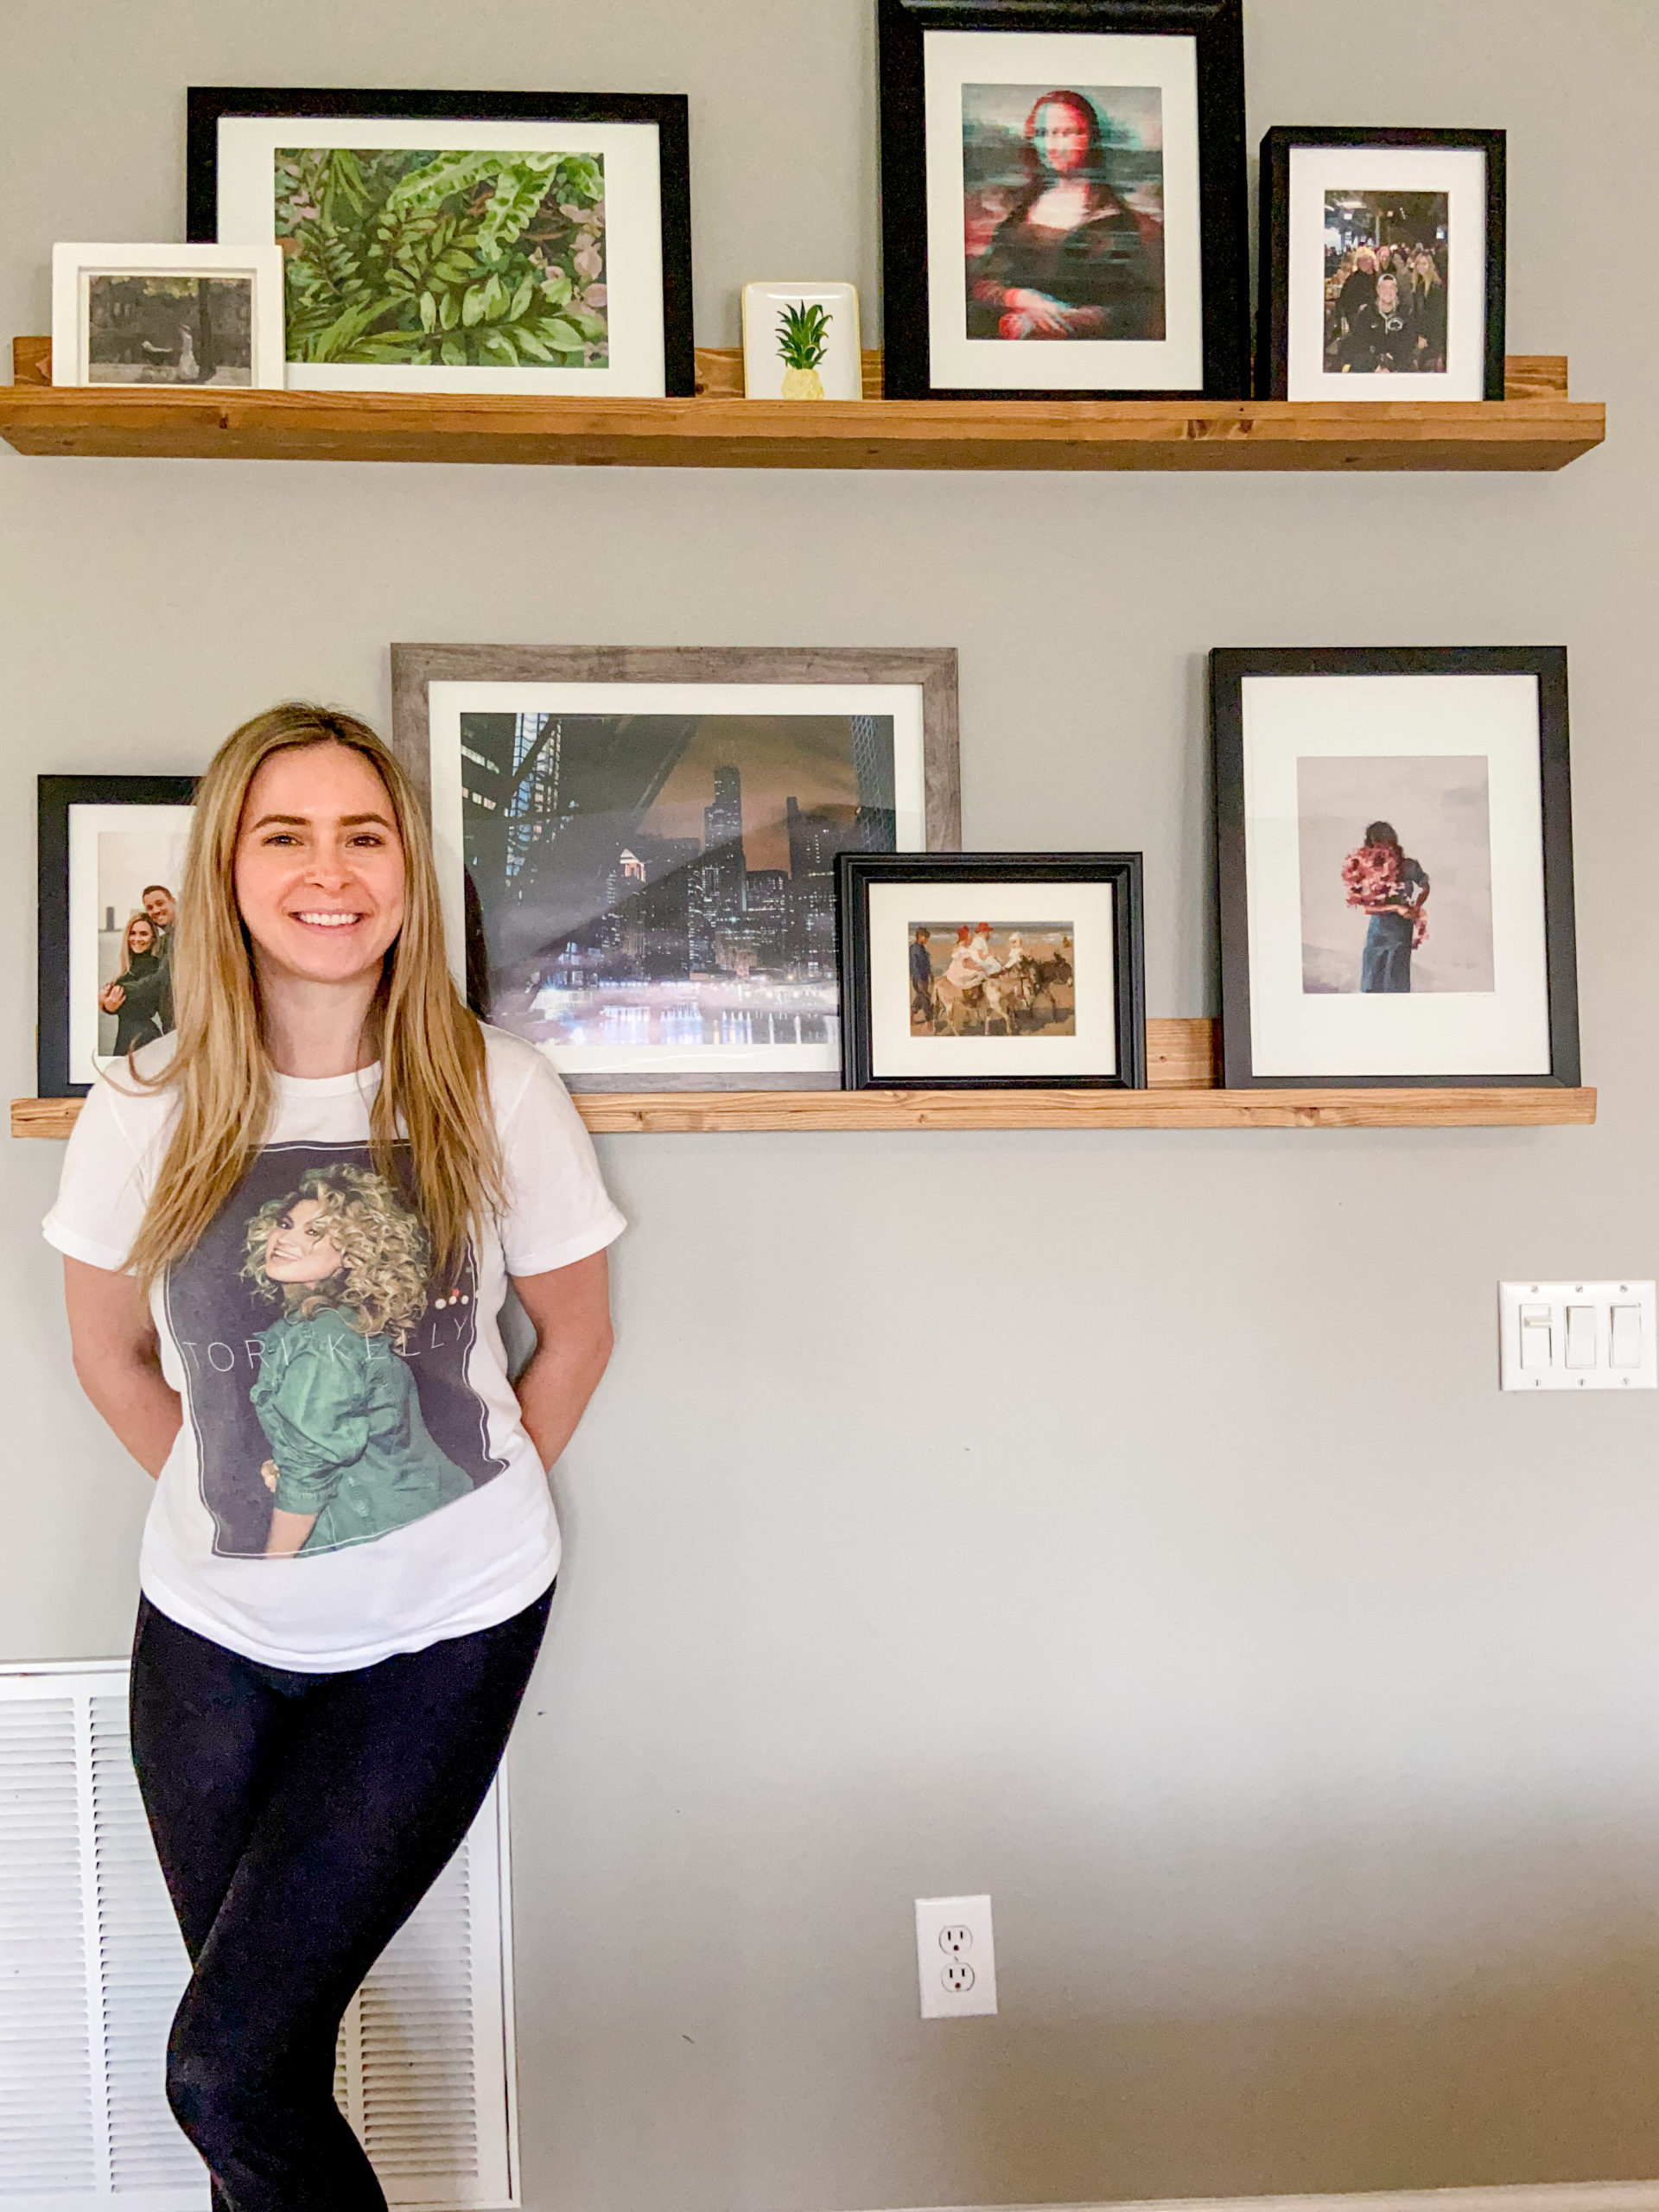
This DIY art ledge project is super simple and takes only a small portion of a day (aside from drying time). It’s a great way to add texture and interest to your walls and I love changing out the art and frames during the different seasons or just as I find new art.
Want to keep up with my newest projects? Come hang out on Instagram!