How to Build and Install DIY Porch Railings
(This post contains affiliate links which means I receive a small compensation at no cost to you. As an Amazon Associate I earn from qualifying purchases. You can read more about it here. Thank you for supporting my blog!)
The DIY porch railing was my first DIY project at our house and one of my first DIY projects ever. It is still one of my most proud projects because I was learning everything for the first time and it turned out incredible. It took me almost 2 months to complete these railings but the quality is incredible for a first time DIY and honestly pretty on par with what I would do now (just a bit faster). This is the project that helped me discover my passion for DIY and woodworking and taught me that I CAN DO IT.
Thinking back on this project almost 4 years later makes me surprisingly emotional- you never know what’s going to make the biggest impacts in your life. Sometimes even until 4 years later.
Enough of all that… into the DIY Porch Railings tutorial!

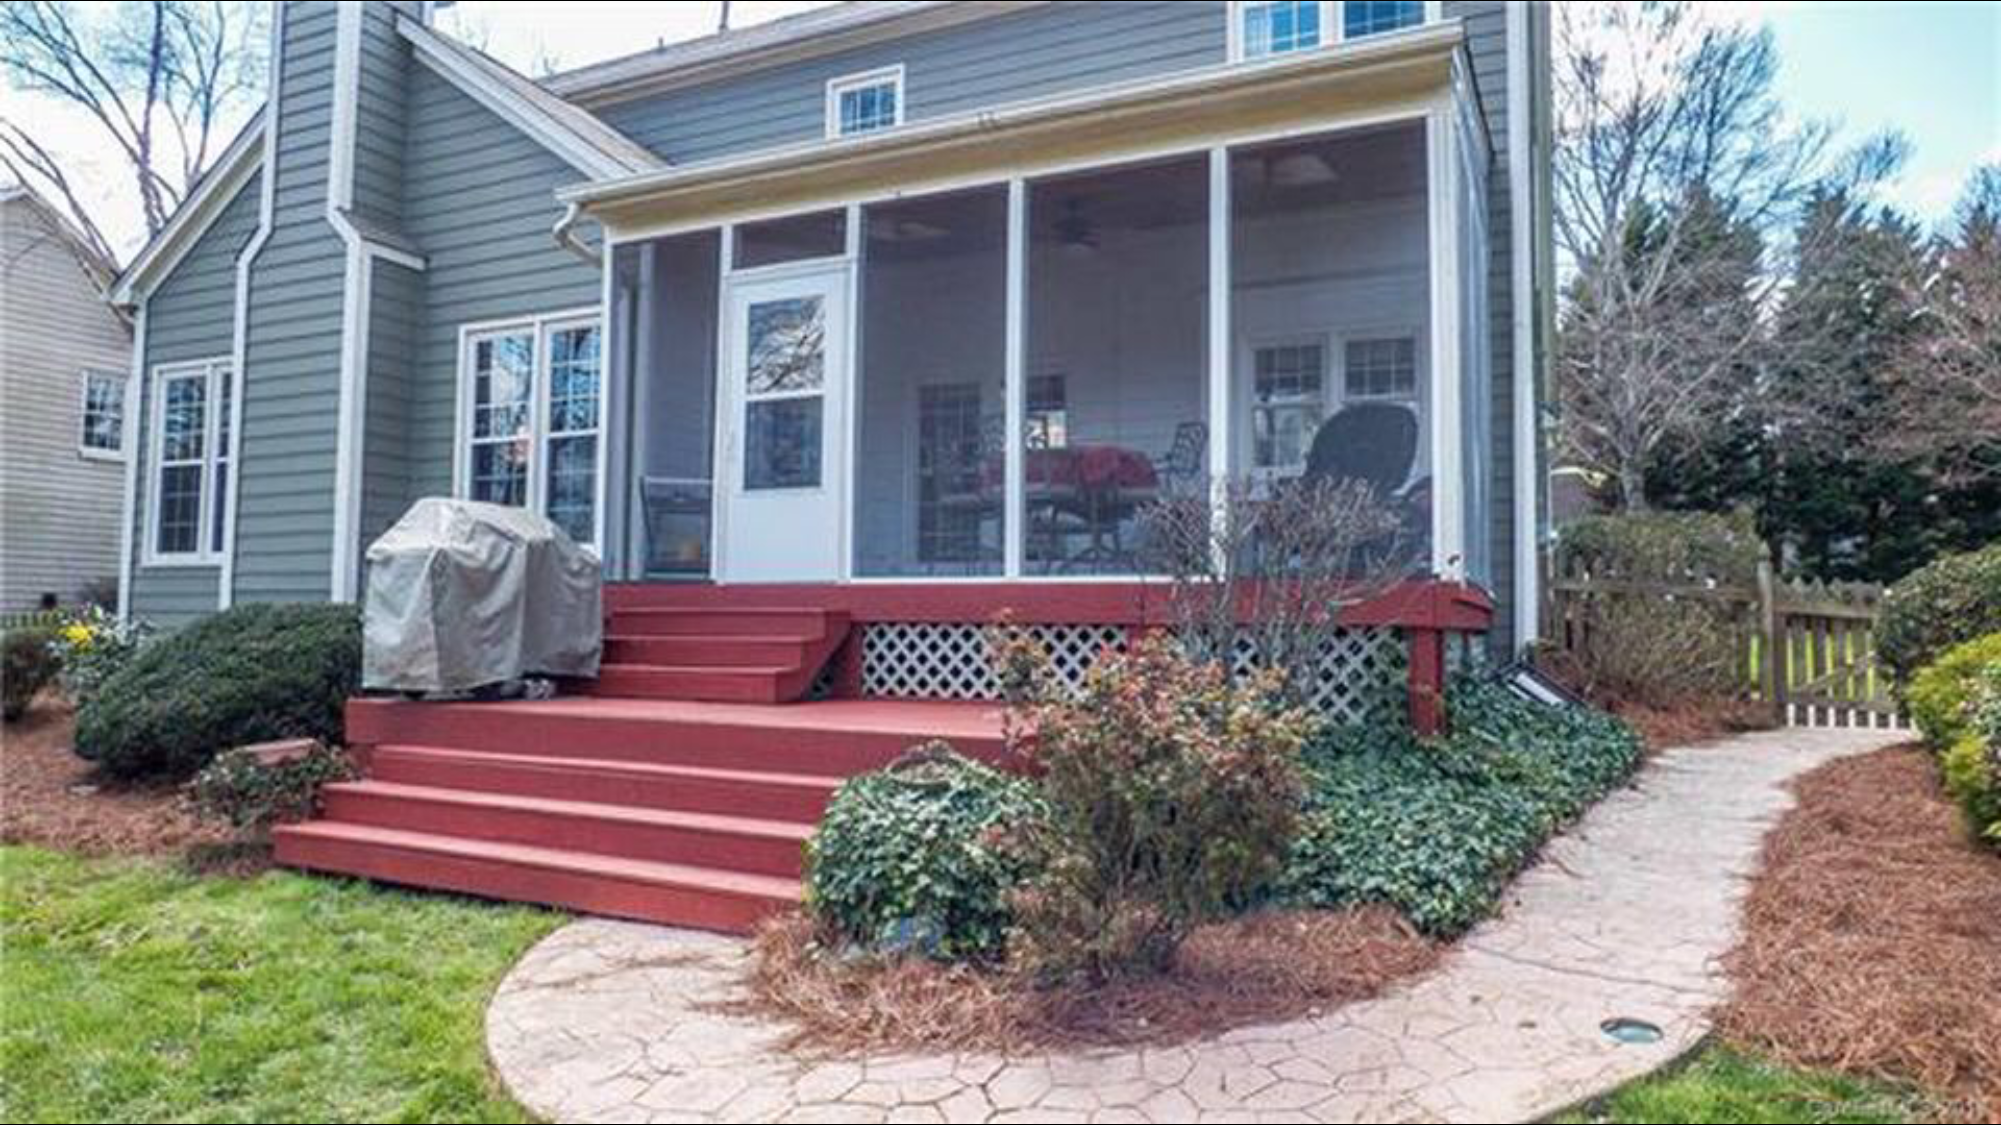
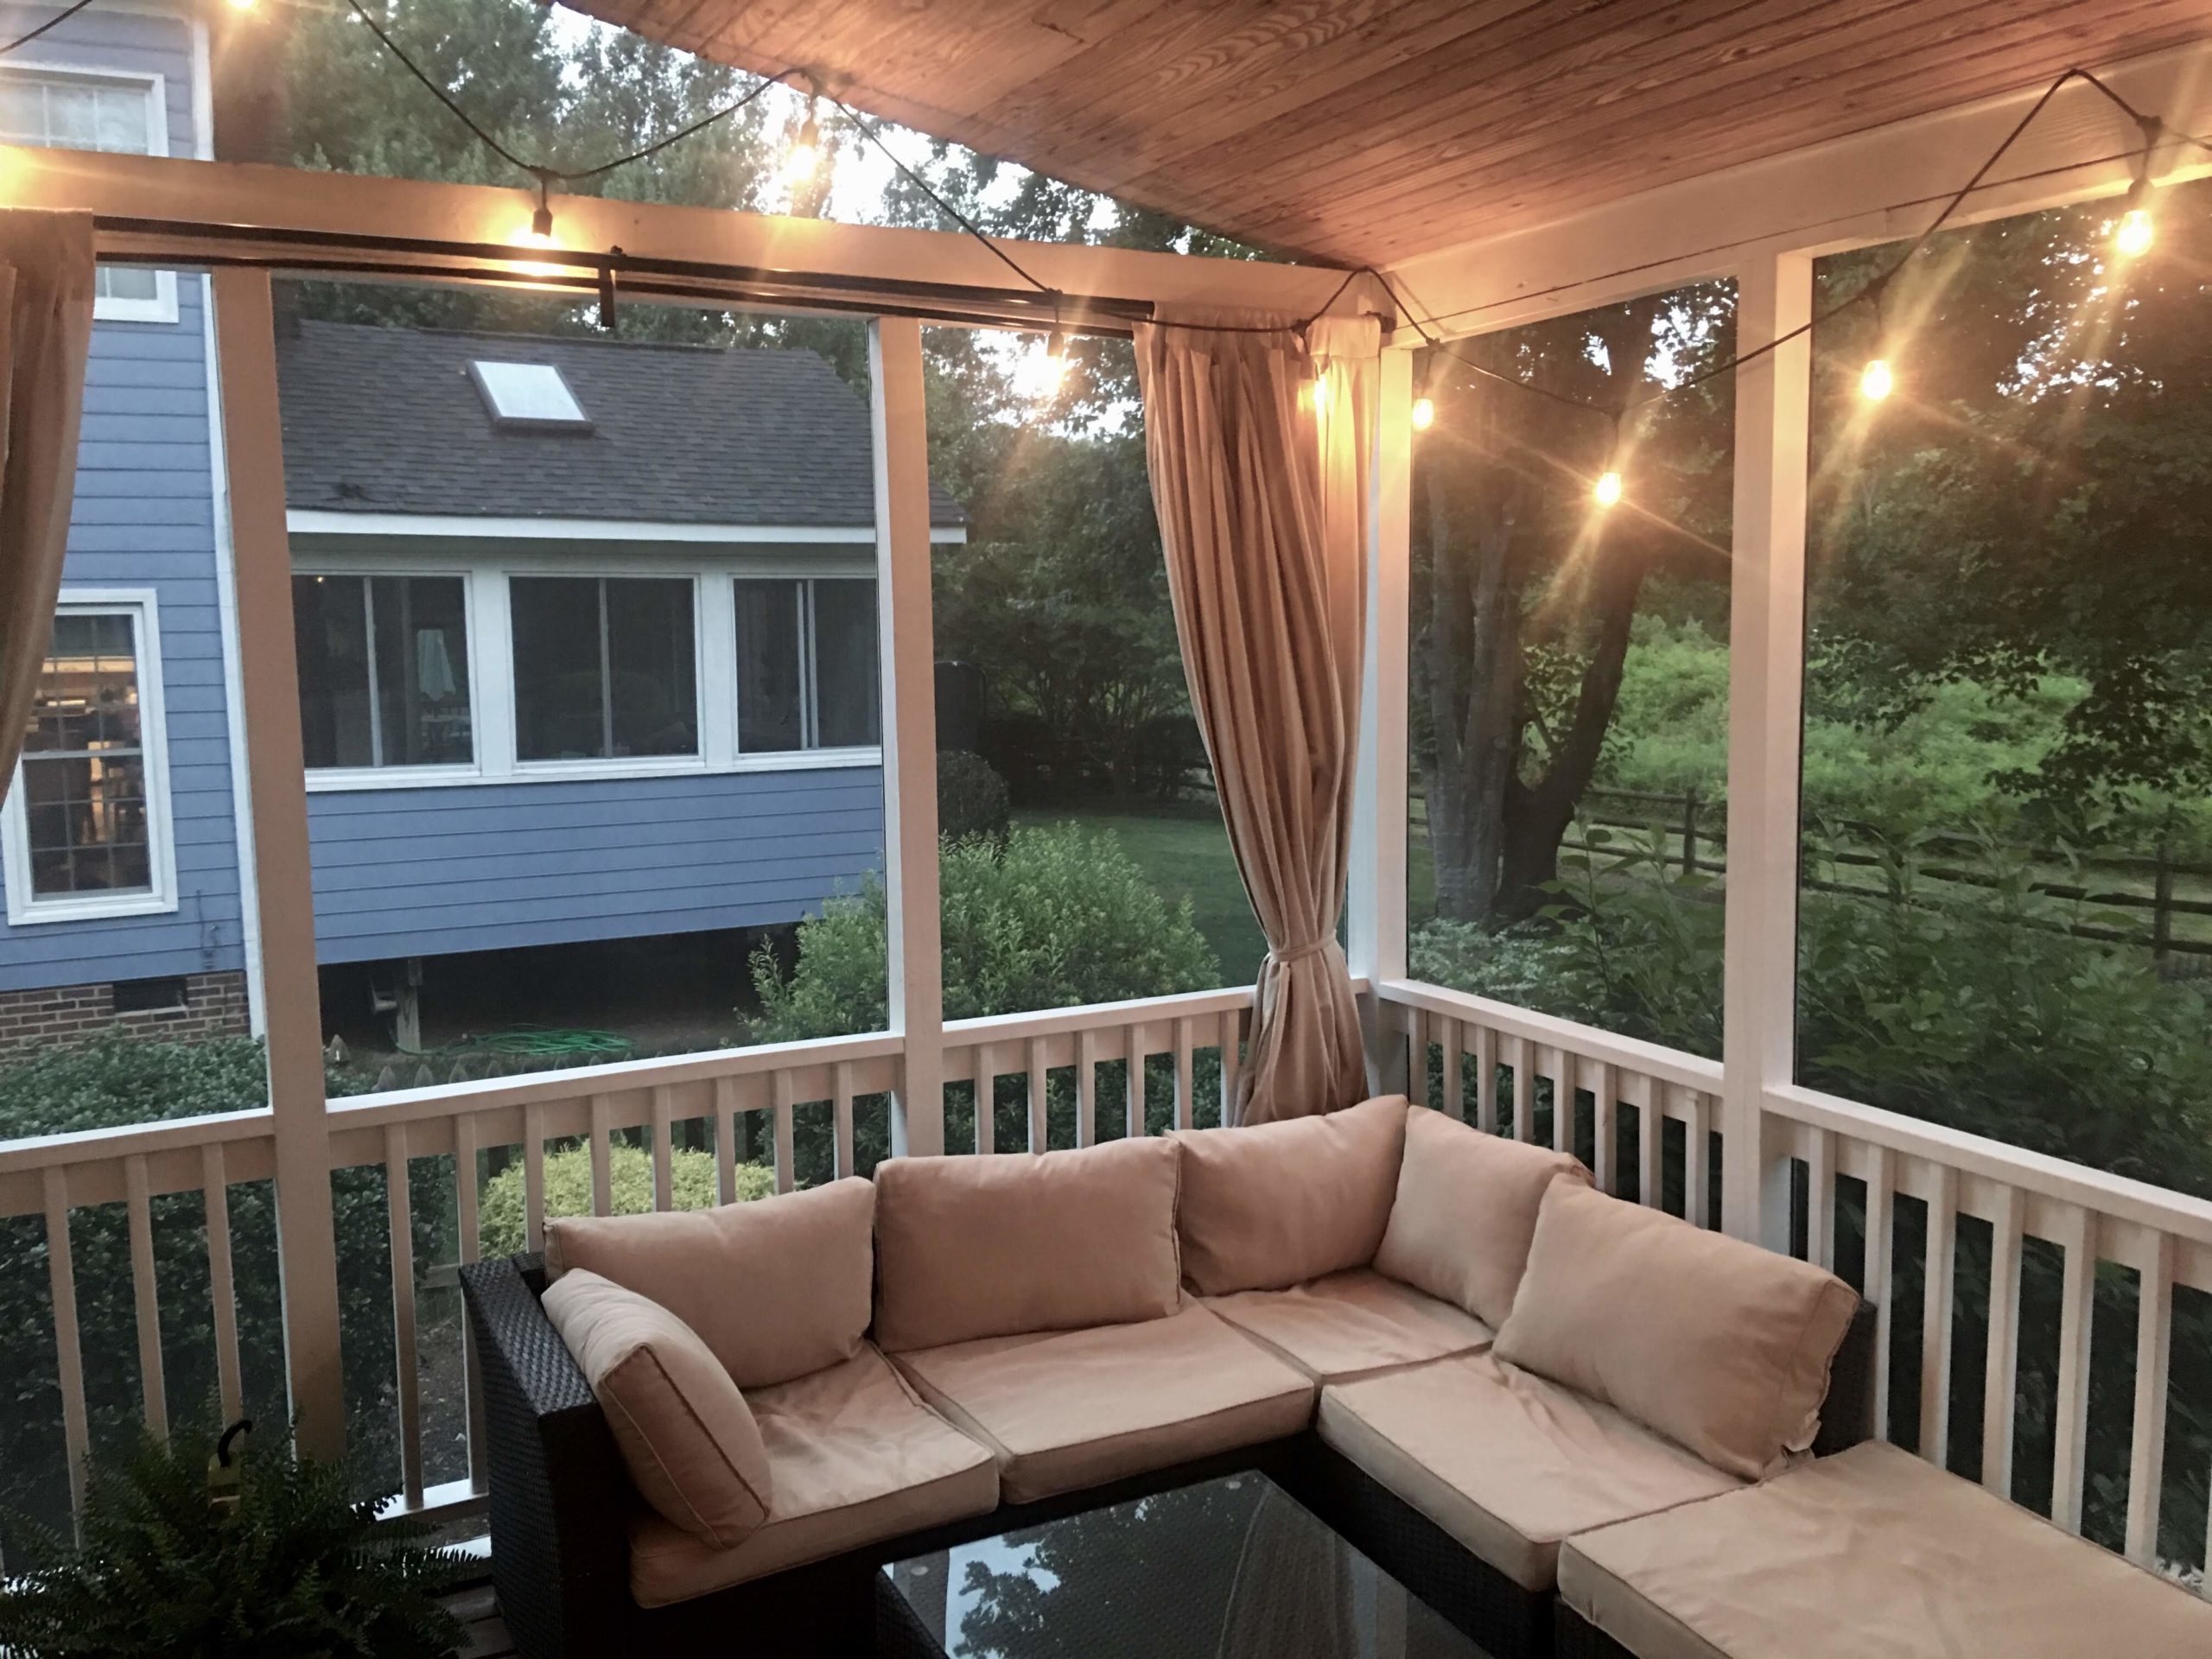
We bought our Charlotte, NC house about 4 years ago and one of the biggest selling points was the covered porch off the back of the house. North Carolina has an extremely temperate climate with comfortable outdoor temperatures about nine months out of the year. This outdoor space is perfect for morning coffee, dinner with family and friends and summer nights, writing blogs about DIY.
See the listing photos below:

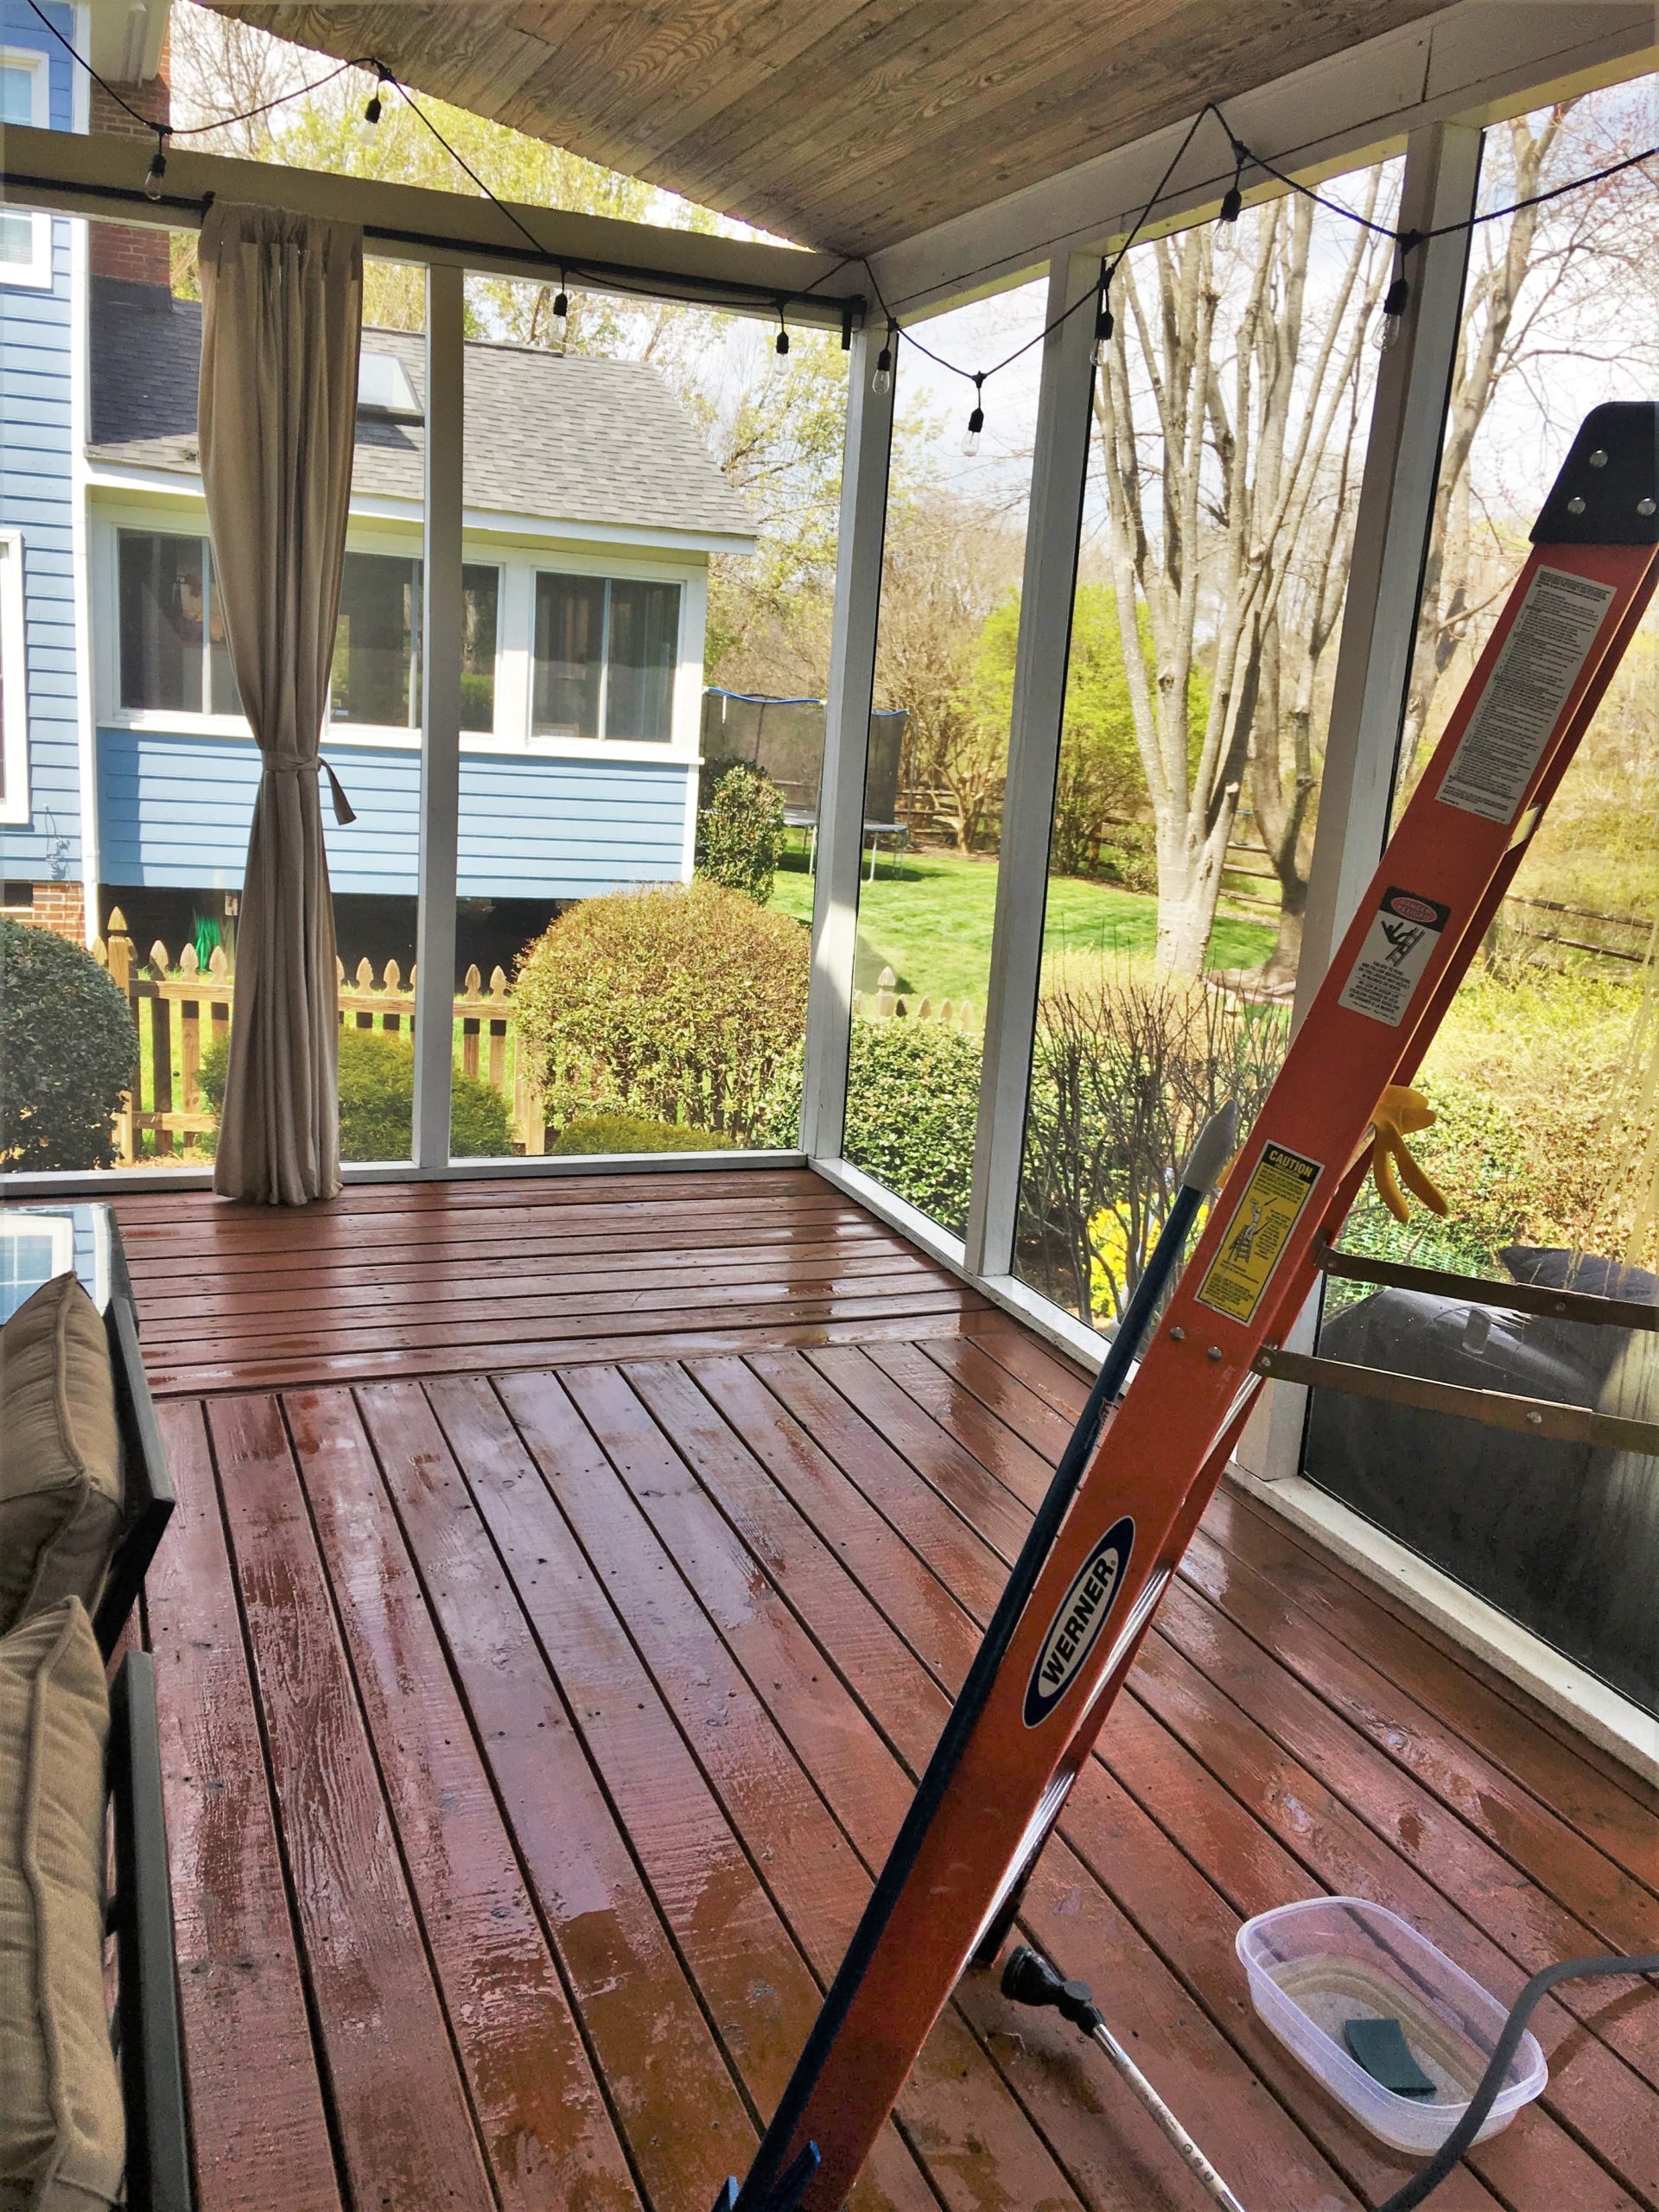
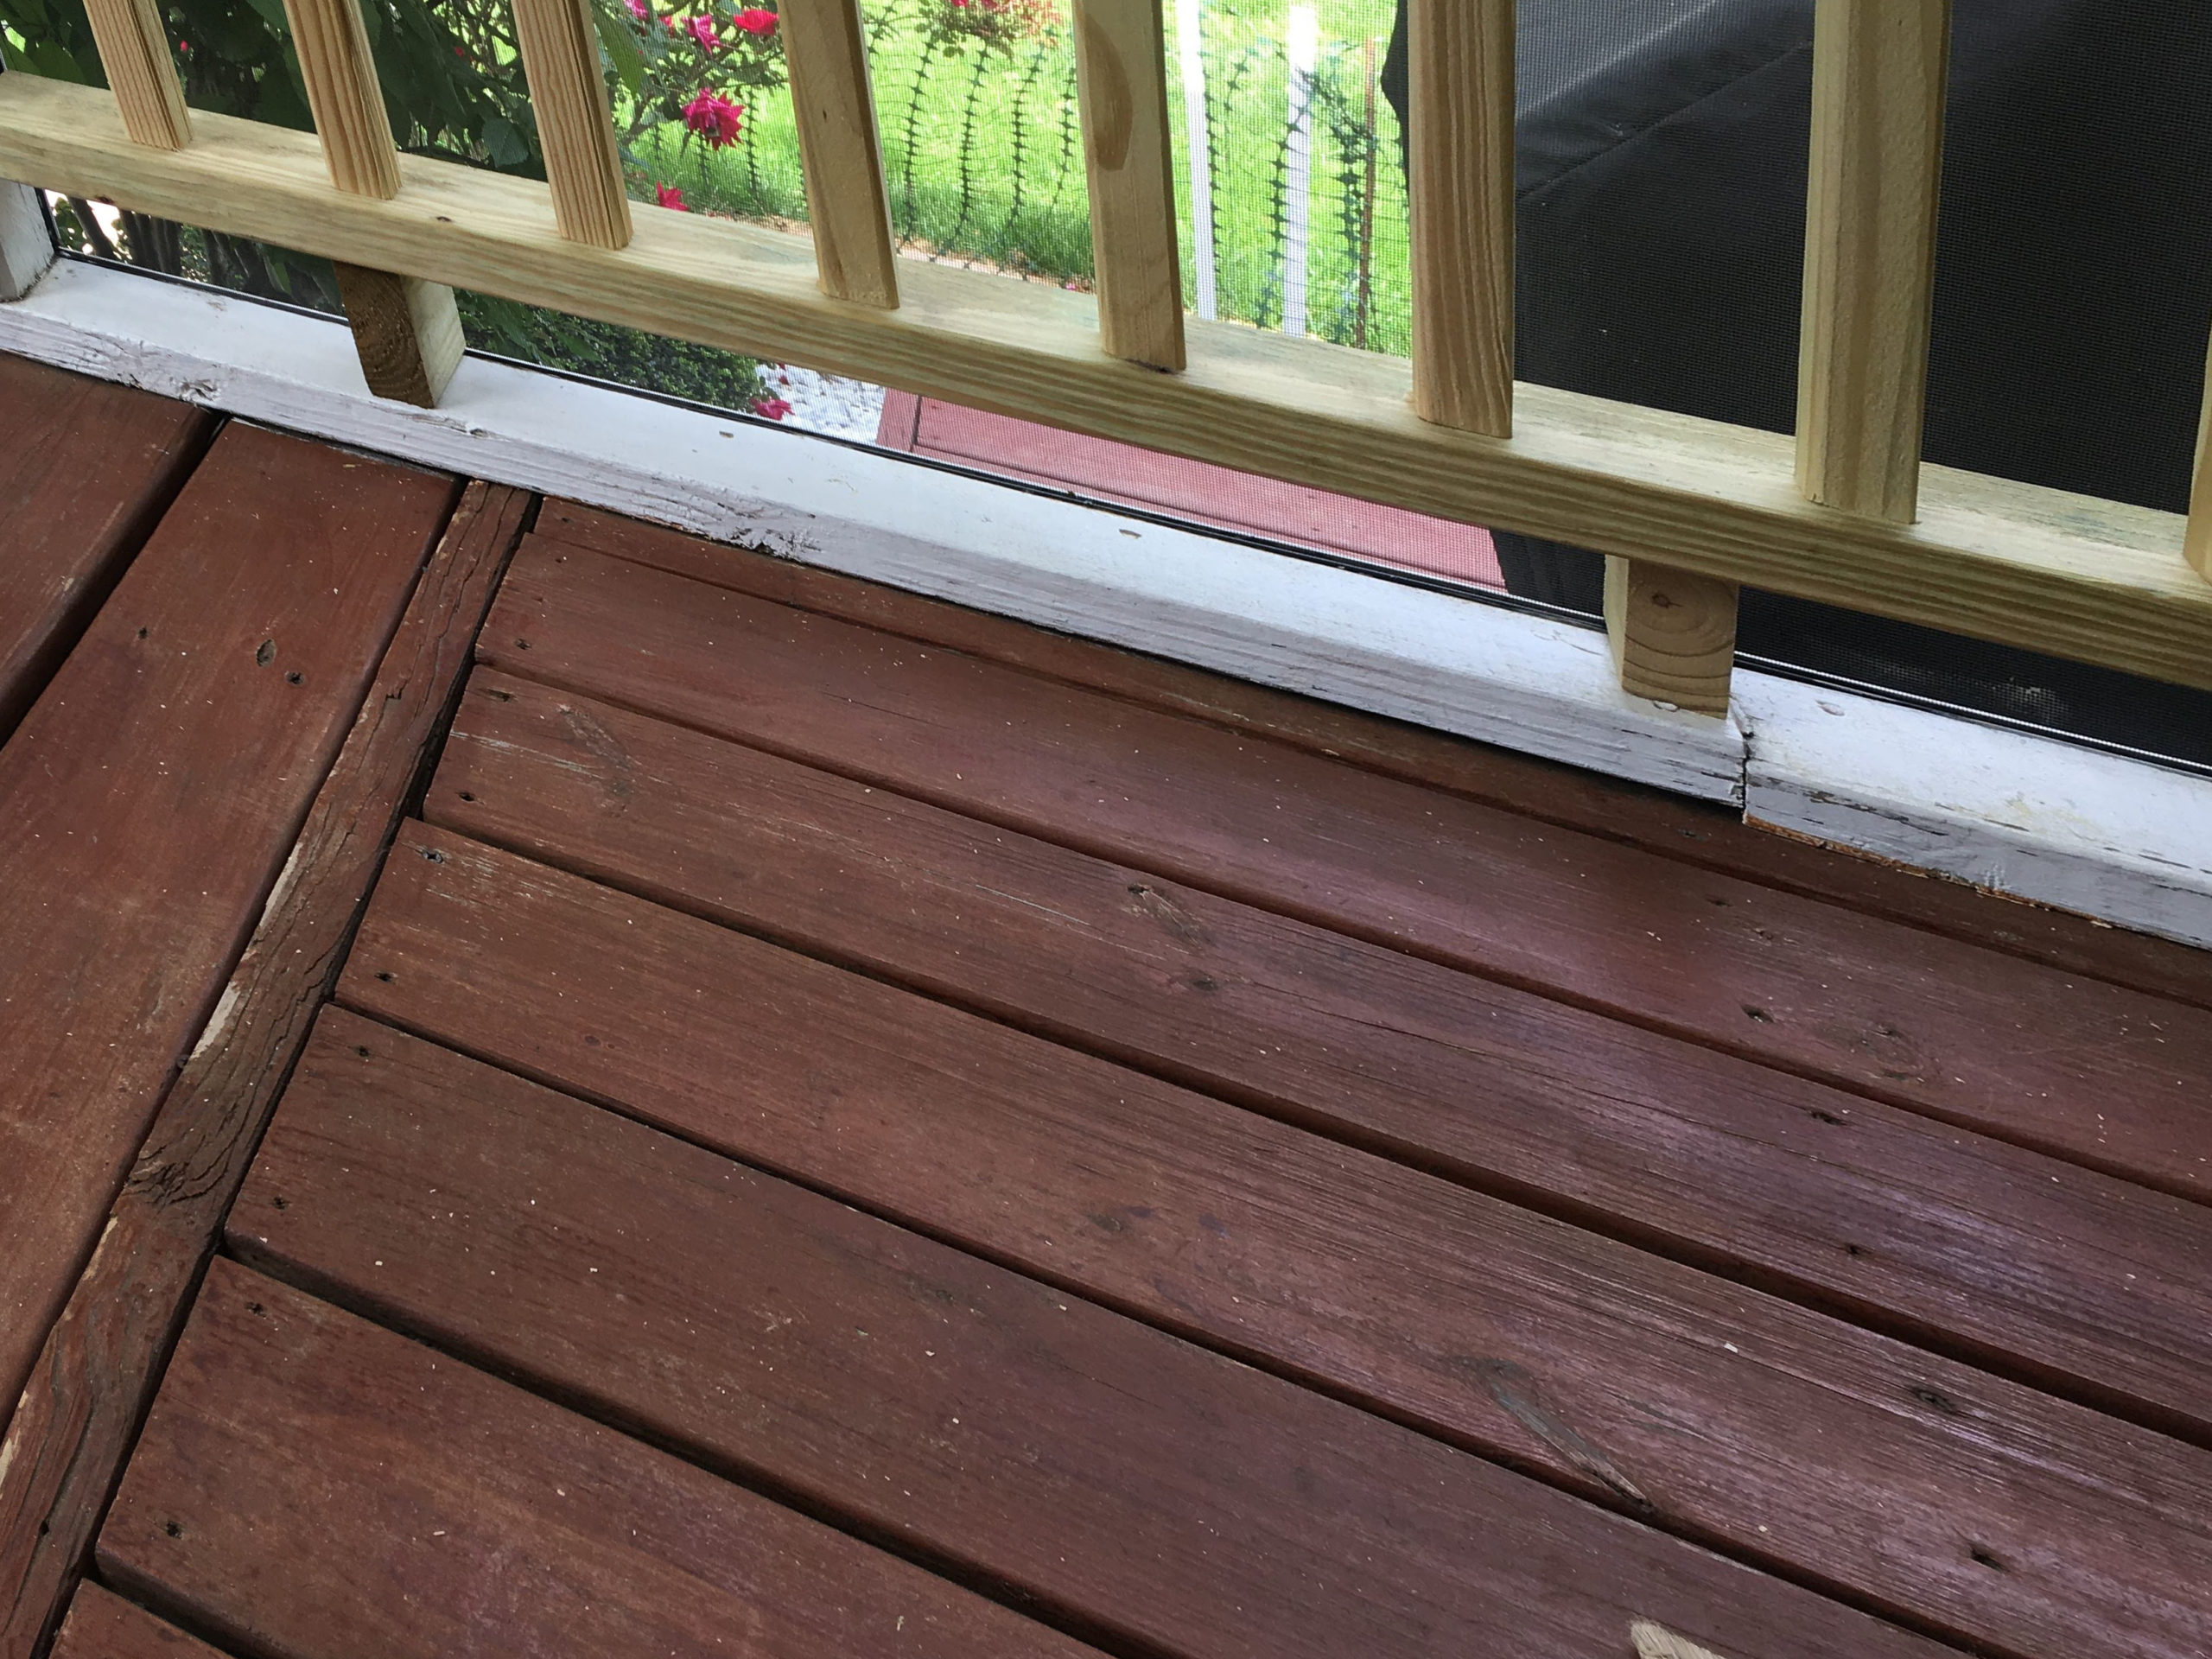
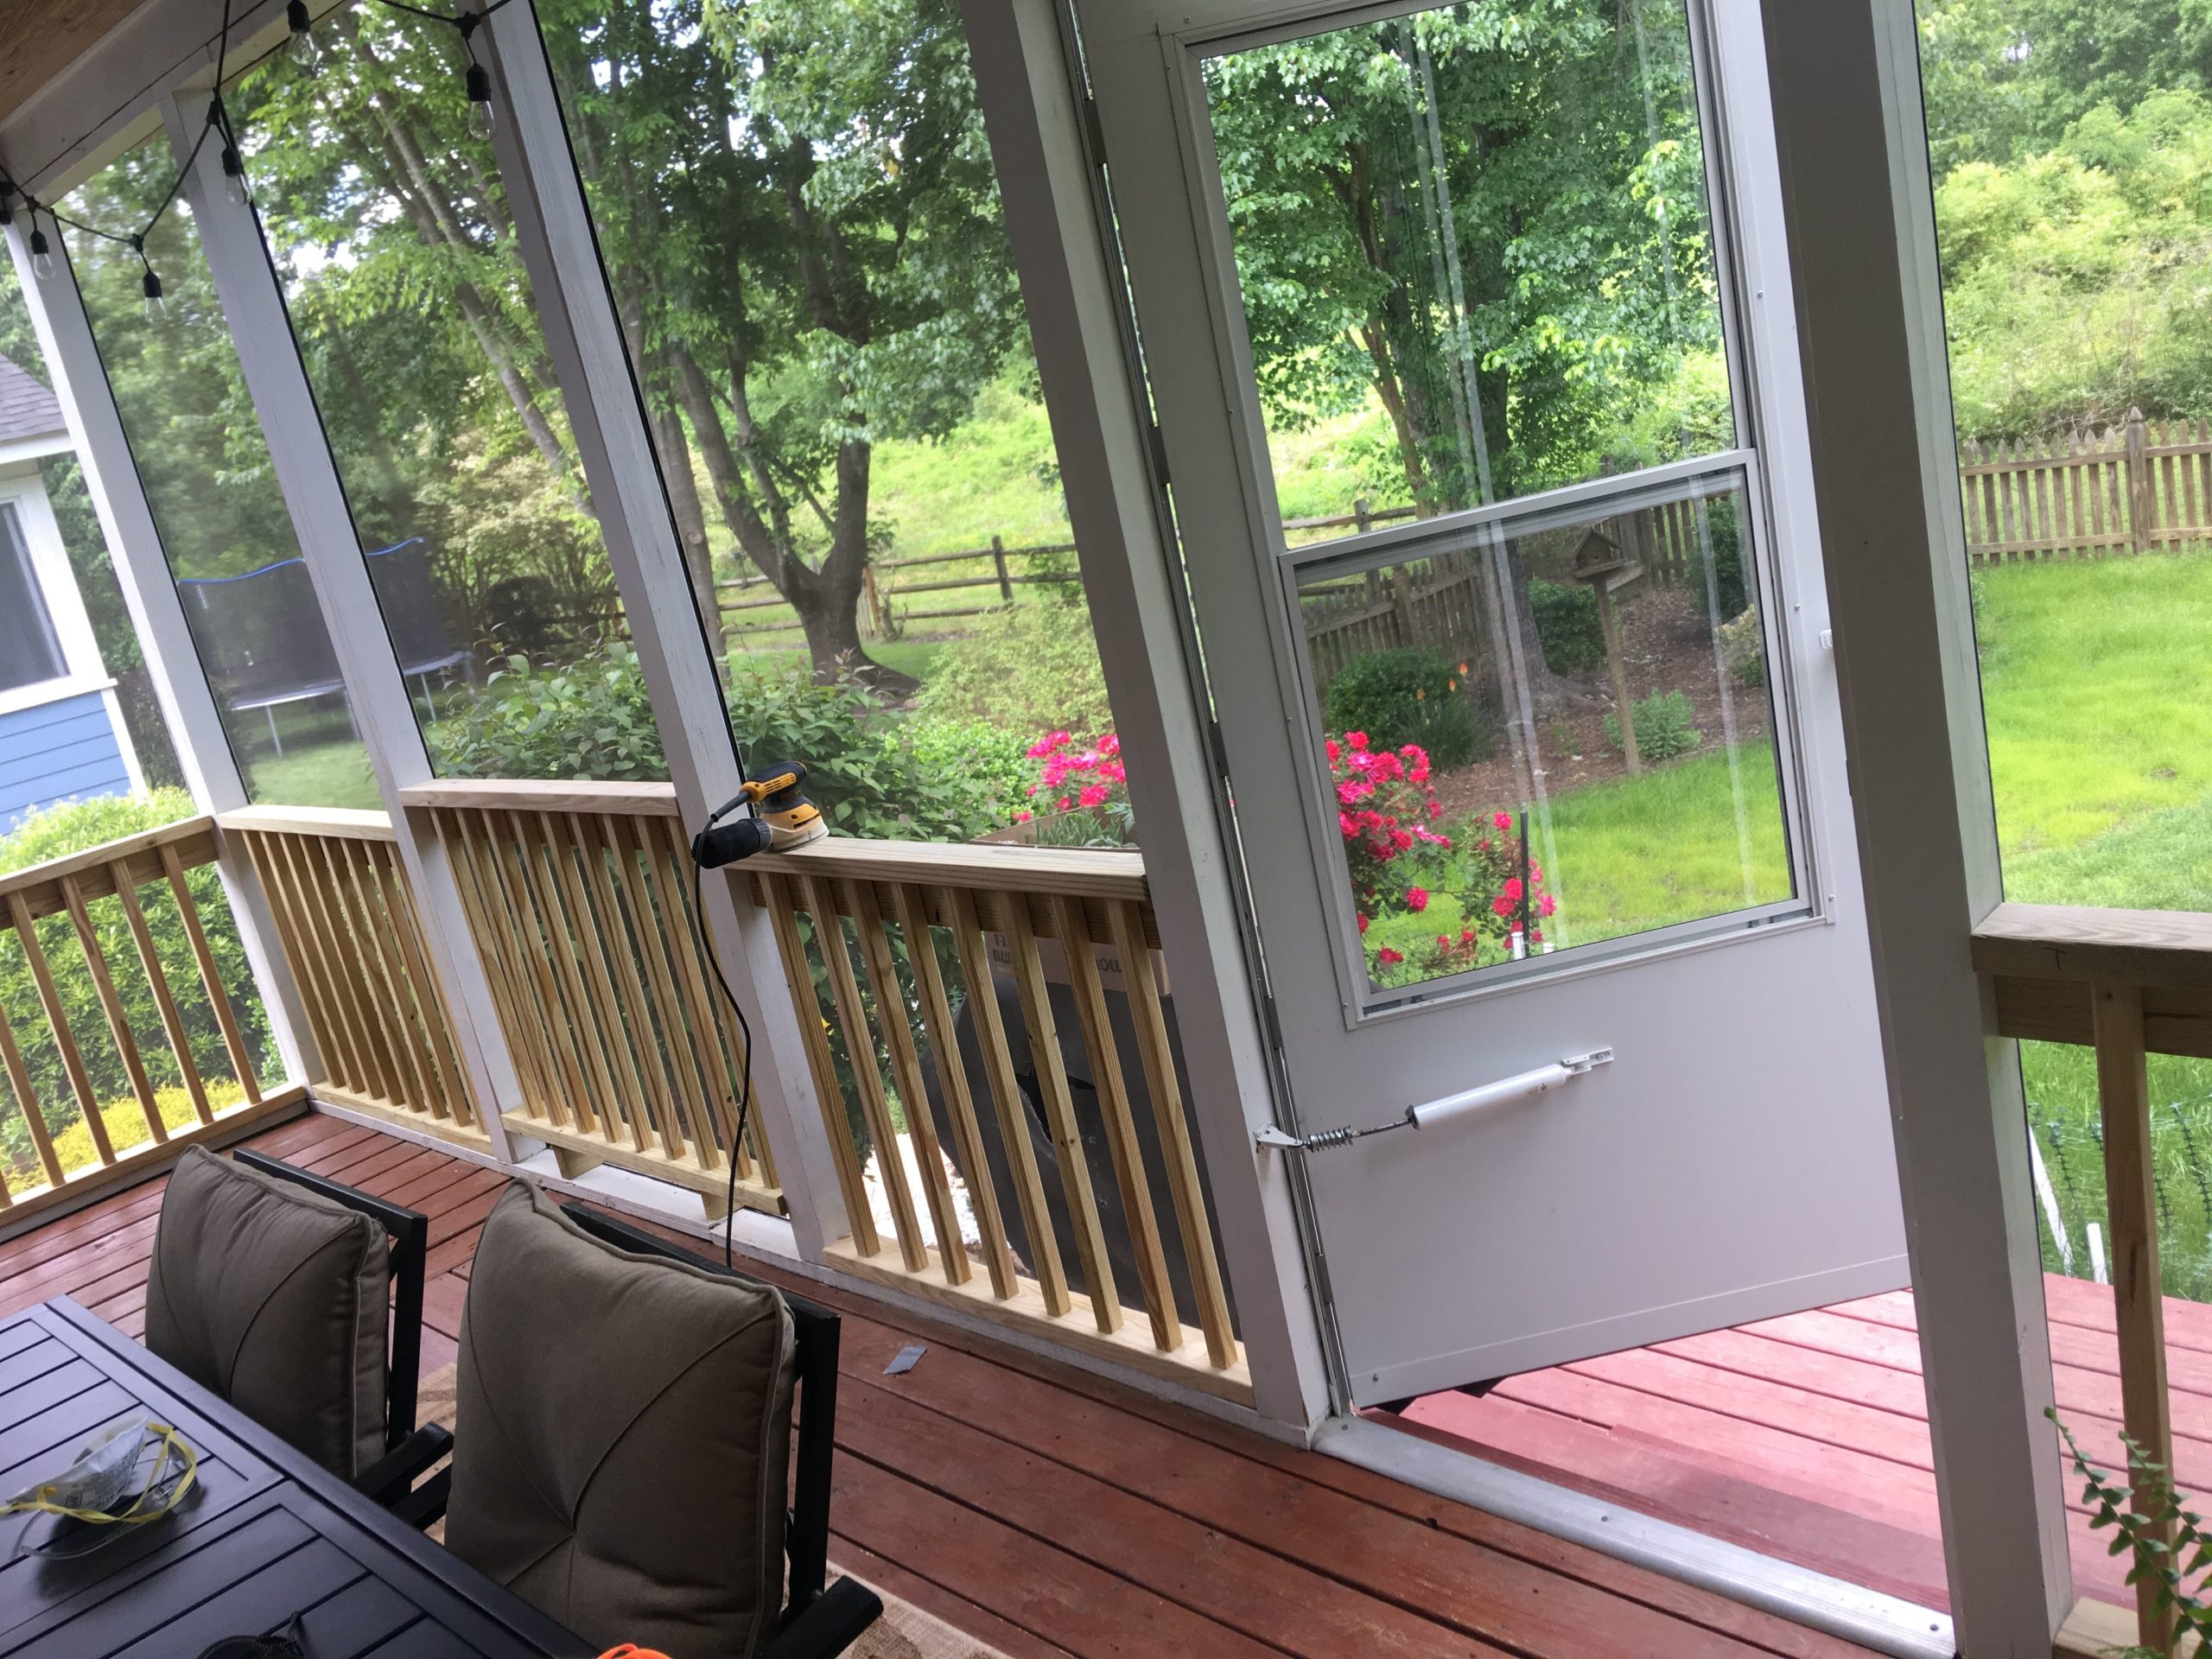
Once we moved into the house and the porch was bare of furniture we could immediately, tell that the space was missing something. There were wide expanses of screens, but there were no railings. In North Carolina, any deck over 30″ high requires a railing that’s built to code. This deck is well over 30″ off the ground and the screens just seemed awfully precarious, especially with a new puppy on the loose, so I made it a priority to DIY porch railings for our porch.
Note on State/County Codes:
Building codes vary by county and state. In my county, in North Carolina, any porch or deck that is higher than 30 inches is required to have a railing that is at least 36 inches high. Rail height is measured from the top of the porch flooring to the top of the rail. Higher railings are usually allowed but I decided to stick to 36″. Porch balusters must be no more than 4″ apart. Check with your local county for the code that applies to your project for details.
MATERIALS:
TOOLS:
Electric Sander (120 grit paper)
Paint Brush or Paint Sprayer (optional)
Steps to Build and Install DIY Porch Railings
STEP 1: Design & Measure
Map out and measure the length that you want to build your porch railings including the number and spacing of your balusters. Correctly built decks have posts that are used to anchor the deck into the ground or structure below it. If you are replacing an existing railing, you will likely already have posts that you can build your railing in between. If you don’t have a railing and your deck is just floating, you may need to build posts off the side of the deck, or attach your railing from underneath.
My porch is enclosed so these posts extend all the way up to the roof and have screens installed between them. I planned to add my railing between each post, making the math pretty easy. I mocked up my porch in SketchUp since this is was one of my first builds, I wanted to make a plan that I could follow all the way through.

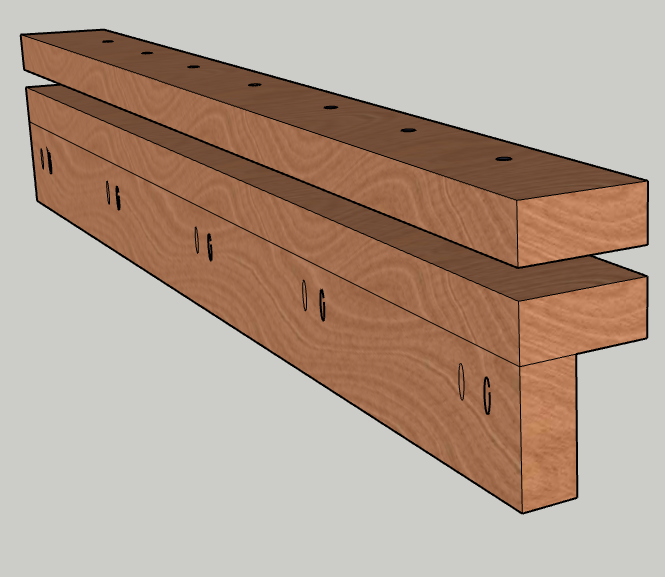
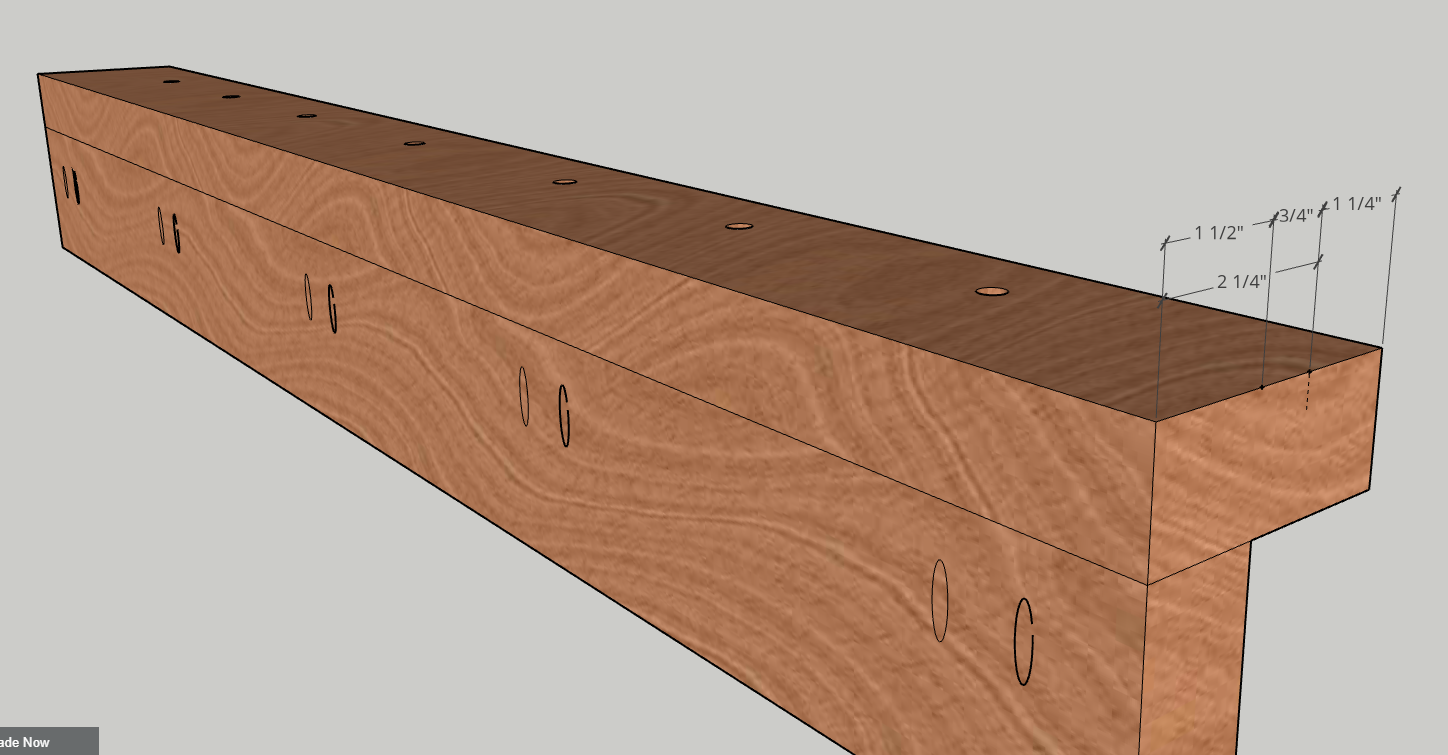
STEP 2: Cut and Assemble Top & Bottom Rails
Once you have your measured railing lengths, you need to cut three- 2×4″ boards to that length. These are going to be your top and bottom rails. Attach two of the pieces at a 90° angle with wood glue and pocket hole screws to make the top rail.
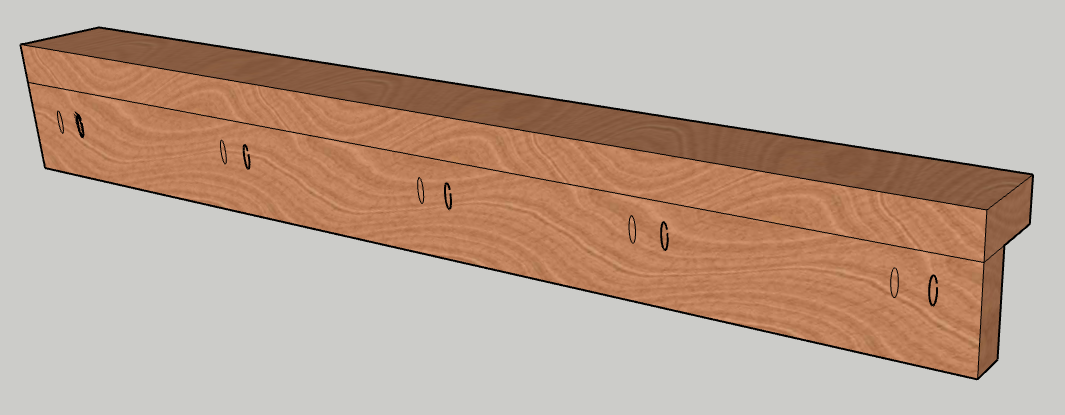
Next, you’ll want to drill pilot holes for your balusters through the top and bottom rails. The baluster will lay flush against the back of the top rail back 2×4″, this means the center of your holes should roughly be about 1+1/4″ from the front of the rail or 2+1/4″ from the back:

I started with pre-drilling the bottom rail since it was a flat piece of wood and easier to maneuver. Then I used the bottom rail as a guide for the top rail by laying it on top and drilling the pilot holes through the bottom rail piece. Make sure that the 1-1/4″ side is facing the front!
STEP 3: Cut Balusters
The balusters come in a 36″ length which is pretty common for deck balusters. Based on North Carolina code, my railings had to be 36″ tall but I planned to float these railings up a little bit between the posts, meaning I didn’t plan to have them sit directly on the deck surface. NC code only allows you to float your railings between 3-4″ so I went with 3″. Because of this, plus the thickness of my top and bottom rails, I needed to cut my balusters down to 30″ each.

STEP 4: Attach Balusters to Top and Bottom Rails
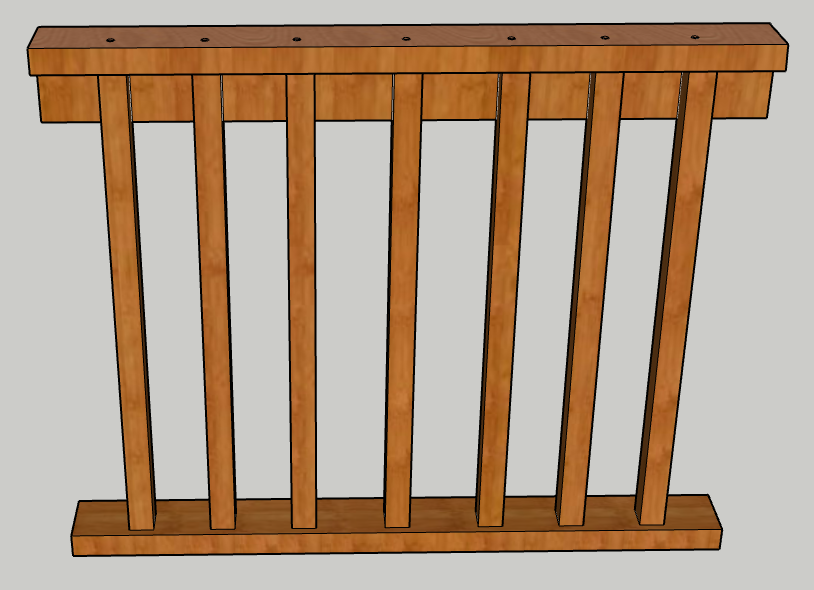
Using the pilot holes we drilled in the last step, line up your balusters and screw them into the rails using 2-1/2″ deck screws. Make sure that the screwheads are sunk flush or below the level of the board so that we can fill and sand the areas flush, later.
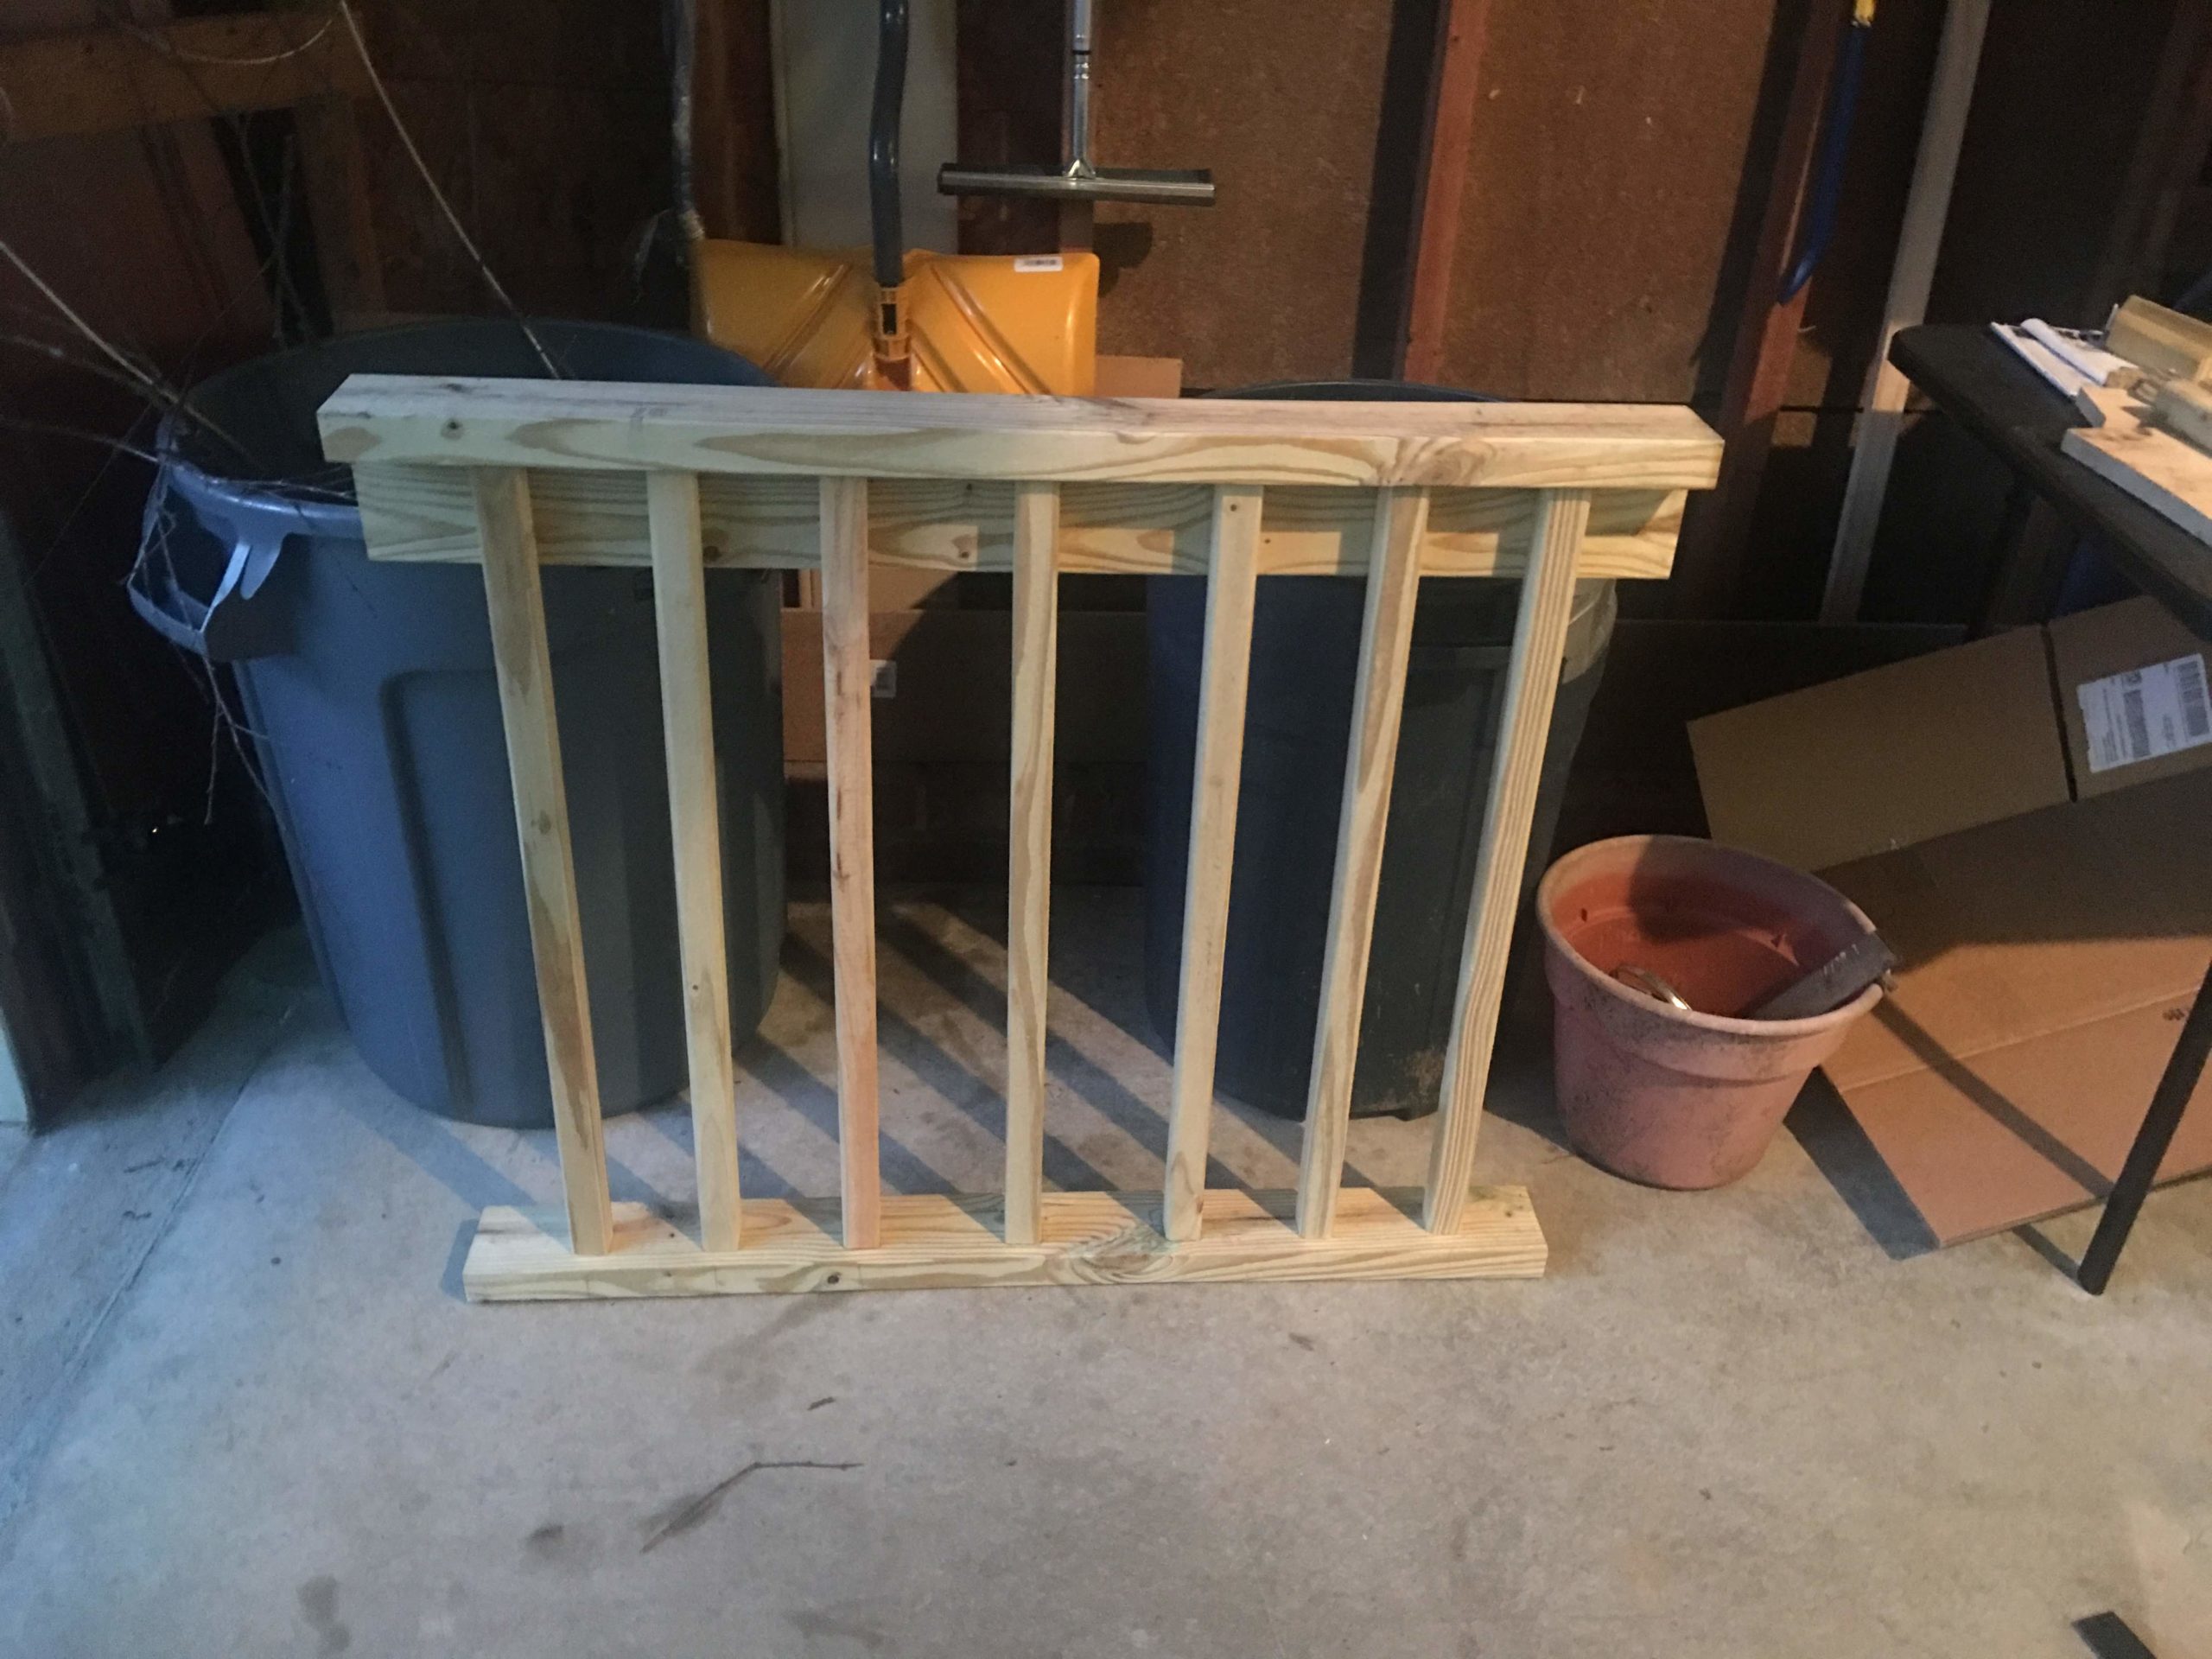
STEP 5: Test Fit Railings
If you’re not resting your railings directly on your deck, like me, decide how far you want the railing to “float”. Cut several small 2×4 blocks that length so you can use them to prop up the railing. Position one at each end where the railing will attach to posts. Set your railing assembly on top of the blocks and check for fit.
The fit should be snug or slightly loose. If it’s too tight and won’t fit evenly, use a low grit sandpaper to shave off some material from the rails until the railing fits in the space. Take the railing assembly back out.
STEP 6: Wood Fill & Sand
At this point, fill all your pocket hole and screw holes with wood filler. I covered the holes in the top of my railing with wood filler— screw and all. I left the holes in the bottom rail open since they’ll face the ground and no one will be able to see them. Once the wood filler is dry, sand it down and give the entire railing a light sand with 120 grit paper.
I didn’t worry too much sanding the balusters super smooth but for the top rail that people would be touching, I sanded it down, raised the grain with a wet cloth and then sanded it a second time. Vacuum the railing really good after this step since there will be a lot of dust.
STEP 7: Paint Railings
You can leave the railings as is, or paint or seal them to make them last longer and look better (in my opinion). I went with HGTV Home SW WeatherShield Exterior Paint in the default color- Extra White, to match the posts on my porch. A Paint Brush would probably be the easiest way to paint these railings but since this was one of my first ever DIY’s I got a little extra and bought a Paint Sprayer to paint them.
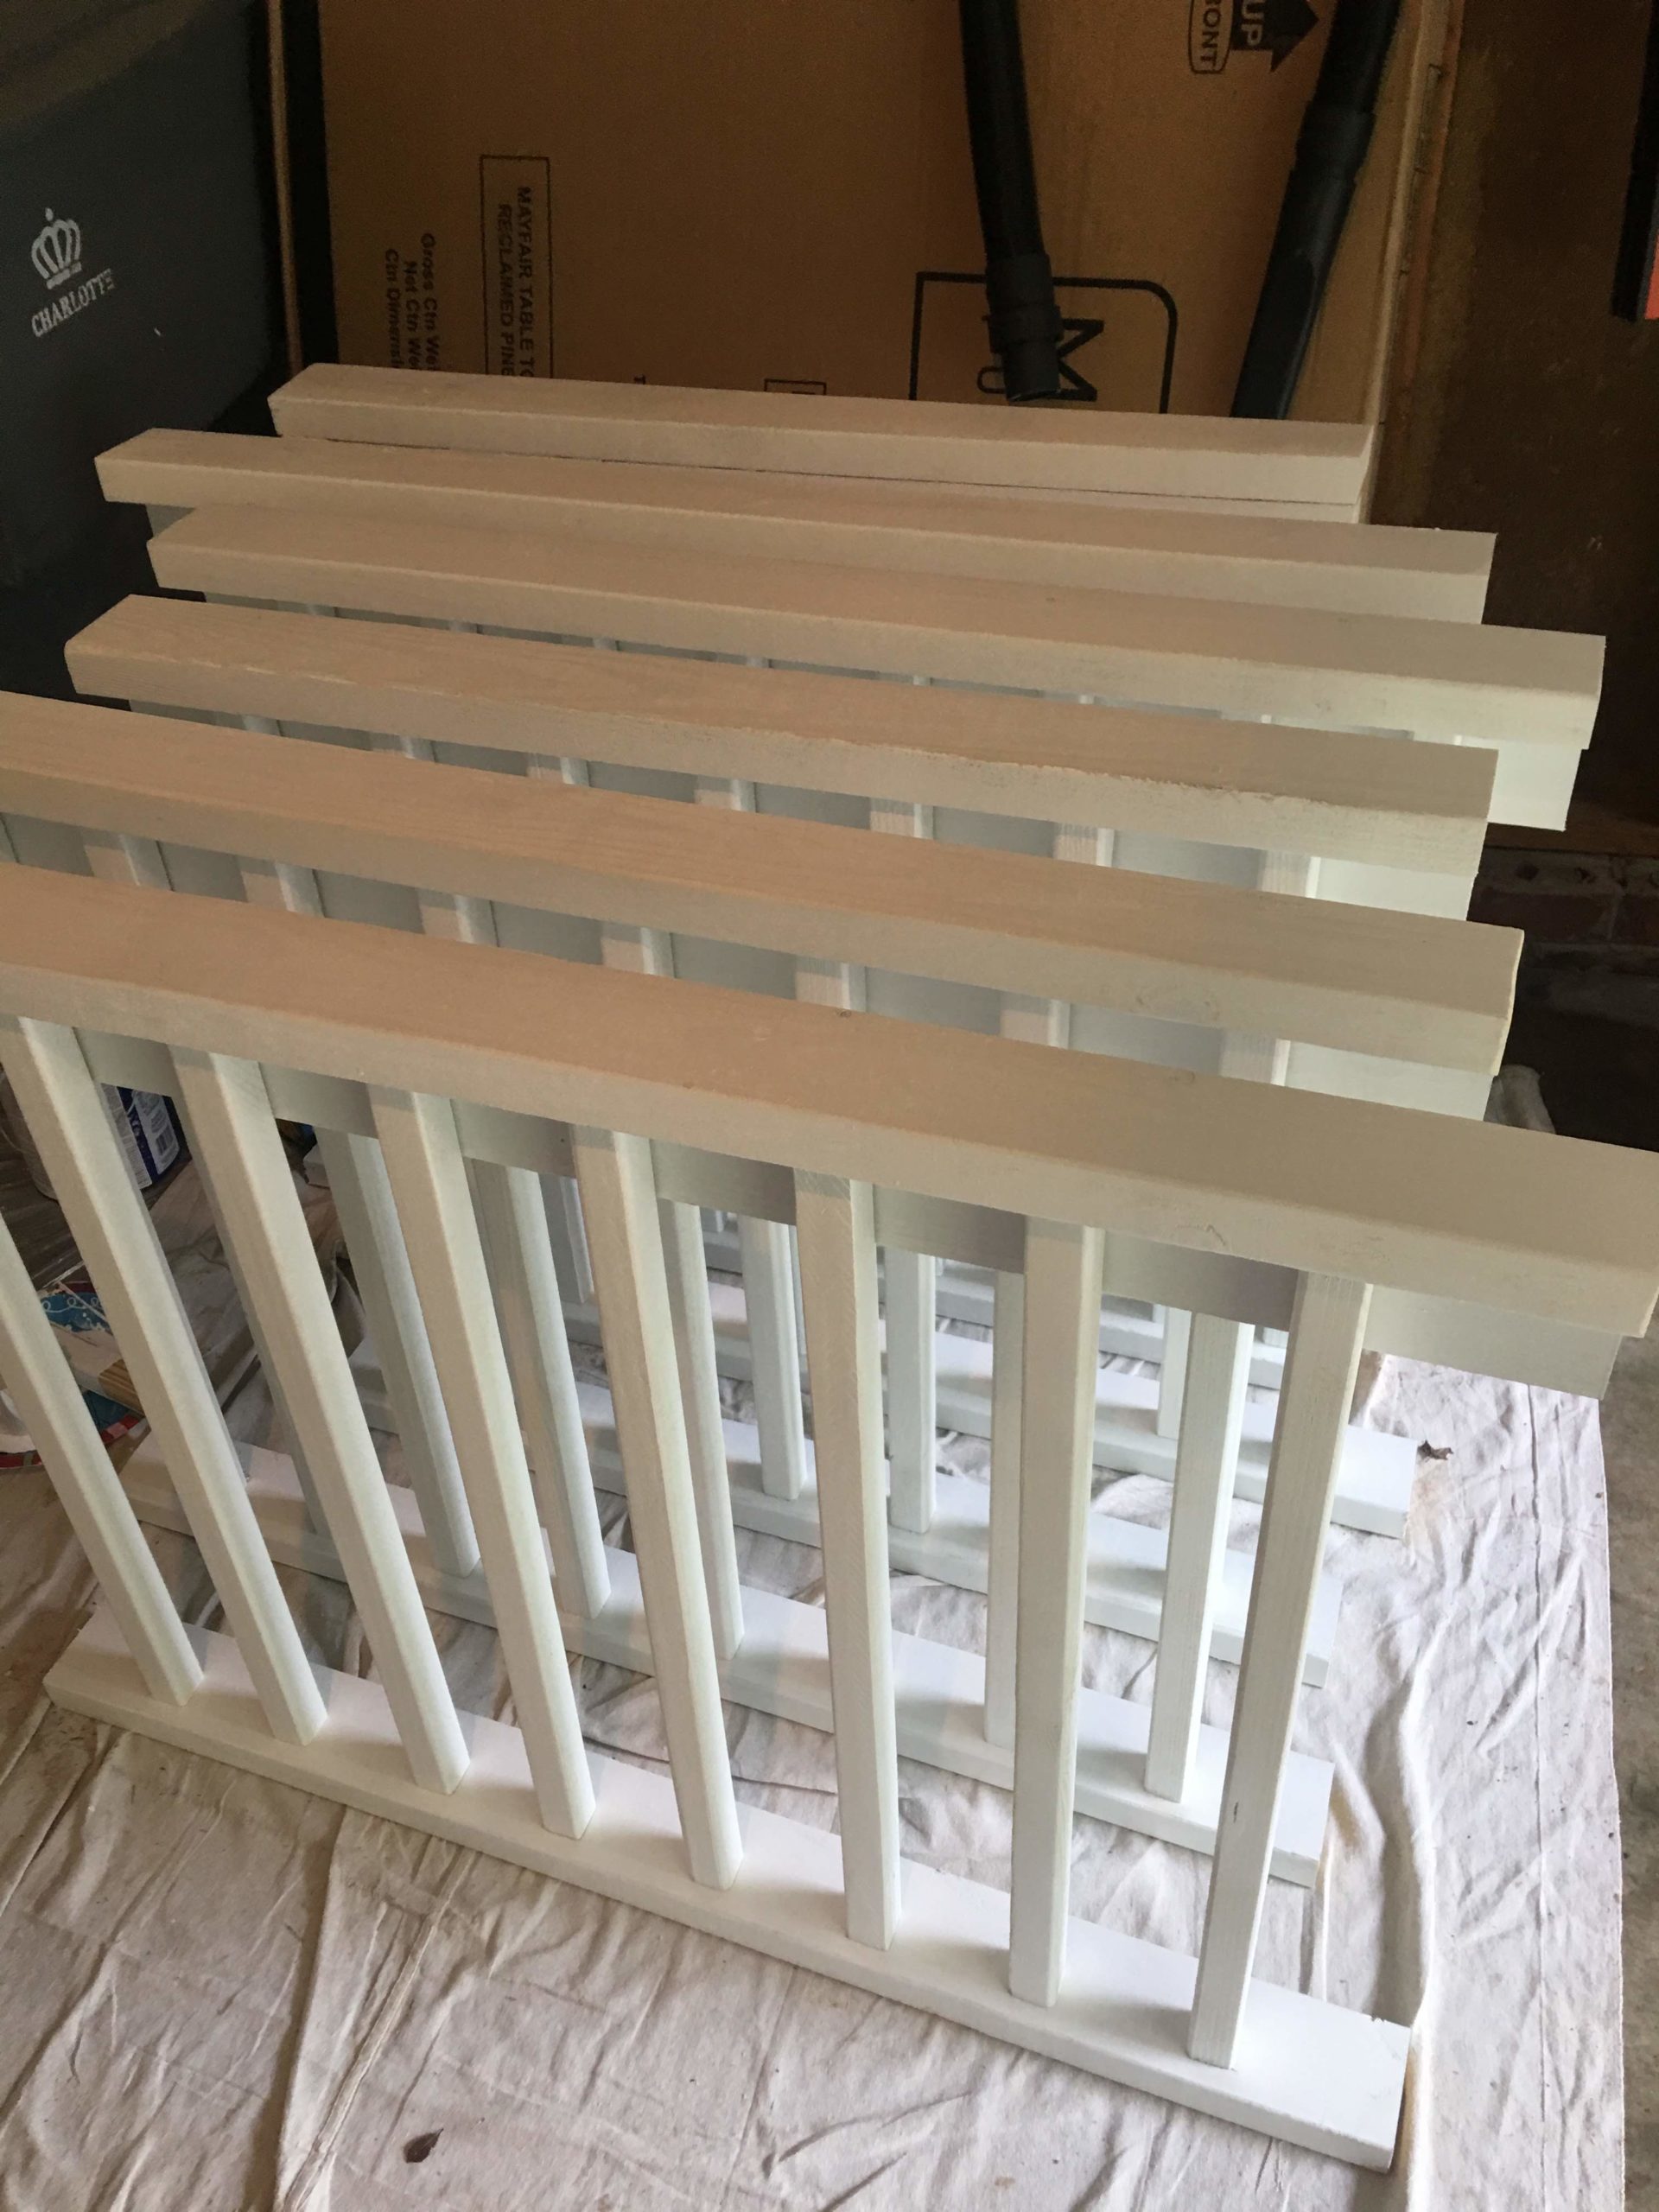
It was super easy to spray them and I’m so glad I did it because it gave me great practice using (and cleaning) my new paint sprayer but it definitely isn’t necessary. Check out the little spray painting station I made in my garage:

STEP 8: Install Railings
Once the railings are dry, bring them back to your deck to install them. You’ll be screwing them in at an angle from underneath the rails, so if your balusters are super close to the edges of your railing, you should drill some pilot holes before placing the railings in the space.
Again, use the 2×4 spacing blocks and check for level. If your deck is old (or is just a little funky in general) level might not actually look level. Step back and take a look at the railing before screwing it in place. Sometimes it’s better to look level than to actually be level.
Once it looks level, screw up from underneath your rails into your posts at an angle, using 4″ long deck screws. Screw in all 4 corners of your railing to make it secure and even use two screws if possible.

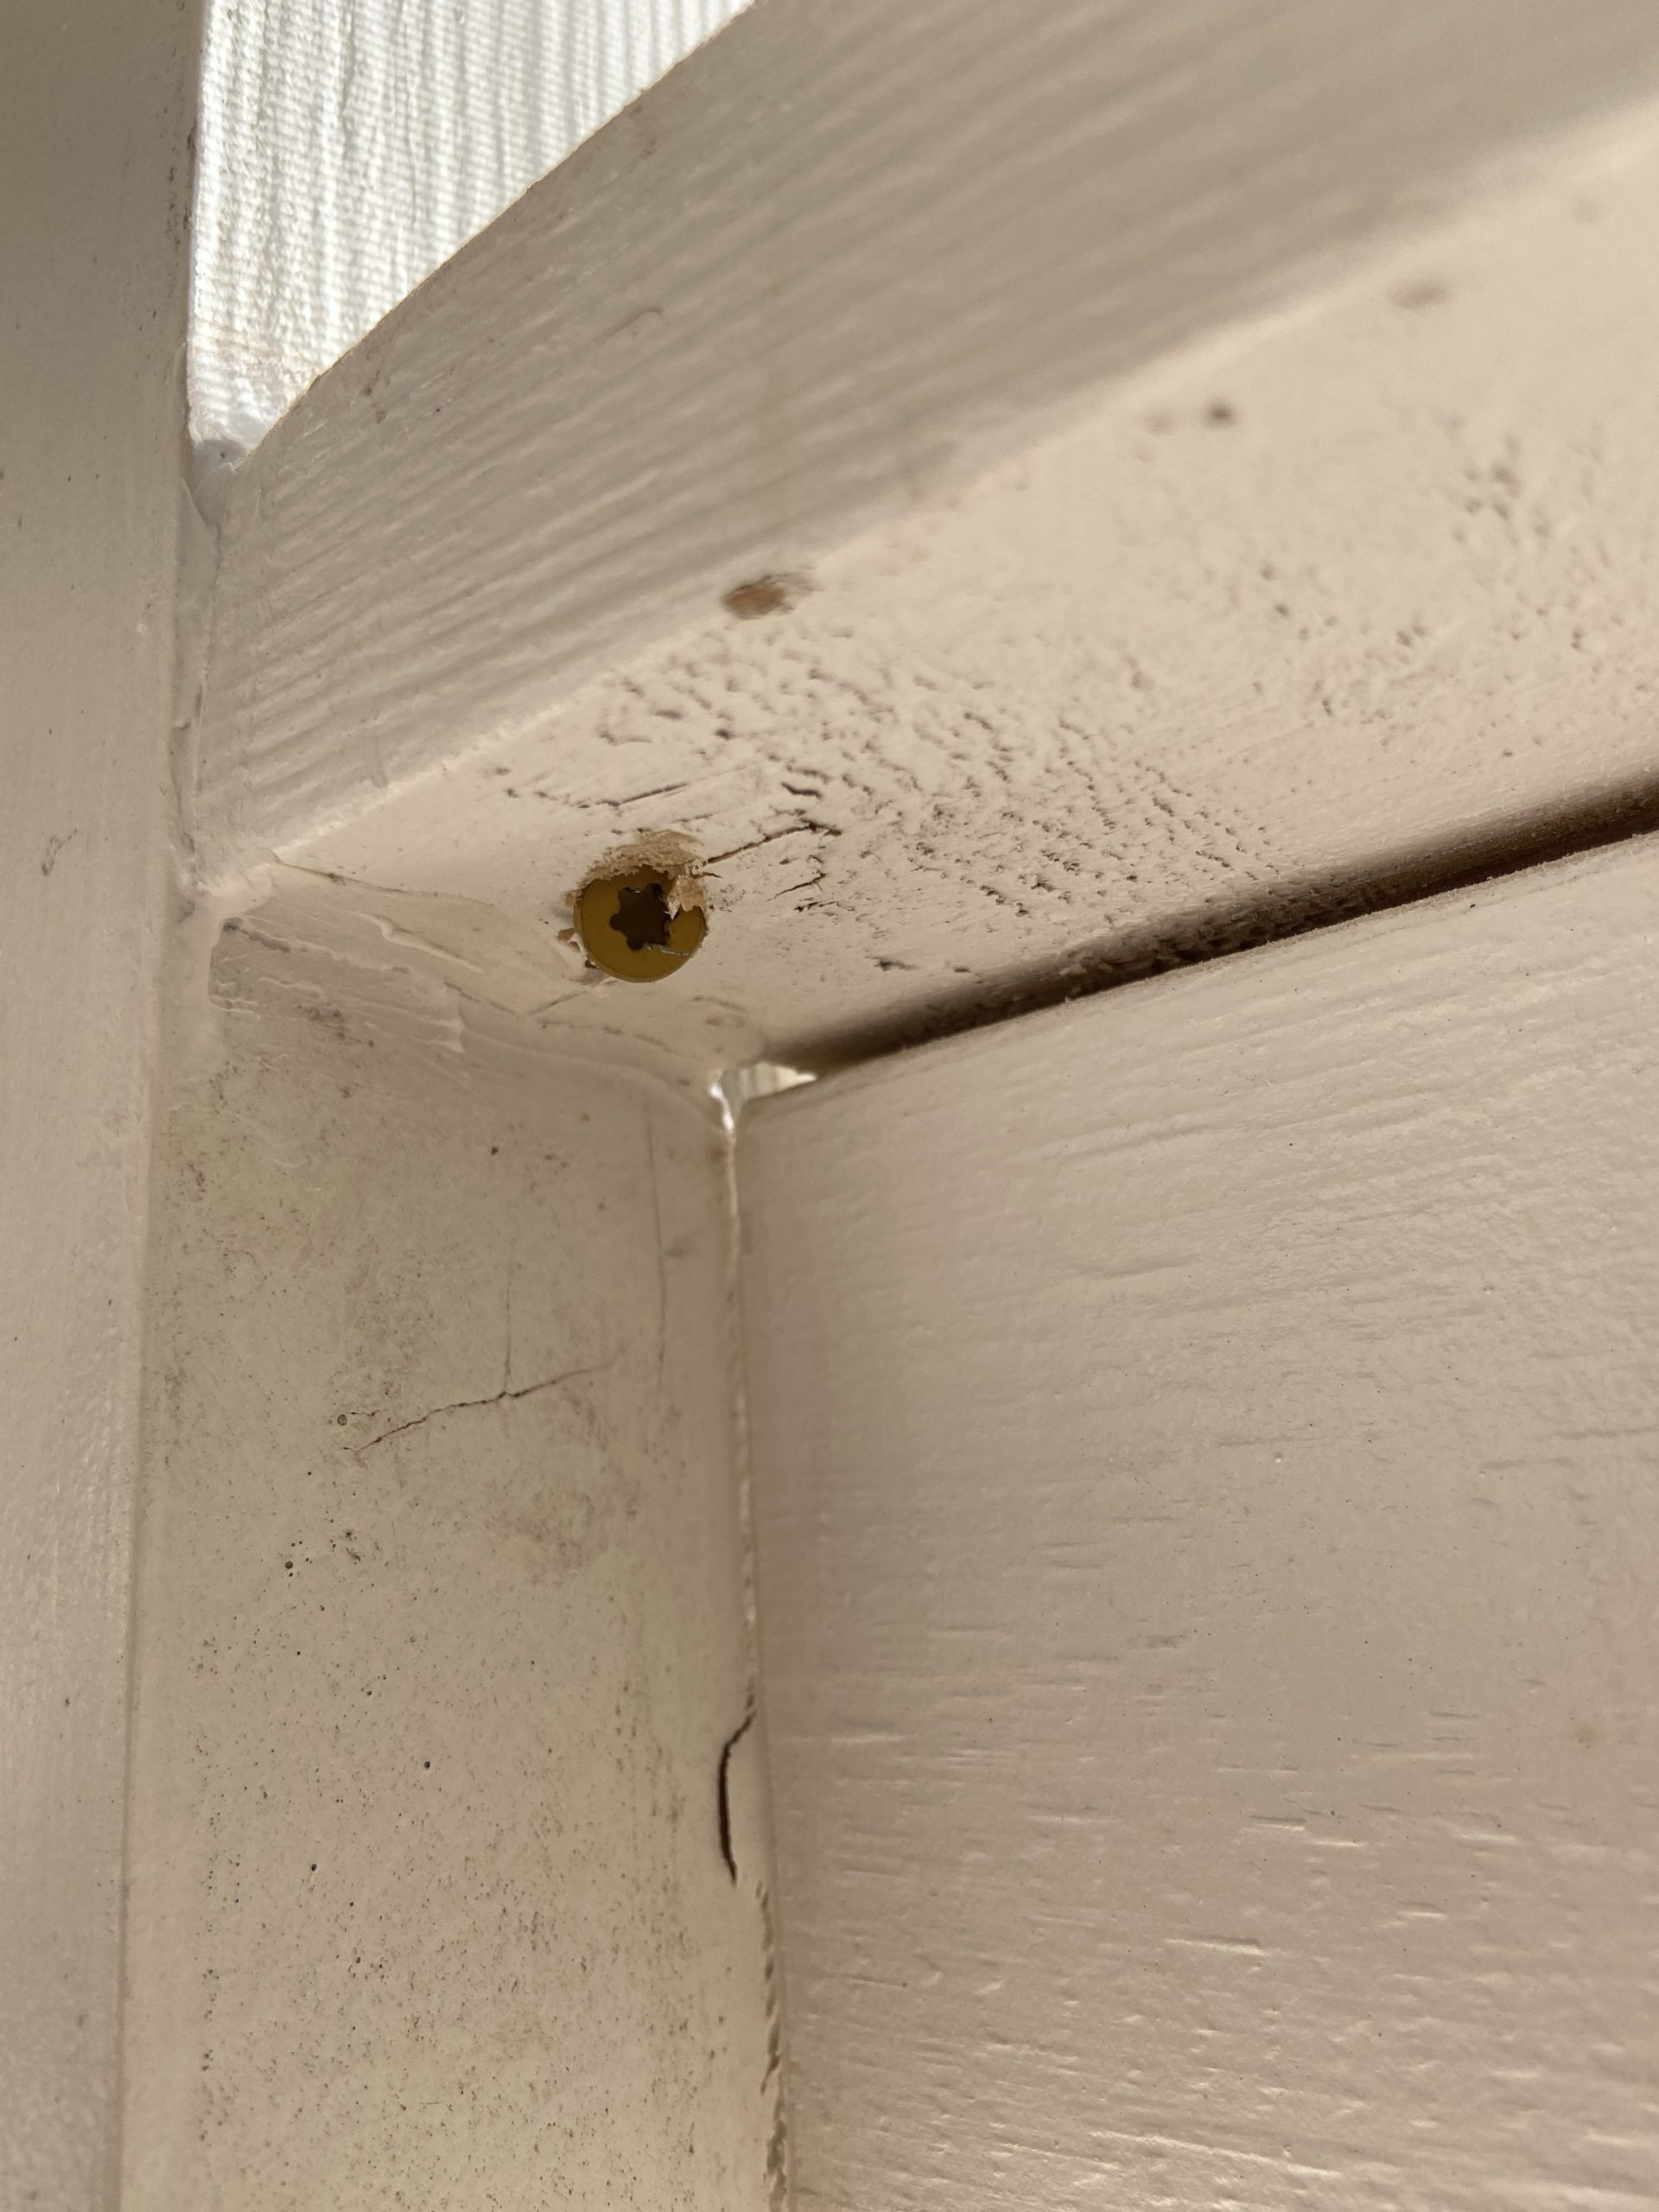

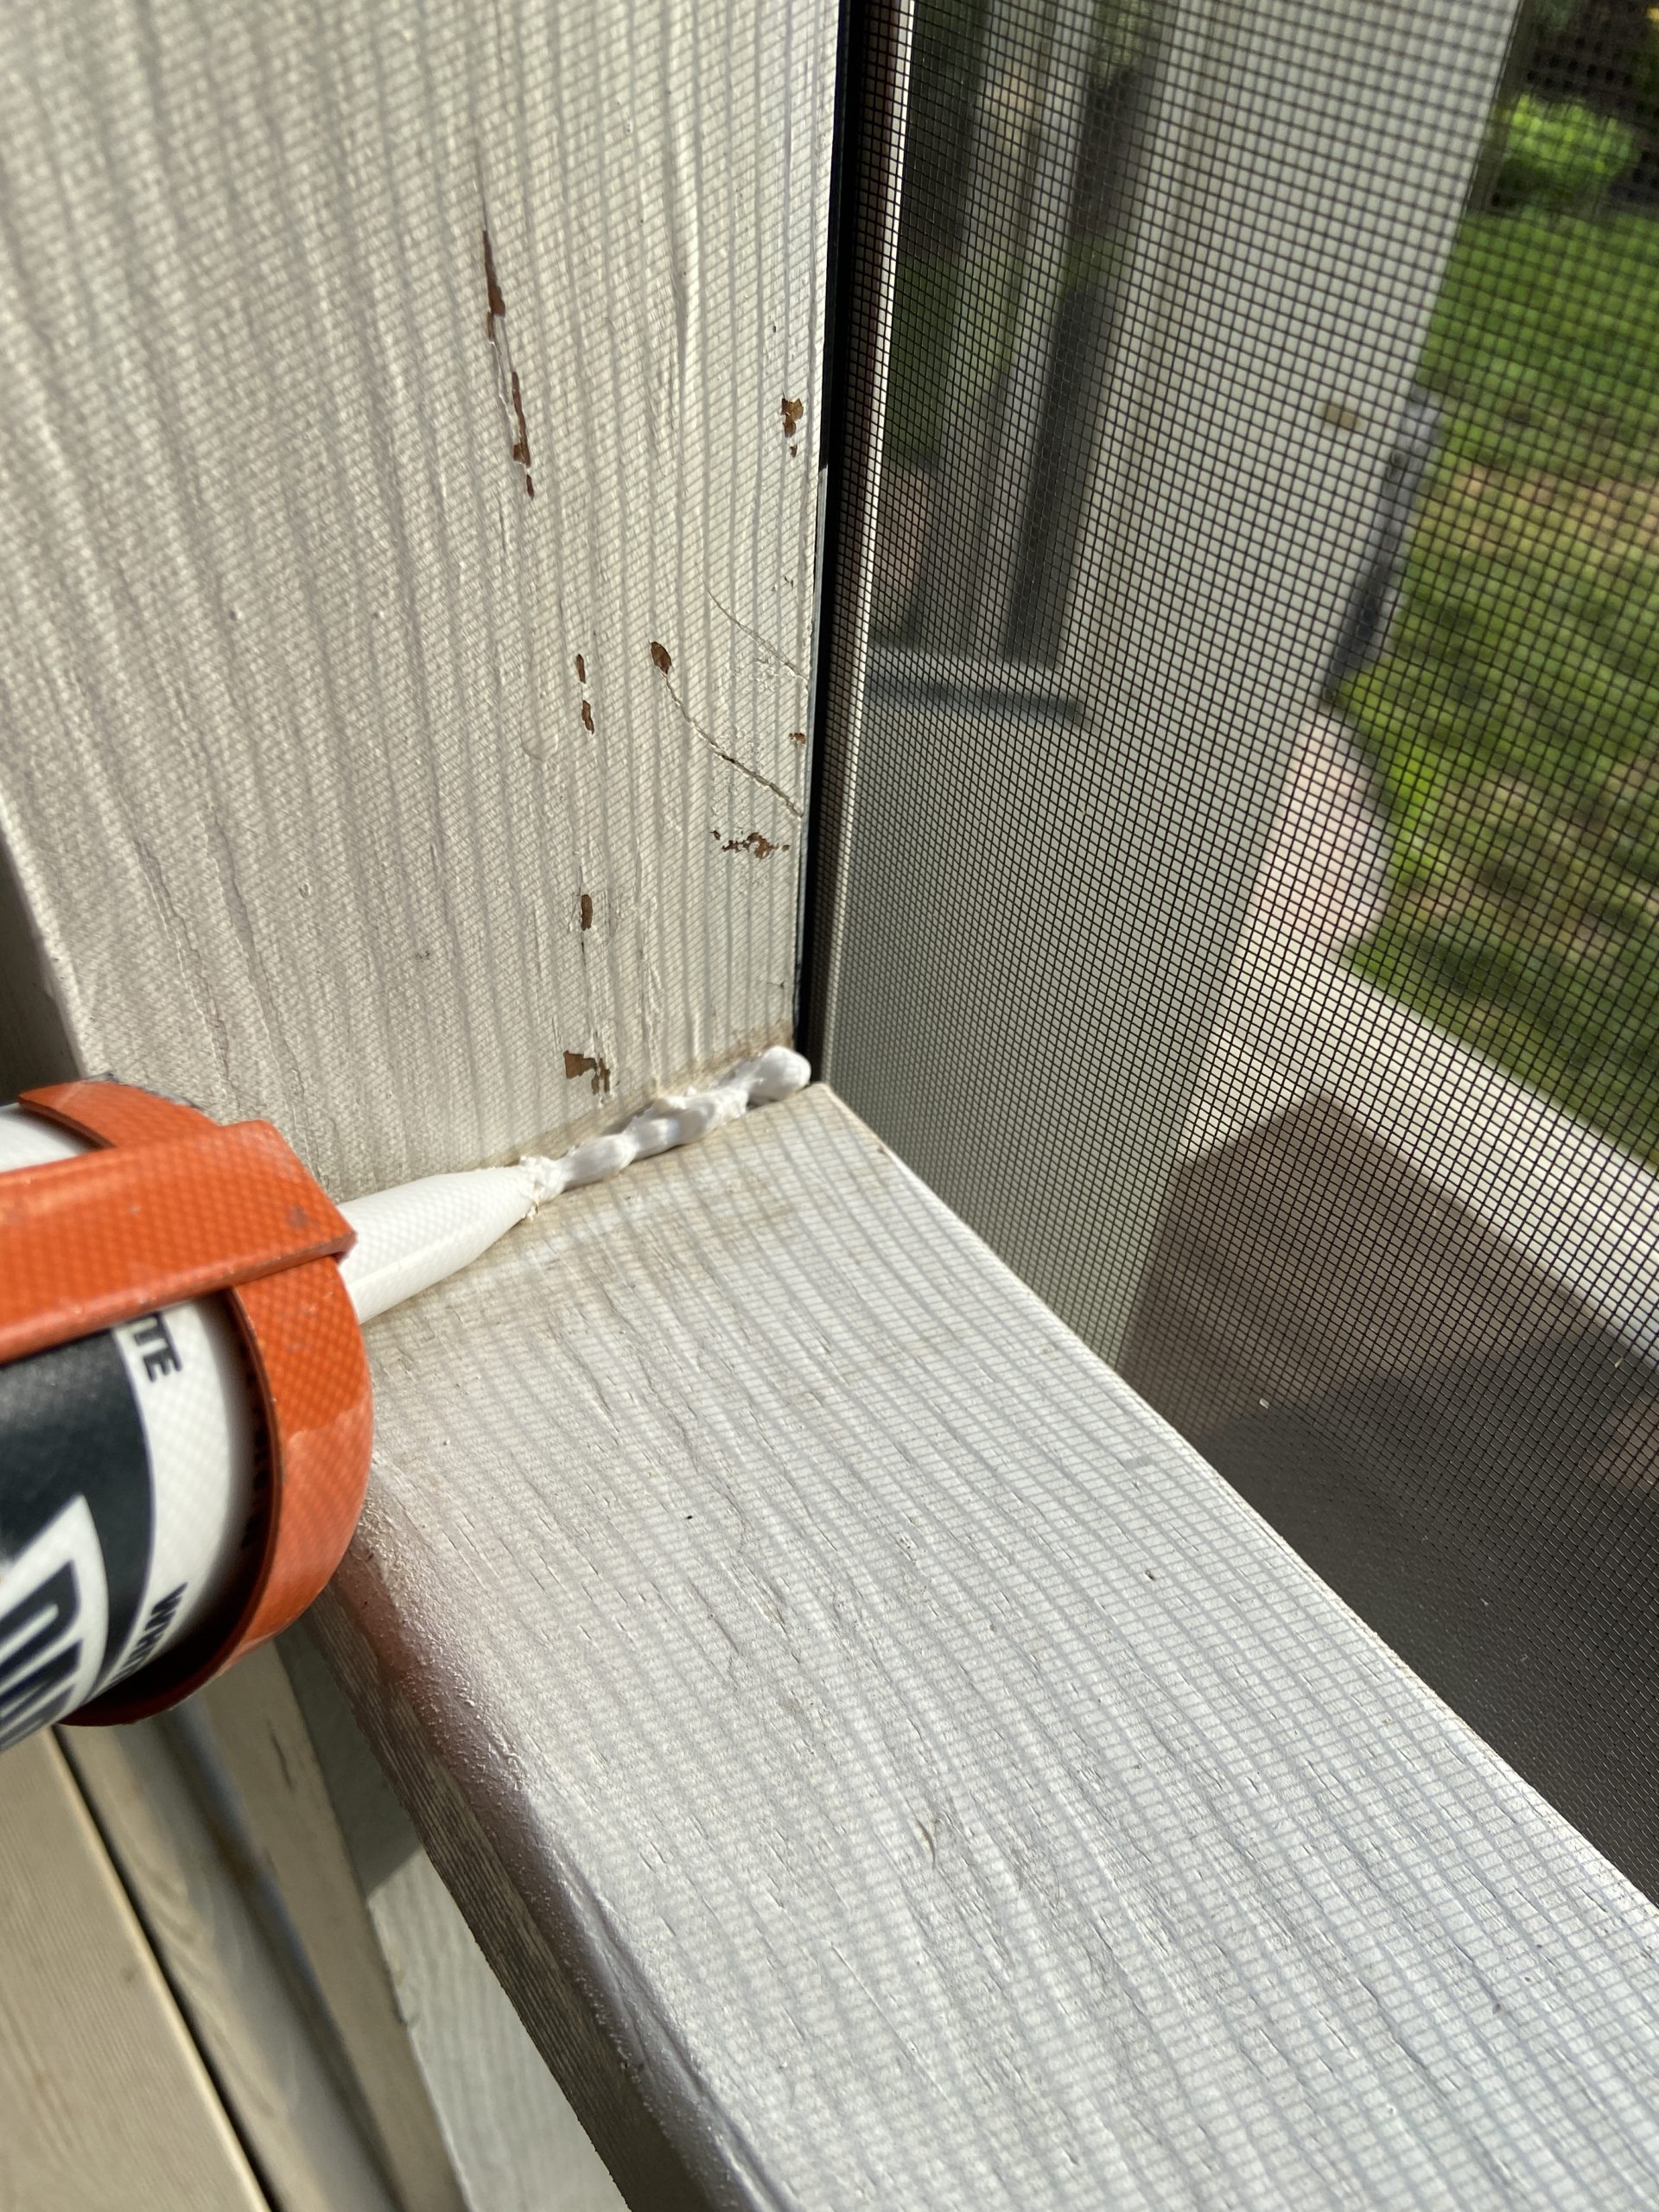
STEP 9: Caulk
Caulk all the edges of the railing that meets the post with paintable acrylic caulk. If your baluster cuts were less than precise, you are also going to have some slight gaps at the top or bottom of a few of them that can also be caulked.

That’s it, you can touch up your paint in the caulked area if you want but besides that, you’re done!
Decor Links:
Dining Table is old (similar)
Curtains (and Curtain “liners”)
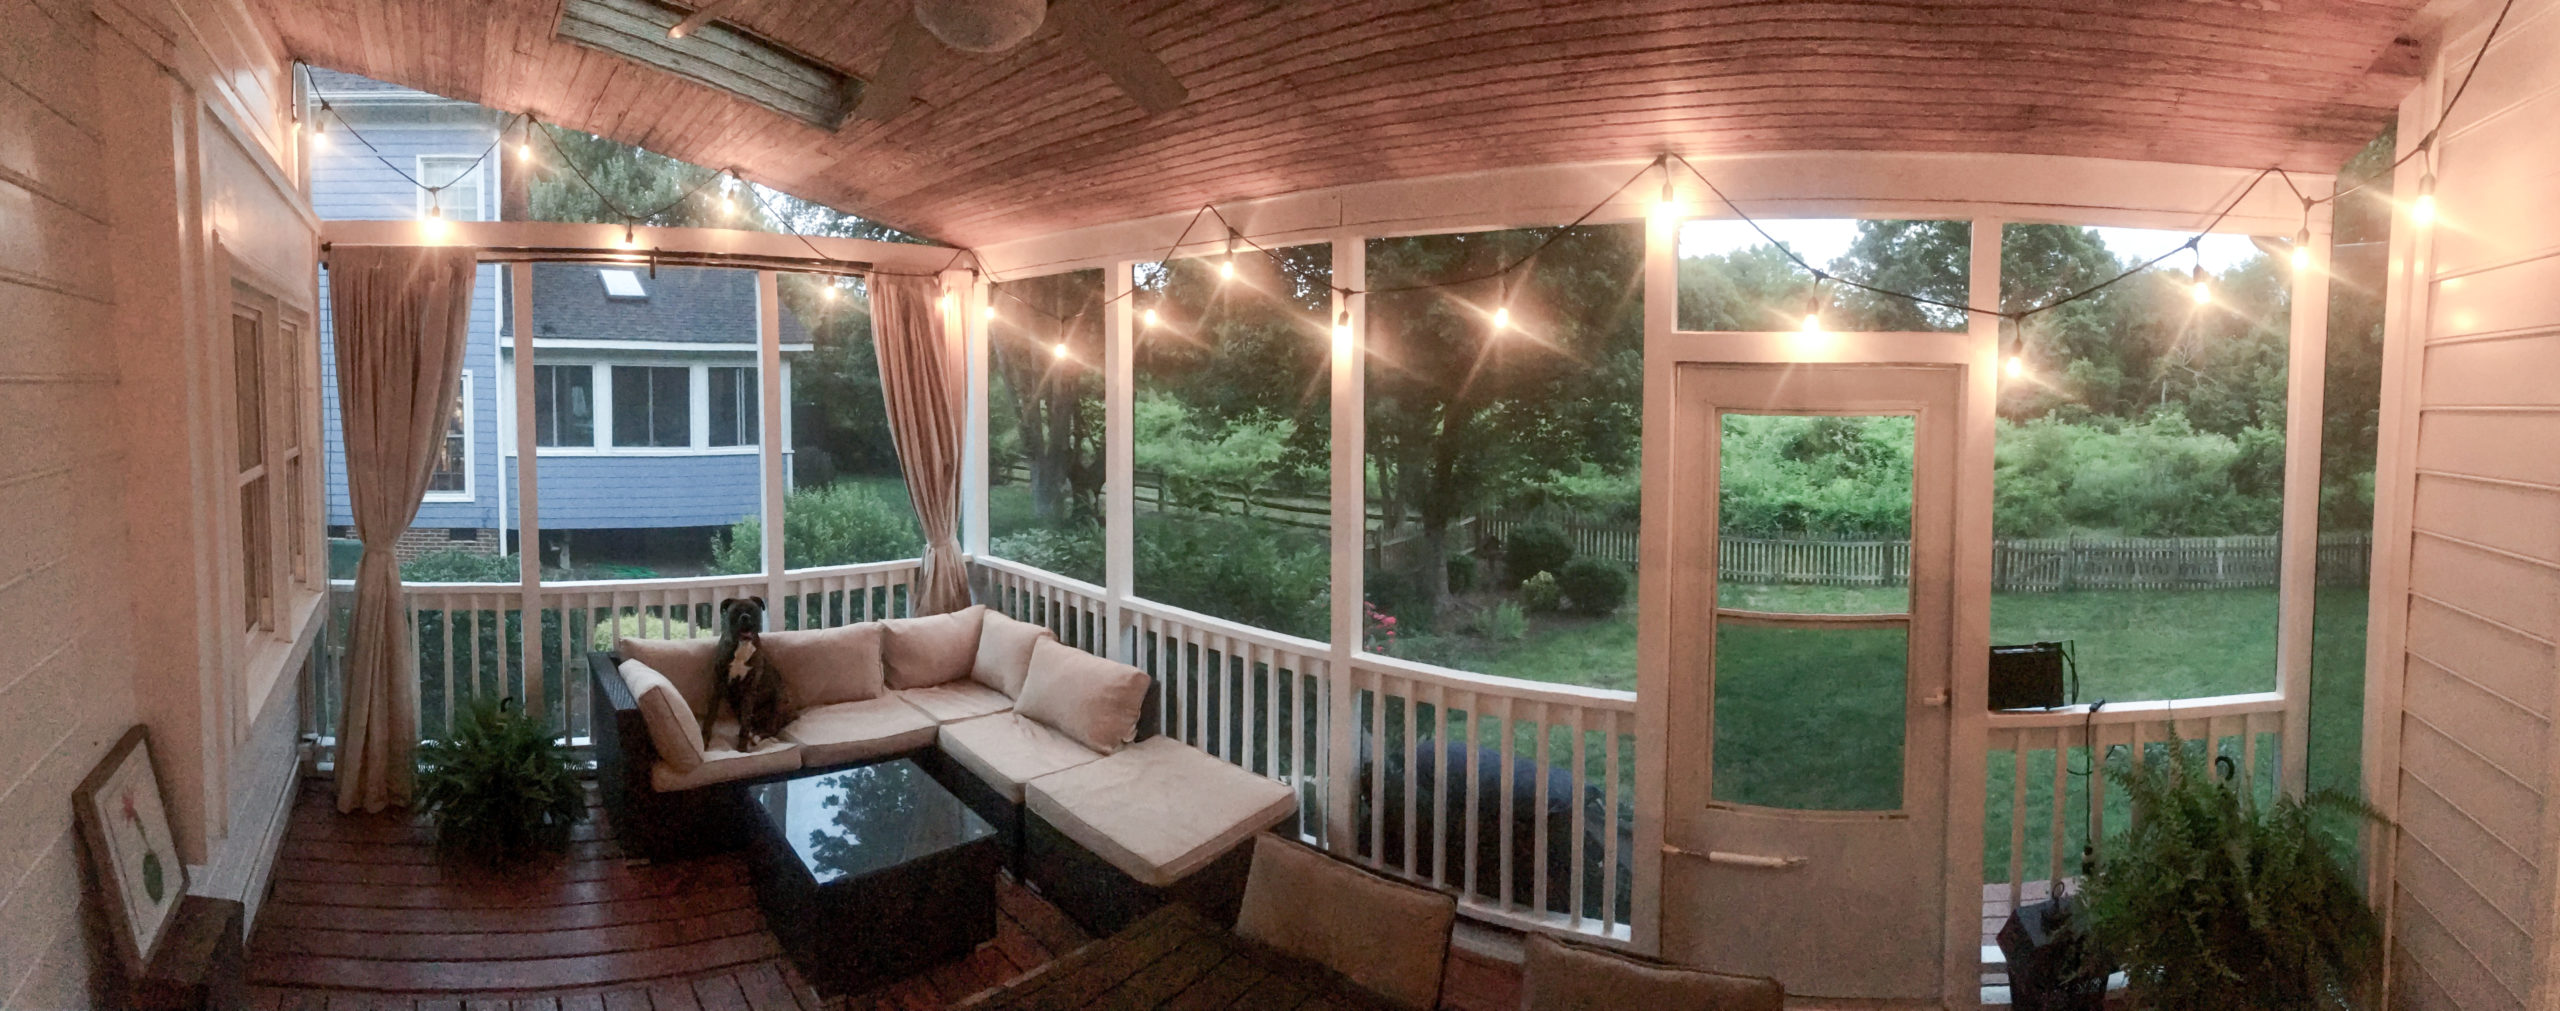
And here’s an updated photo from 2022:
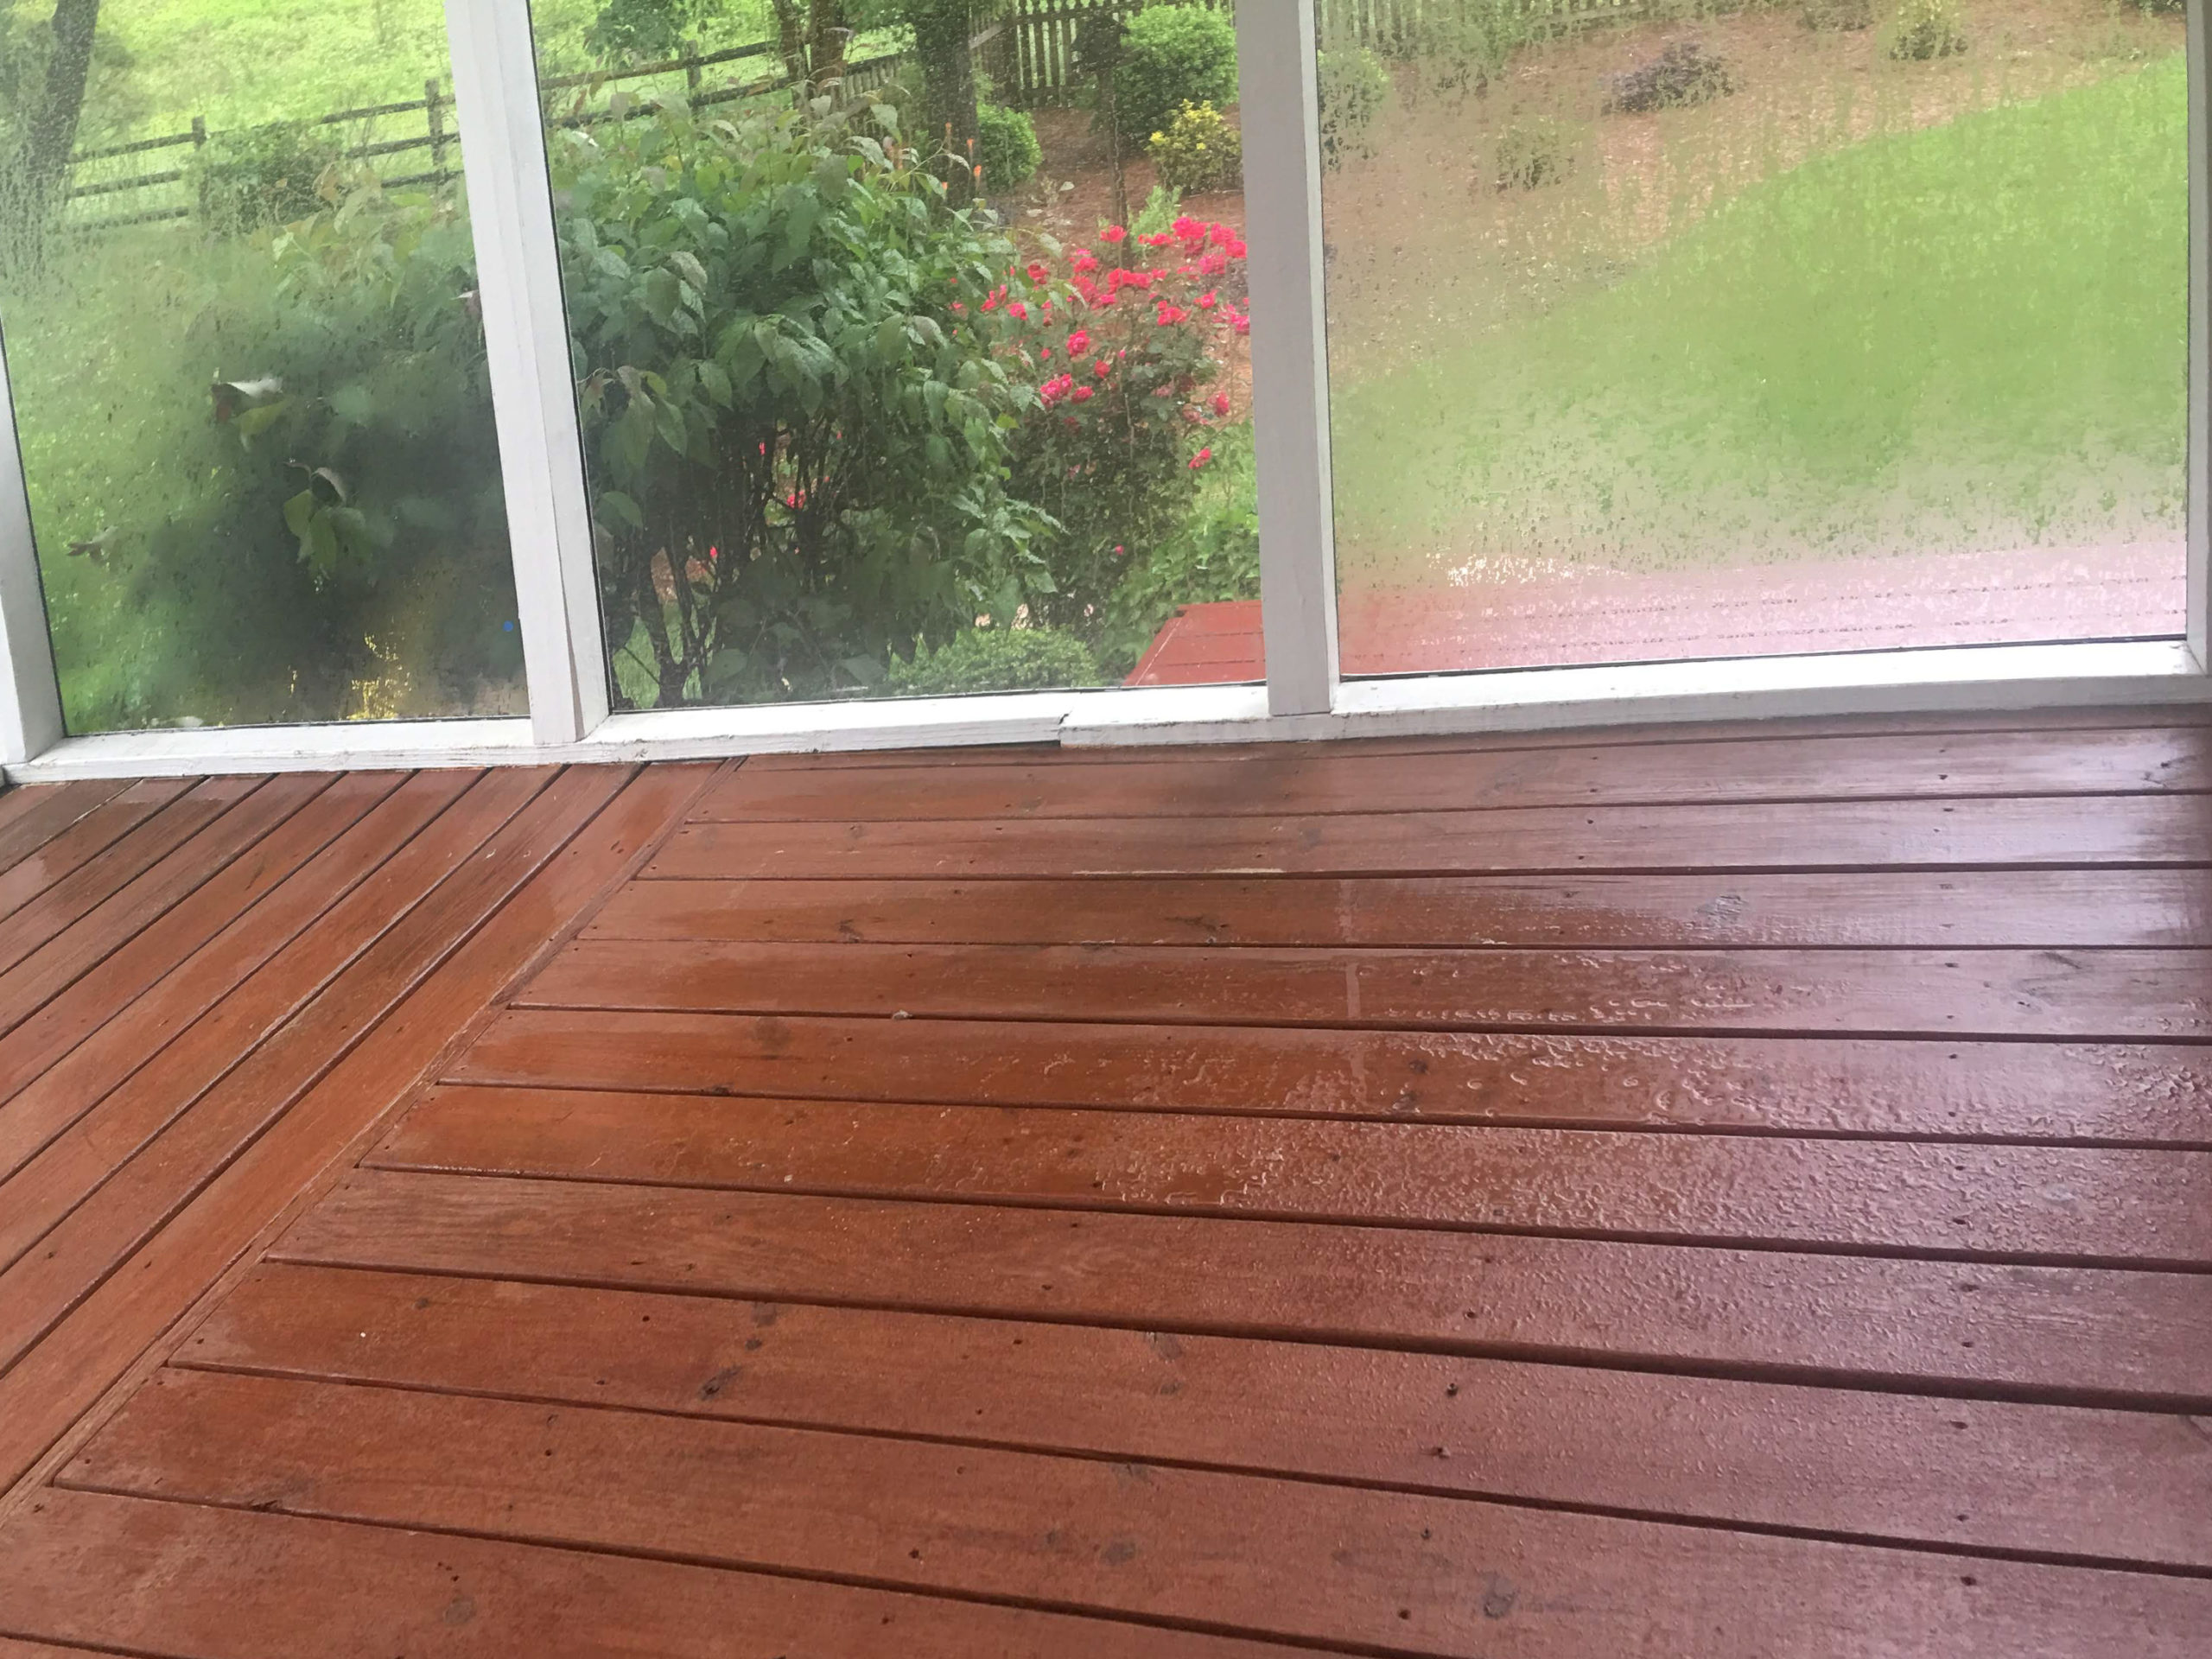
The DIY porch railings have held up for 3.5 years and still look brand new. They’re also easy to clean with a wet sponge or rag since I painted and sanded them so well.
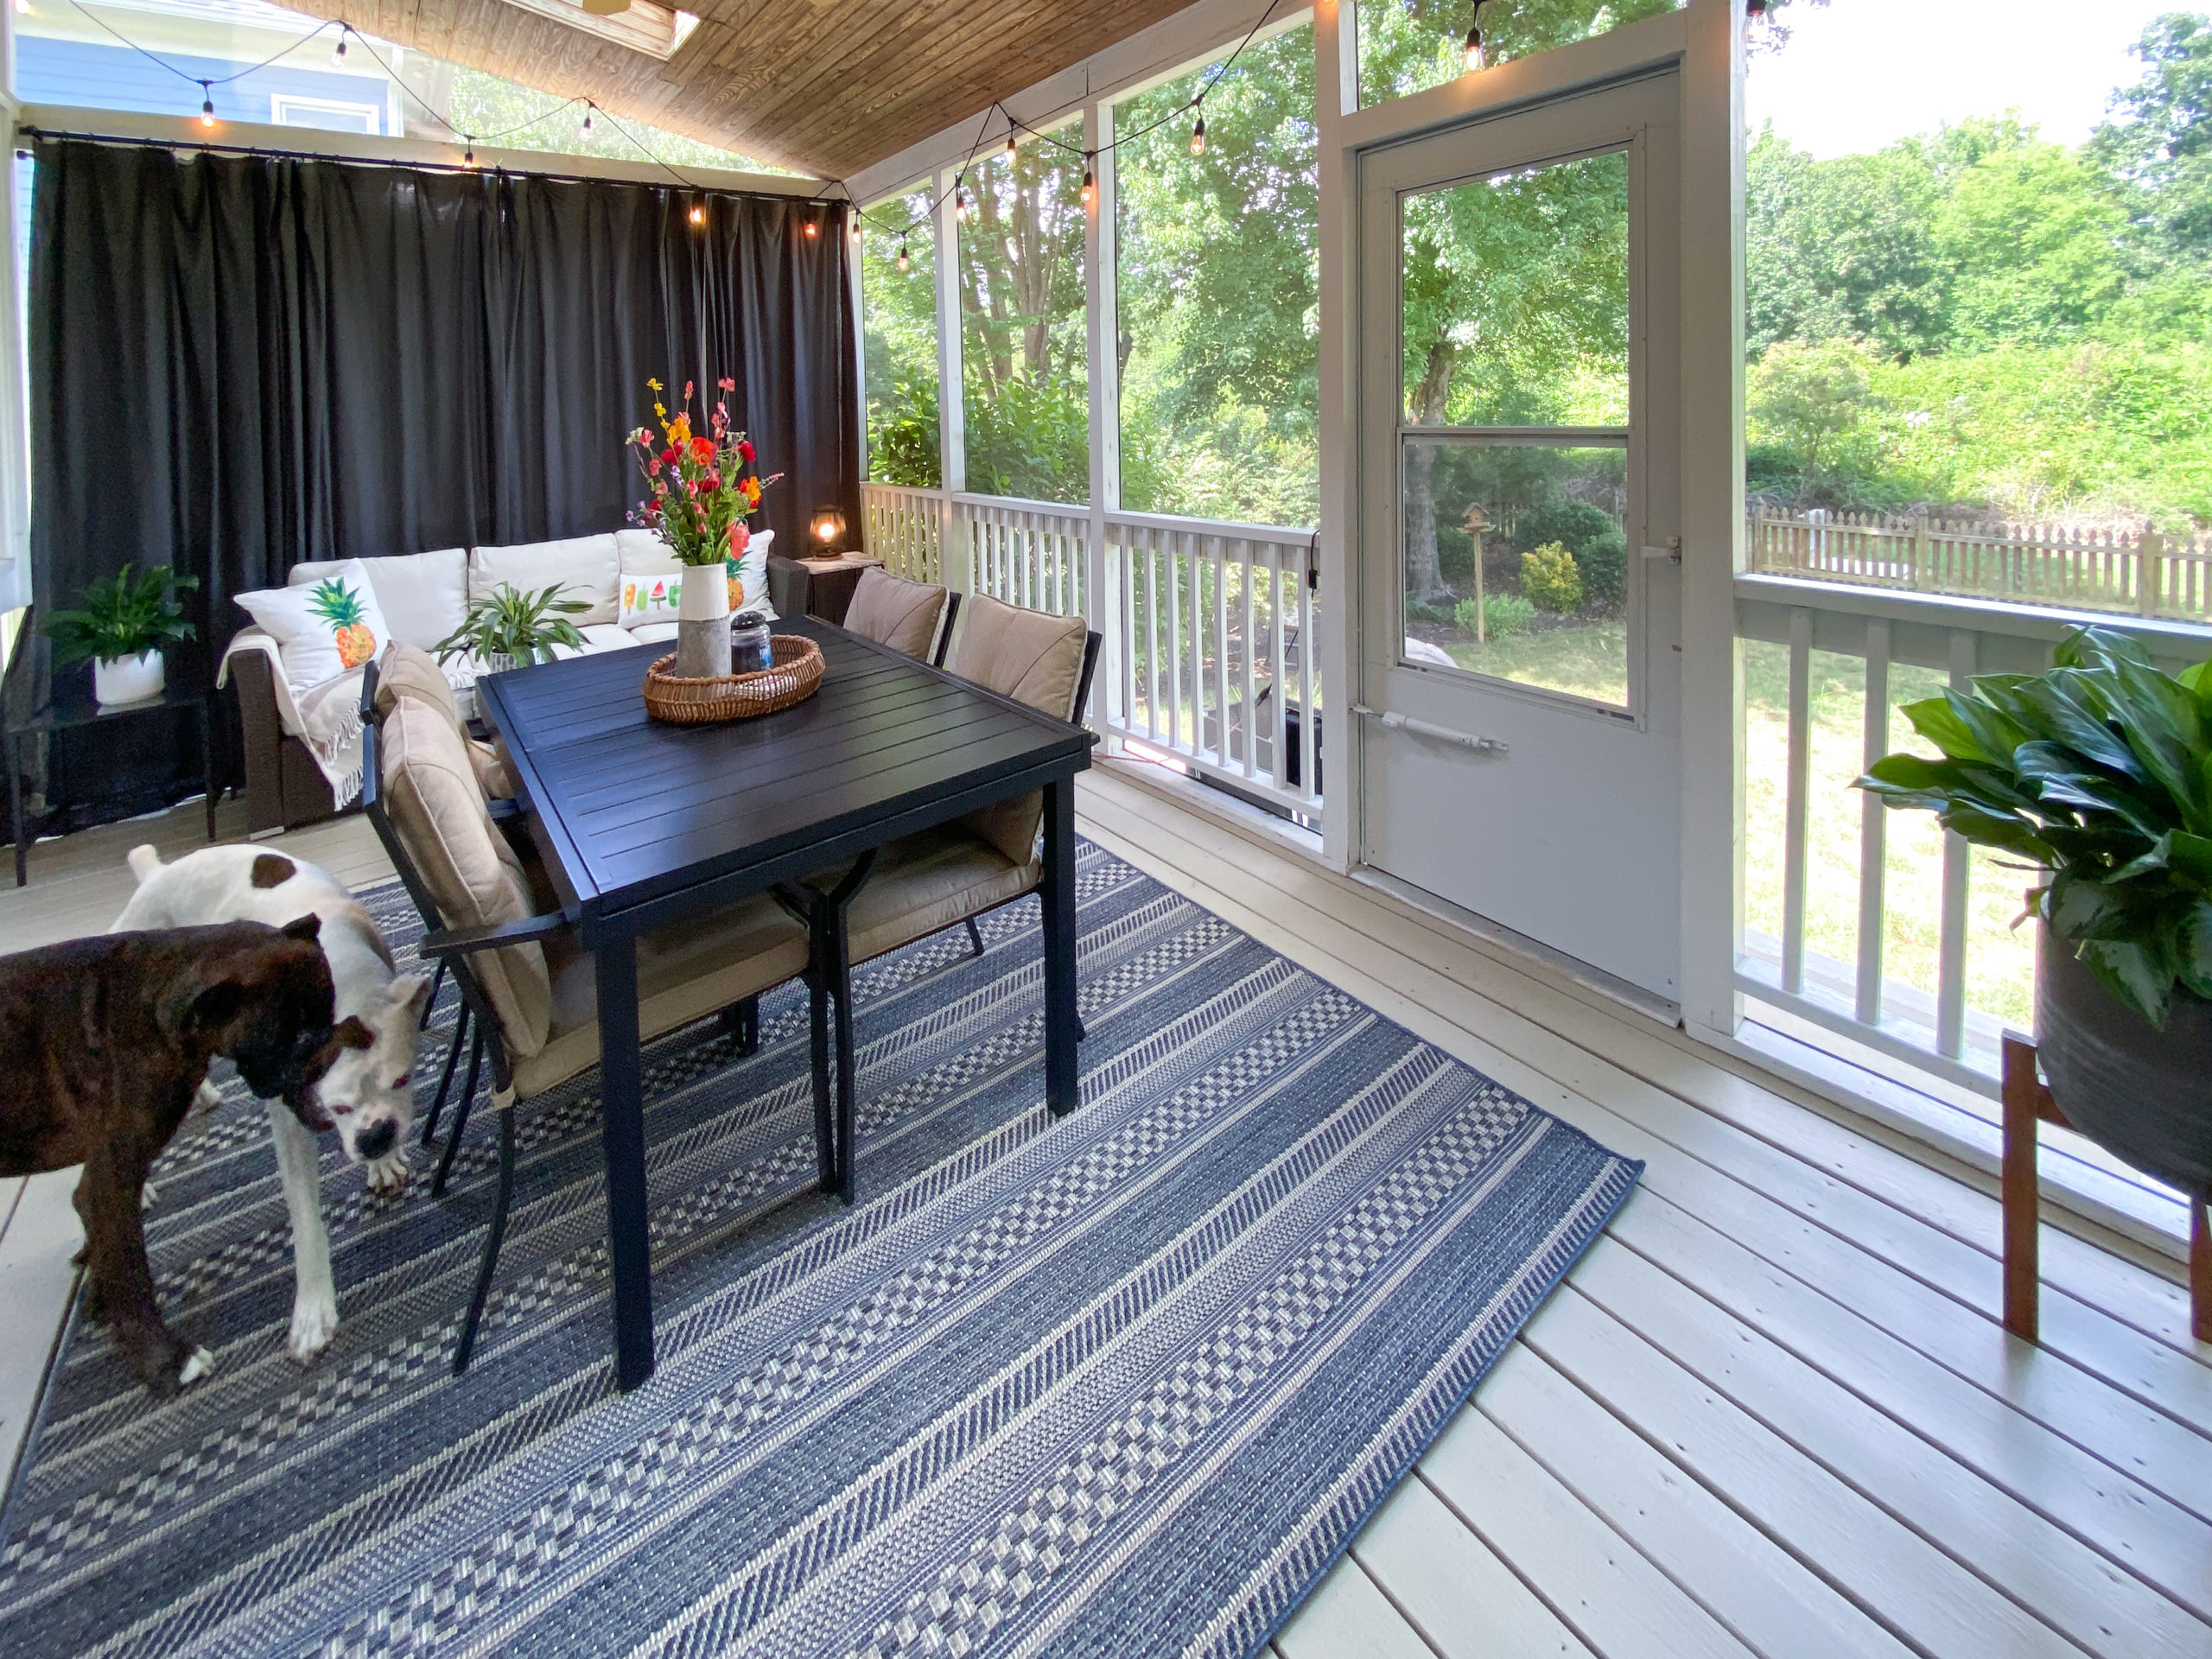
Check out this post for all the 2022 decor links and how I refreshed and Refinished the Wood Deck on our porch!

If you have any additional questions about the Porch Railings, leave me a comment below!
Want to keep up with my newest projects? Come hang out on Instagram and TikTok!