Goodbye Pastels: How to use Dark Green in your Nursery
This was one of those projects I couldn’t wait to dive into. My best friend Kaitlin was expecting her first baby, and she asked me to help turn their blank-slate guest room into a cozy, stylish dark green nursery with picture frame molding for their little boy. She found a photo of classic picture frame molding she loved and picked a bold green paint. Then, she gave me the green light (pun intended) to help bring it all together. We wanted to make it feel personal and classic but still fresh- something that would work not just for a newborn but for years to come. It’s bold, but it totally works.
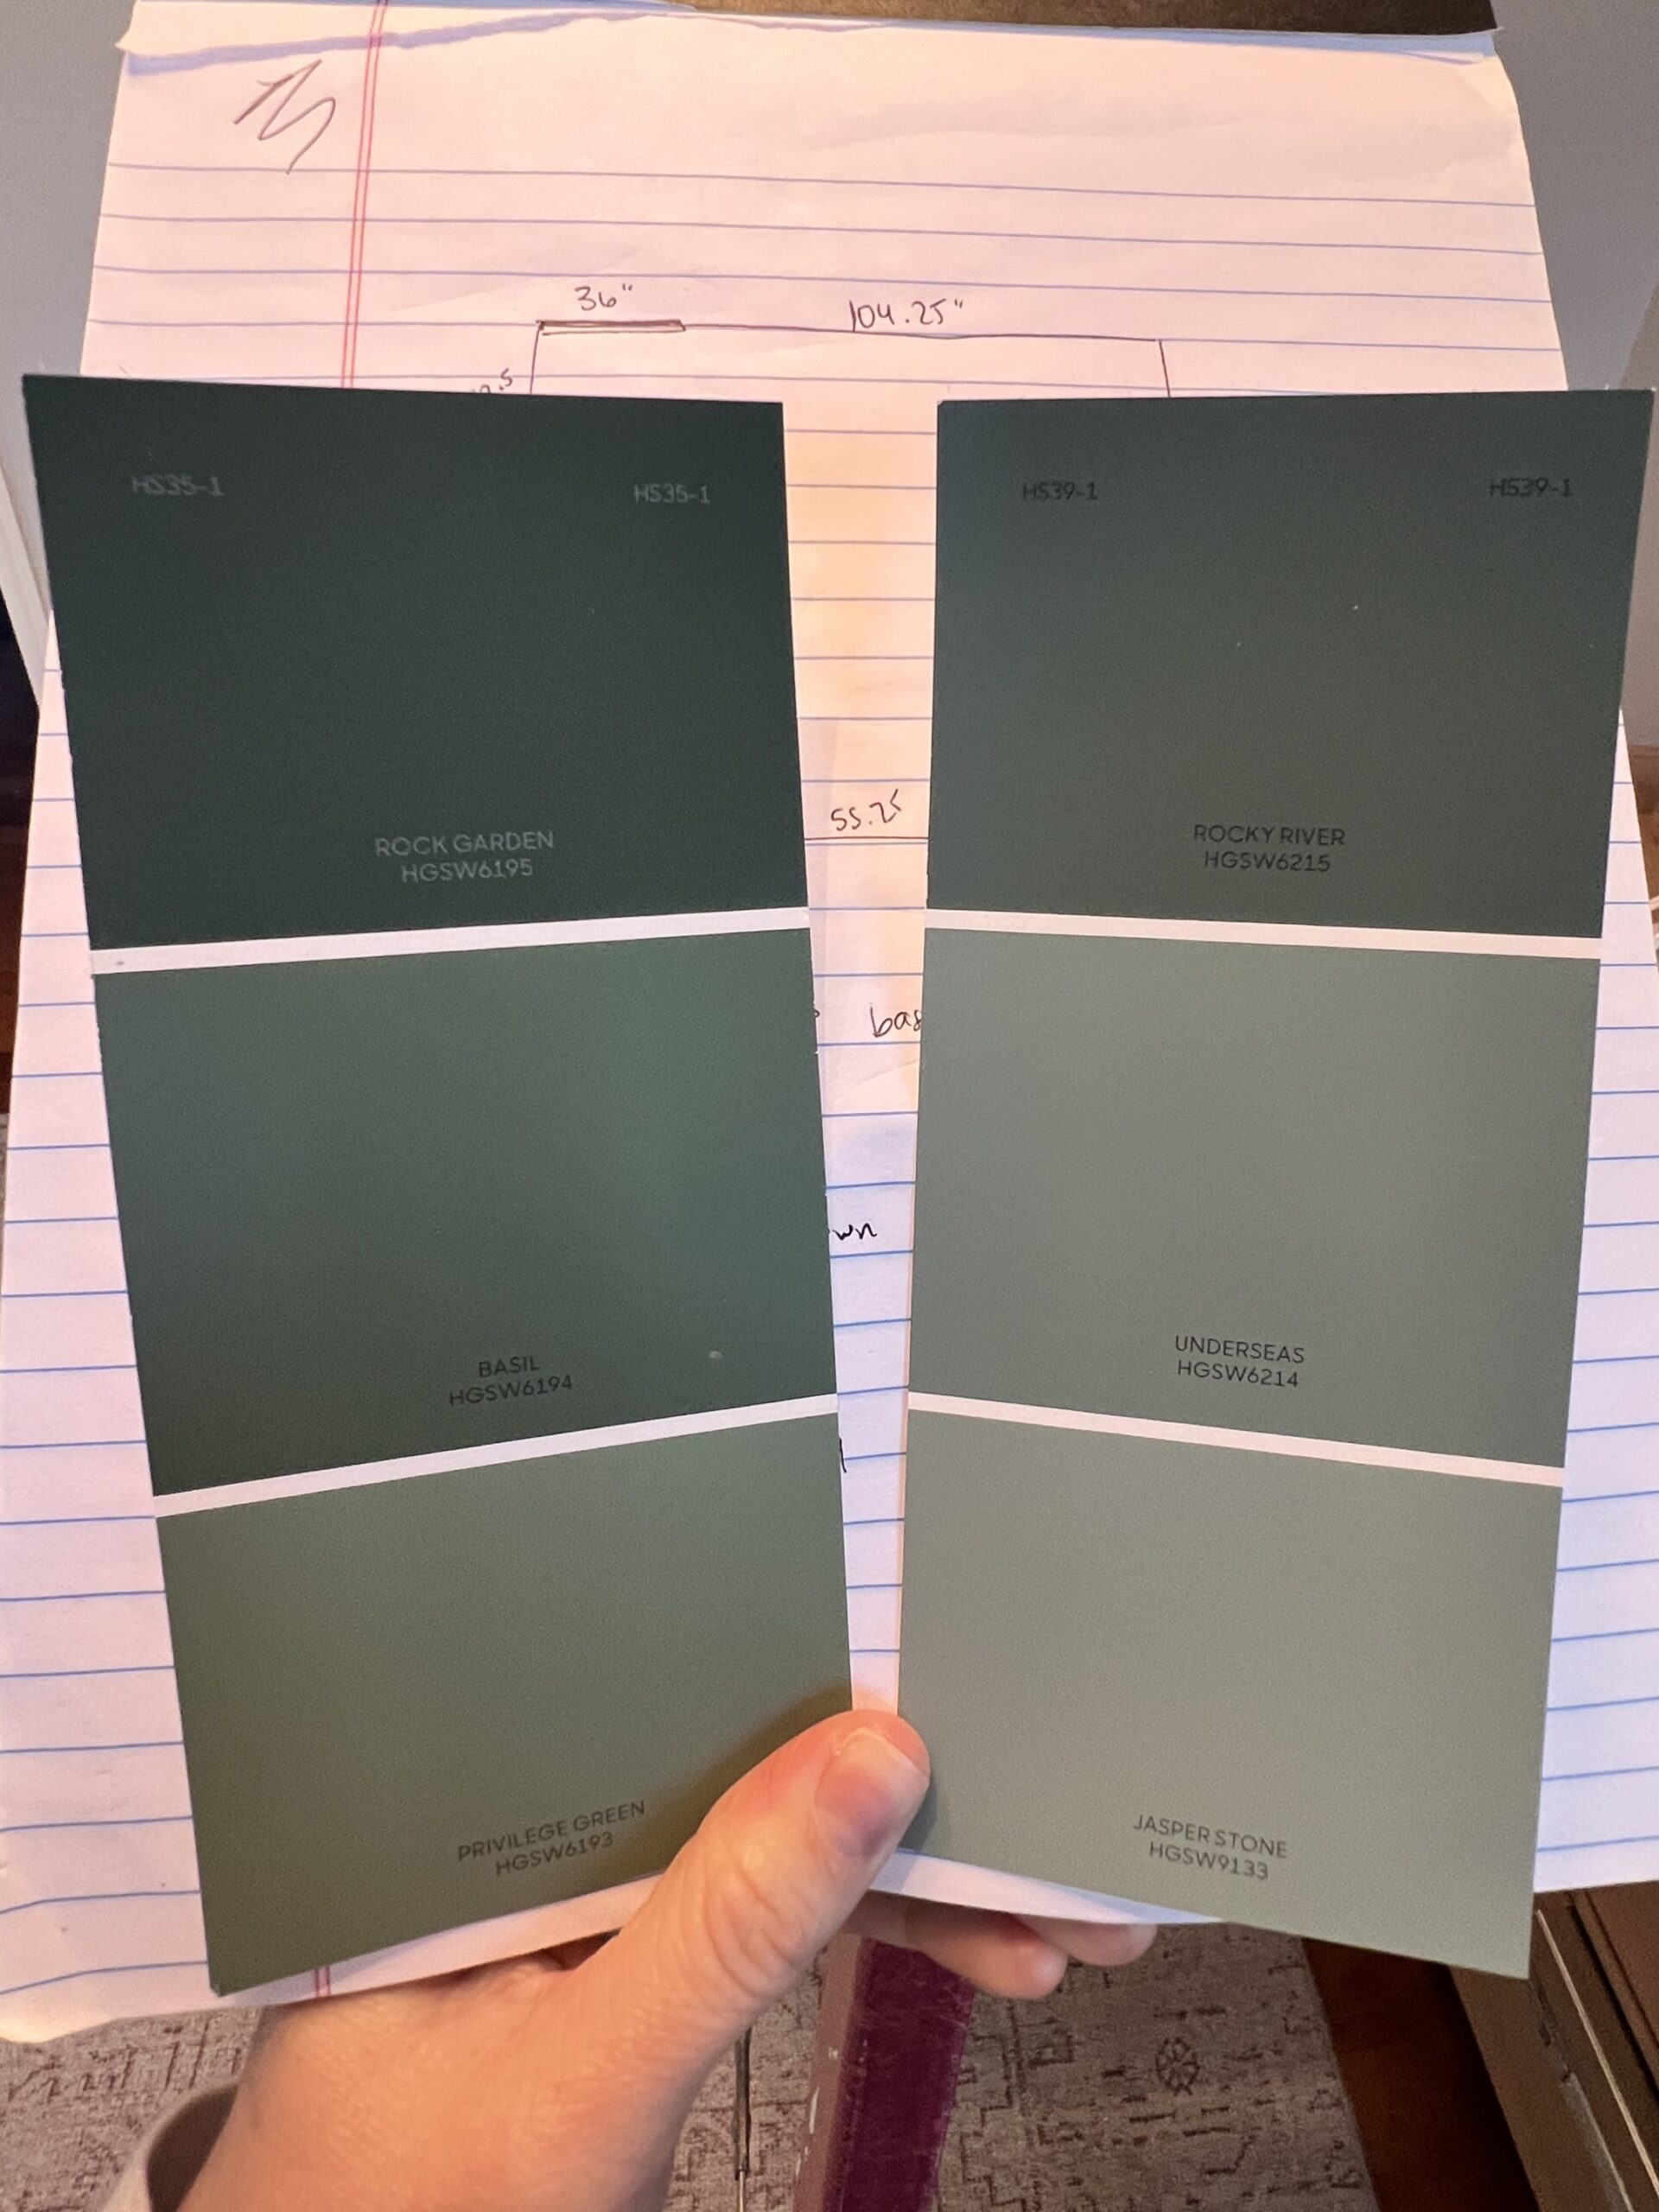
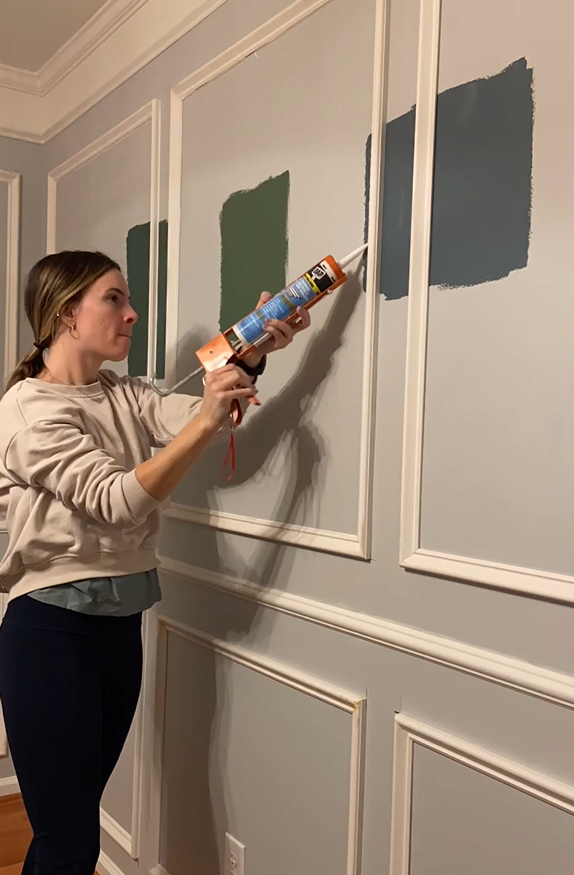
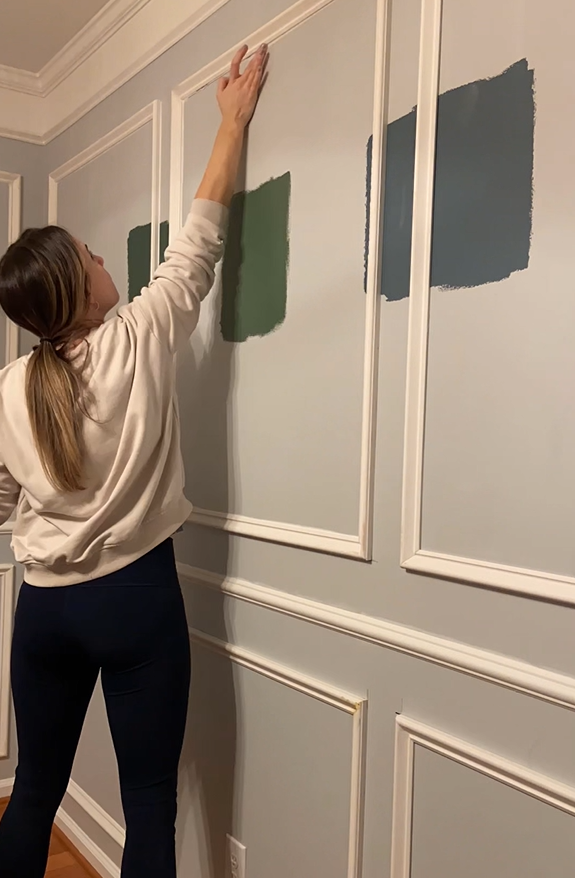
Kait’s inspiration pic and paint colors:
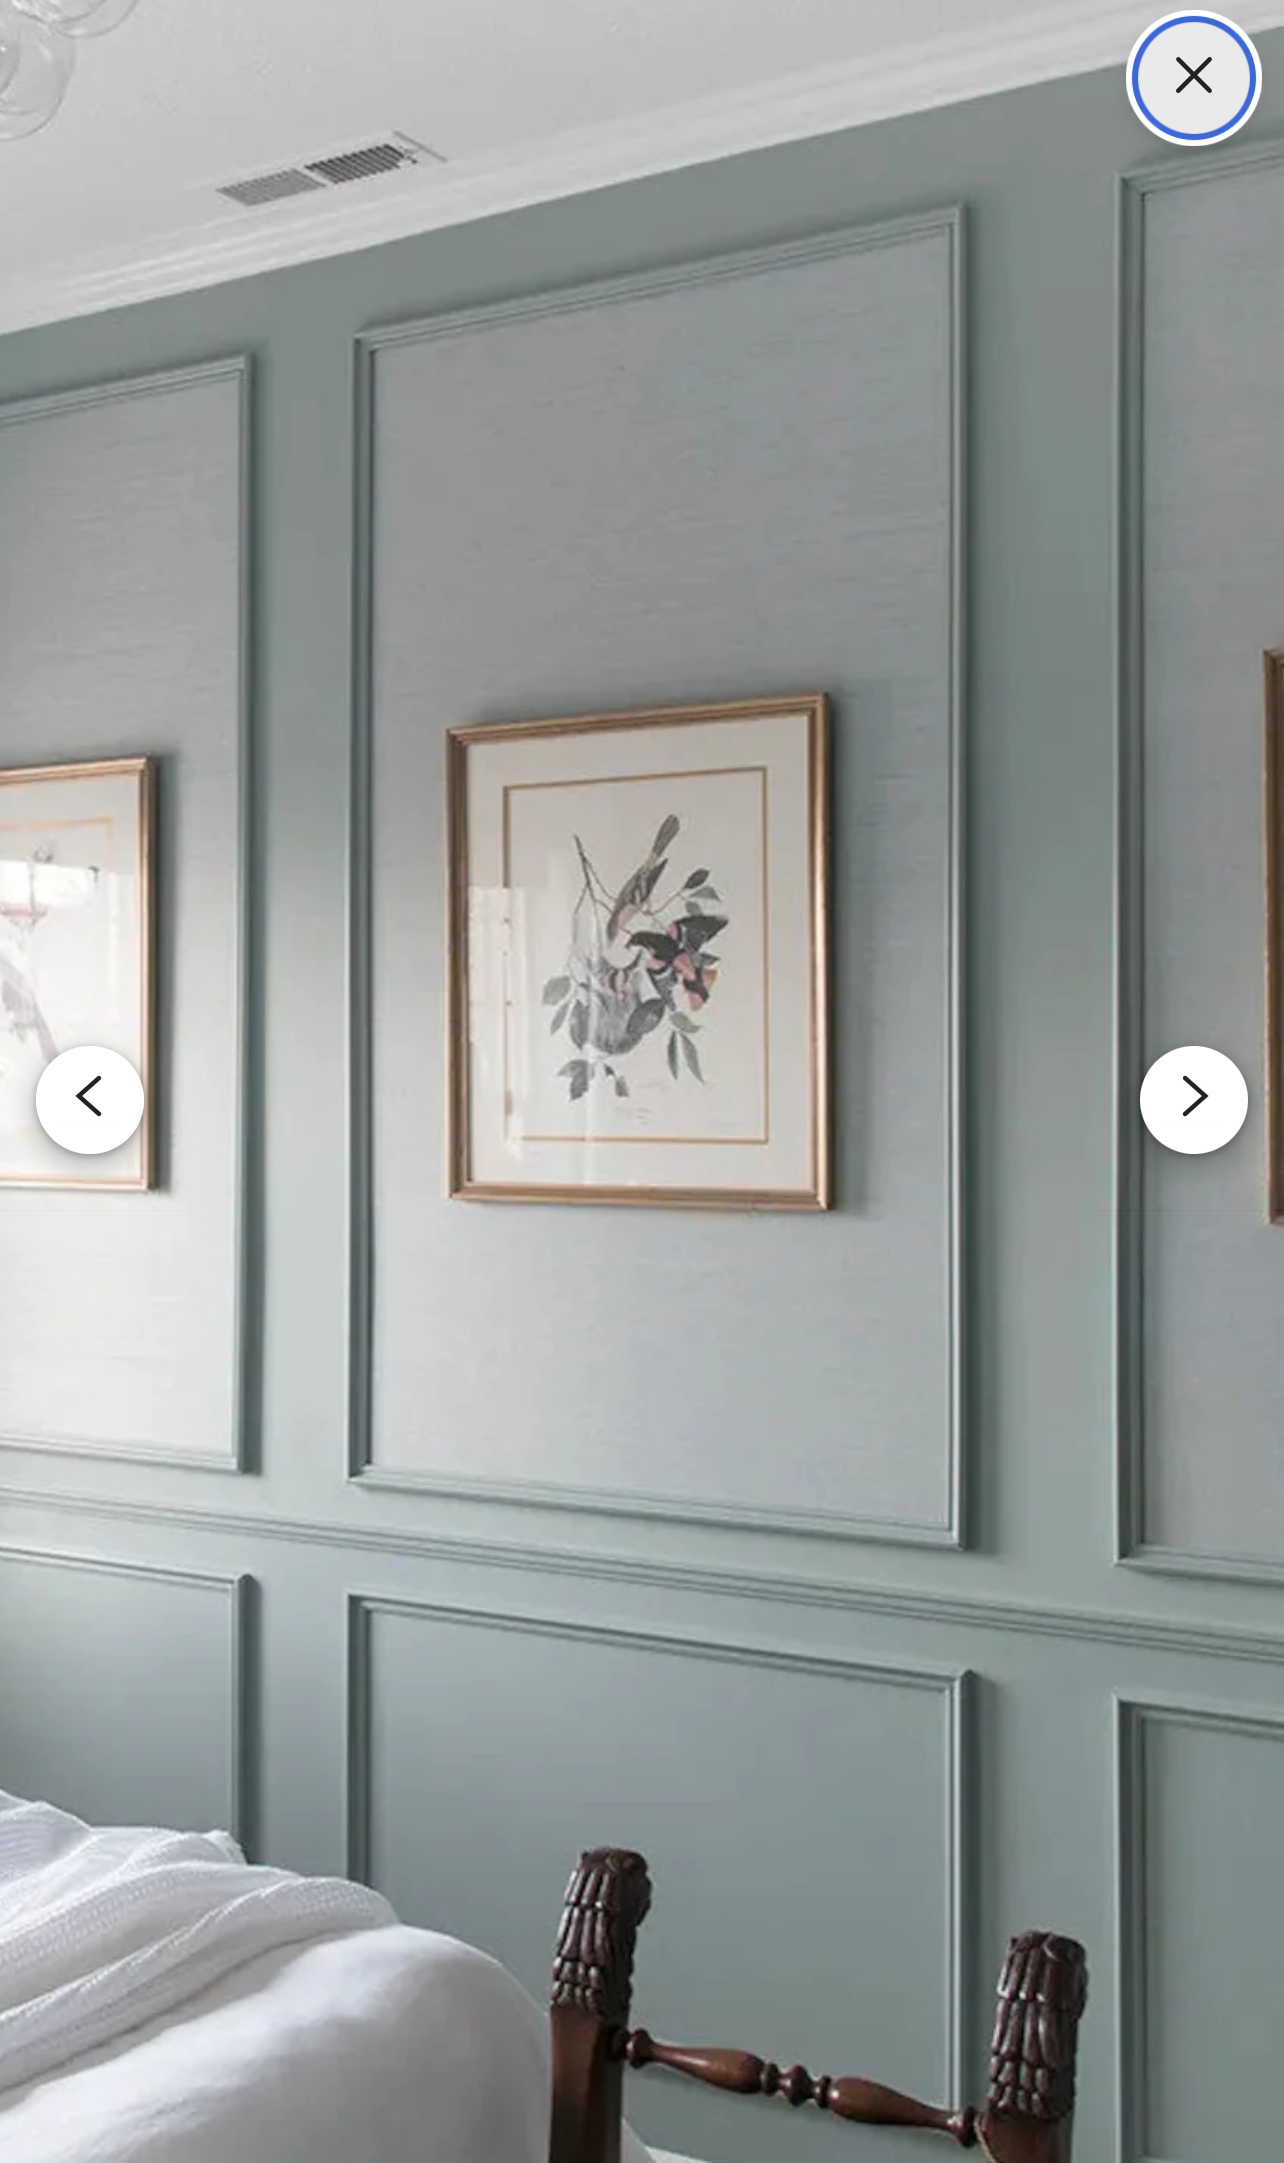
Kaitlin wanted something that felt a little different—something that didn’t scream “baby” but still felt cozy and sweet. She wasn’t into pastels, and honestly, neither am I. We both loved the idea of going dark and dramatic with the walls, and green was the clear winner. It’s calming, timeless, and just felt right for little James’ room.
Here’s everything I used to make this project happen. If you’re thinking of tackling something similar, I’d recommend gathering all your materials ahead of time so you’re not running to Lowe’s every other day like I might have been.
MATERIALS:
This post contains affiliate links which means I receive a small compensation at no cost to you. As an Amazon Associate I earn from qualifying purchases. You can read more about it here. Thank you for supporting my blog!
3474 Pre-primed Chair Rail Lowes or Home Depot
163 Pre-primed Box Molding Lowes or Home Depot
Wood Filler and Paintable Caulk
Valspar Eggshell Paint (Color: SW 6194 Basil)
TOOLS:
Miter Saw (miter box or miter shears work too!)
My favorite Tape Measure
Level or My Laser Level (More Budget-friendly)
3/8″ Paint Roller Cover (3-pack)
Paint Roller 3′ Extension Pole
Sturdy Paint Trays (easy to clean/reuse!)
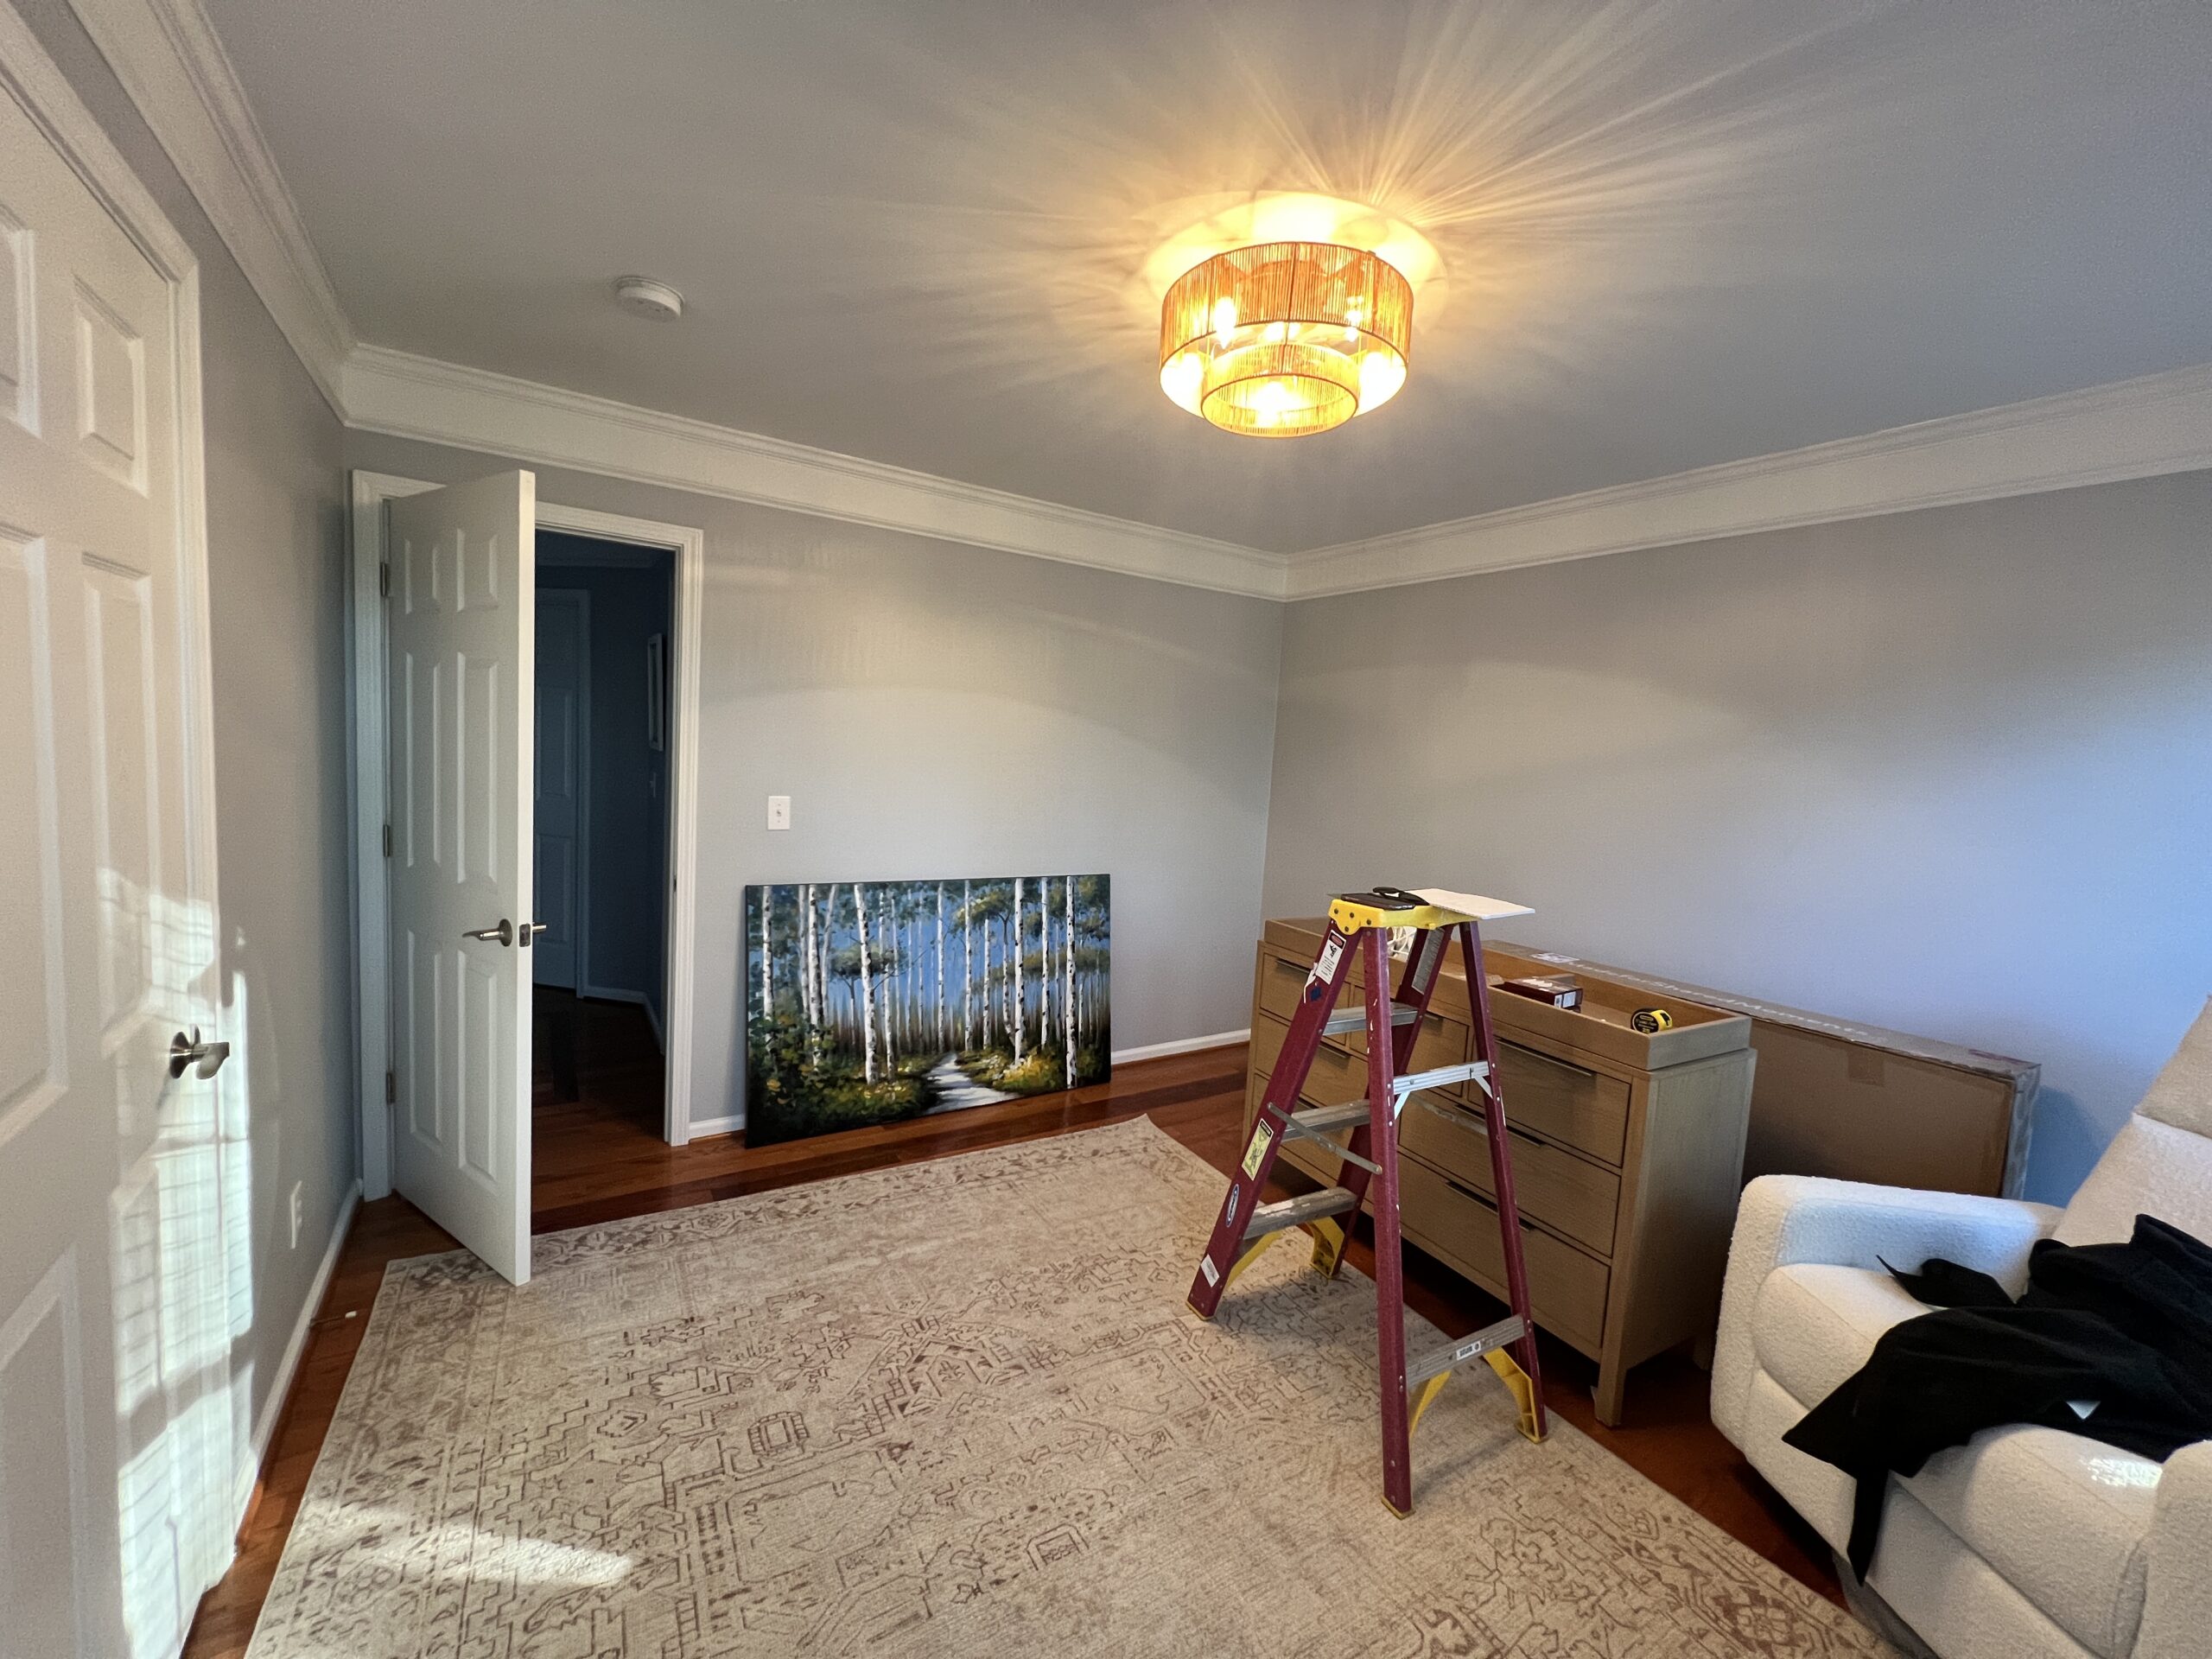
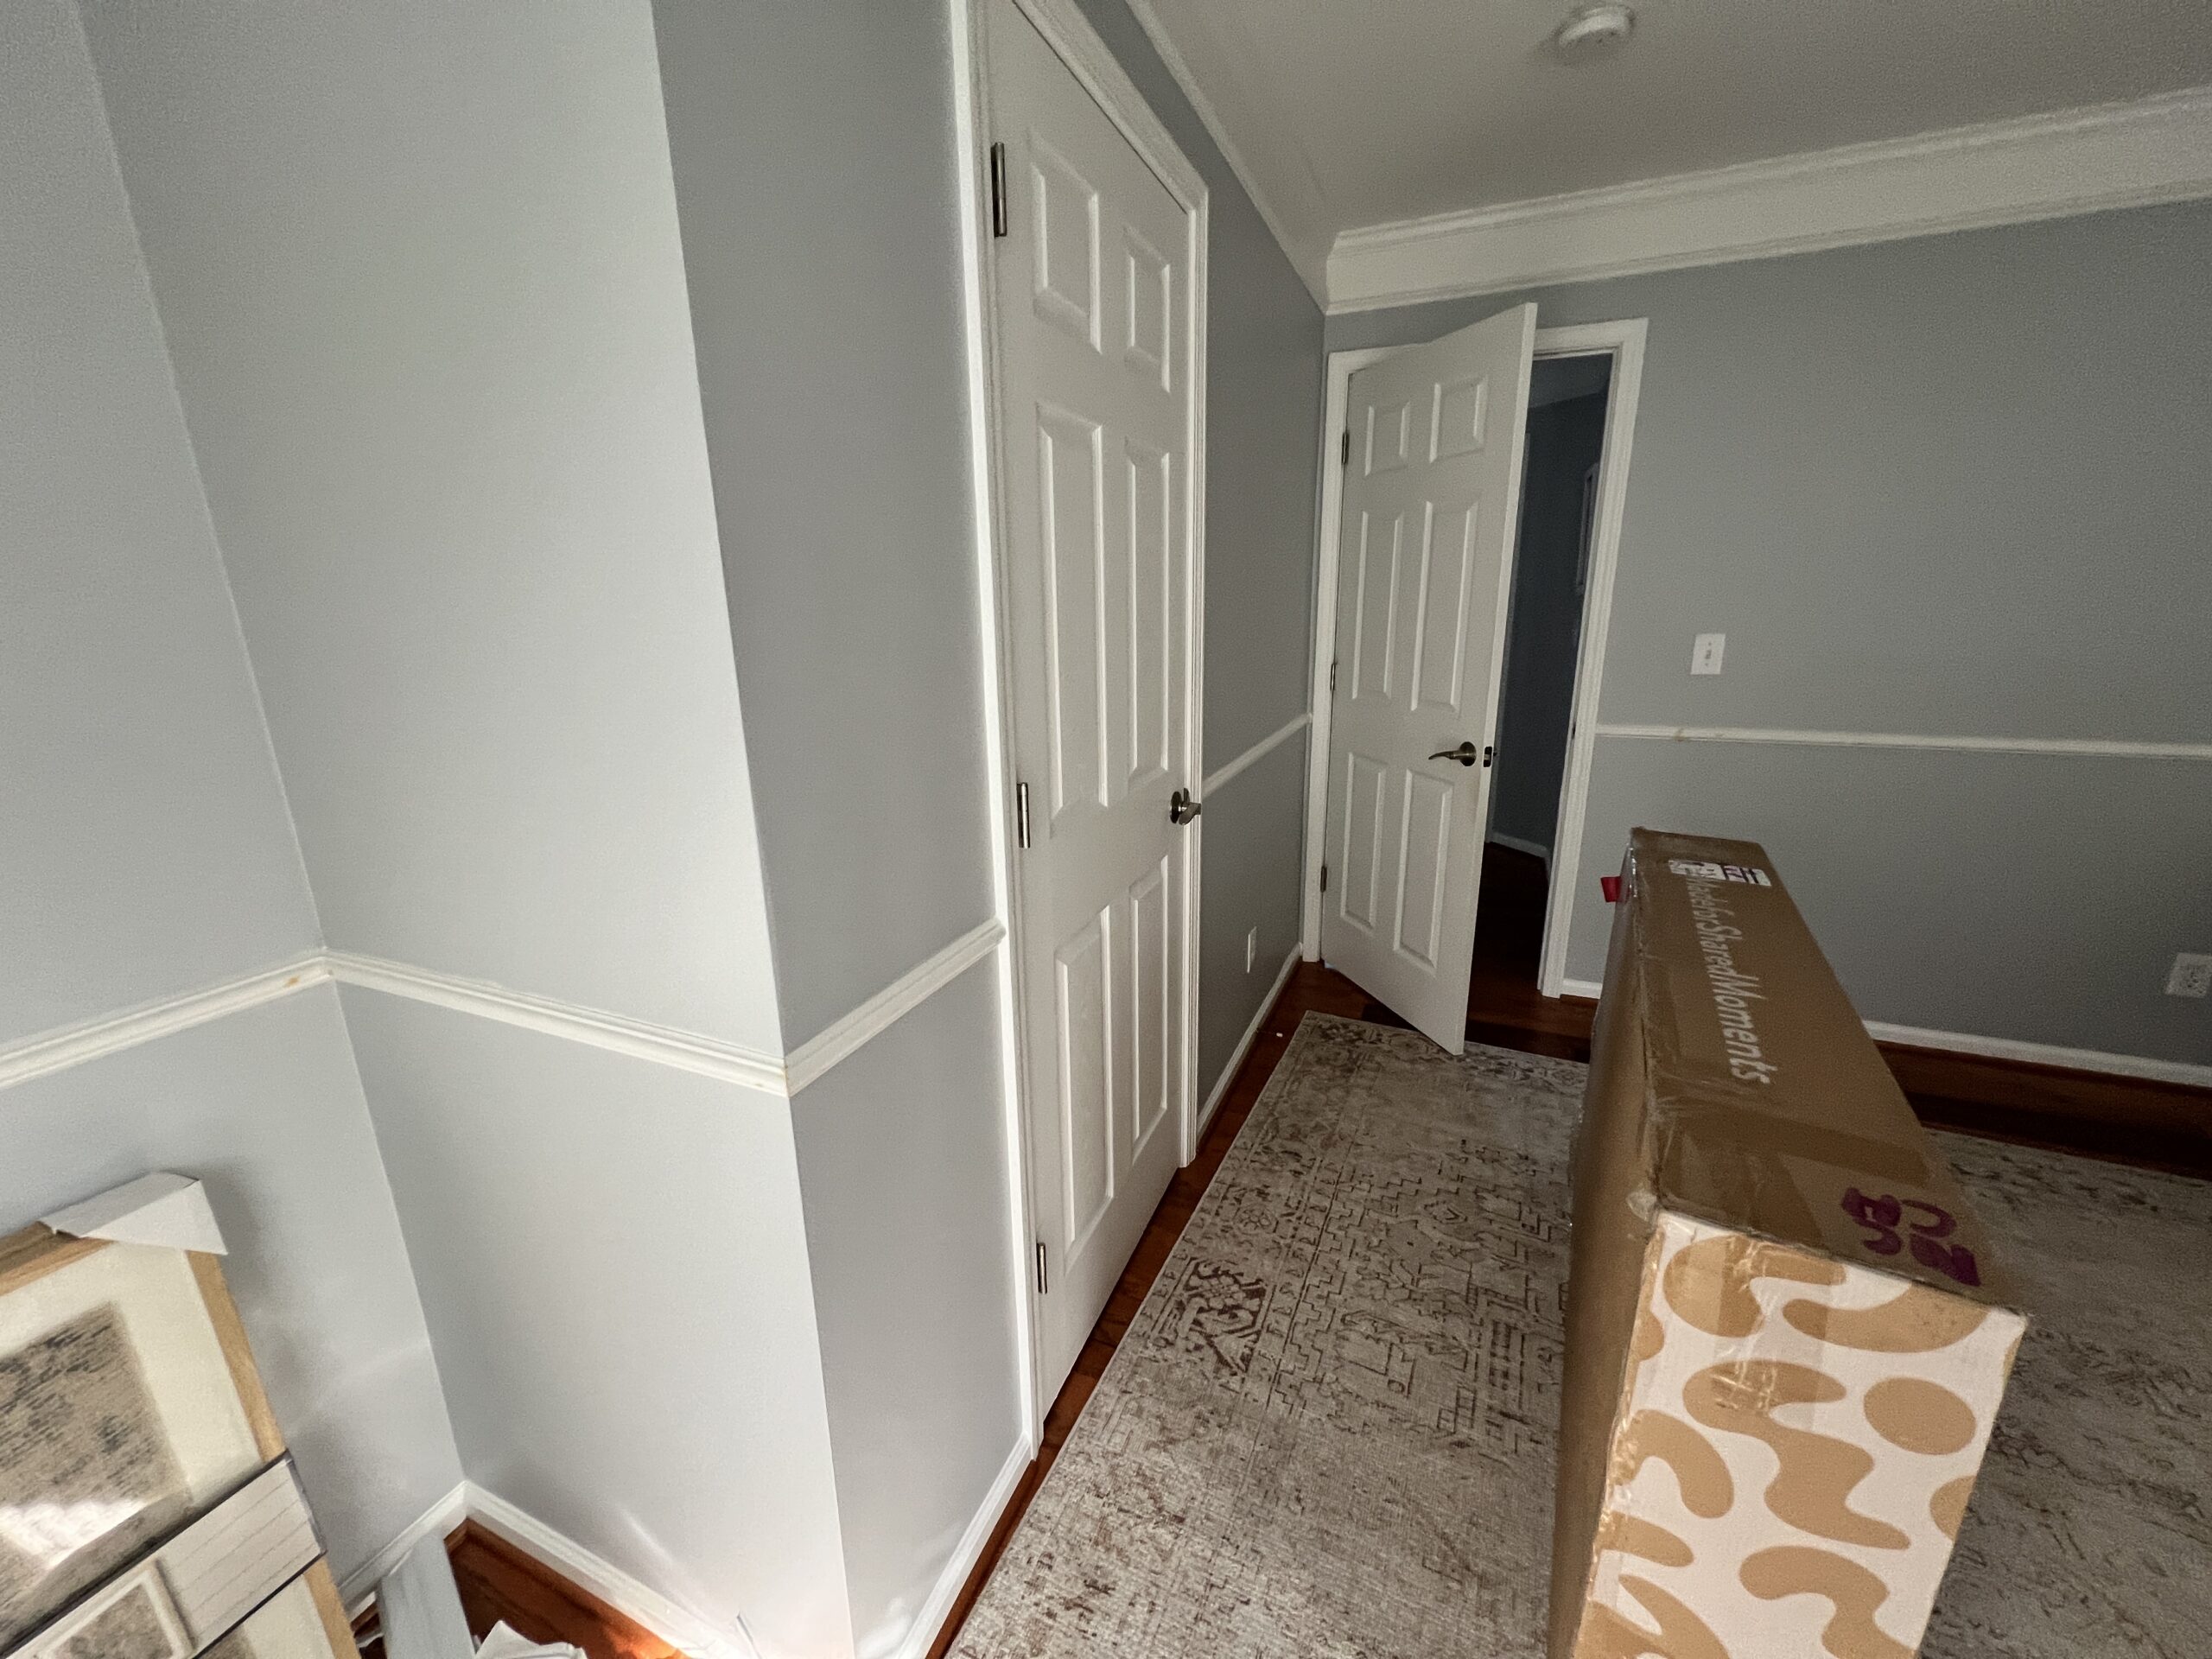
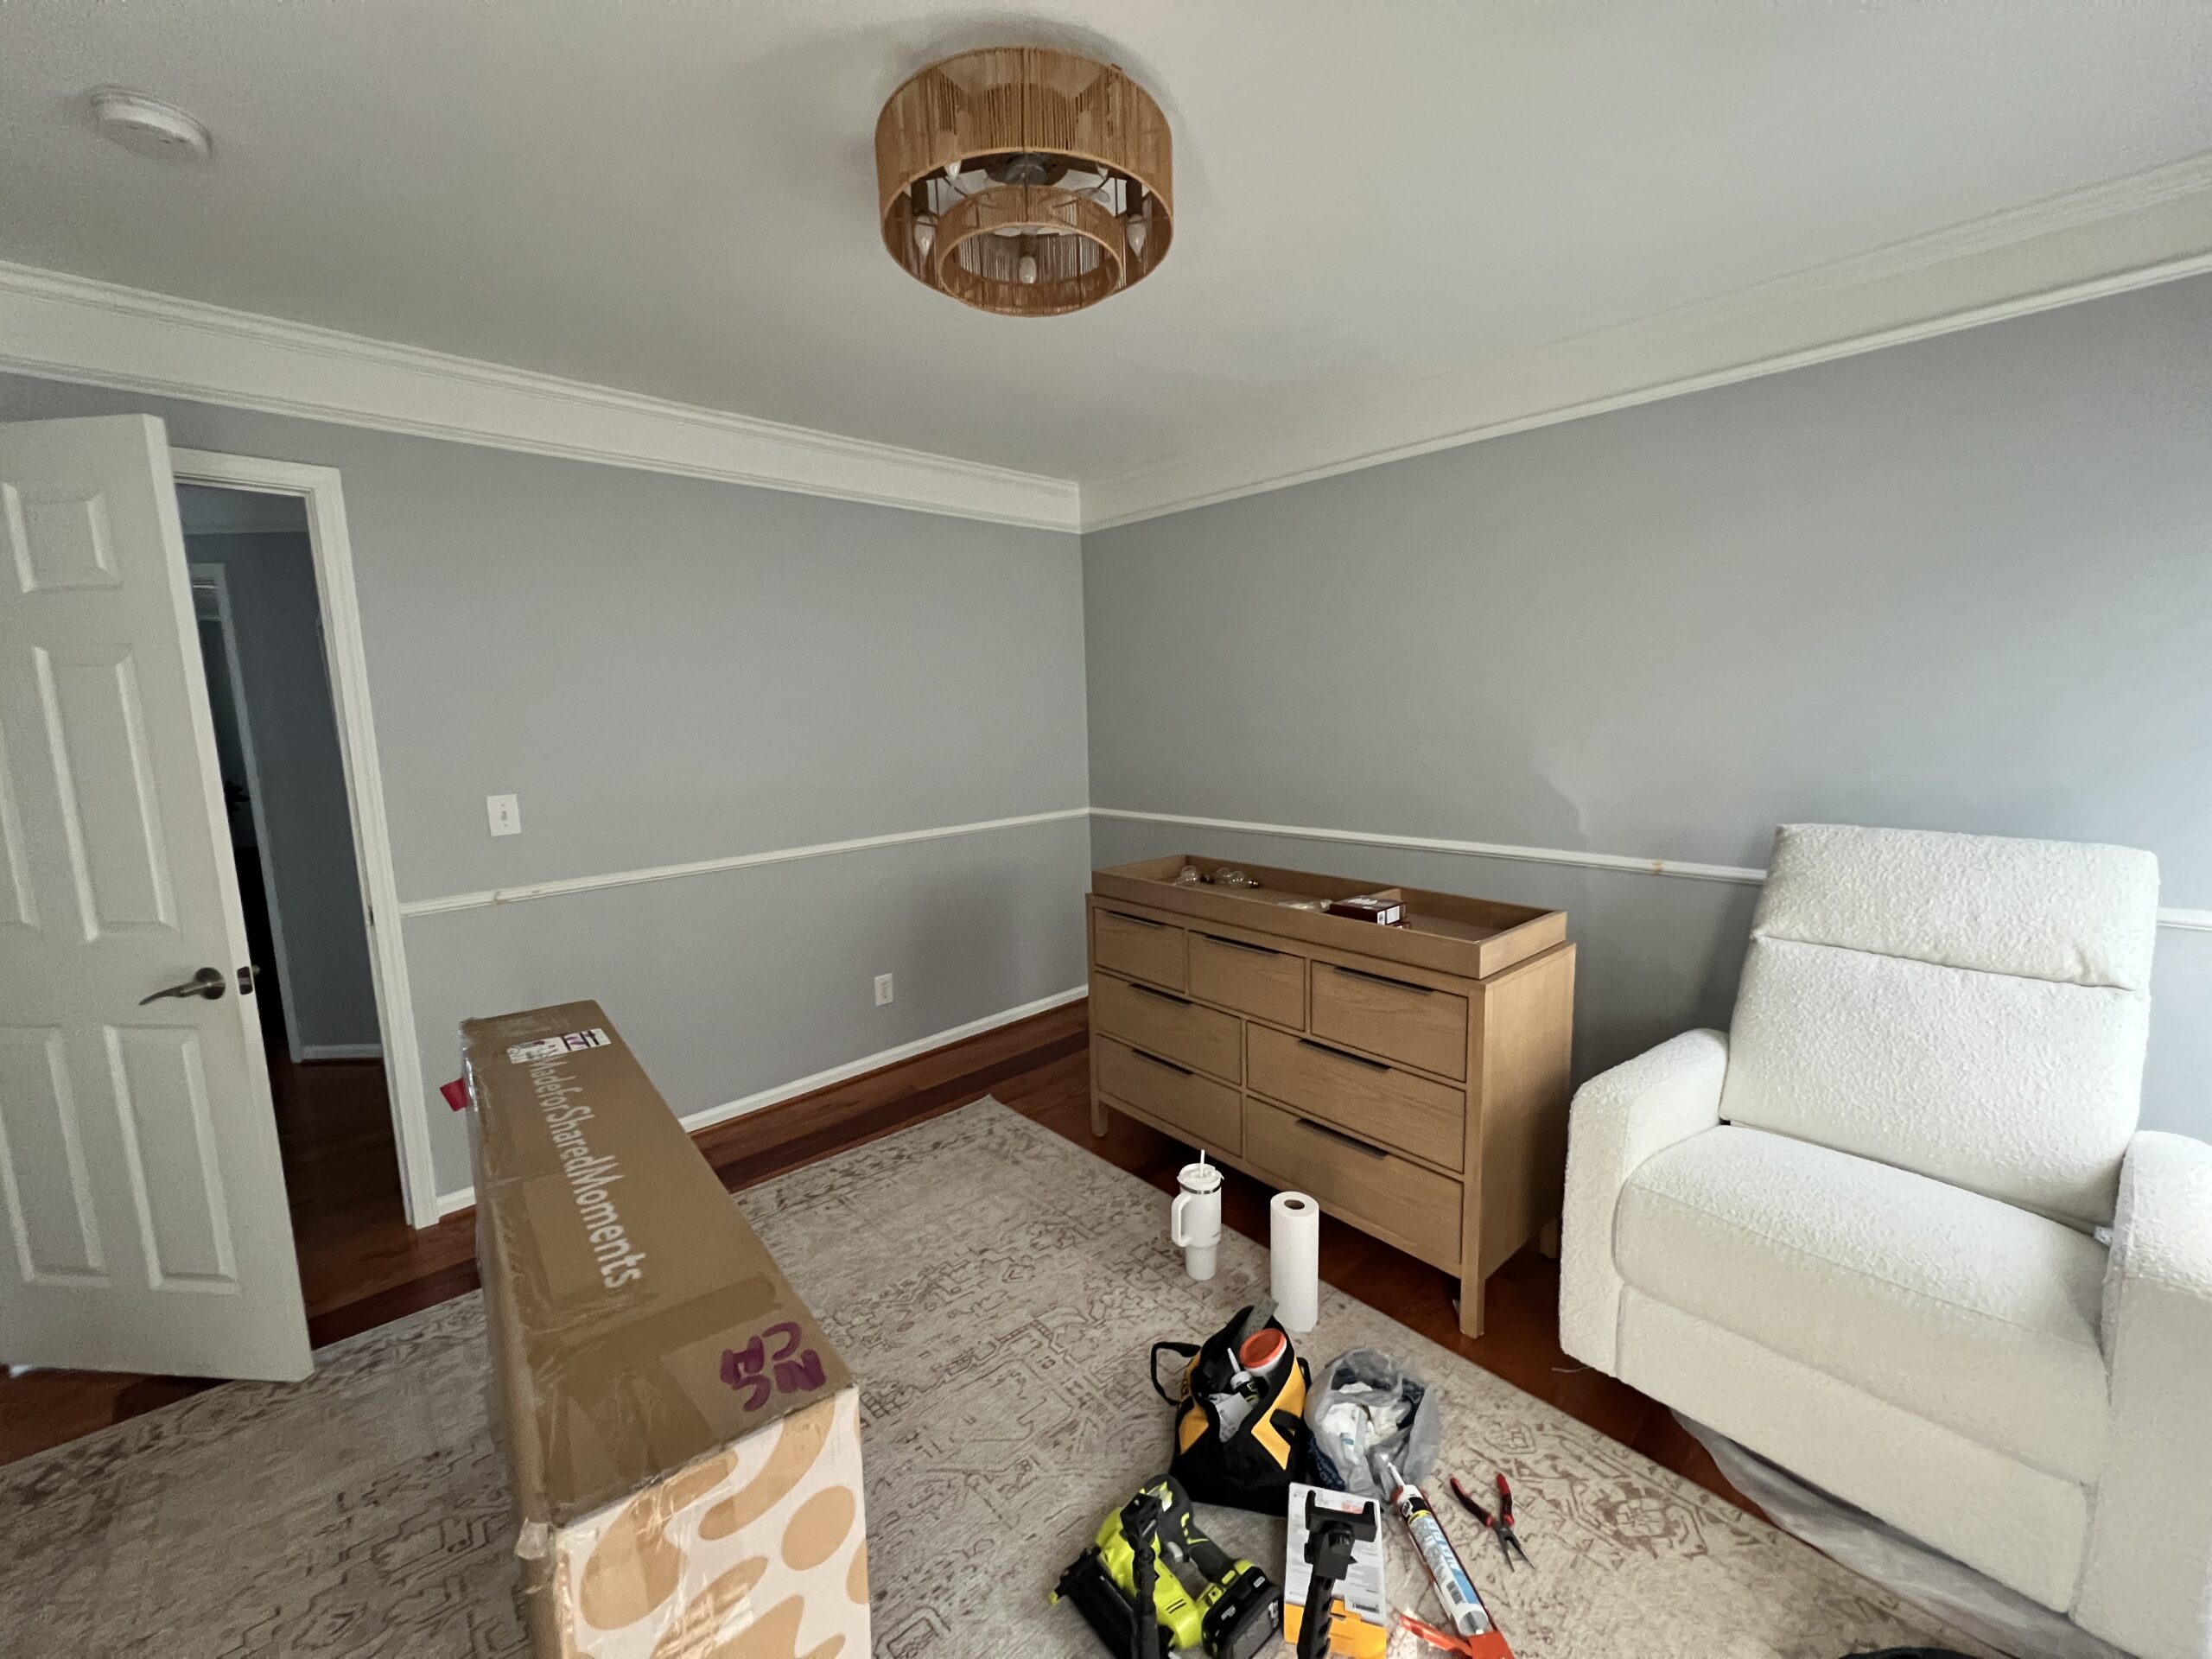
Here’s a look at what the room looked like before:
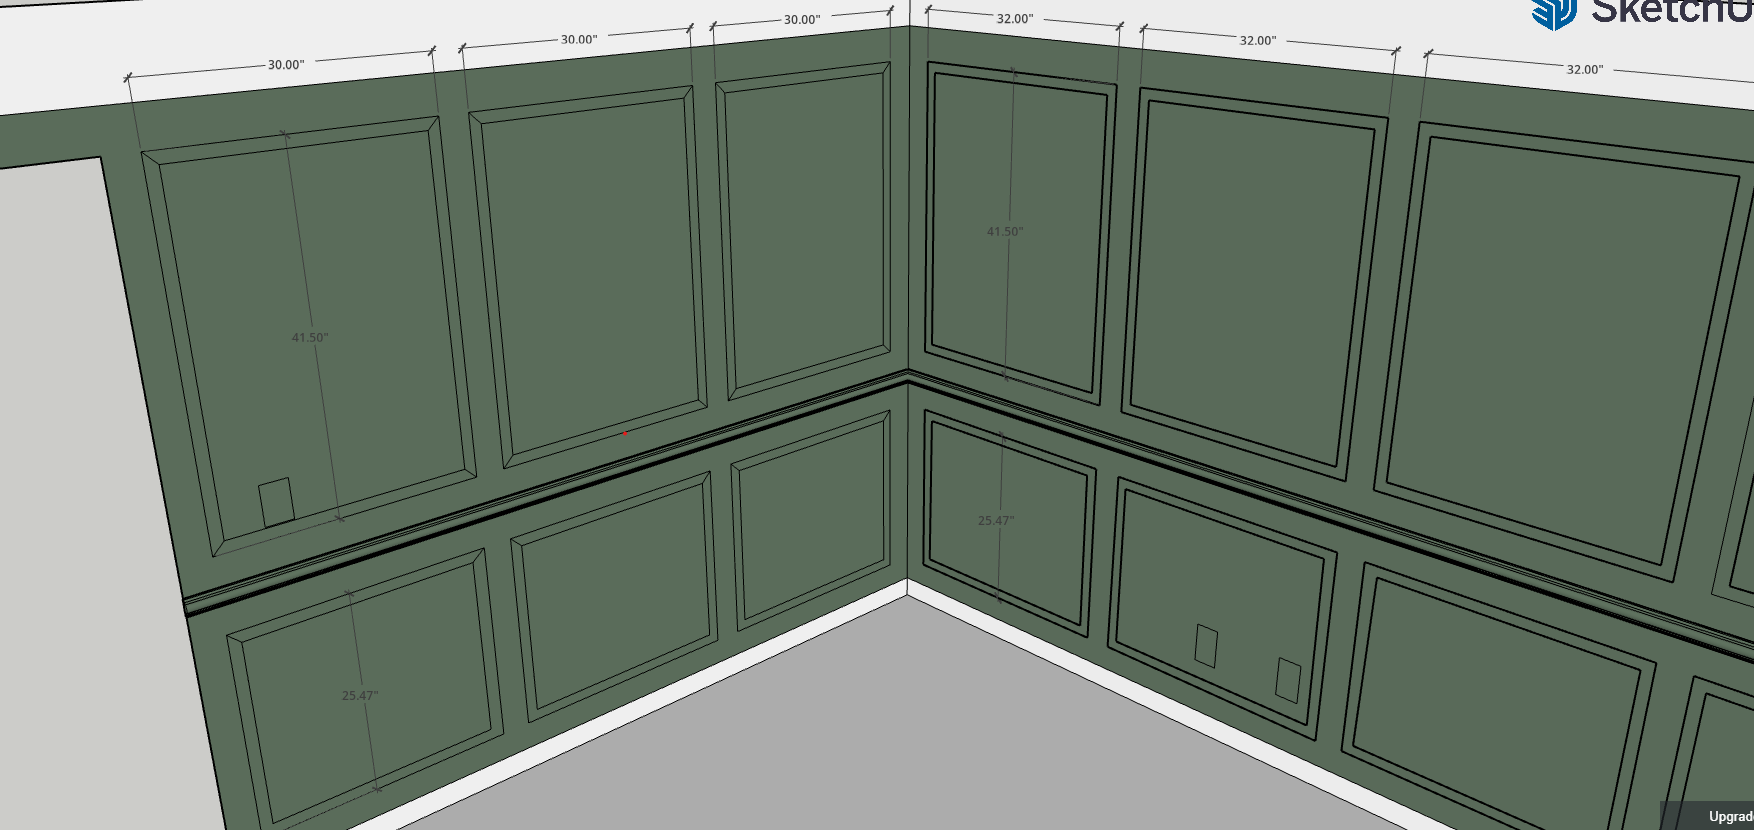
Step 1: Map Out the Molding
- Before cutting any trim, it’s worth spending time mapping out your layout. I used SketchUp to visualize each wall, but you can also sketch on paper or use painter’s tape directly on the wall.
- Measure the total wall length, subtract the spacing you want at the ends and between boxes (I used 3.5″ between everything), and divide the remaining space to figure out how wide each box should be.
- Most of my boxes were around 30–32″ wide. On the wall between the two windows, we used one 45″ wide box instead of two skinny ones, since that area will be mostly hidden behind curtains anyway. It felt cleaner and more balanced.
- The boxes on each wall were the same width as each other, even though they varied slightly from wall to wall. The height of the top and bottom boxes was kept consistent around the entire room to keep everything looking uniform.
Step 2: Install the Chair Rail
Start with the chair rail since it acts as the anchor for the whole design. It’s “a continues horizontal piece that wraps around the room, cutting the wall in half, so getting it level and consistent sets you up for success.
Depending on your wall length, you’ll probably need to splice (or join) two pieces together. I prefer using a 45-degree bevel cut to splice them instead of a straight butt joint. The angled cut gives you more surface area for a clean, seamless look- it hides the joint better and makes it less likely to shift or show over time.
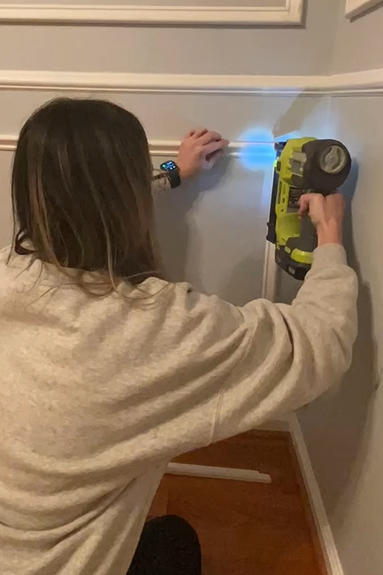
Use a level as you go, and nail it into the wall with a brad nailer. Opposing nail angles help hold it tight to the wall.
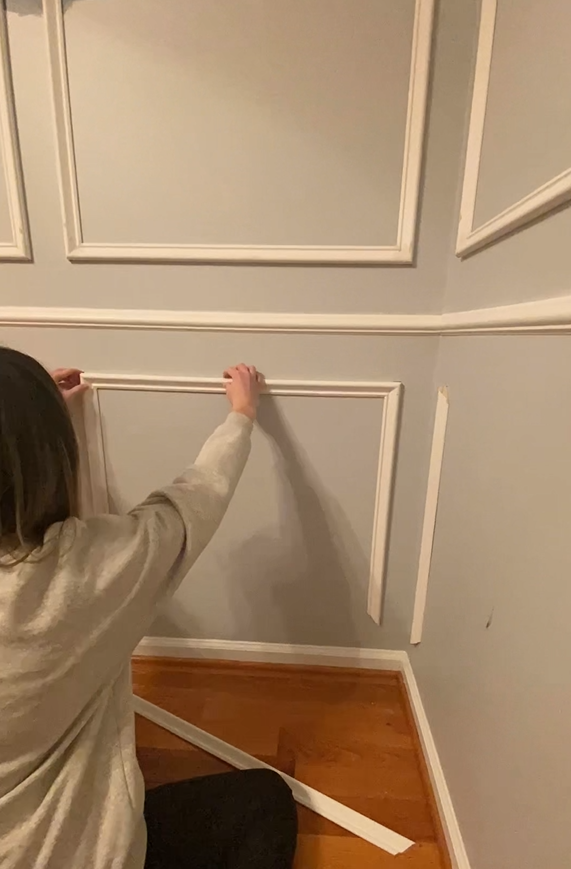
Step 3: Cut & Install the Boxes
I cut all the molding with my miter saw (45-degree angled corners for that picture frame look) and attached everything using a brad nailer. Nail the boards in at multiple spots, angling the nails in opposing directions to really lock them into place.
Attach all the vertical trim pieces first, then connect them with the horizontal pieces. Working this way, keeps your boxes consistent and you don’t have to move your laser level as much.

Nails and caulk are all you need to attach this trim to the wall. Construction adhesive would be total overkill here and would do more harm than good if you ever decided to take the trim down (but like… why would you?! 😄).
Step 4: Wood Fill & Sand
Once your trim is up, use wood filler to patch all the nail holes and any spots where wood meets wood, like inside corners or seams.
Let the filler dry completely, then go over everything with 200 grit sandpaper for a smooth finish. To cut down on the dust mess, follow your sanding with a small shop vac.
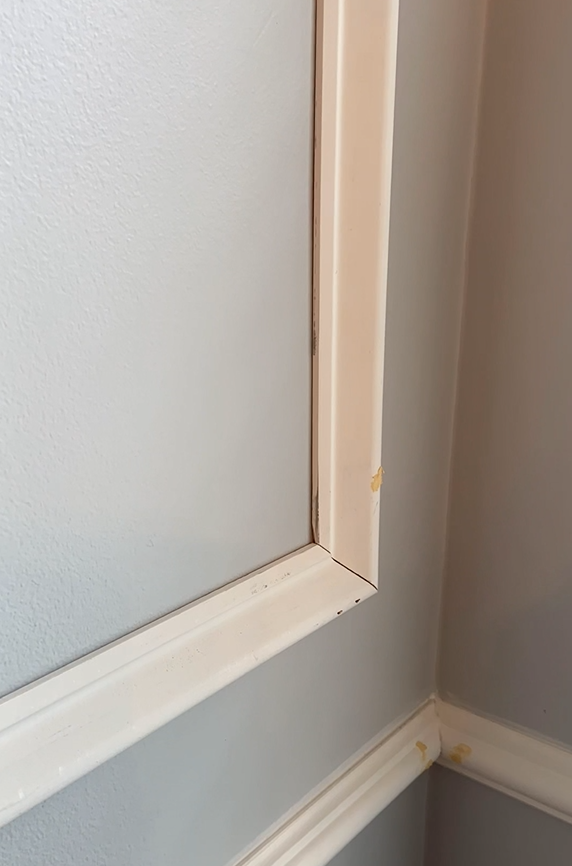
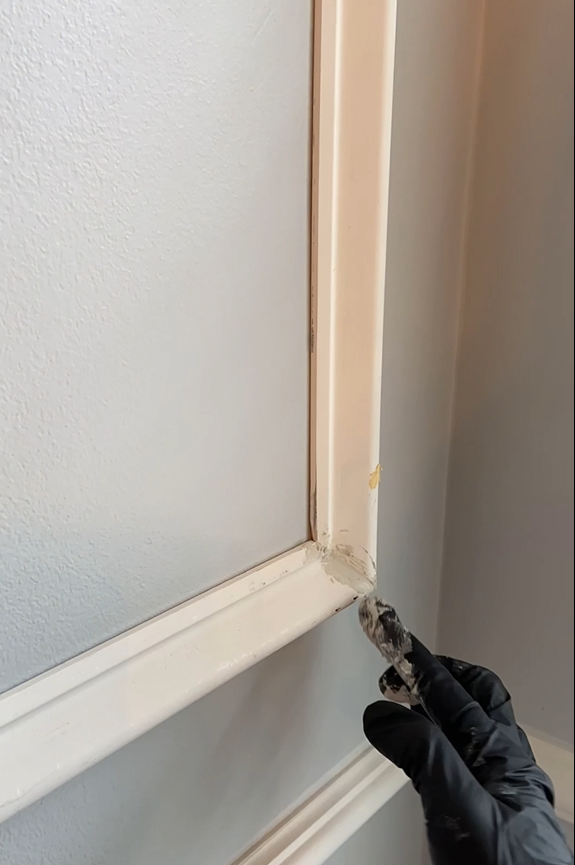
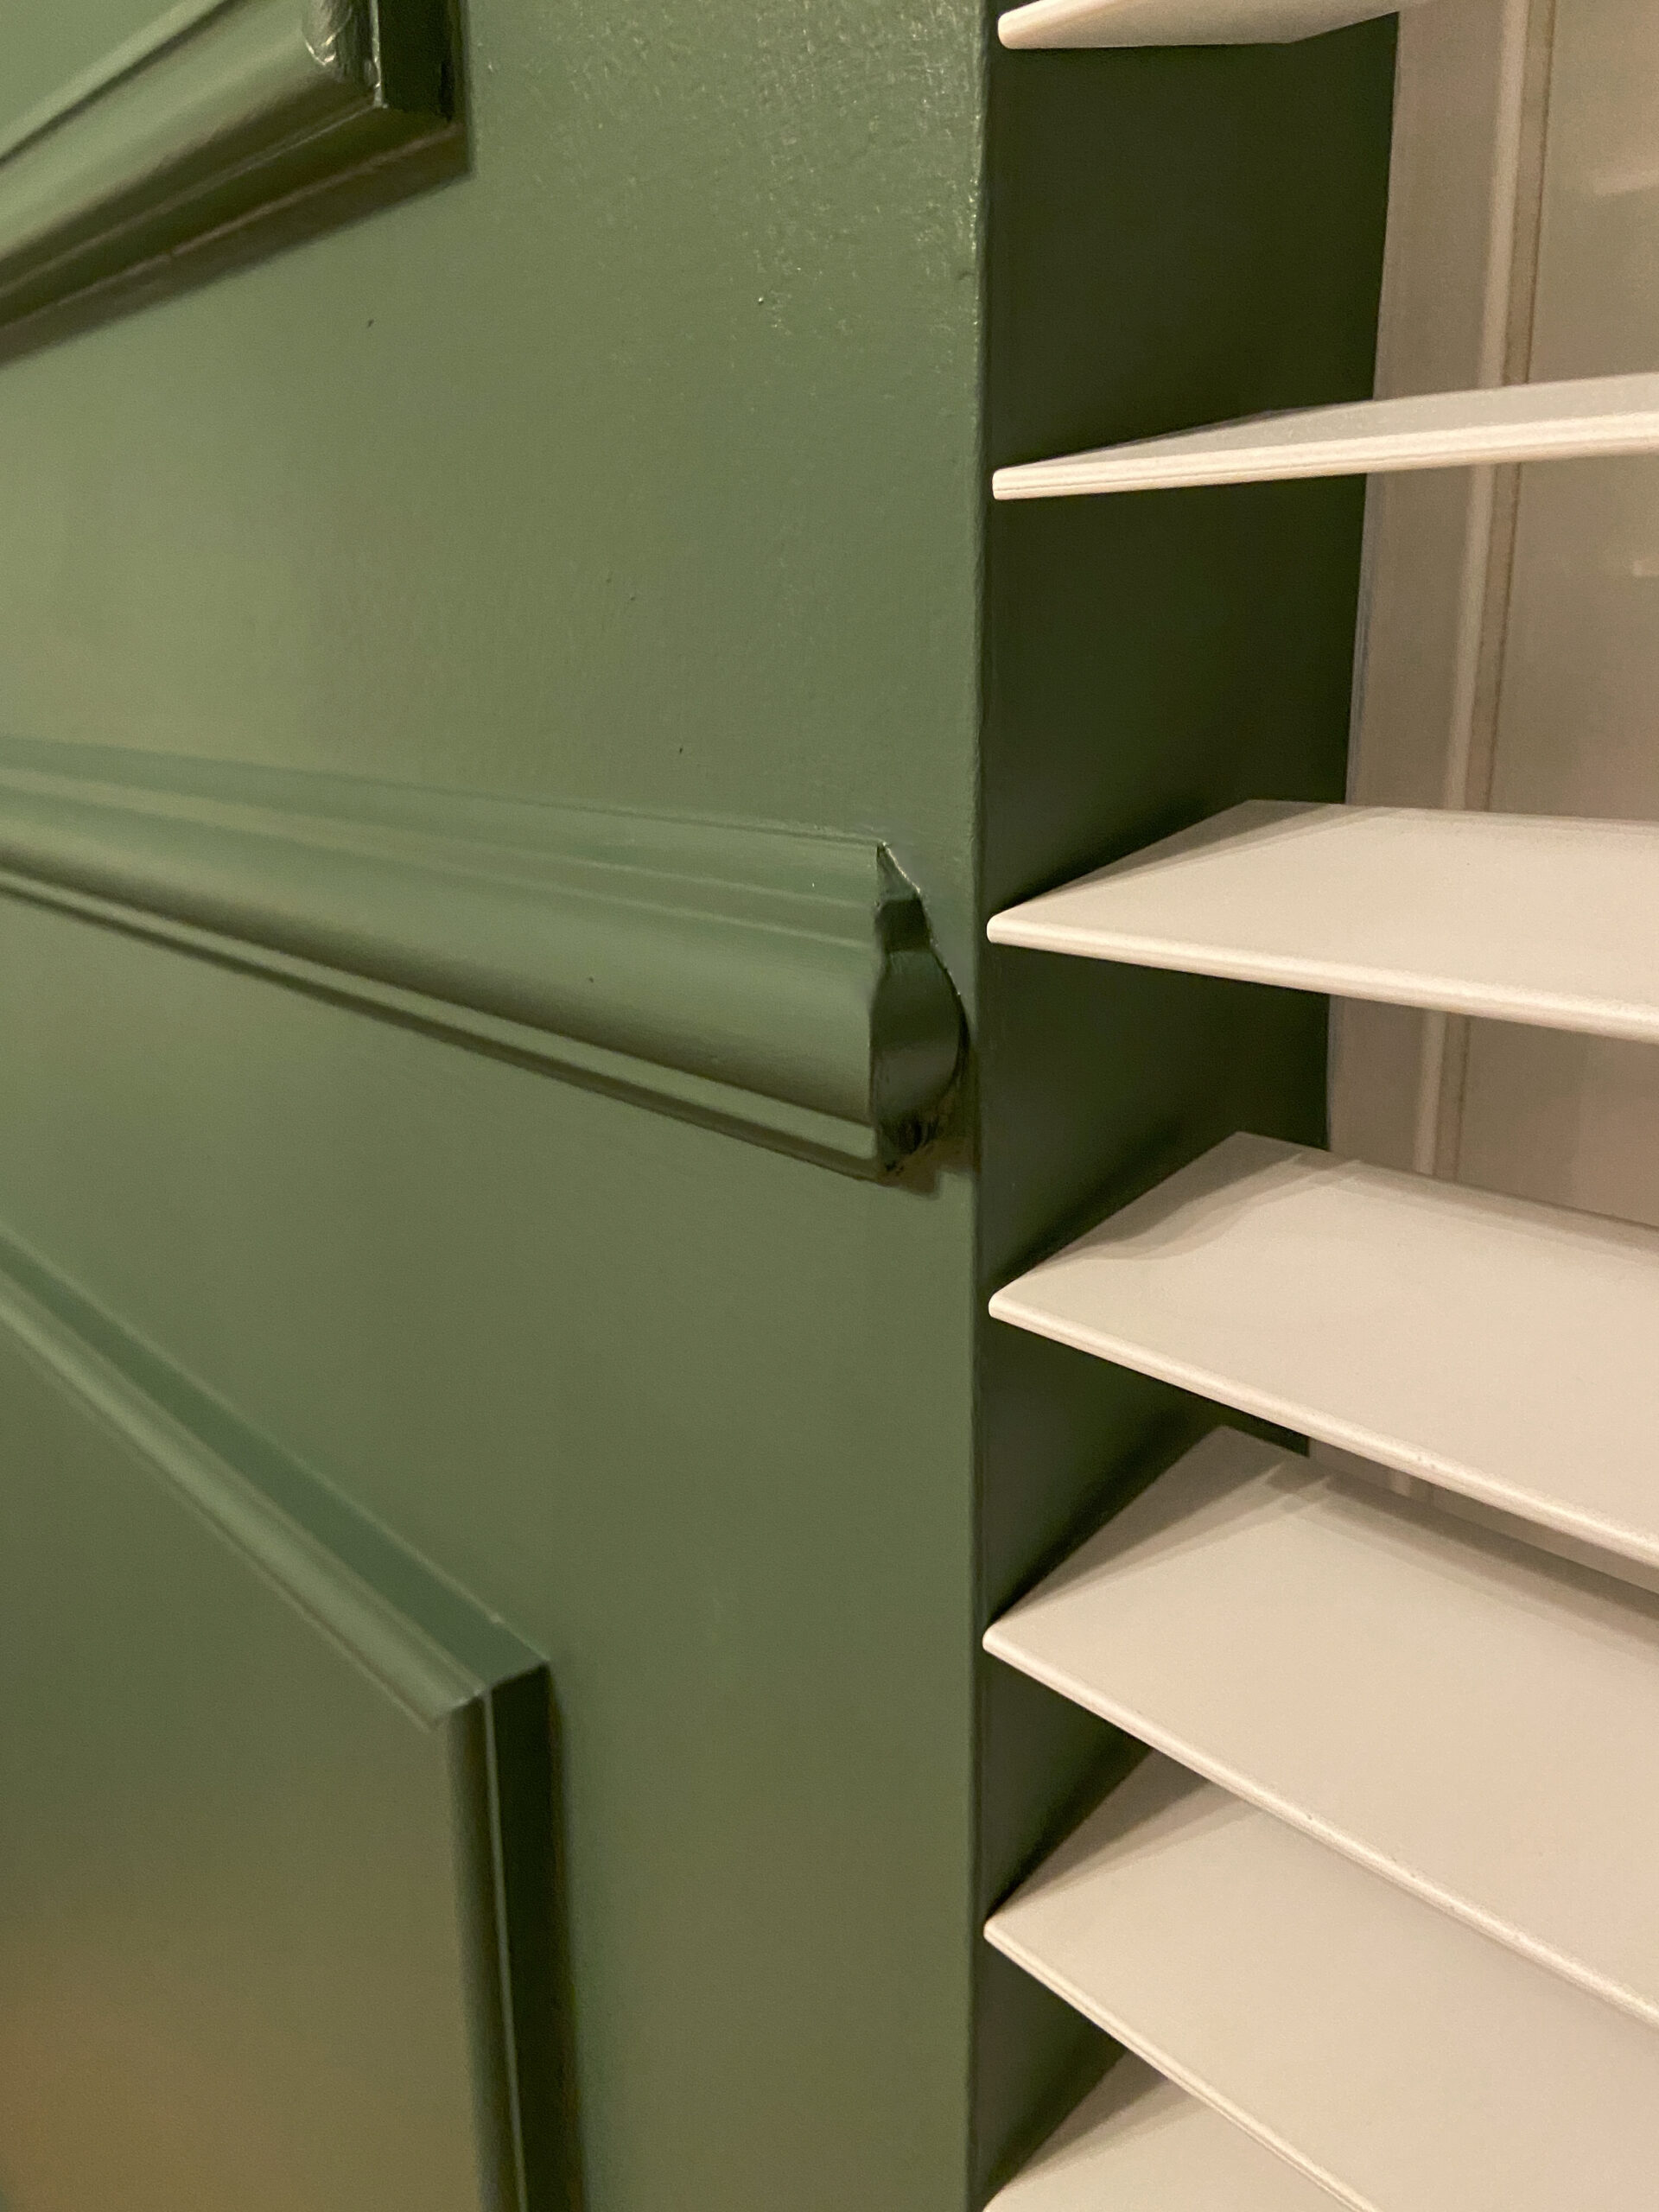
Step 5: Caulk
Run a bead of paintable caulk along all the edges where the trim meets the wall. This is what gives the molding that seamless, built-in look. It hides small gaps, softens transitions, and helps the trim feel like it belongs.
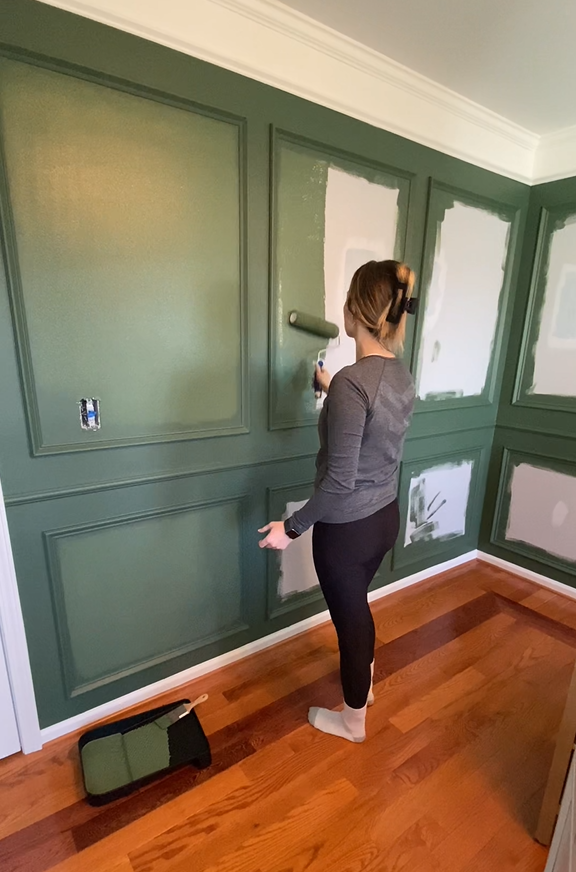
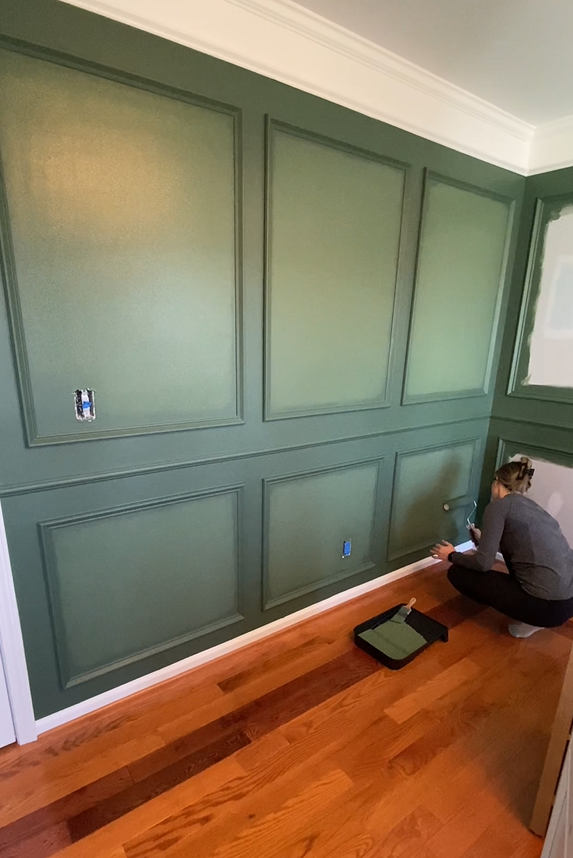
Step 6: Paint
Start by brushing on two coats of paint along all the edges and trim, getting into the corners and around the molding to make sure everything is fully covered.
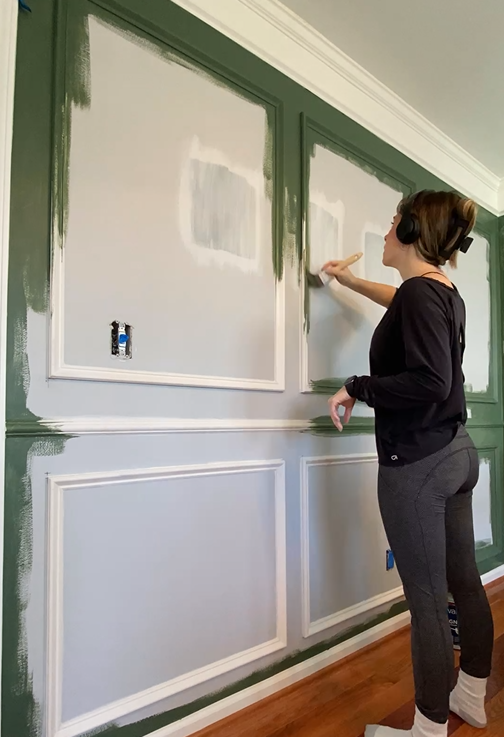

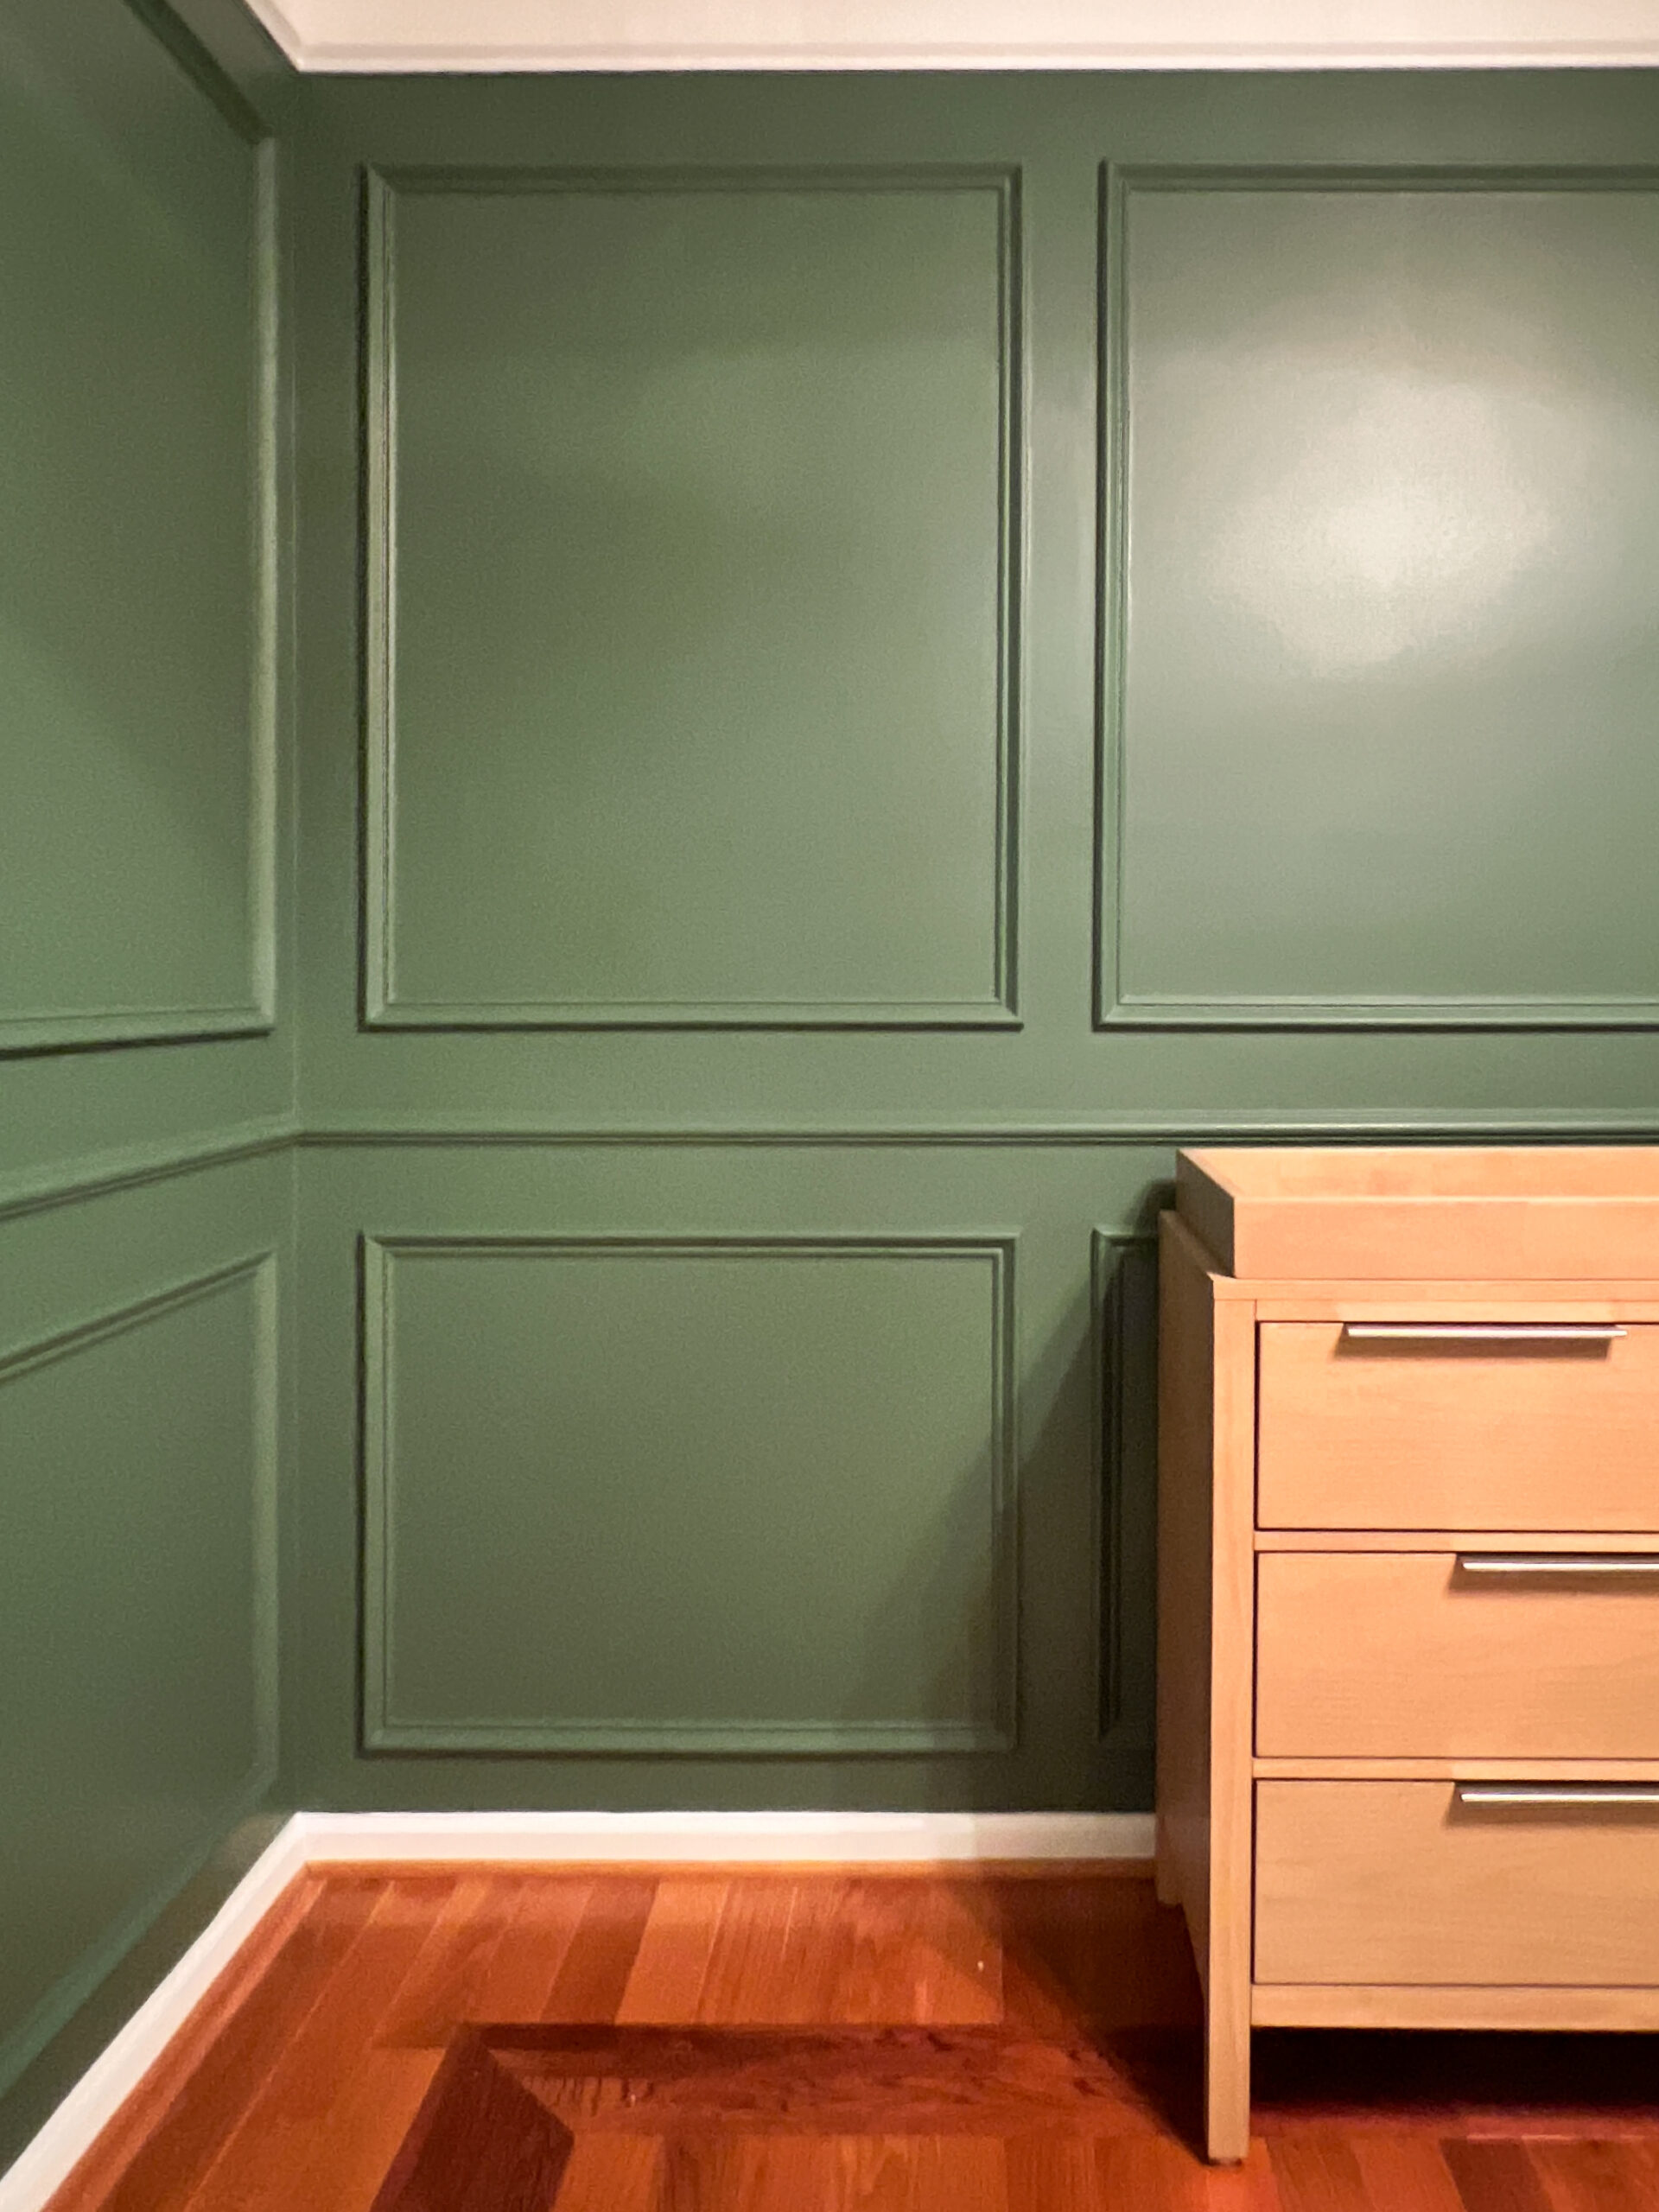
Once that’s dry, use a roller to paint the larger sections inside each box- also with two coats. Doing it in this order helps minimize brush marks and gives the whole room a smooth, even finish. This color totally changed the vibe of the room.
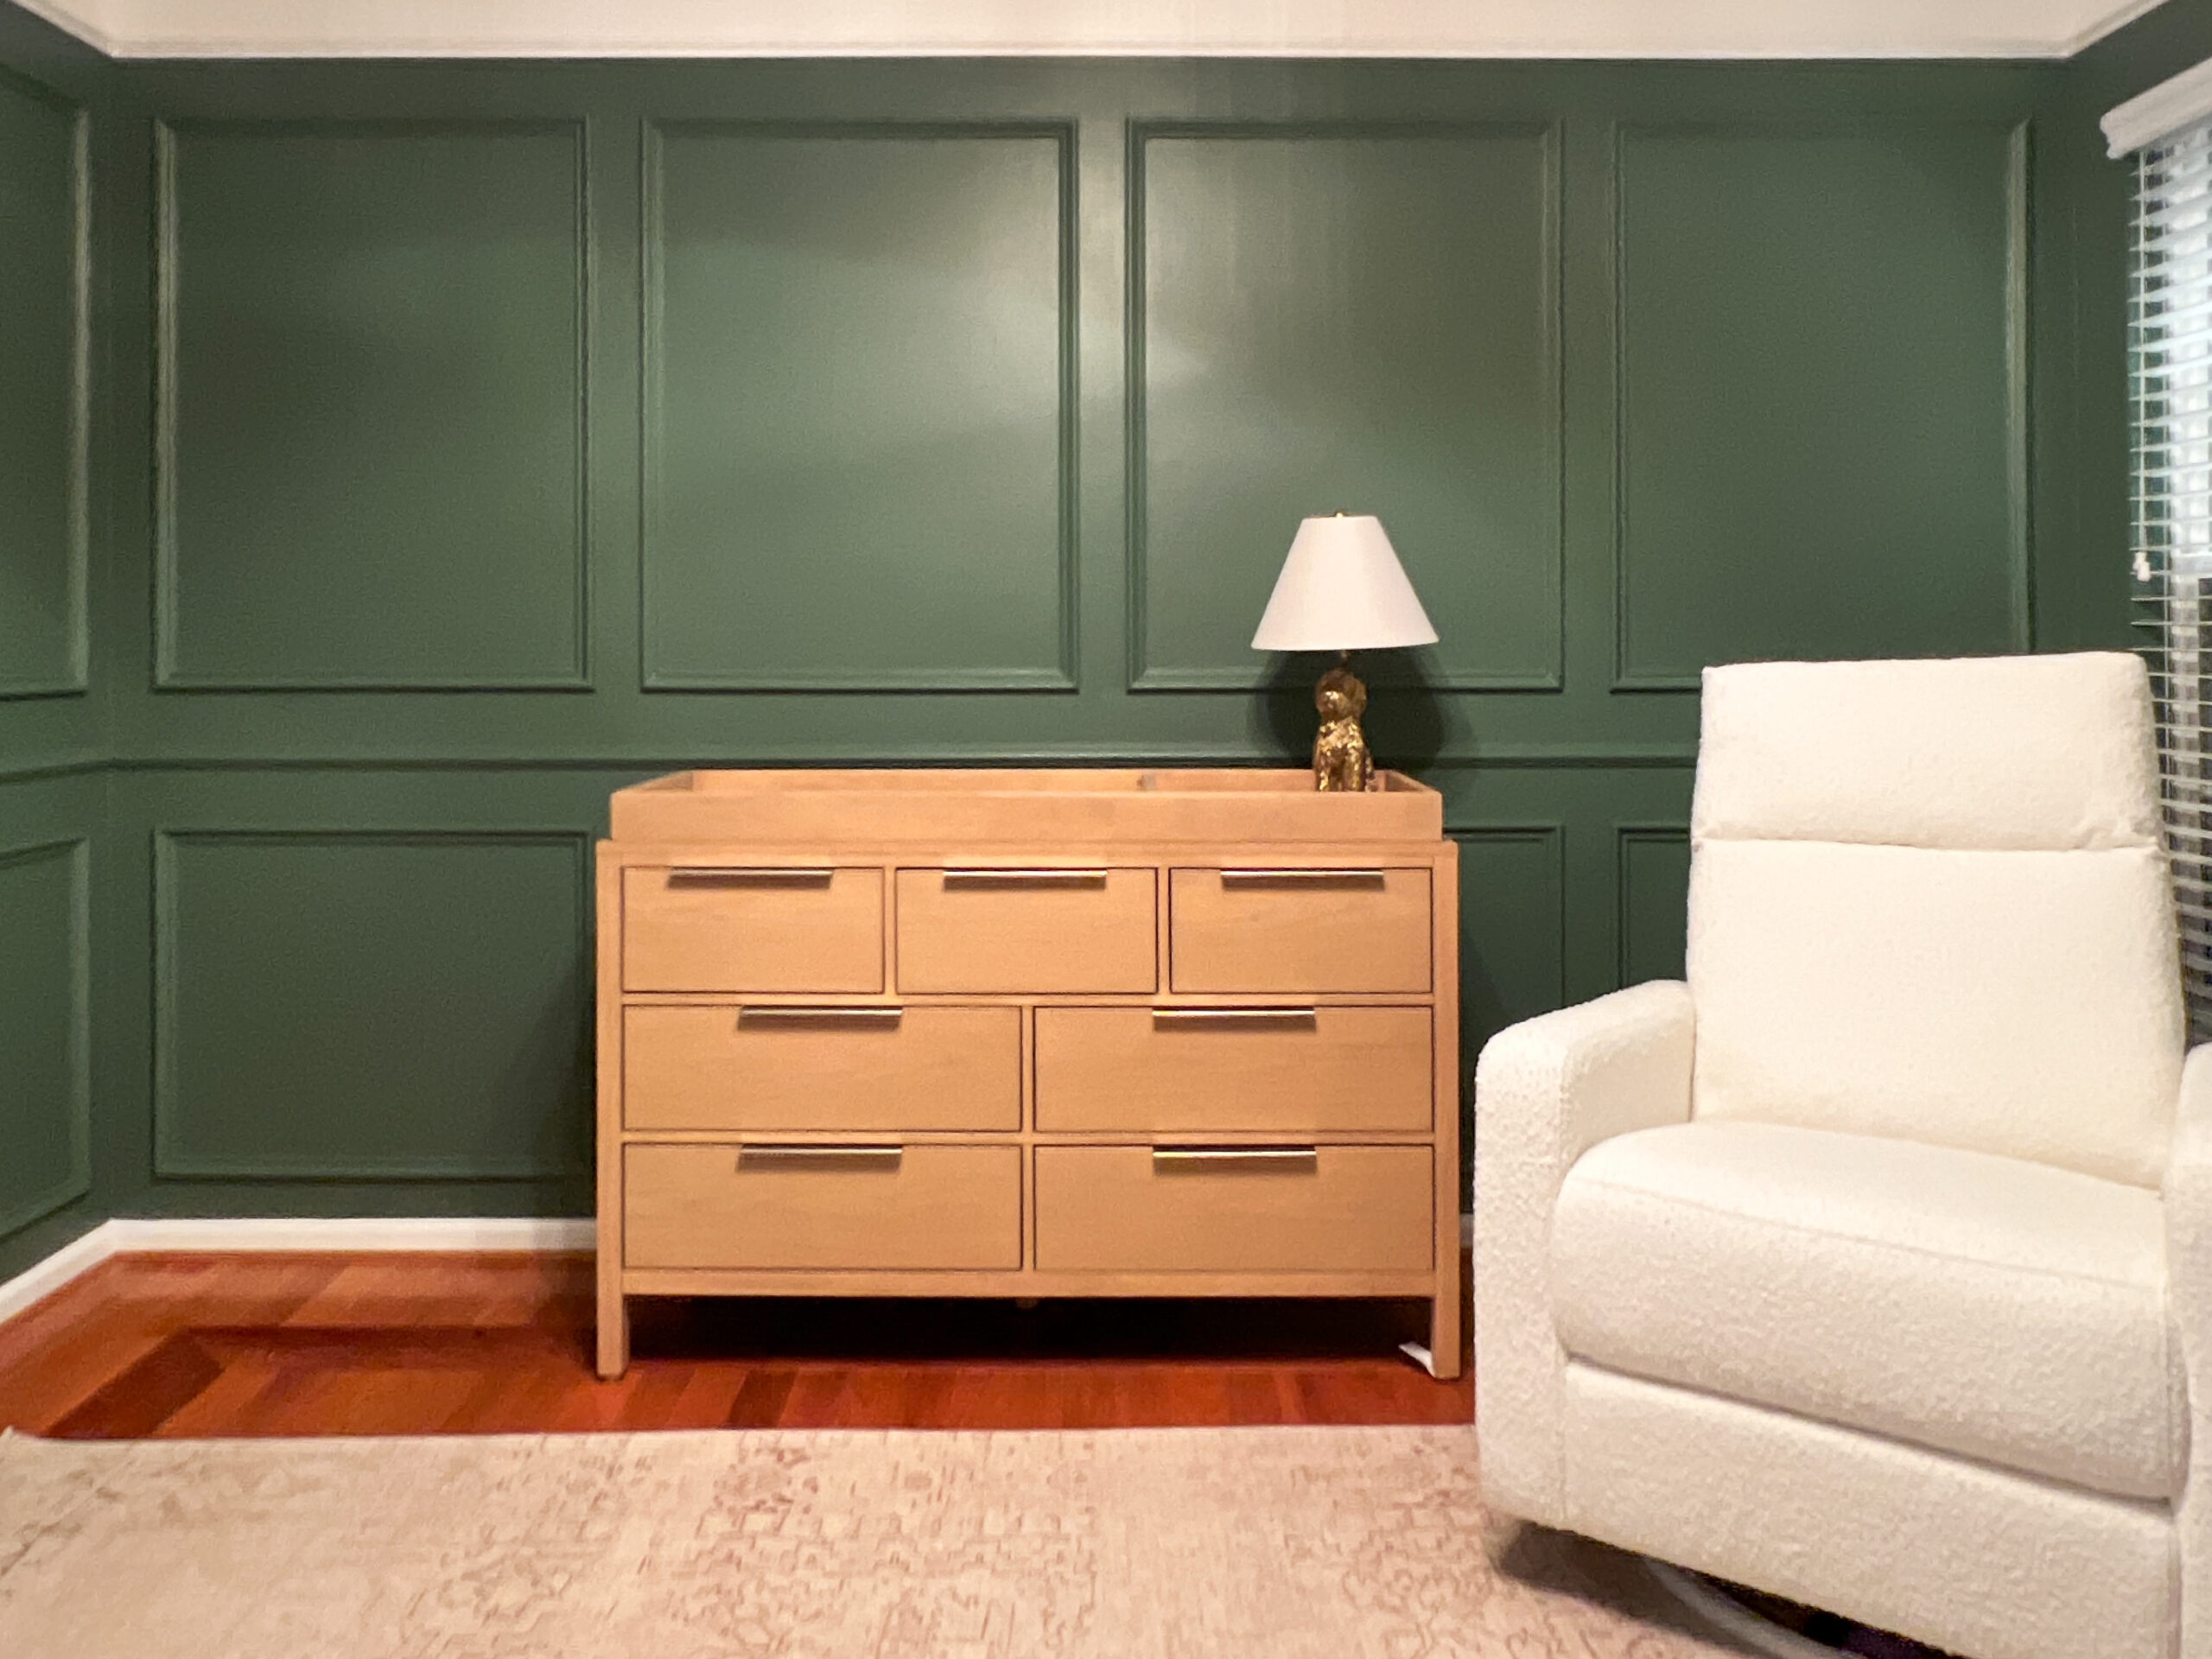
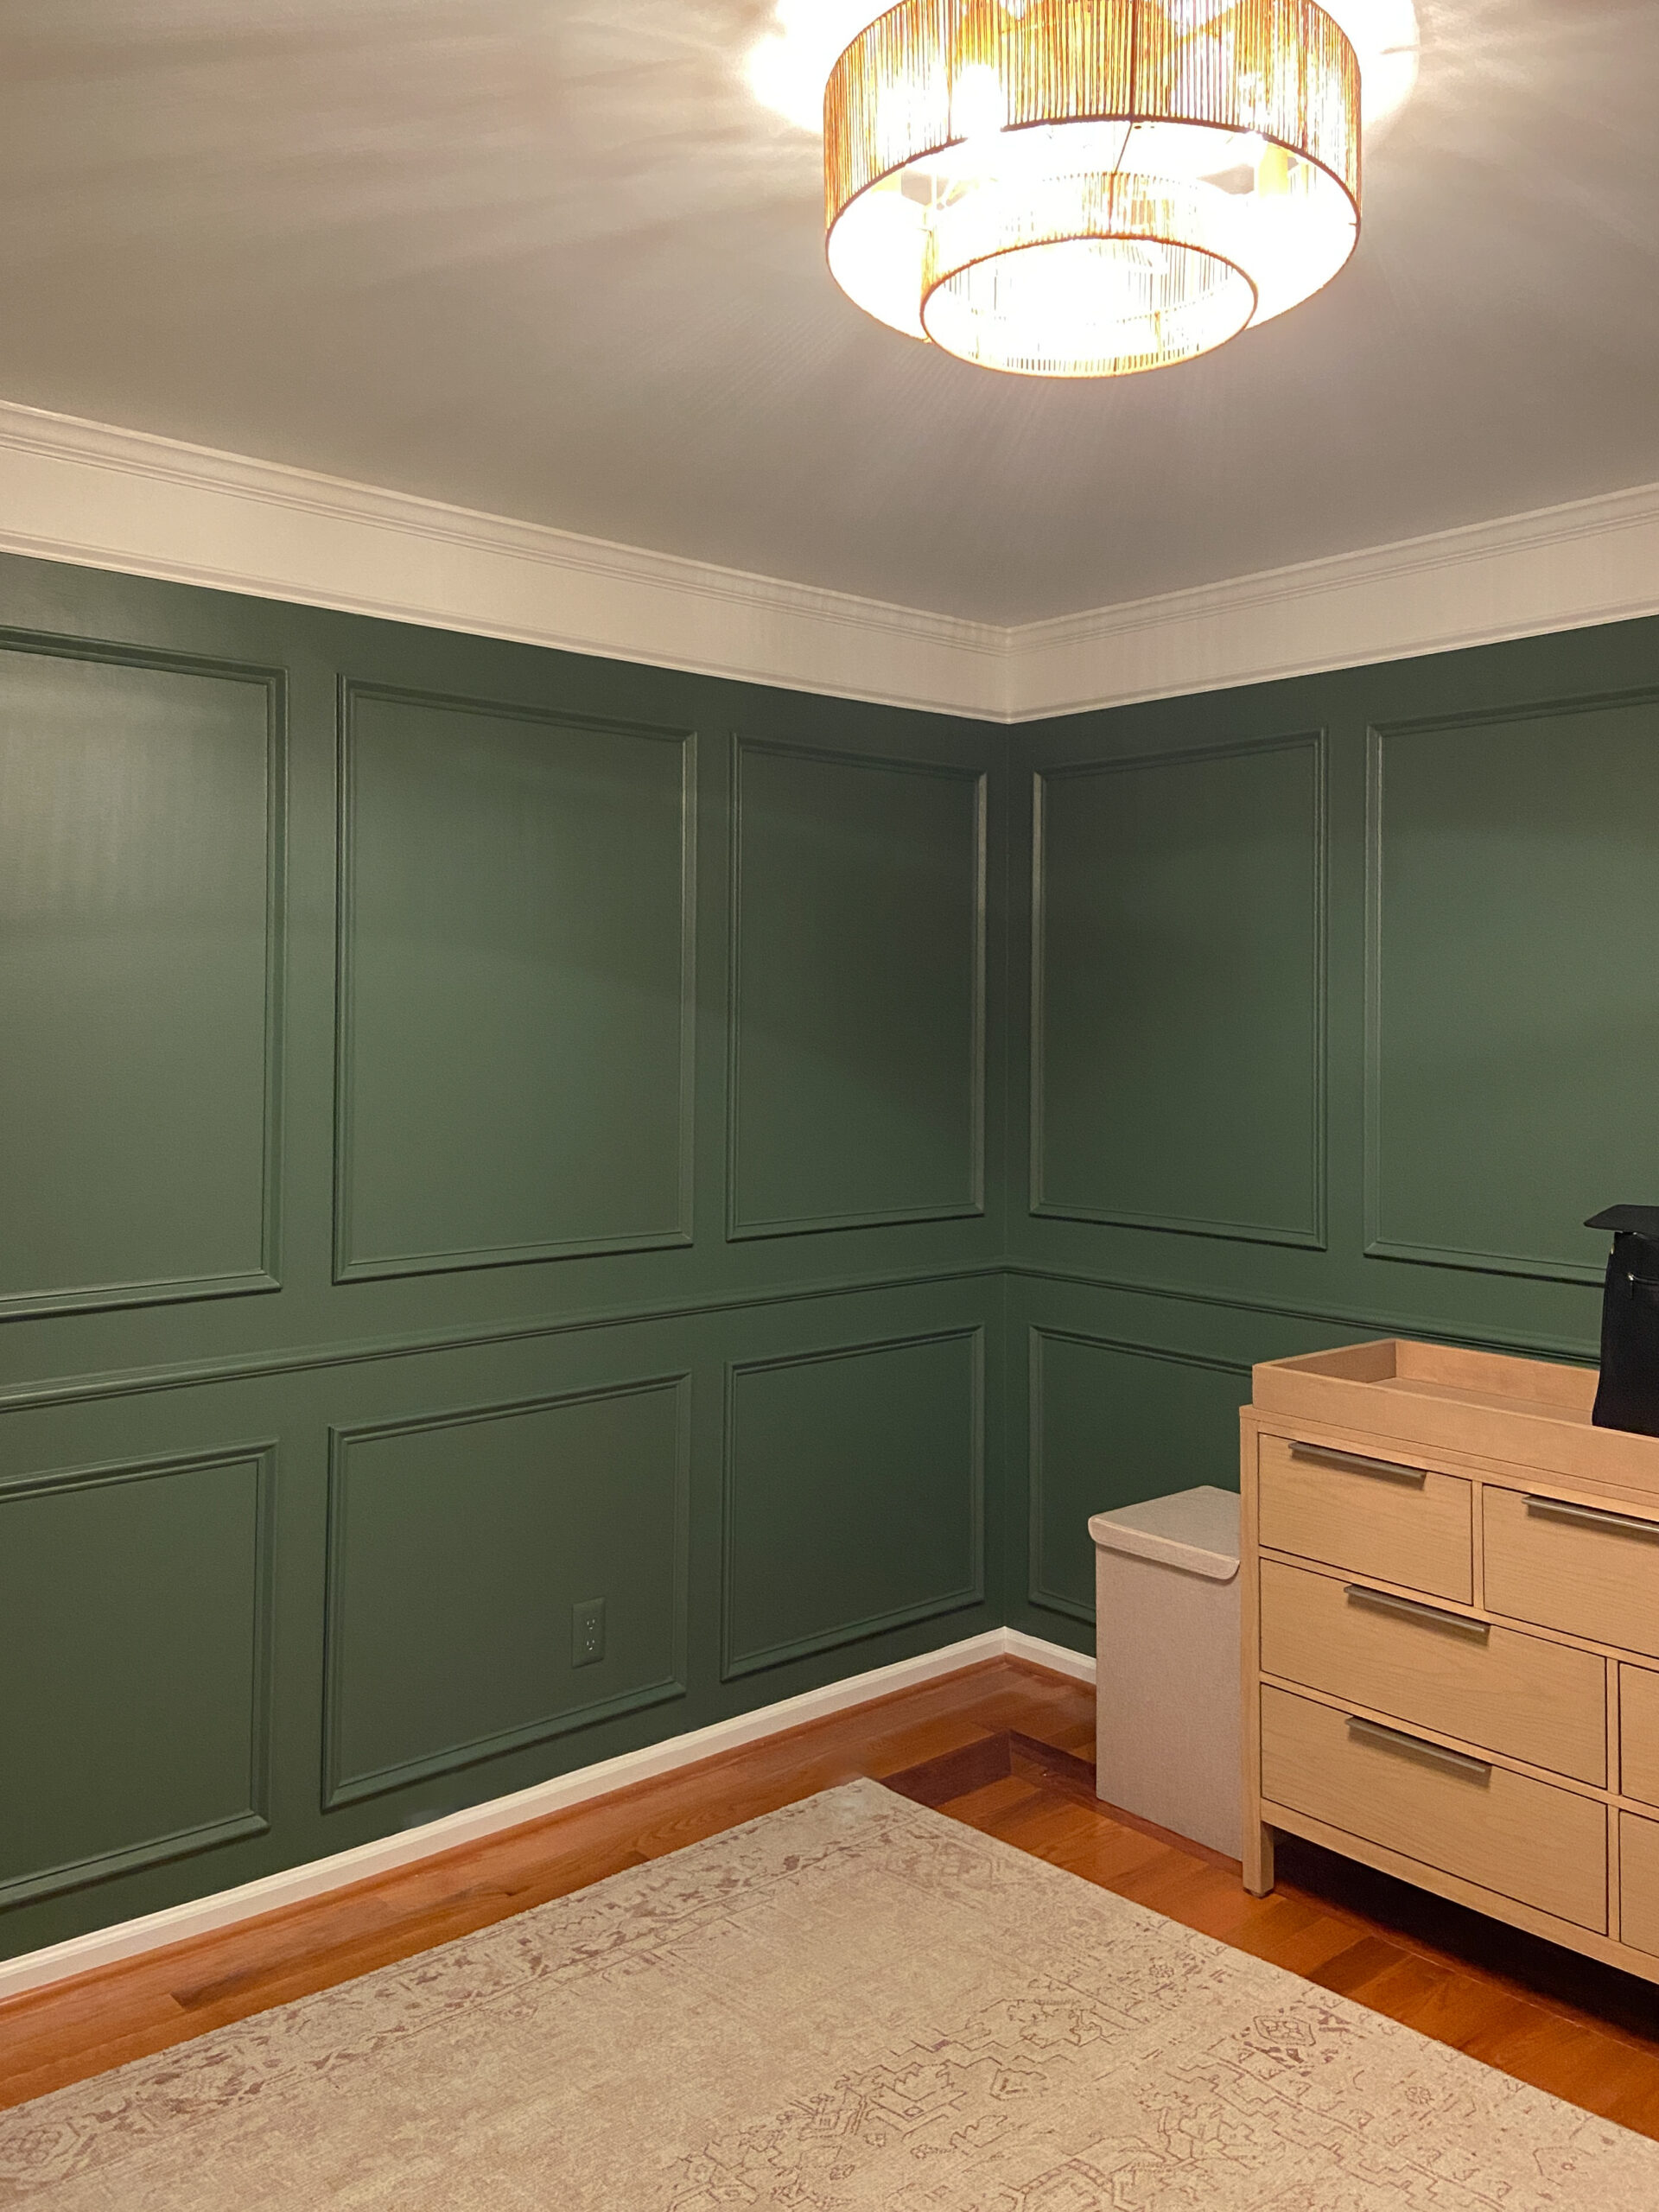
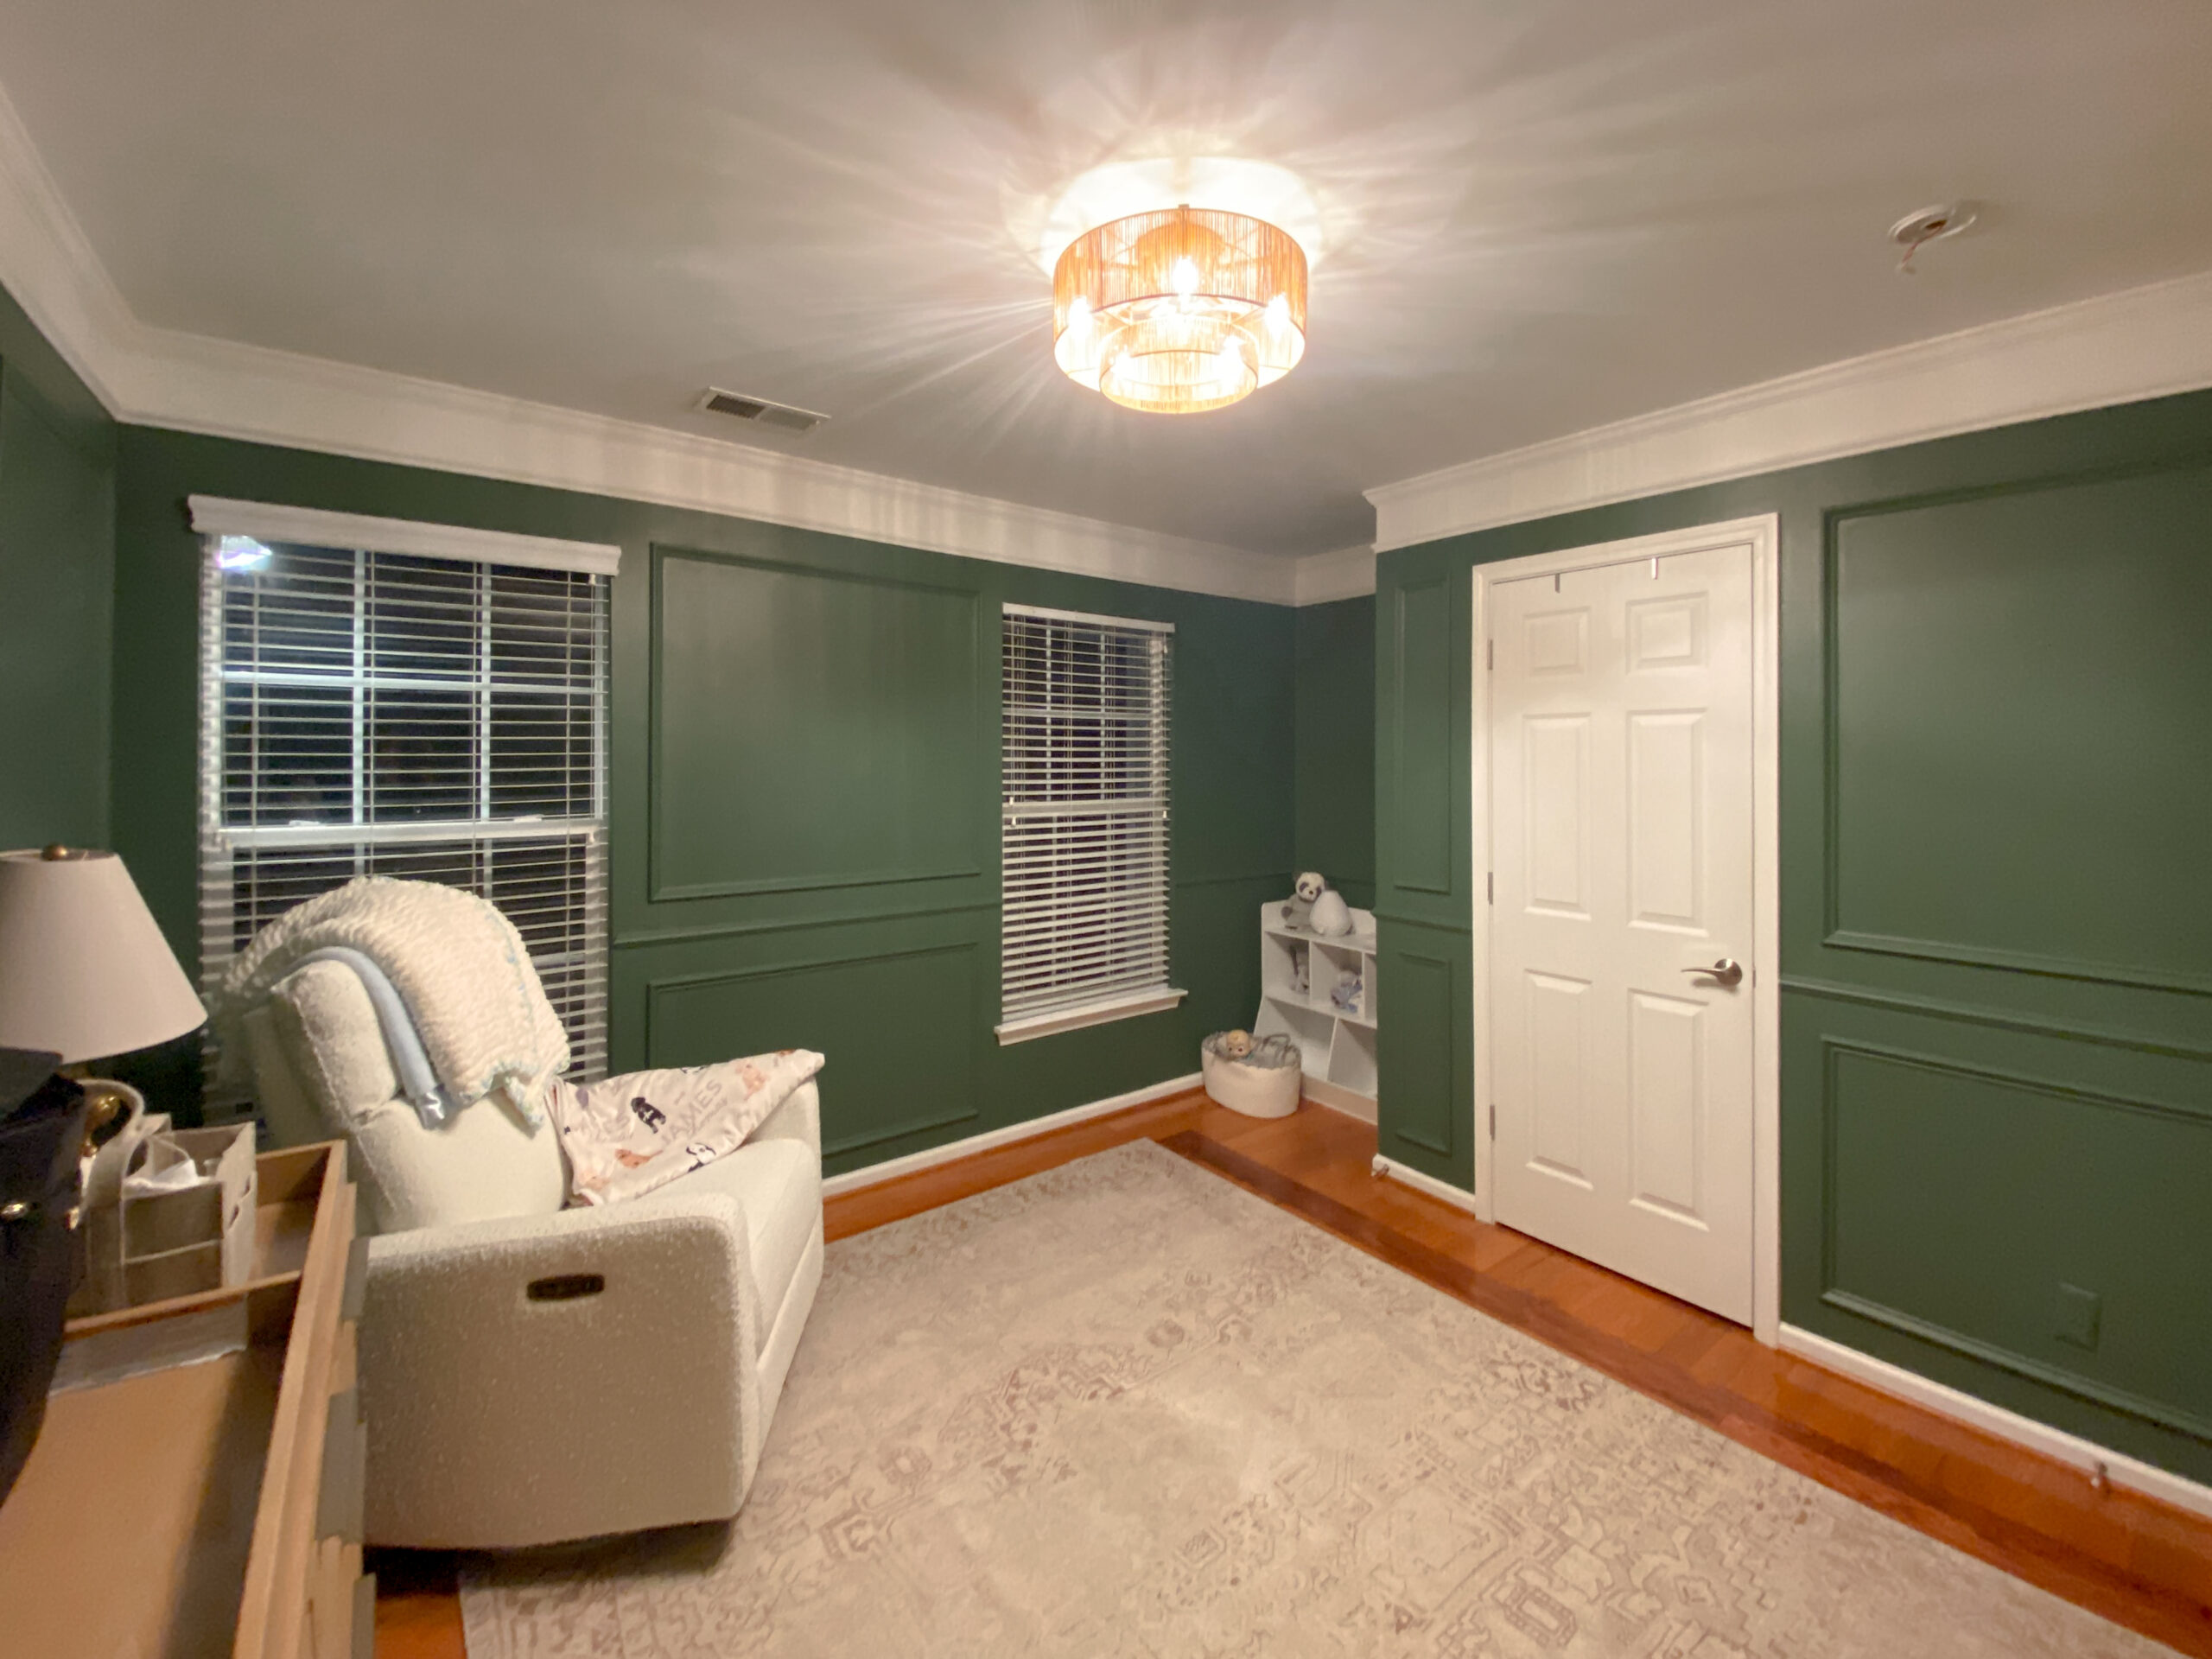
Final Reveal
I love how this room came together. The dark green walls with picture frame molding adds just enough drama while still feeling warm and welcoming. The molding gives it that custom feel without being over the top. And best of all? It’s a space that James can grow into- it doesn’t feel overly babyish, which is what makes it work so well.

This one meant a lot to me. Kaitlin and Tom have created such a sweet little family, and I’m so happy I could help build a space they’ll love for years. If you’re thinking about trying something different from the standard soft neutrals- do it! Nurseries don’t have to look one way, and bold choices like this can make the space feel just as cozy, but way more fun.
Want more? Check out my dining room Picture Frame Molding Tutorial!
If you have any questions about designing your own nursery or using picture frame molding, leave me a comment below!
Want to keep up with my newest projects? Come hang out on my social media accounts, below!
AI Disclaimer: This blog post reflects my original projects, processes and opinions. I use AI tools to help organize my ideas and make the writing clearer- for your benefit as a reader- but all thoughts and creative decisions are my own.